


Normally, when you open applications on your Samsung Galaxy device, you do so from one of three places—your home screen, the app drawer, or from the list of recently used apps—but it never seems fast enough when it comes to opening your favorite and/or most-used apps.
There are launchers like SwipePad and Side Launcher that give you near-instant access to favorites, but they utilize additional actions that aren't for everyone. So, today I'm going to show you how to add app shortcuts to something you're already proficient at using—the notification tray.
Install Bar Launcher
To get app shortcuts in your notification tray, just install Bar Launcher (free on Google Play) from dev Johannes Obermair. As the name implies, a bar of customizable shortcuts will be added to your notification tray, and you can access the apps from anywhere you can pull down the tray.

Disable Icons in the Status Bar
Personally, I hate when an active app places an icon in my status bar just to show that it's active. If you have similar feelings, with Bar Launcher open, go ahead and hit the Menu button, select Settings, and un-check the Icon option.
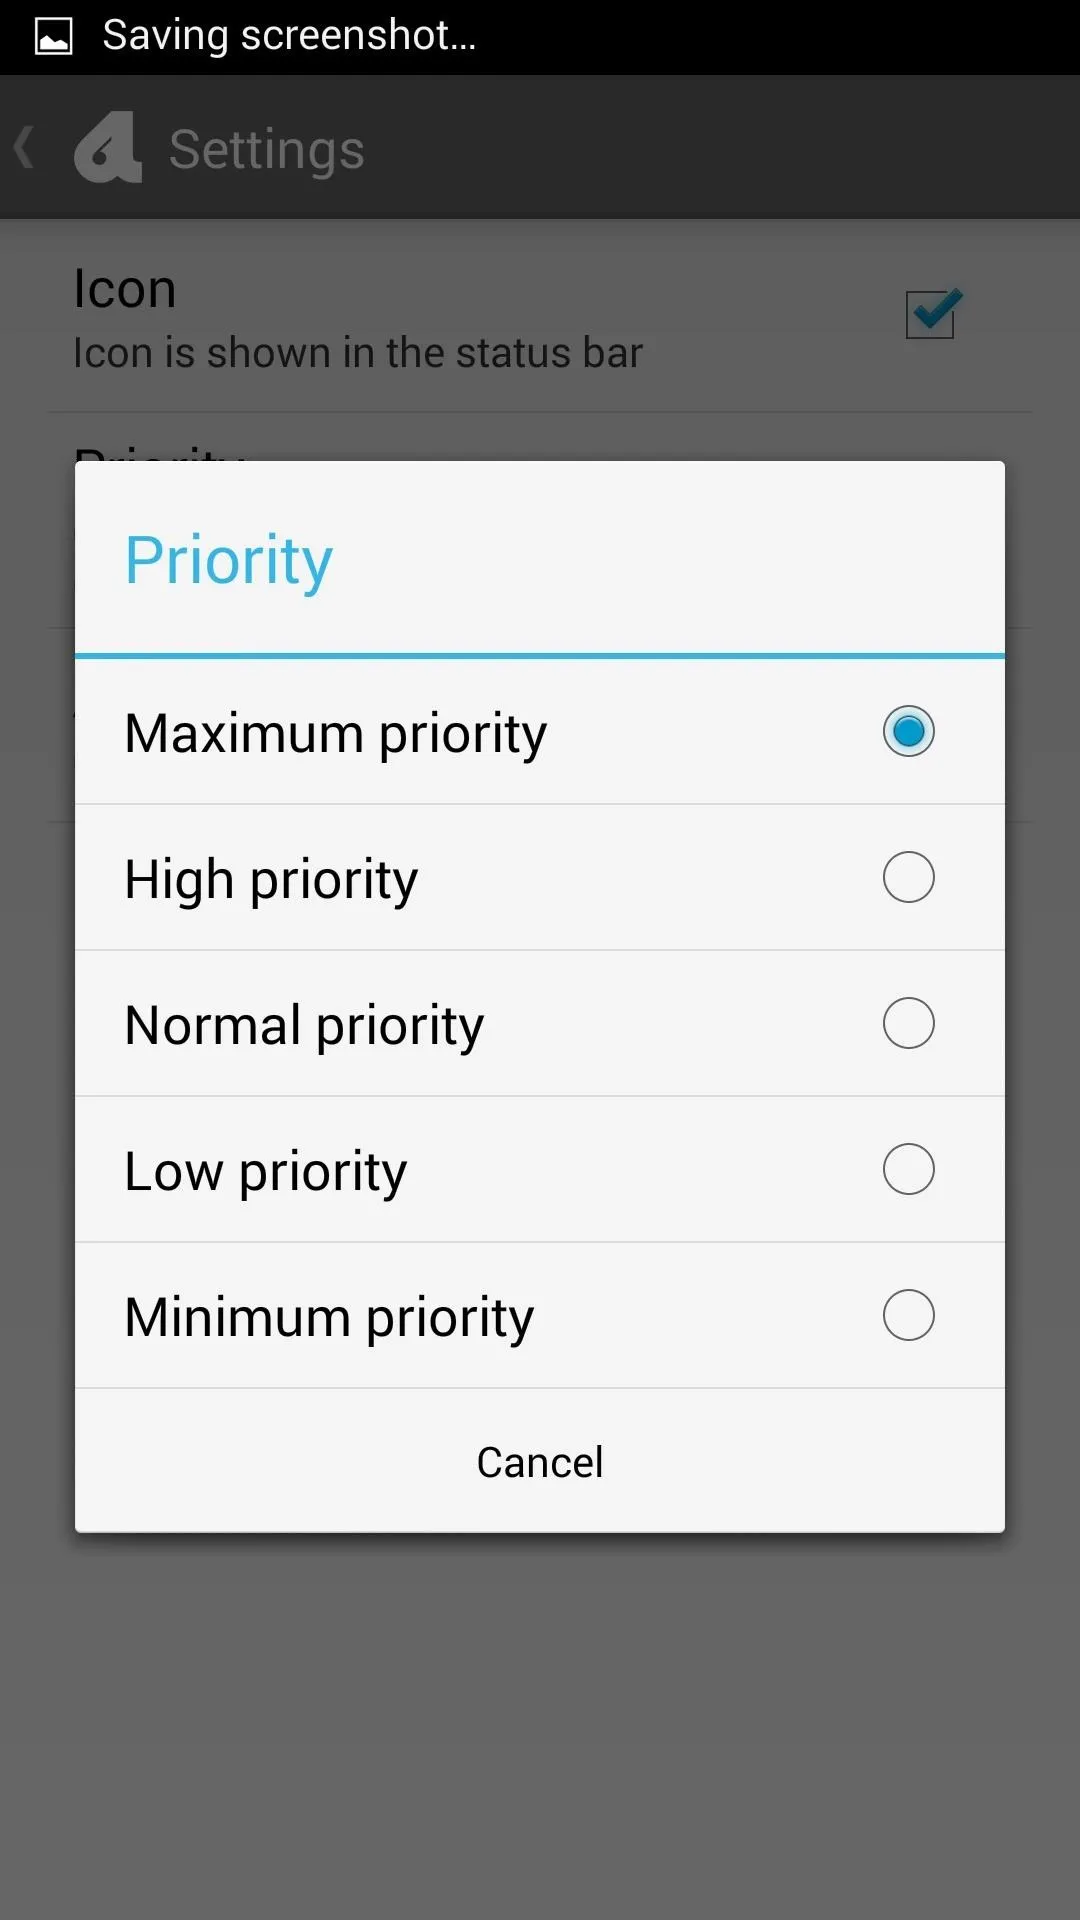
Prioritize Your Bar's Location
Priority will dictate where the app bar is placed in the notification tray. To have it up top at all times, set it to Maximum priority, and if you want it down below your ongoing notifications, choose Normal priority. If you want it at the absolute bottom of any and all notifications, choose Minimum priority.
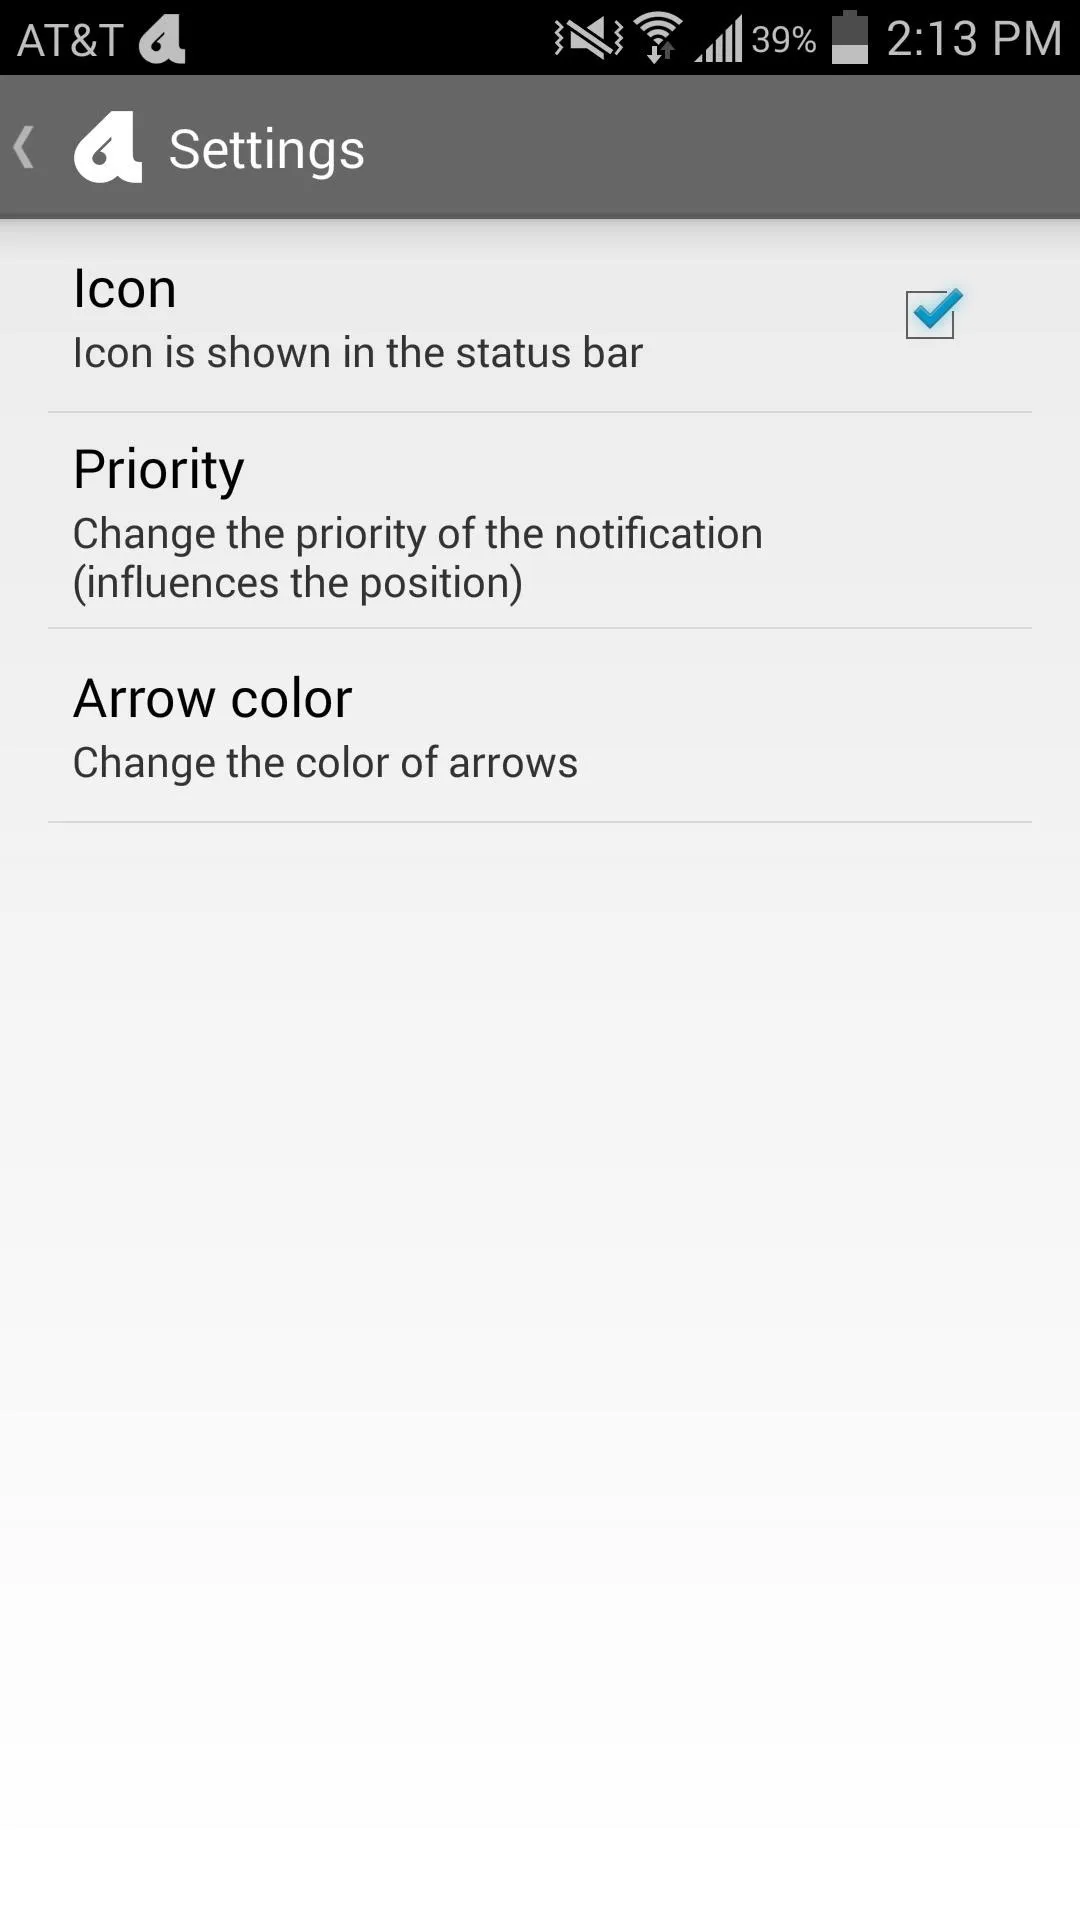
Adjust the Arrow Color
The final setting is the Arrow color. Since the notification shade is black, make sure you set your arrow to white. This will ensure that the arrow is visible later, when I show you how to add more rows.
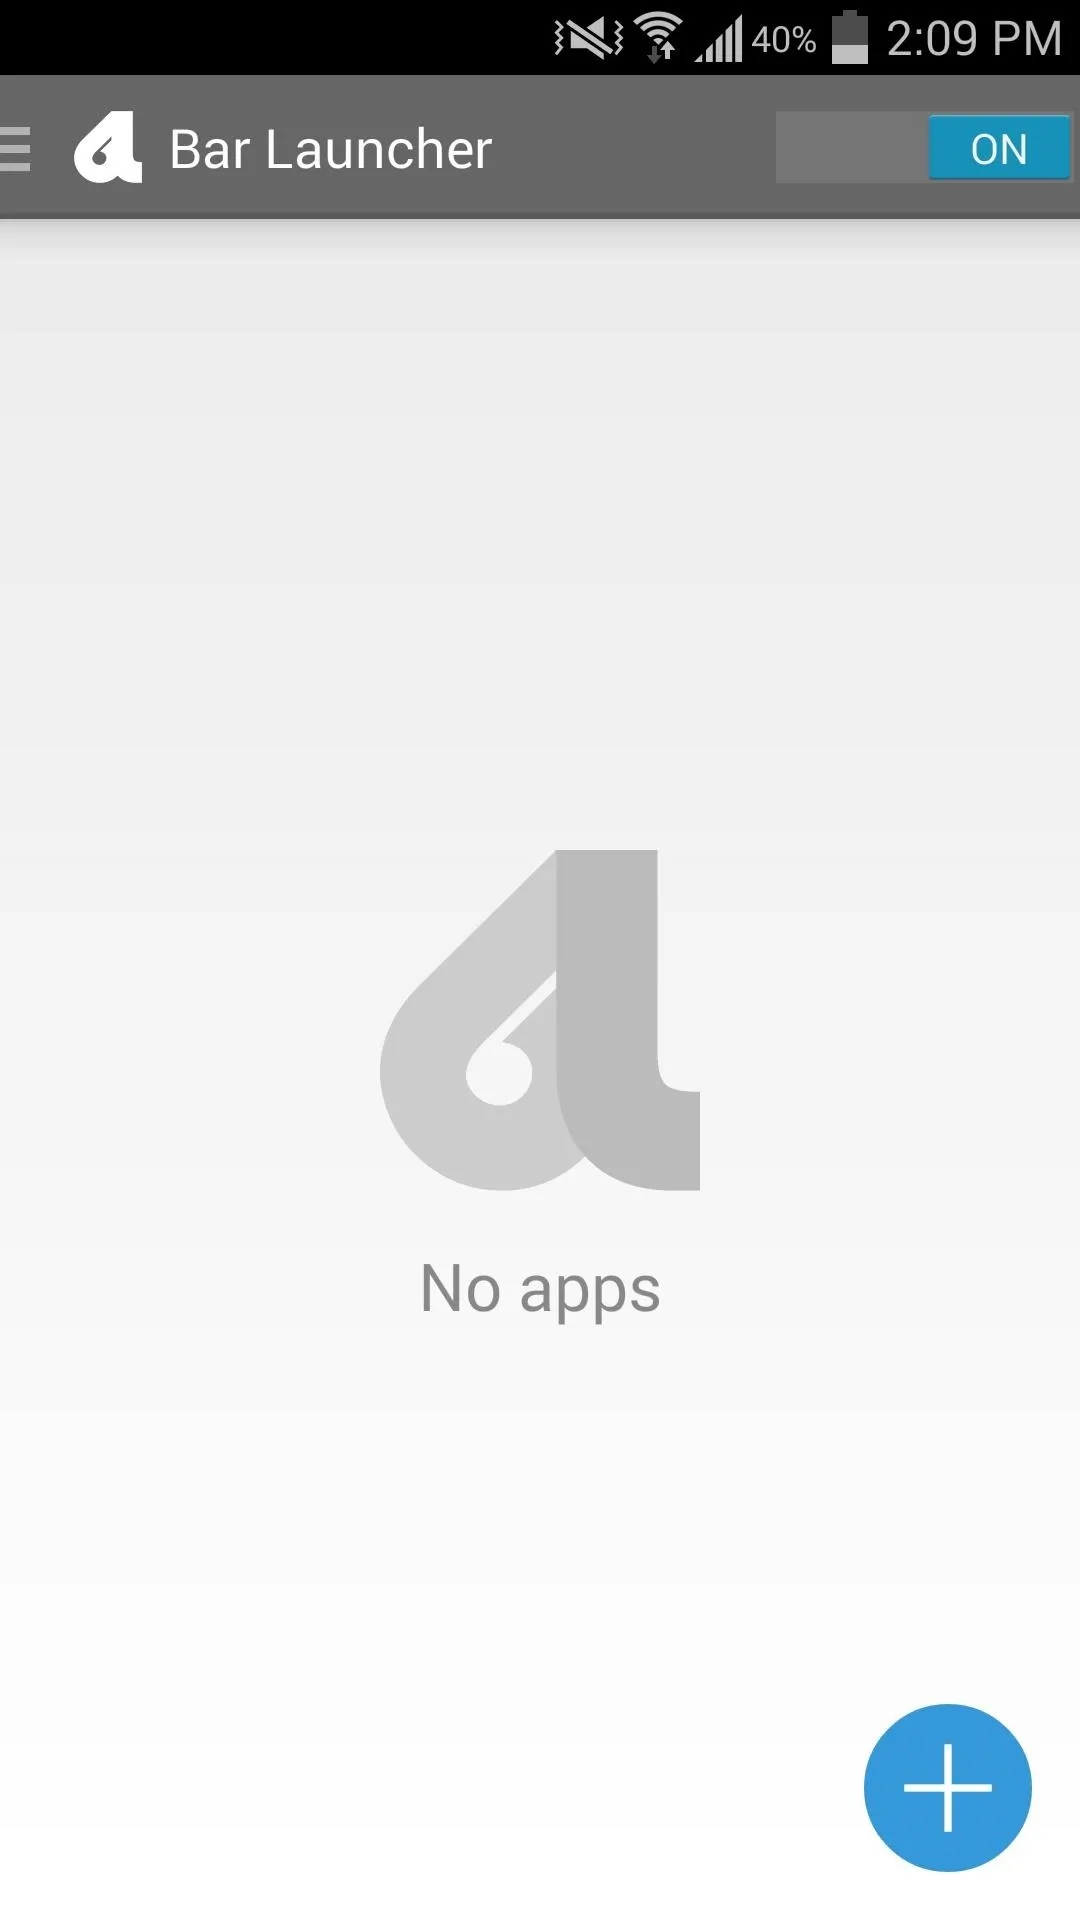
Choose Your App Shortcuts
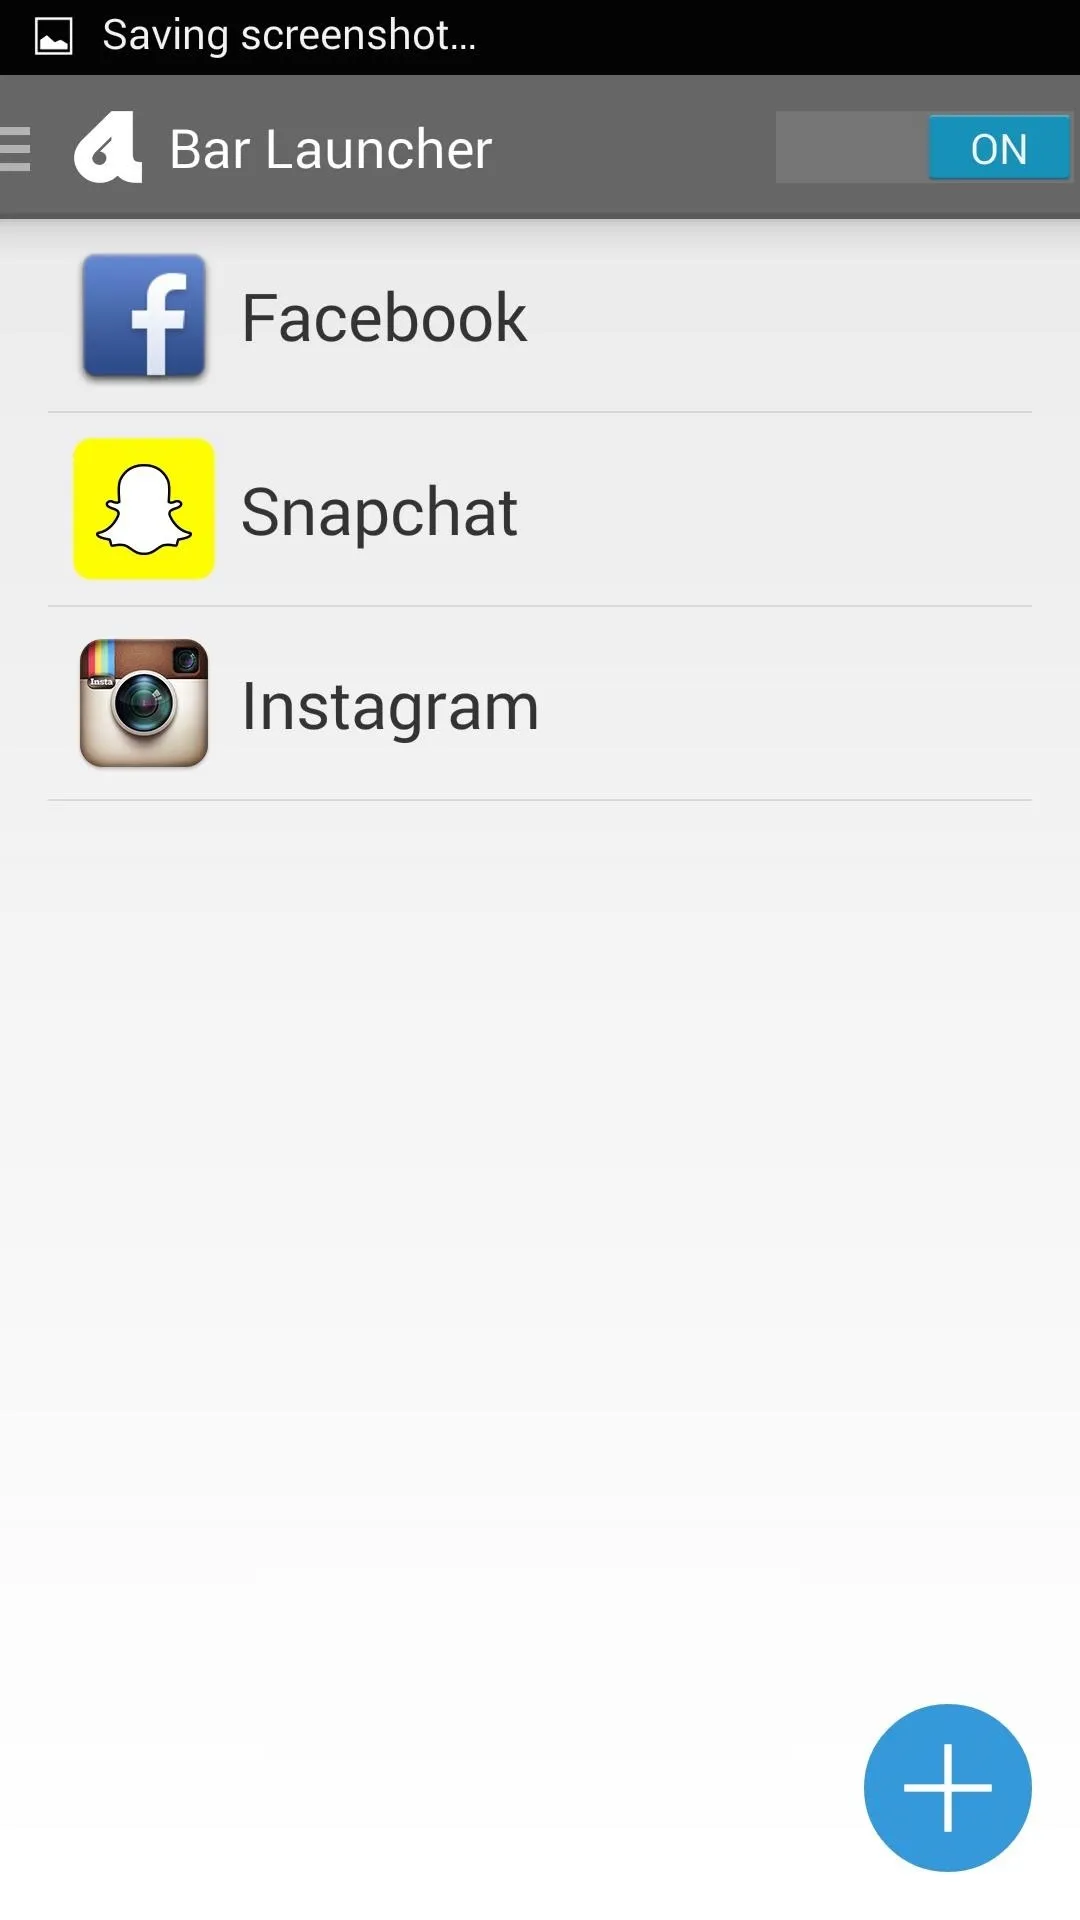
Back on Bar Launcher's main screen, toggle the app "on" in the top right-hand corner, then tap the large + sign on the bottom right. From here, begin selecting apps you want quick access to, one at a time.

You can adjust the order of the apps by tapping and holding them, then sliding them up or down. To remove an app from the list, swipe it away to either side.
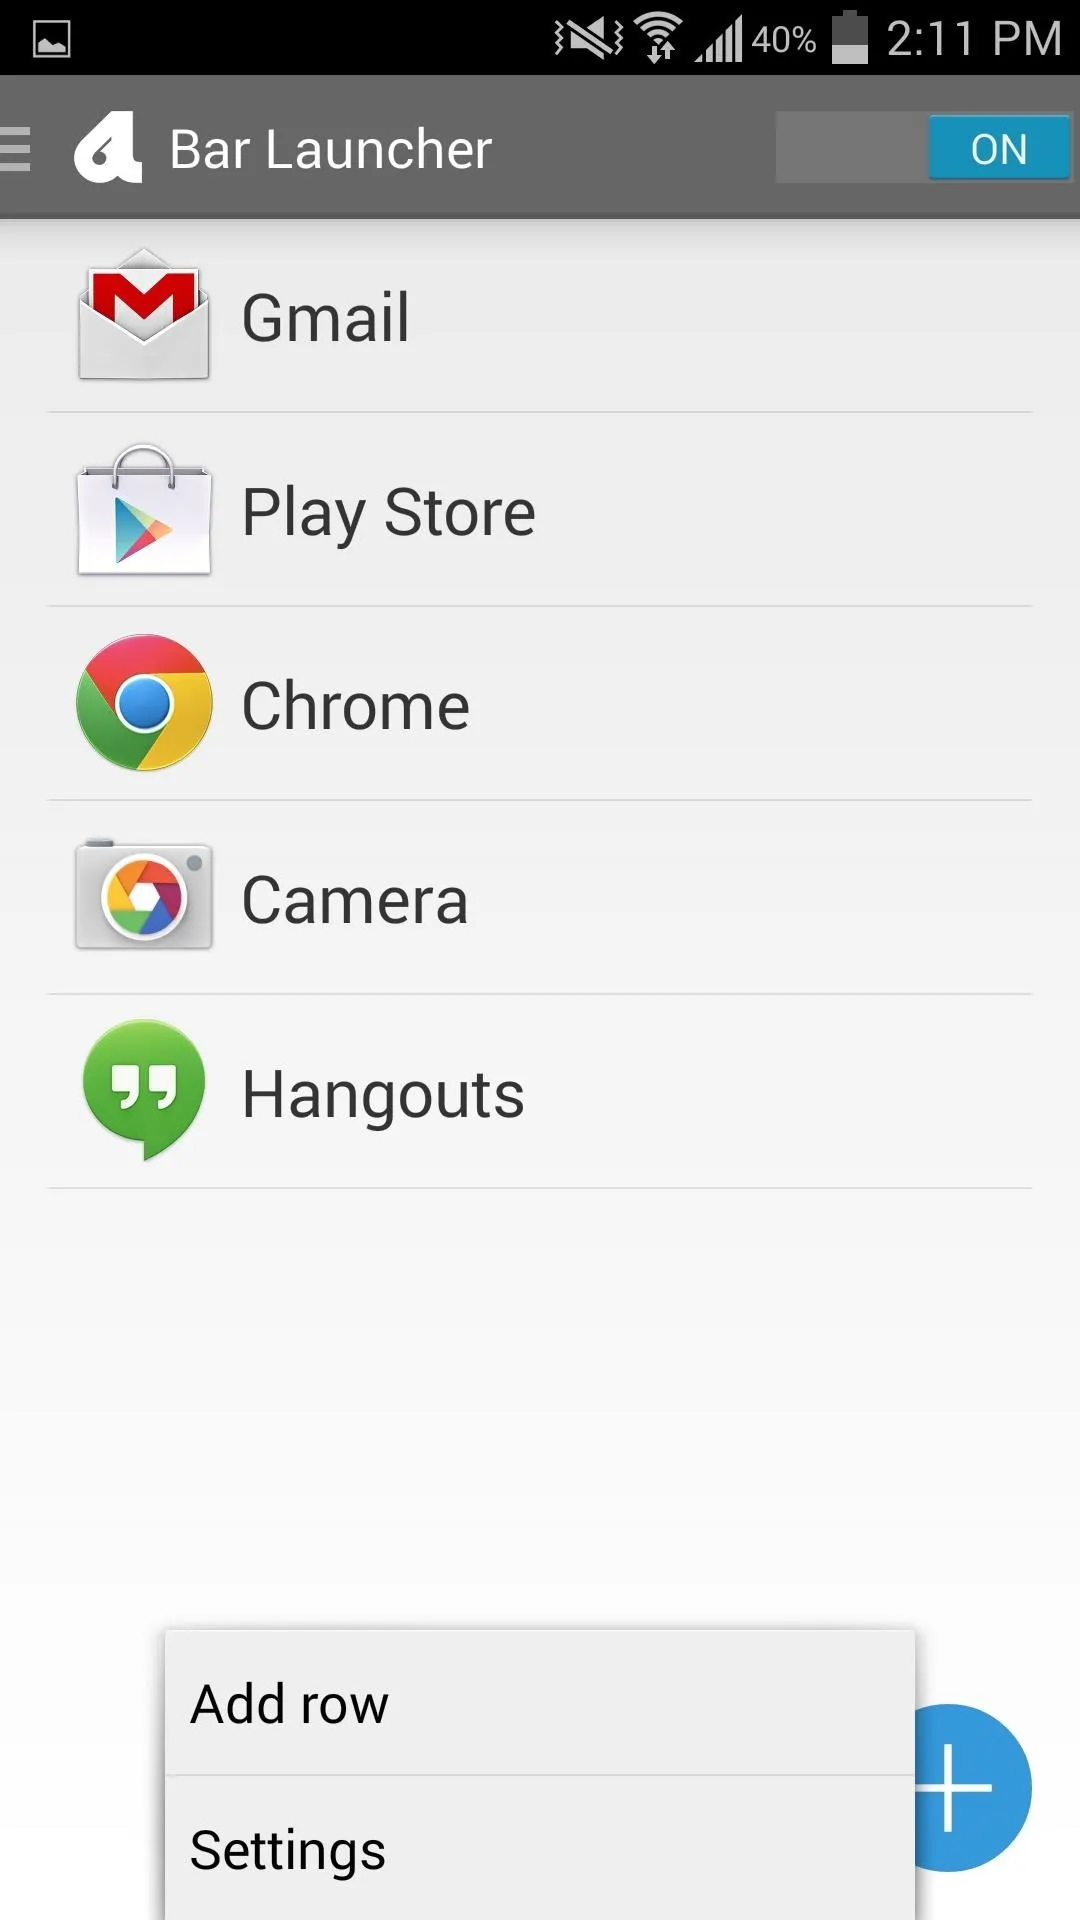
Add Additional Rows
While you can add as many apps as you want to a single row, adding too many can make it look congested. Instead, create an additional row by tapping your Menu key and selecting Add row. Give the new row a label, then add apps like you did before.
Find, Delete, & Rename Rows
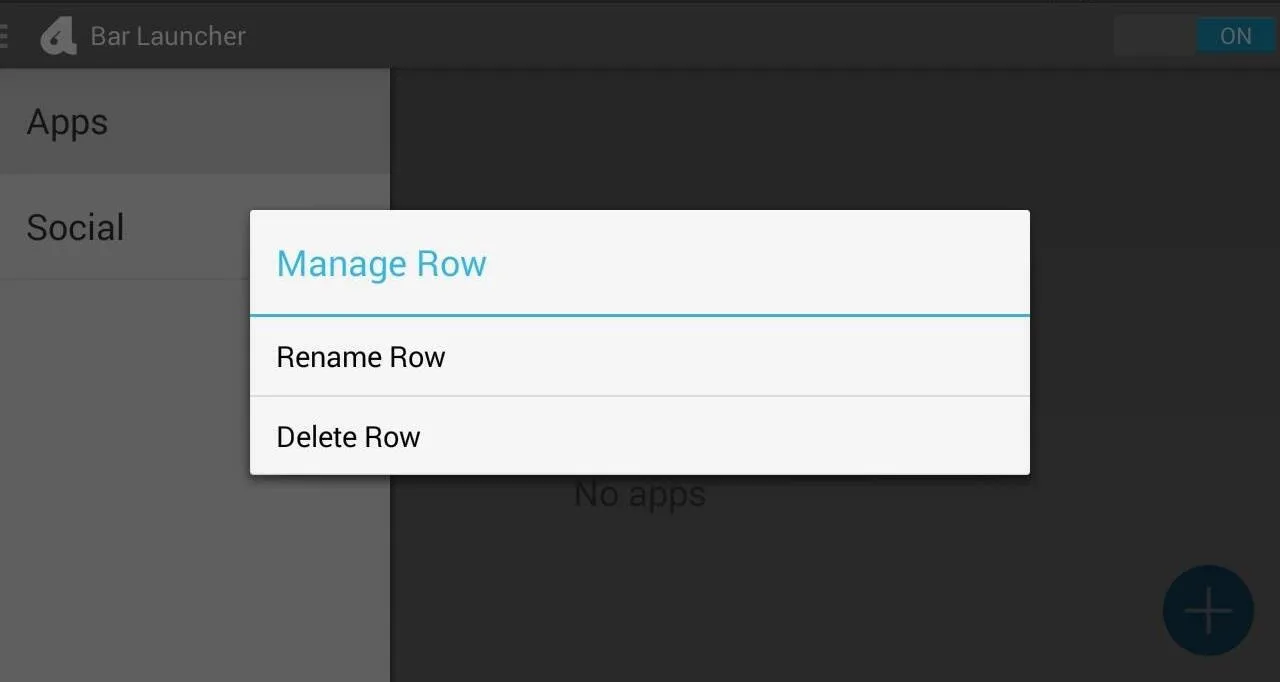
To view your other rows, hit the three-bar button on the top left-hand side. Tap and hold on a row label to delete or rename it.
Enjoy Quick App Access
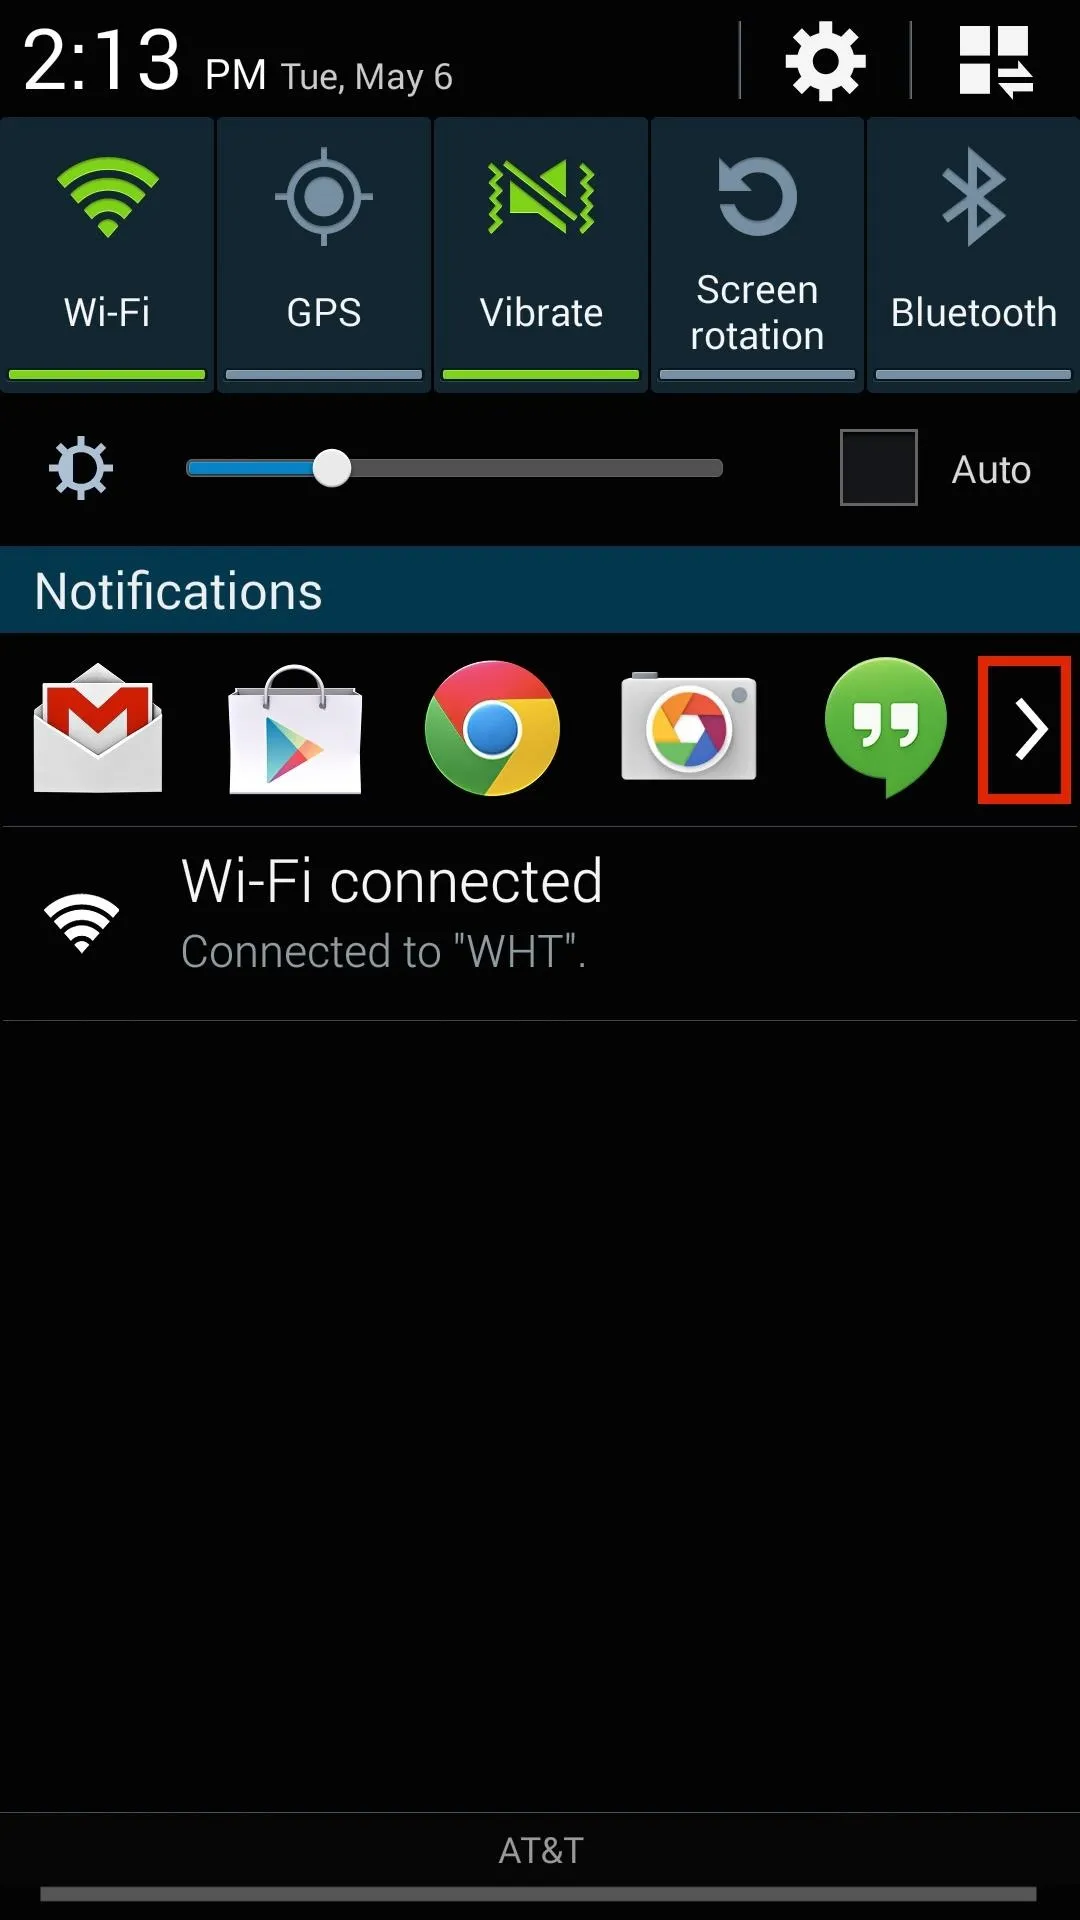
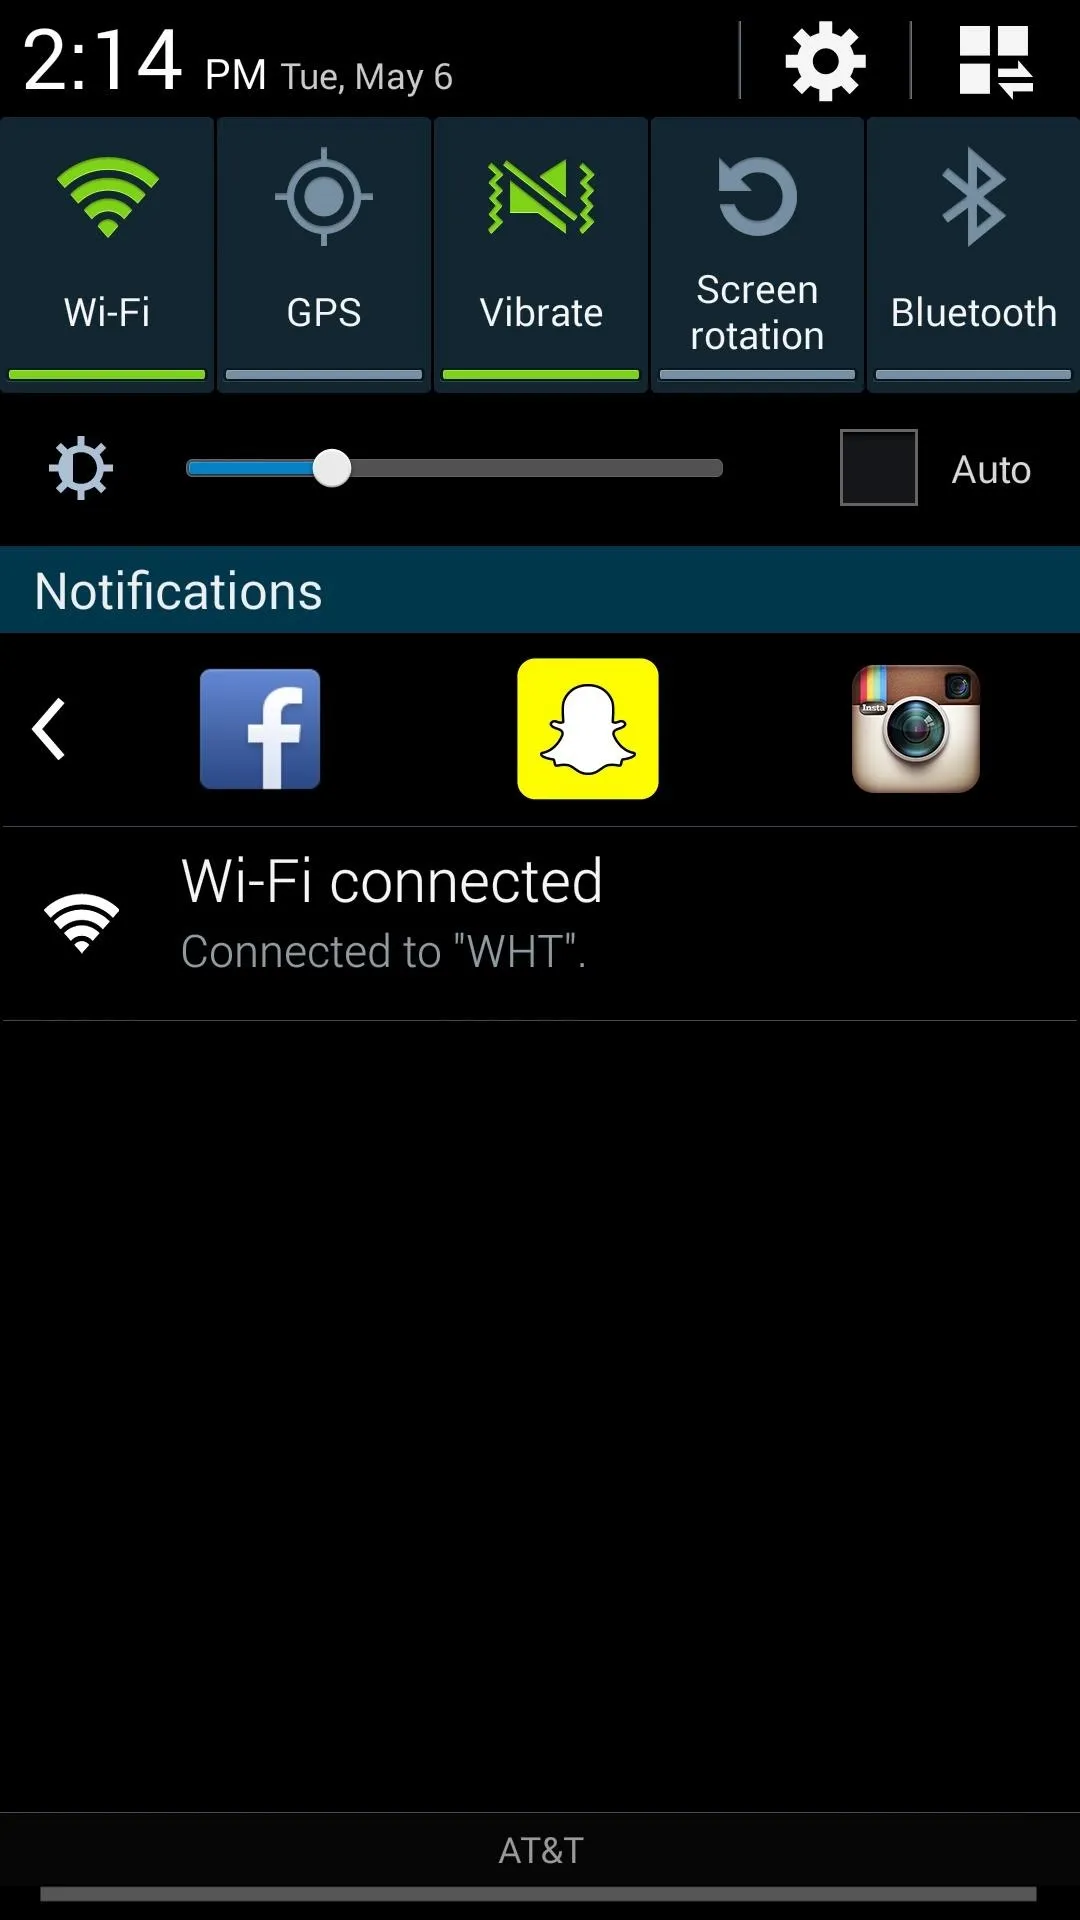
Now, just pull down your notification shade to access your favorite apps. Remember those arrows we set as white? Tap on them to view the other rows you created. And because I gave my bars Maximum priority, they'll sit right near the top of the shade.
Your notification tray is a familiar area that can be accessed from within any application or screen, so from now on, quickly pull down and launch your favorite apps with ease.


Comments
Be the first, drop a comment!