


The way you use your camera just got a bit more interesting. Phogy, a brand new camera app for Android, allows you to capture pictures with a 3D effect that comes alive when shifting your phone from side to side.
From Vivoti, a Singapore-based company, Phogy turns your regular pictures into something much more lifelike and unique (called "phogies"), which you can then share with friends and family. To give you an idea of the effect before diving in to the app, check out the video below.
And if you like being the subject of your pictures more than anything else, Phogy is great for creating moving 3D selfies (it's even called Phogy, 3D Selfie), as shown extensively in their promotional video.
Giving Your Photos the 3D Effect
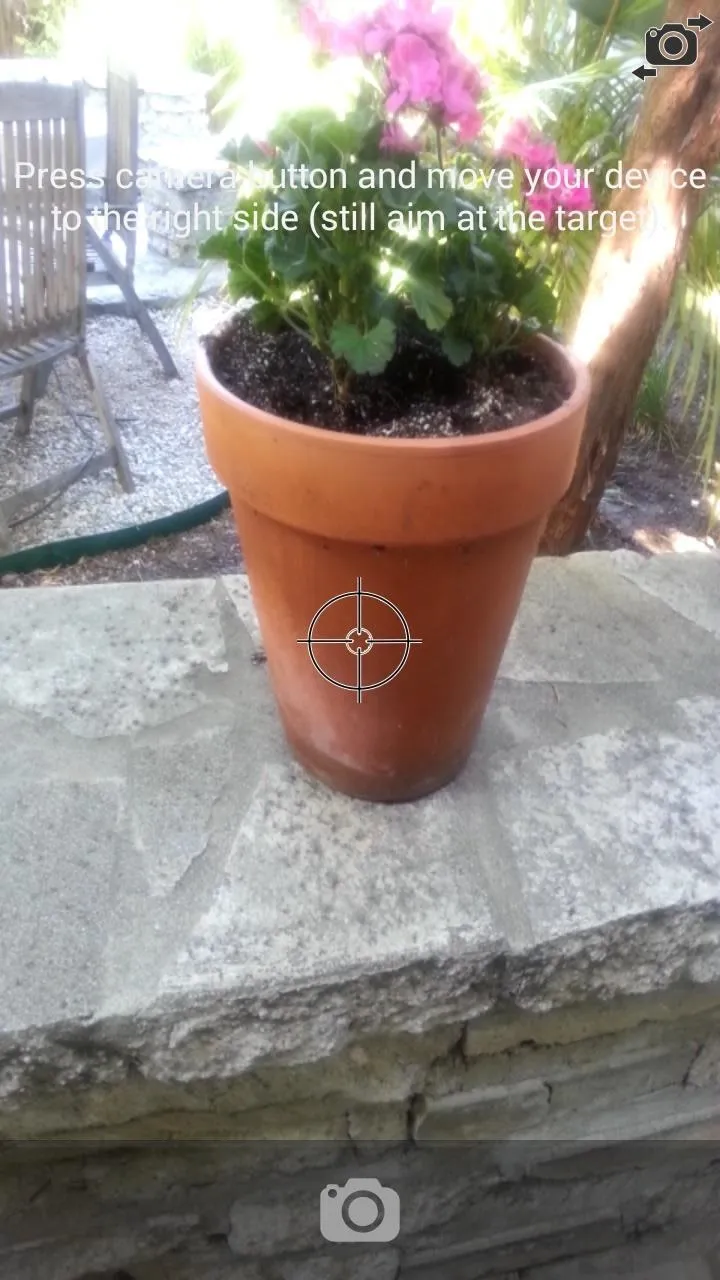
Before using the app to take a picture, make sure you have a target that you're going to aim at; whether it's an actual object or just a point in the background.
Once that point is set, tap on the camera icon and move your device to right, in an ellipse. After a couple of seconds, the picture will finish and start scanning.
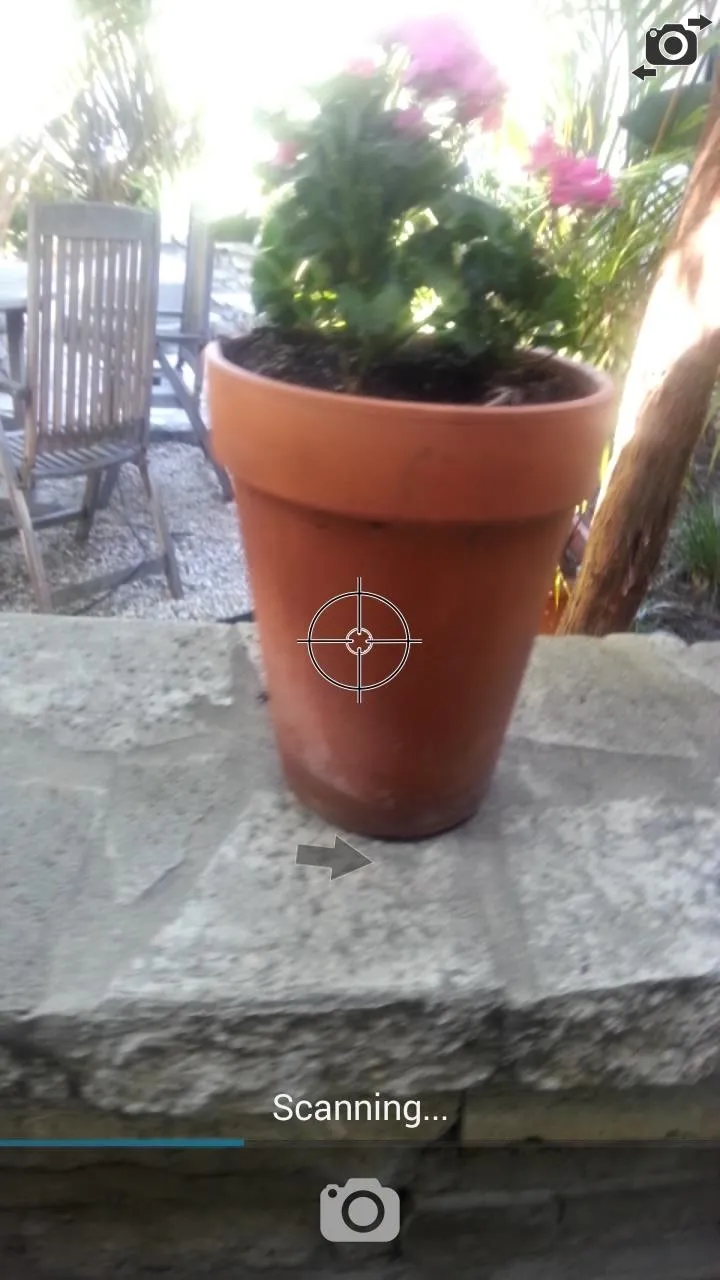
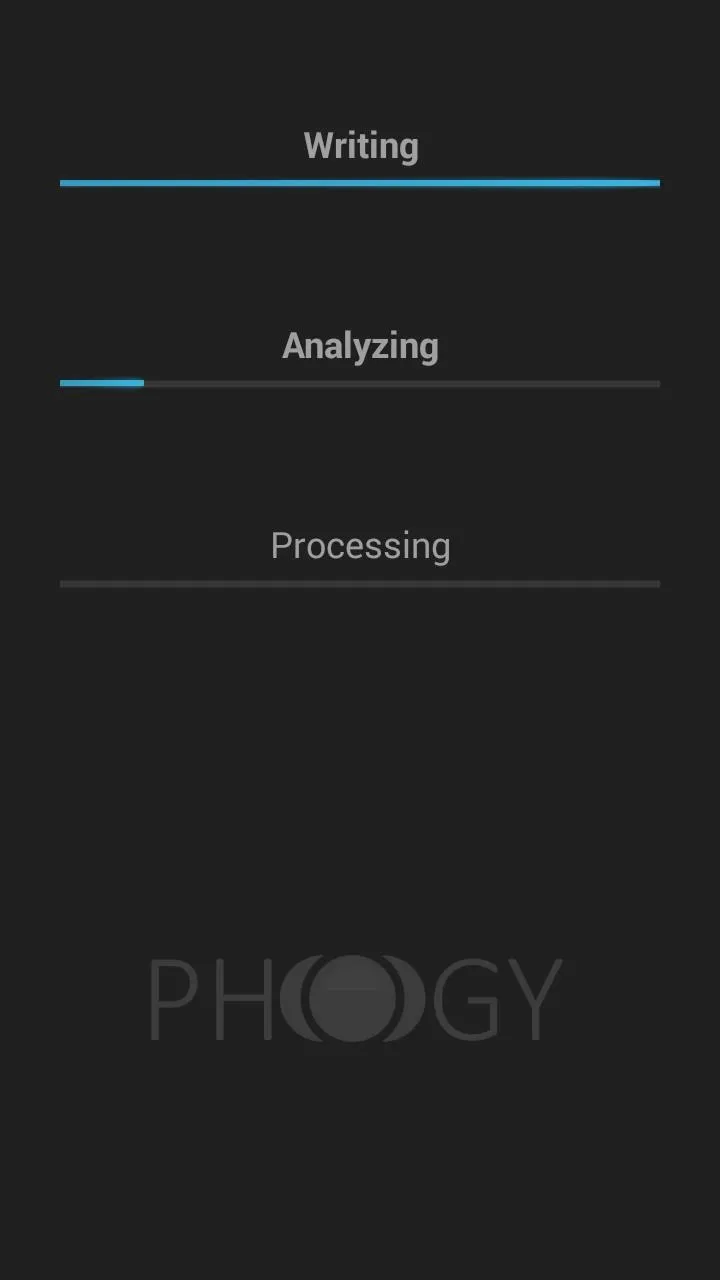
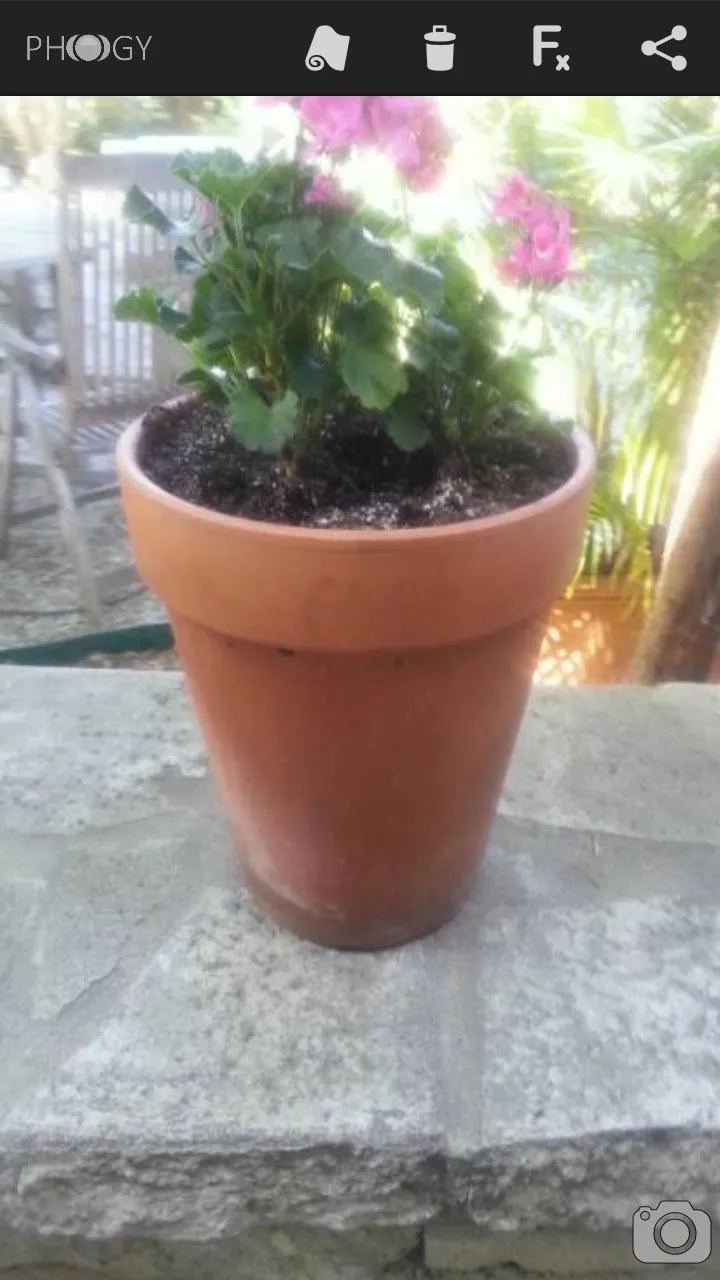
Phogy will then shift to a different page, where it will write, analyze, and process the static image into a picture with the 3D effect. Once the processing is all done, you'll see your newly minted creation. Shift your phone from left to right to move the image around.
Tip: After playing around with taking pictures, try shifting the direction in other ways, like right-to-left or top-to-bottom, to see various other directions. The "move to right" instruction is simply to get you accustomed to the app.
Sharing Your 3D Images
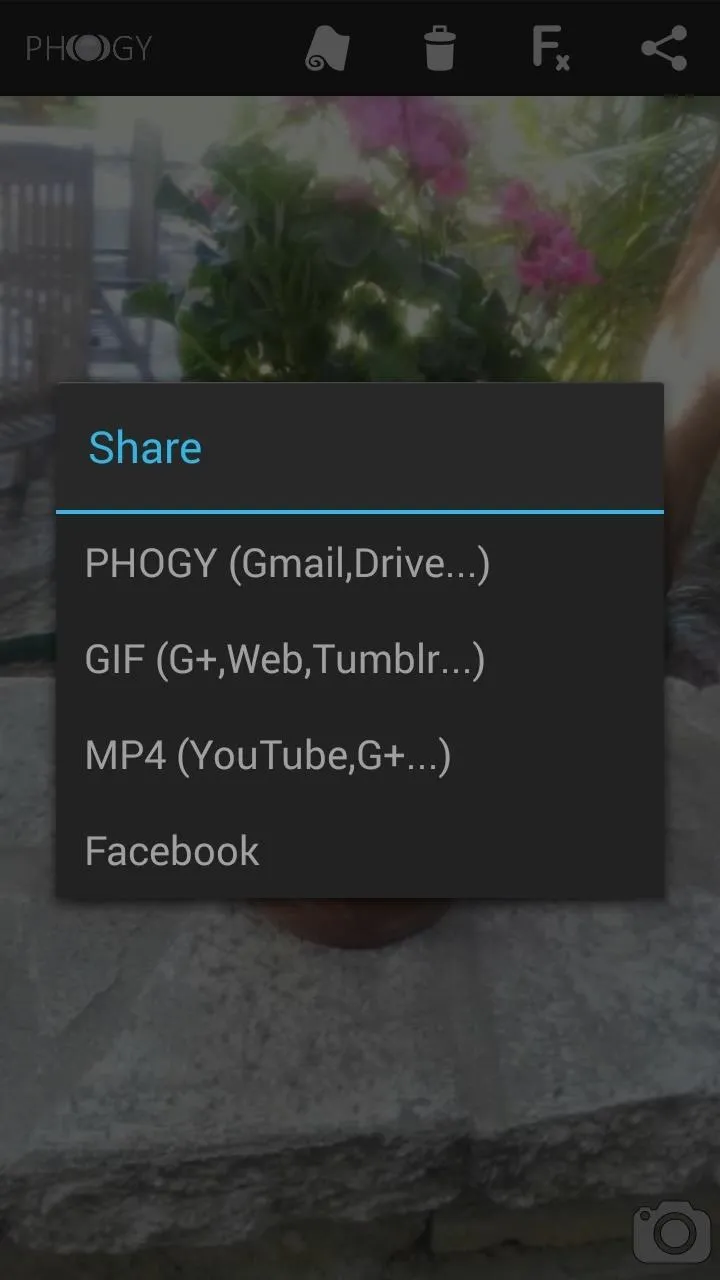
At the top of the screen, you'll see several icons (some of which require in-app purchases): set as wallpaper, delete, picture effects, and share.
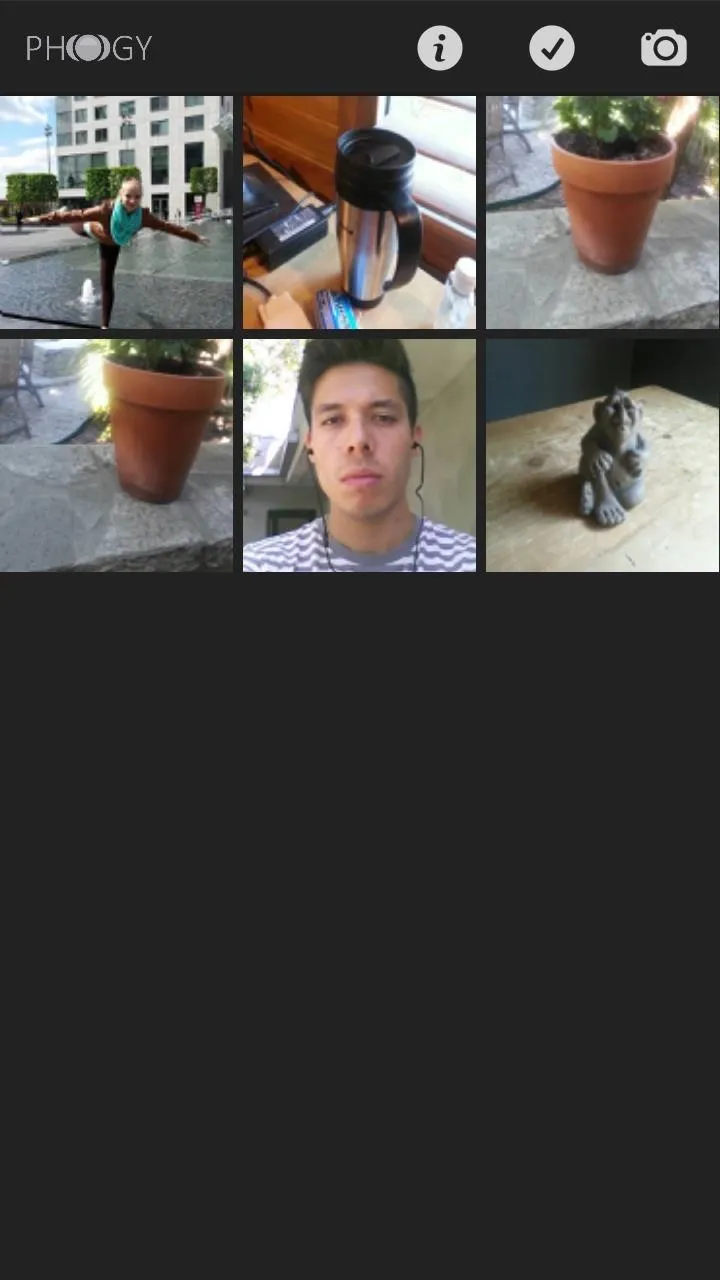
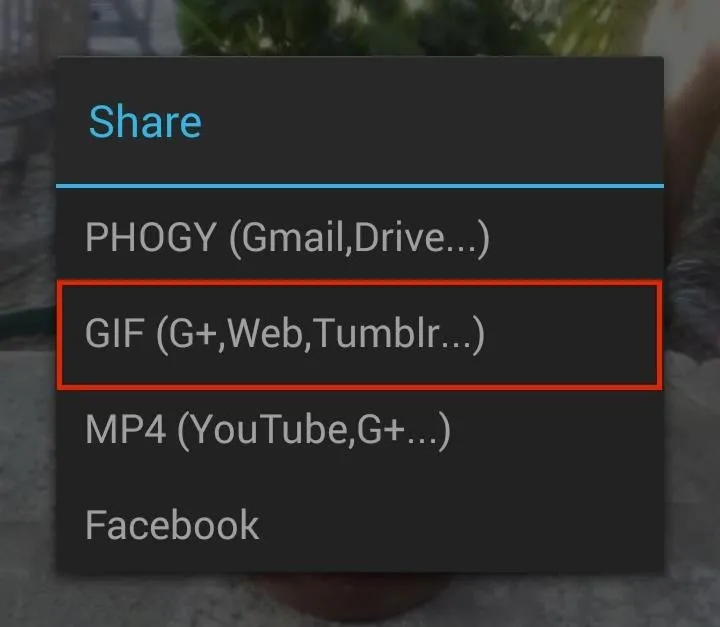
If you tap on the share icon, you'll have a few formats to choose from: PHOGY (native app format), GIF, and MP4 (video). To view all of the pictures you've shot, you can check them out in the in-app gallery.
Adjusting Your Phogy Settings
In the settings, you can move such features as move sensitivity, exposure time, resolution, size, quality, and video frame/cycles/speed.
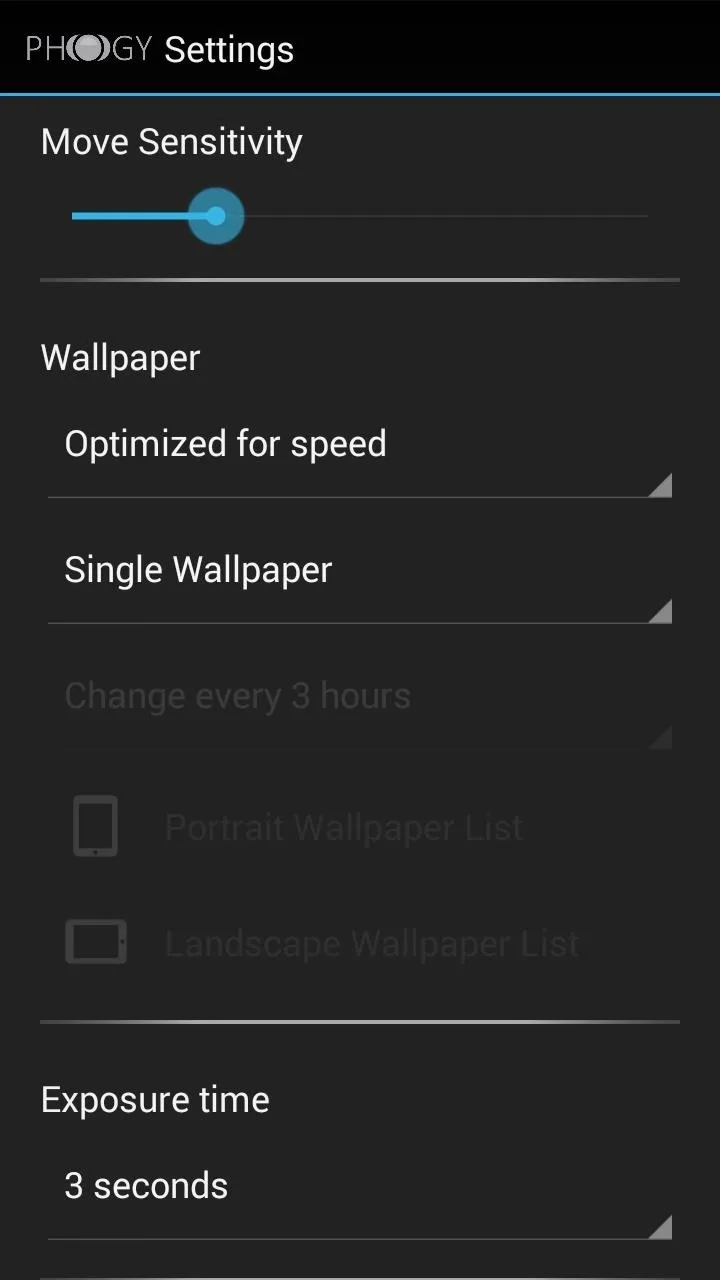
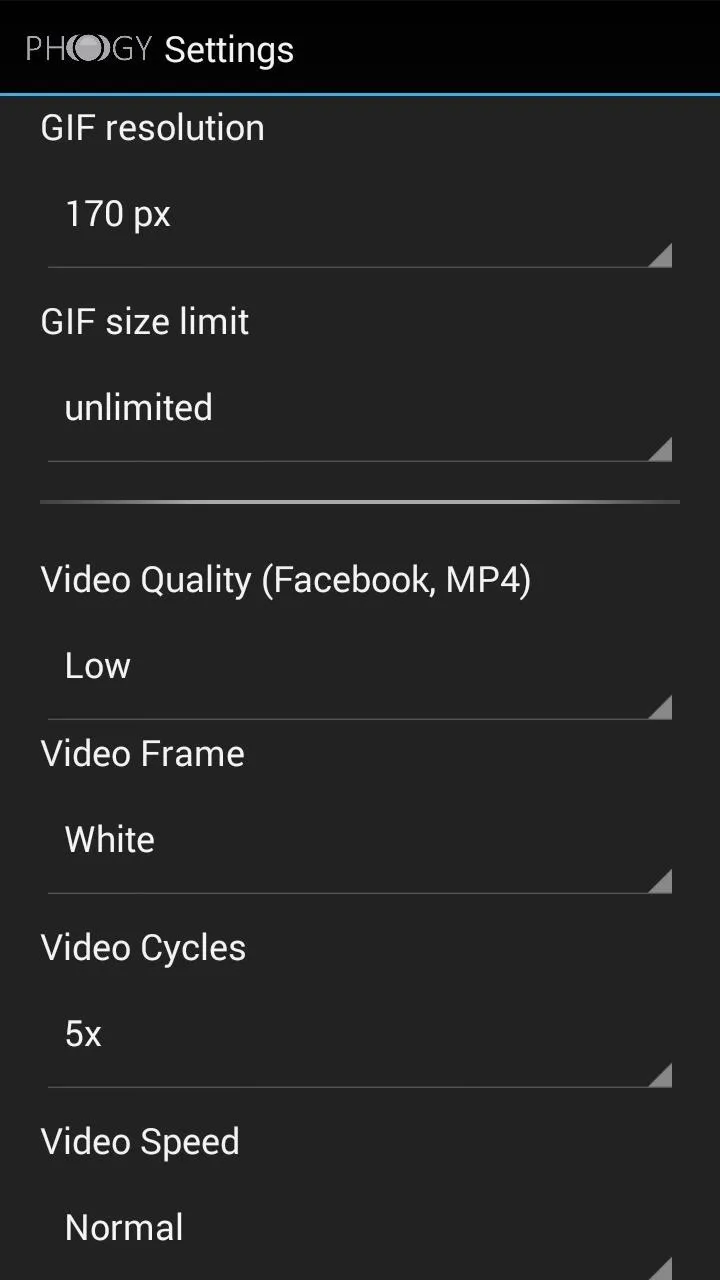
In the free version, only low qualities of these settings will be available—to get all of the features, you'll have to make an in-app purchase.
Exporting Images & Setting as a Wallpaper
While in-app purchase requirements restrict the ability to set your images from Phogy into a live wallpaper, you could always use another application. AnimGIF can turn all of your GIFs into live wallpapers for your device—for free. To do this, you'll need to share and export the picture you took as a GIF directly from Phogy.
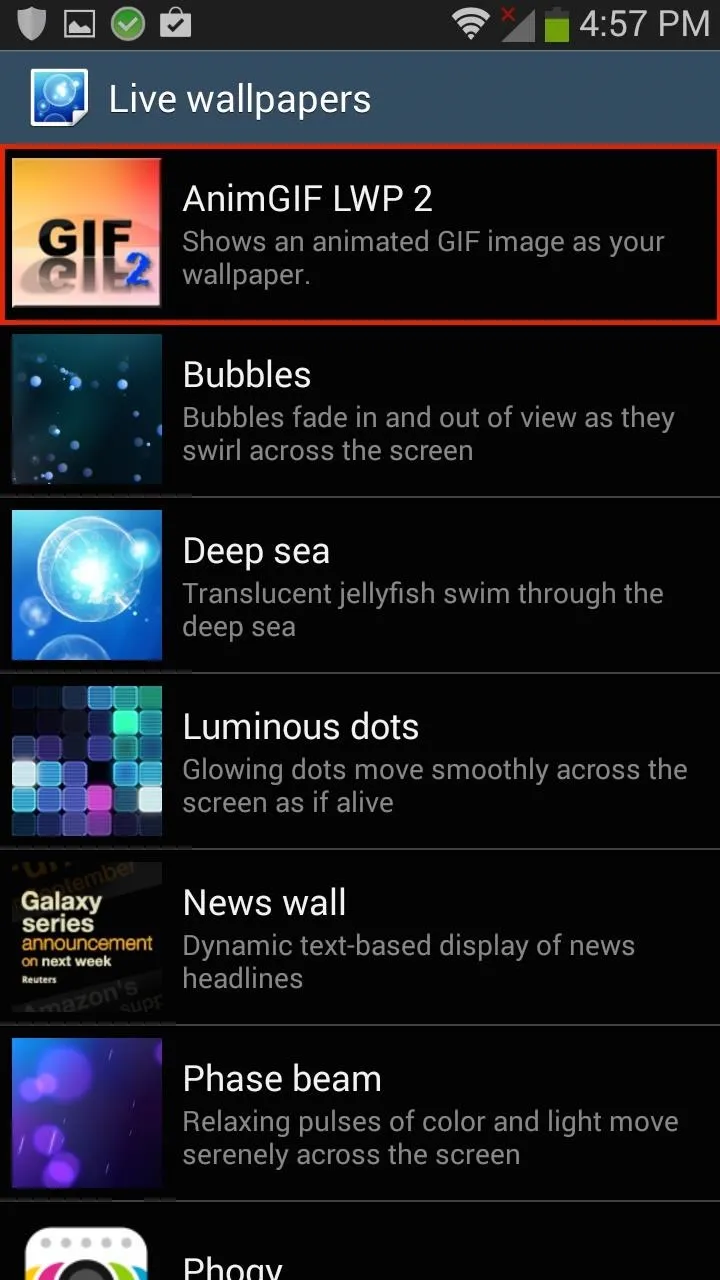
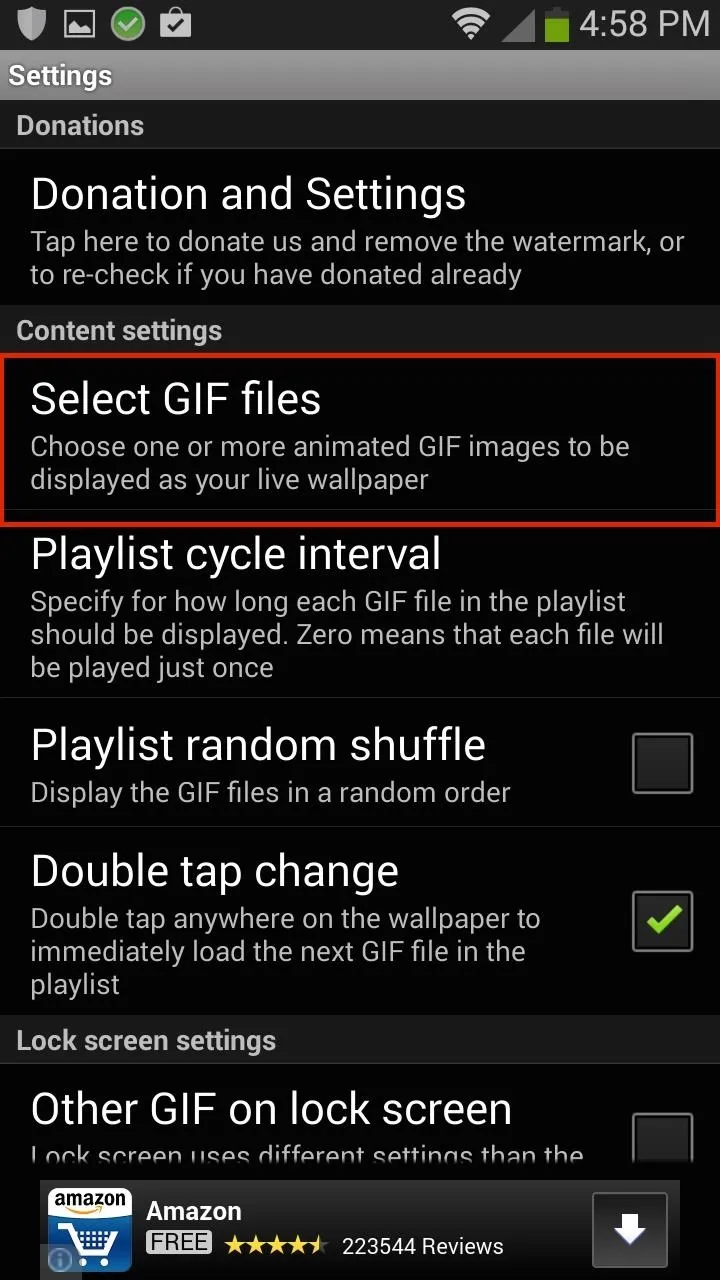
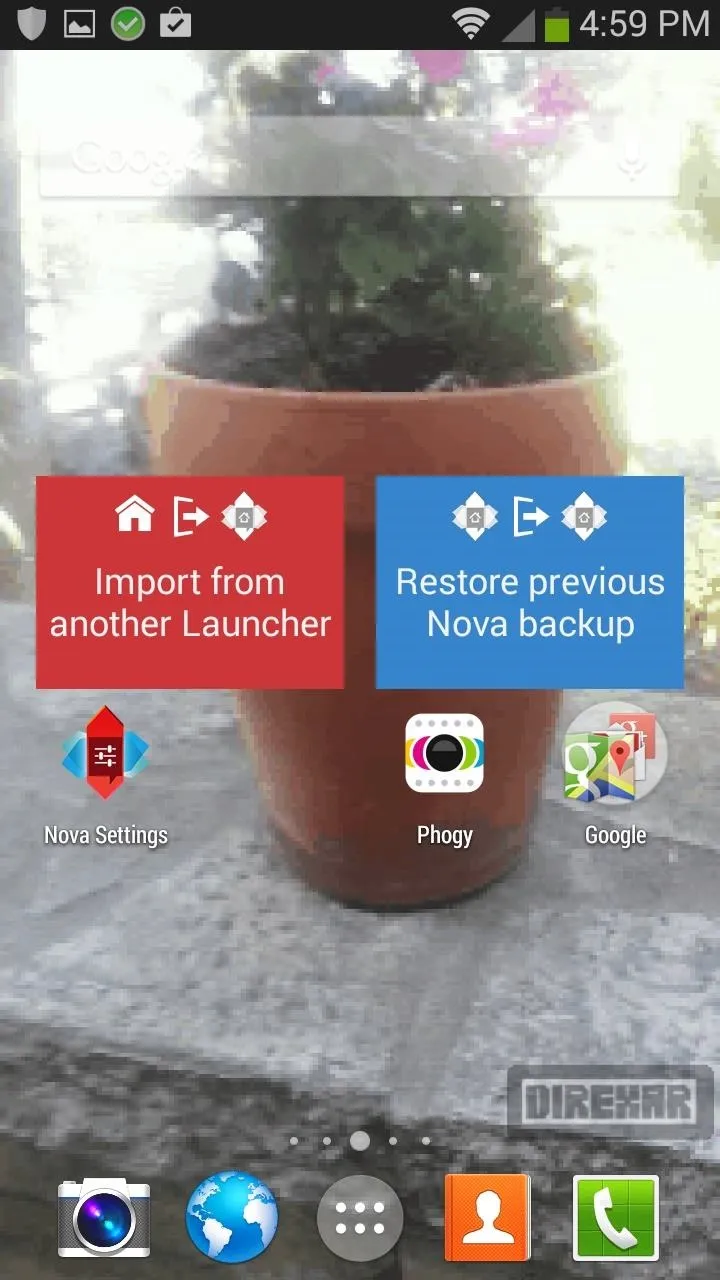
Now open up AnimGIF, tap on the AnimGIF LWP 2 option, and go into the Settings.
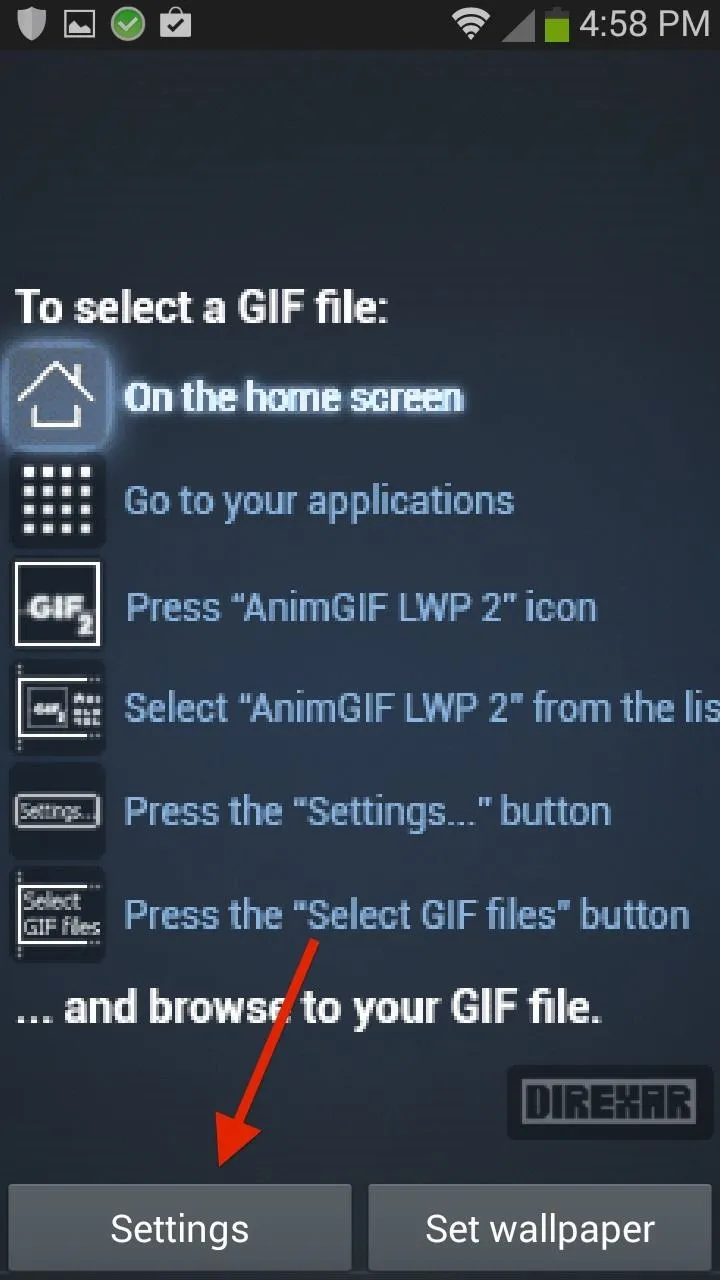
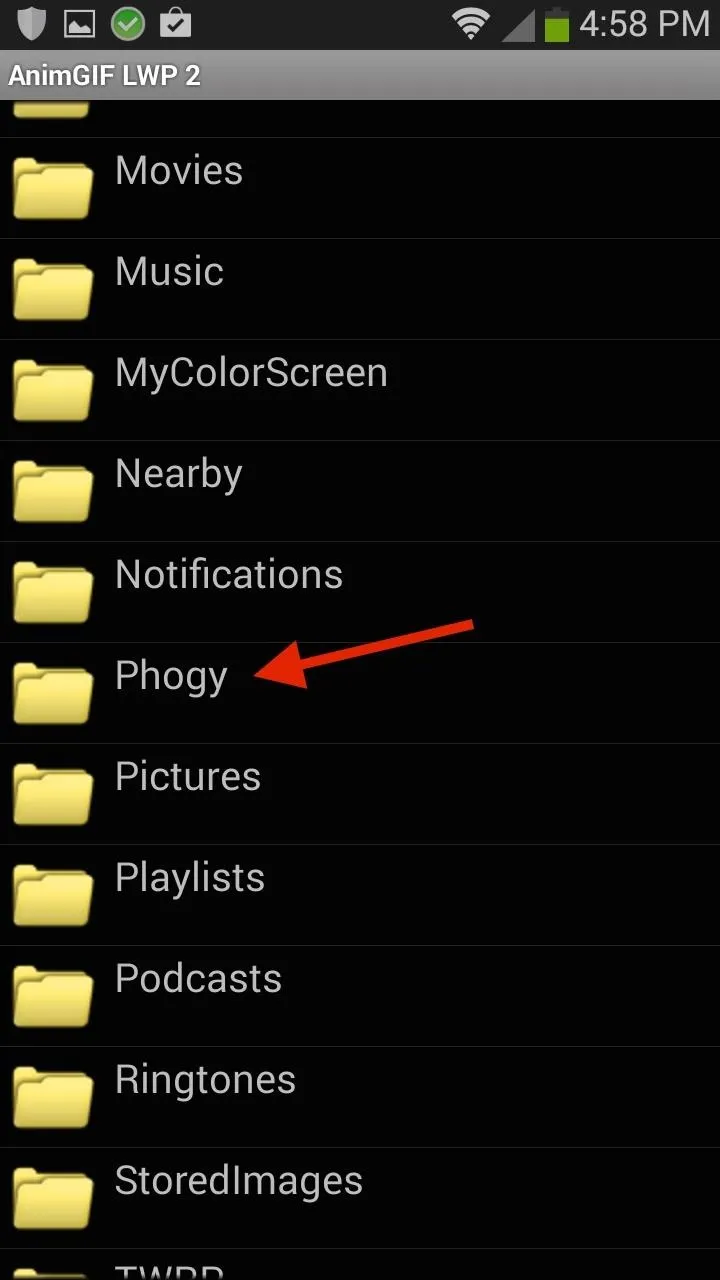
In the settings, tap on Select GIF files and find the Phogy folder.
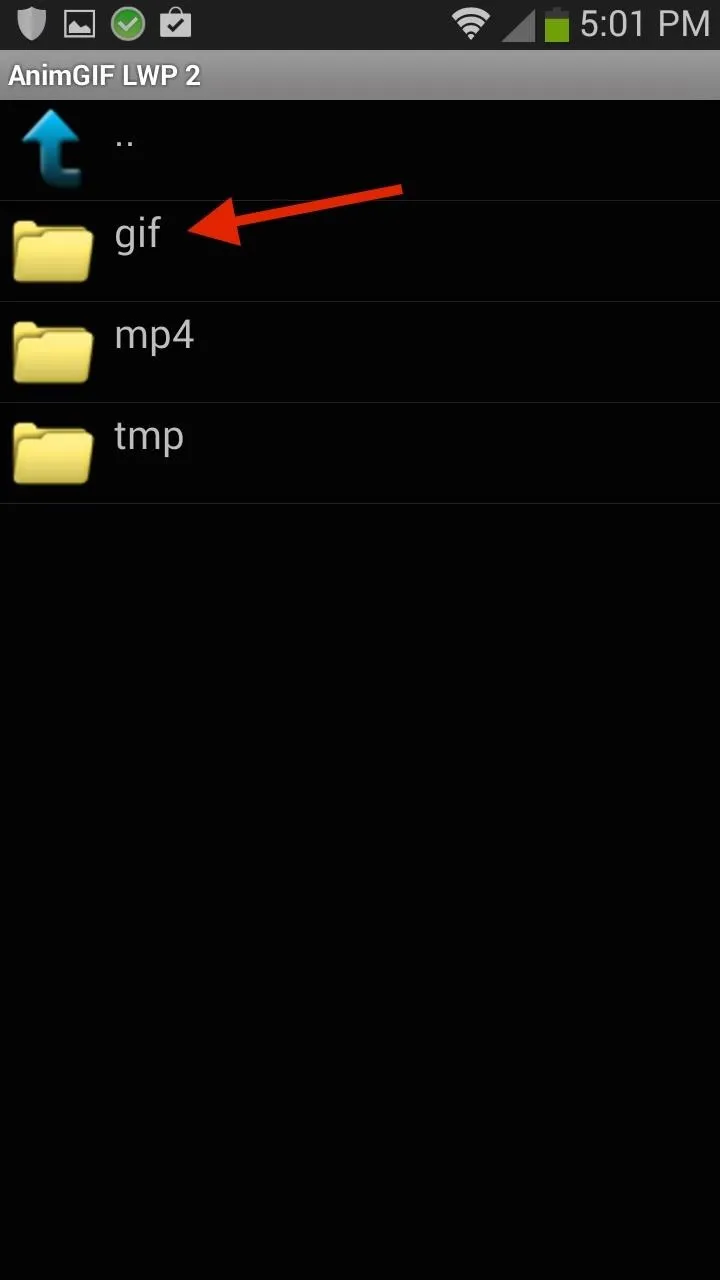
In the Phogy folder, select the GIF folder, which will contain all of the GIFs you've created and exported.
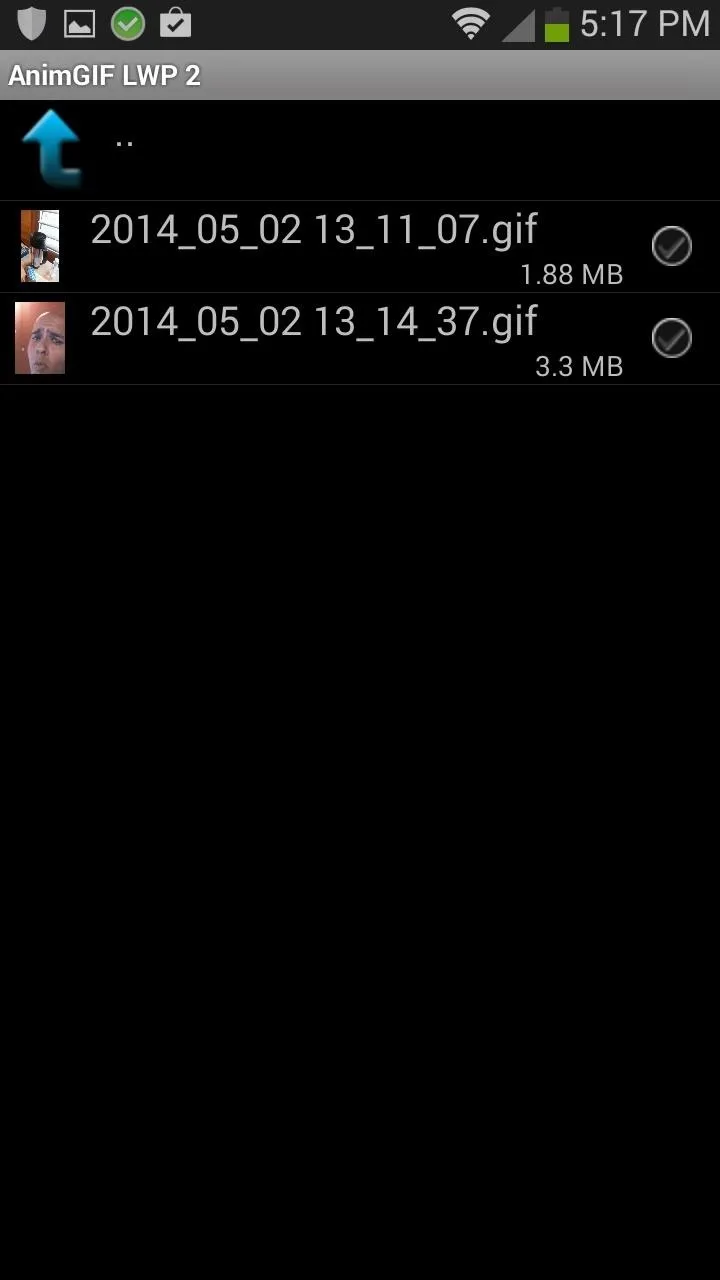
Once you've selected the GIF you want as a live wallpaper, set it as your background. In the background, you'll see it rotate from left to right and back.
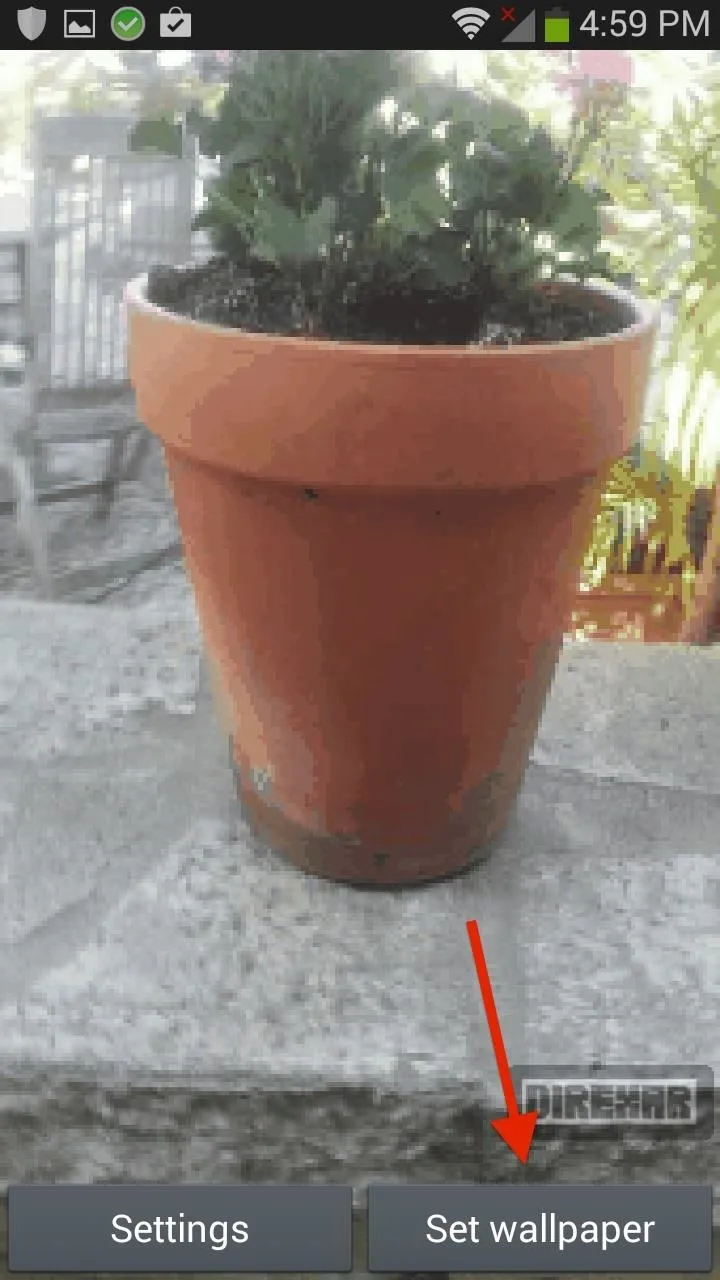
At the bottom, there will be a small watermark, but you can get rid of it by purchasing the Pro version of the AnimGIF.

Comments
Be the first, drop a comment!