


The stock AccuWeather widget on the Samsung Galaxy Note 3 is great if you want a super quick way to see the current time, date, and weather forecast for your area, but personally, its design just doesn't do it for me. It's big and bulky and I find that the background weather imagery is distracting.
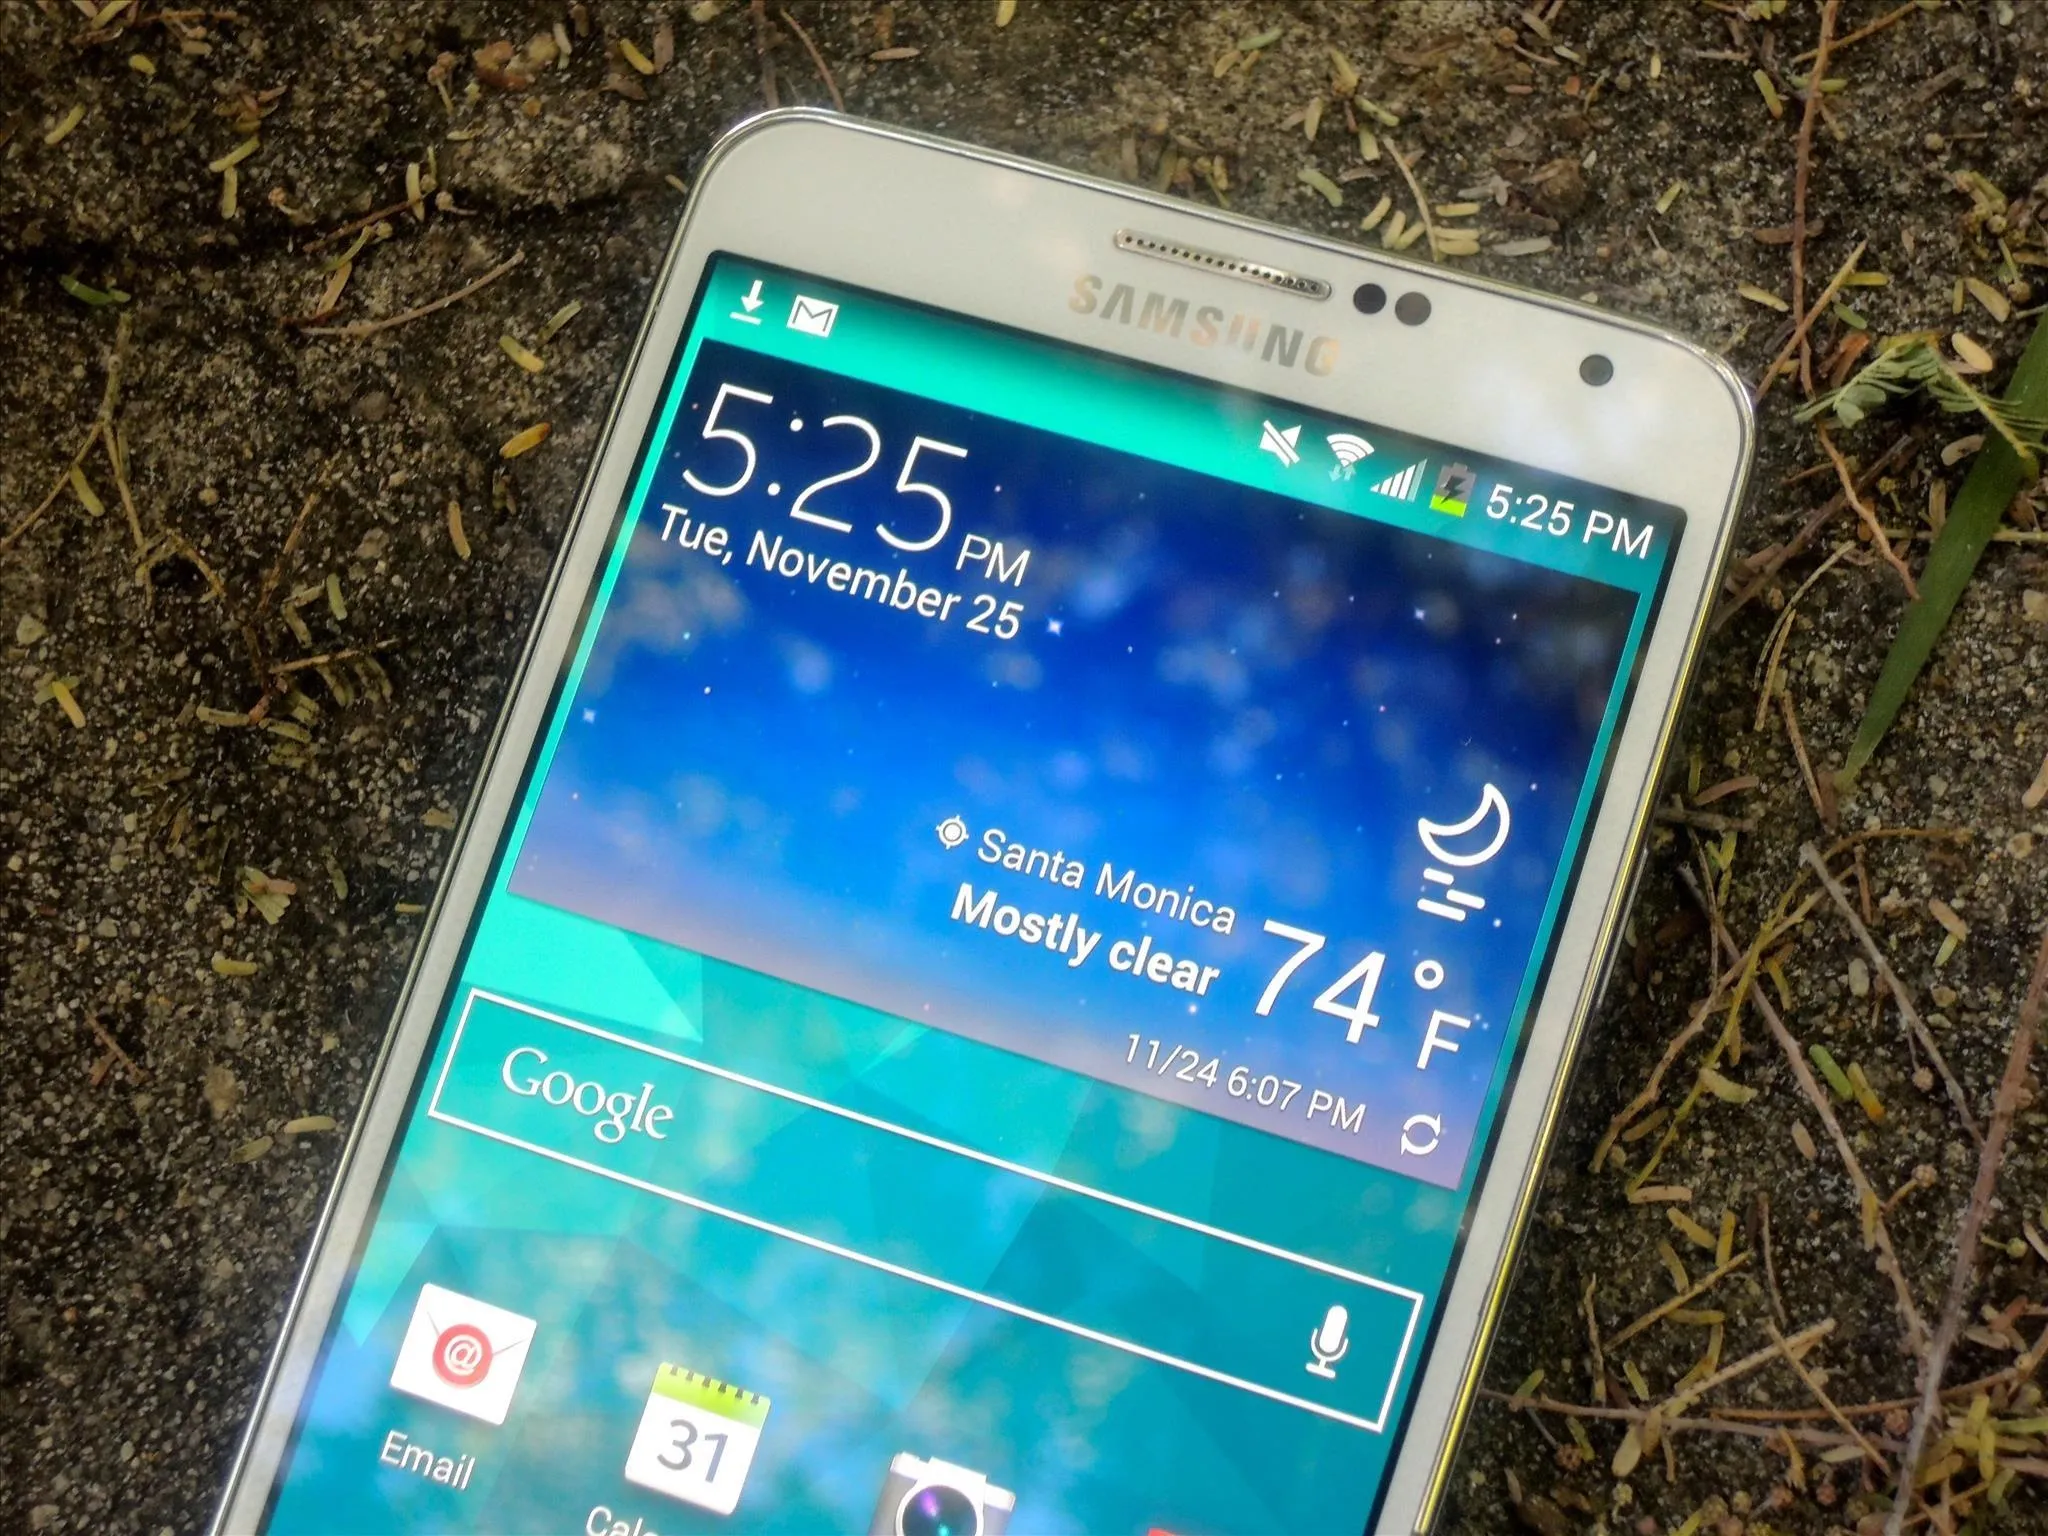
Developer ElMartinoAT feels pretty much the same, and brings us ninealternatives to choose from when it comes to the stock AccuWeather widget on Galaxy Note 3 devices running Android KitKat.
To install these alternatives, you'll need to be rooted and have a custom recovery installed: either Safestrap for bootloader-locked devices (AT&T and Verizon Wireless) or TWRP for all other variants of the Galaxy Note 3.
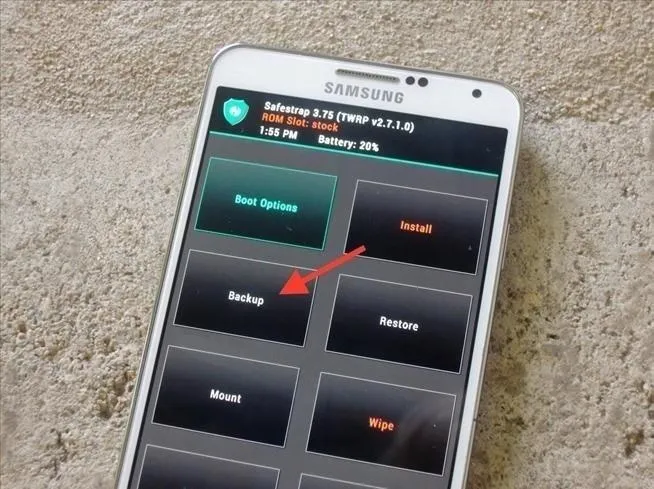
Create a Backup of Your Device
Through your recovery, back up your ROM just in case anything goes wrong. This way you can always go back and restore your Note just as it was.
Download Your Choice of Widget
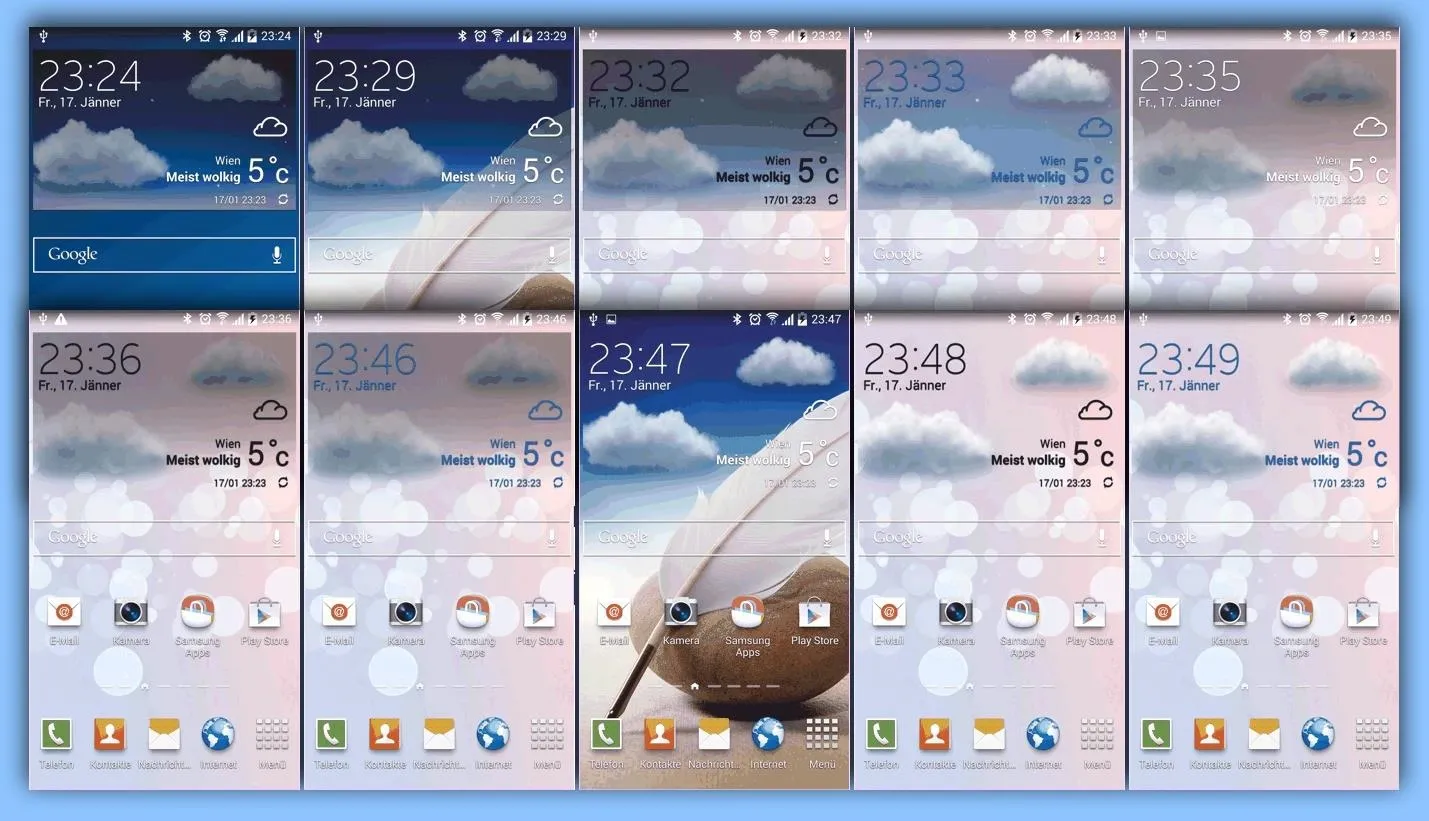
As for which weather widget you want on your home screen, you can choose from nine different ones, as I mentioned before. Below, I've linked out to three of them which show off the different transparencies, fonts, and effects.
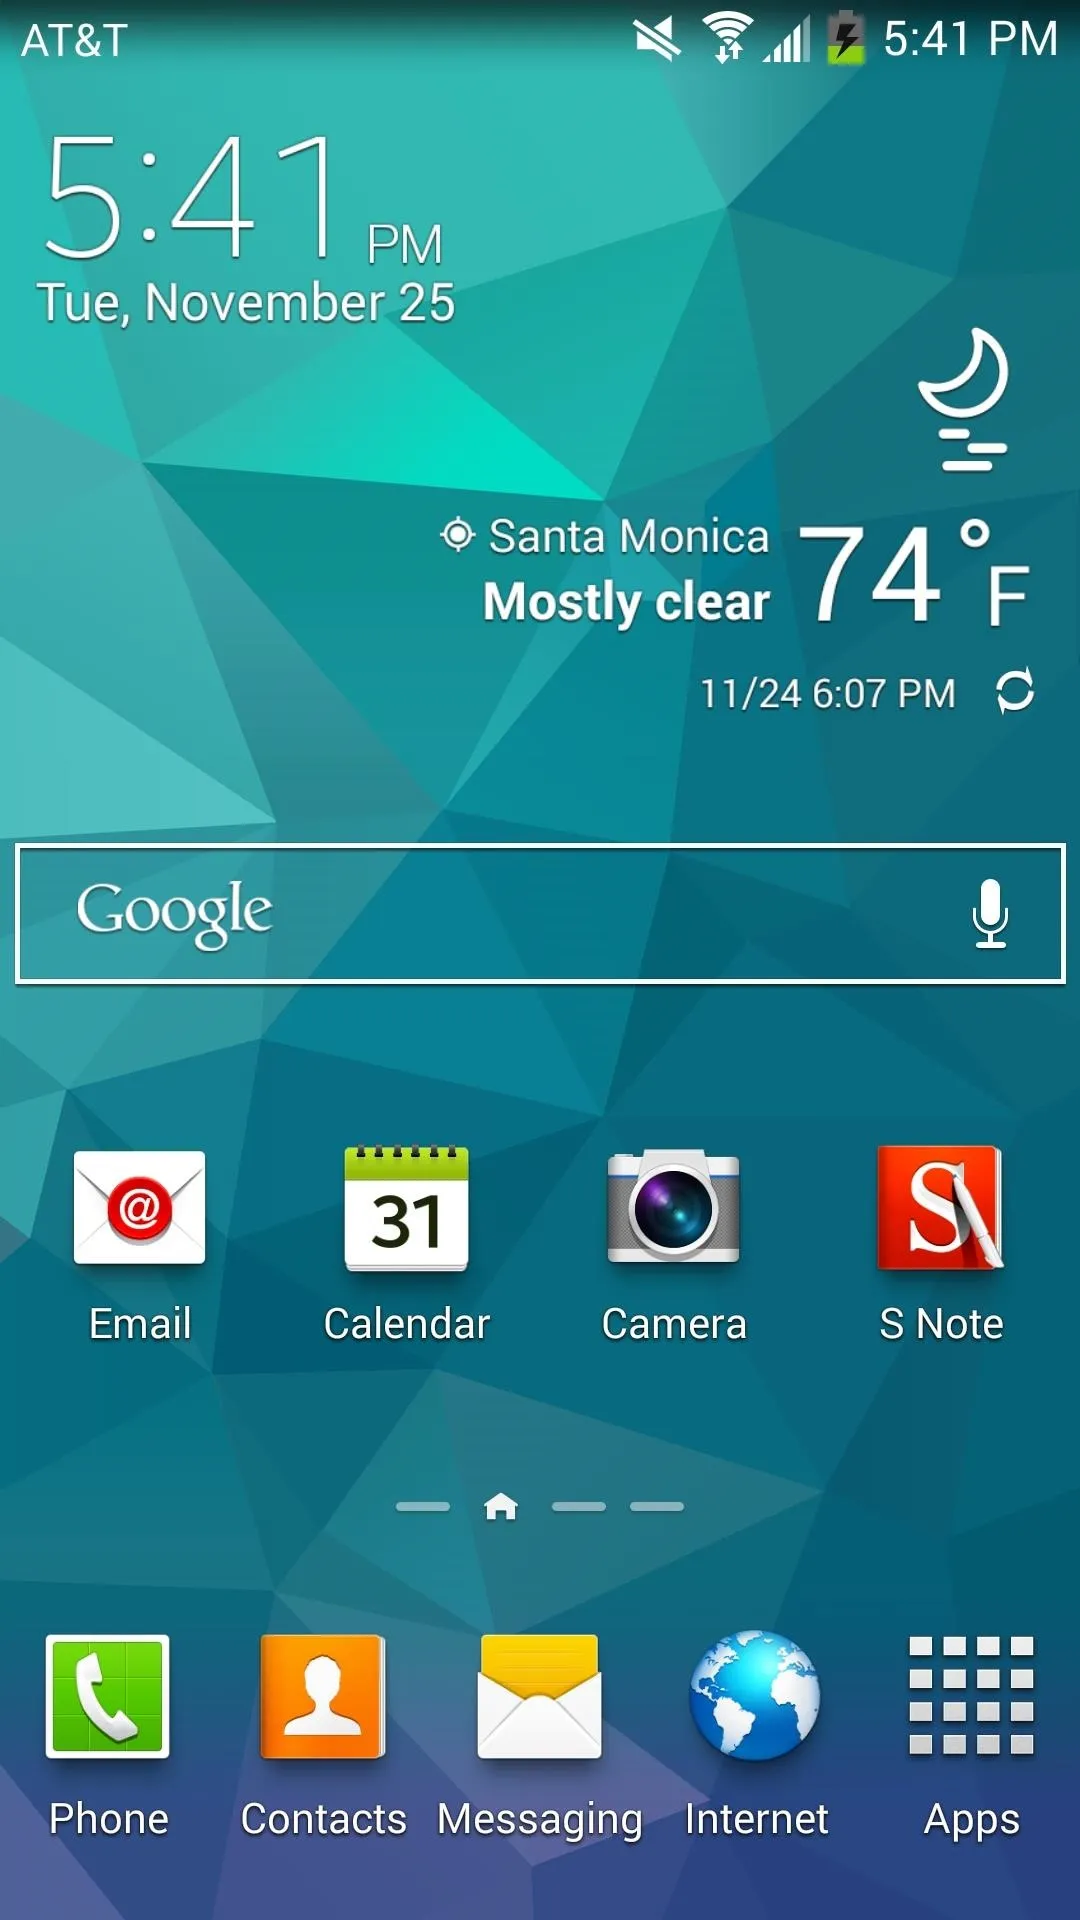
- 100% transparent (without night effects)
- 100% transparent (with night effects and blue font)
- 50% transparent (with night effects and black font)
Check out the rest of them over at the ElMartinoAT's thread.
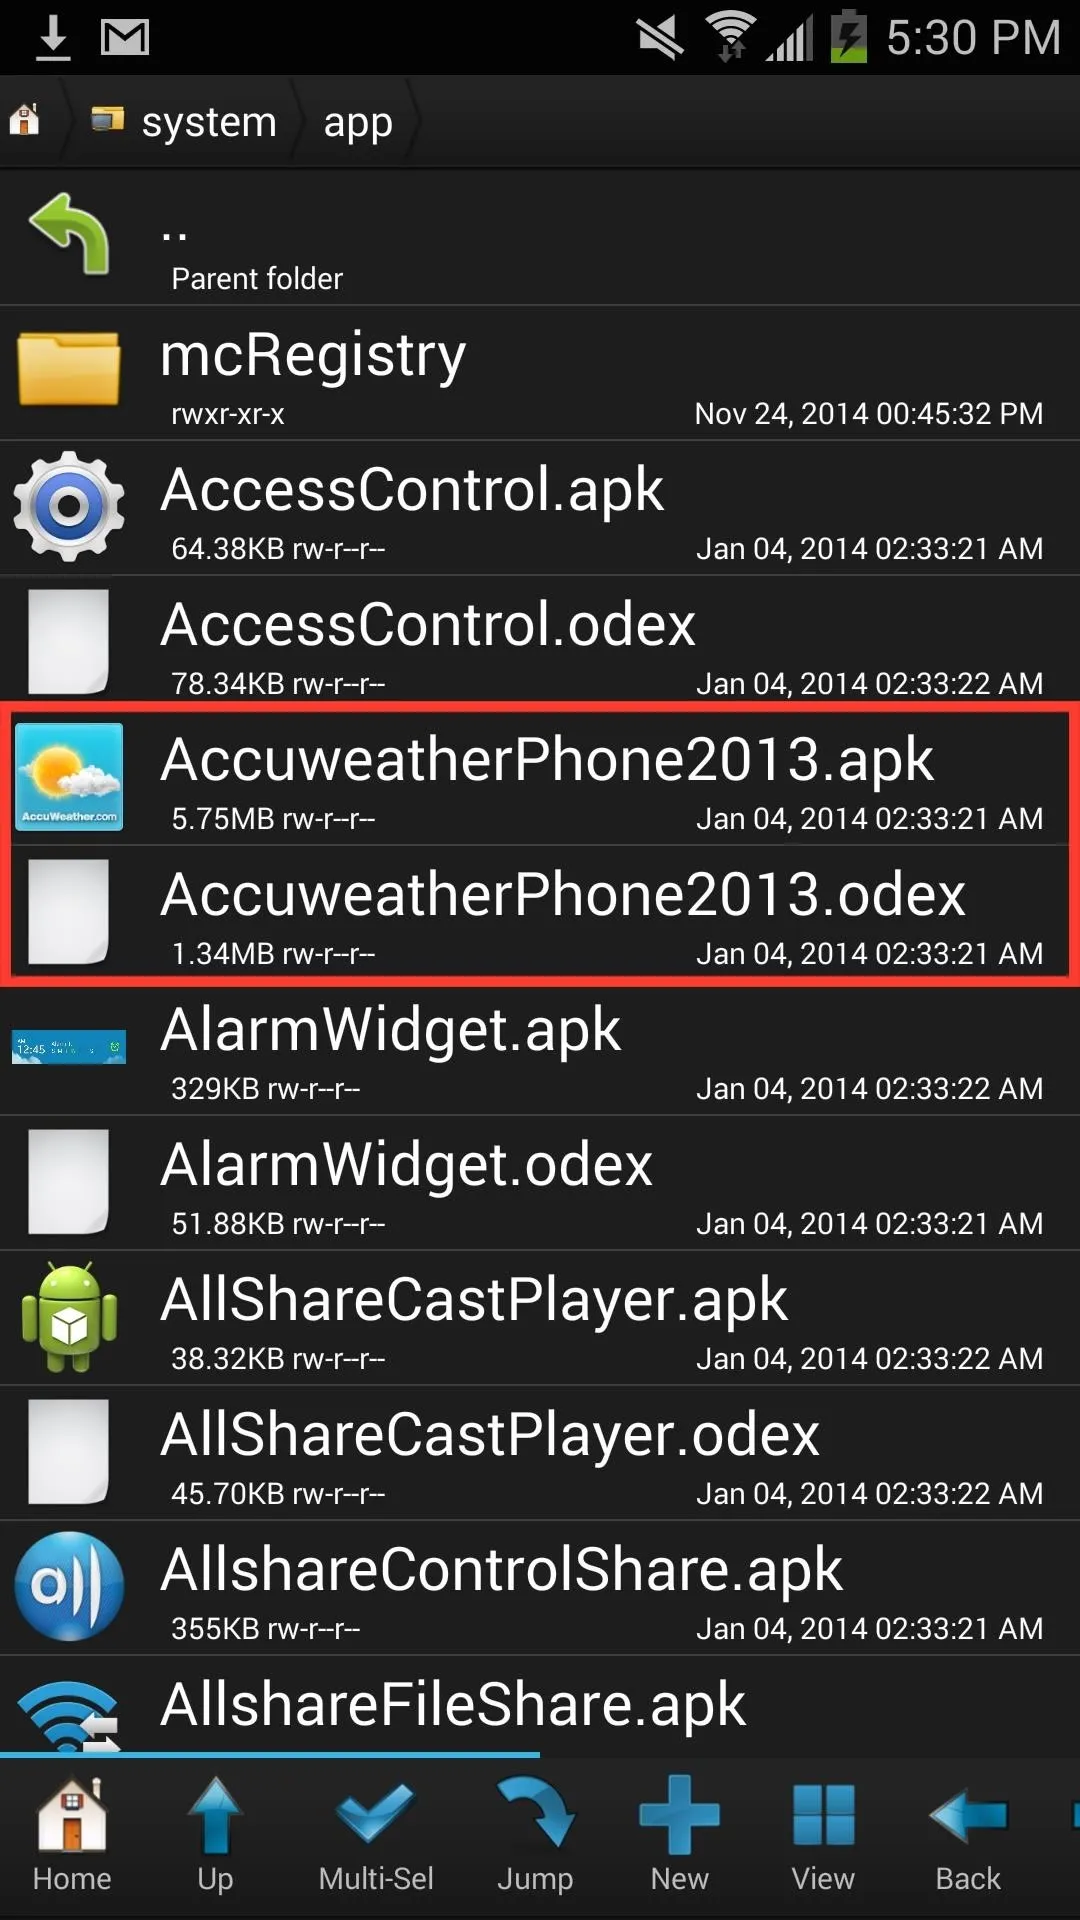
Copy the Widget to System & Rename Stock Files
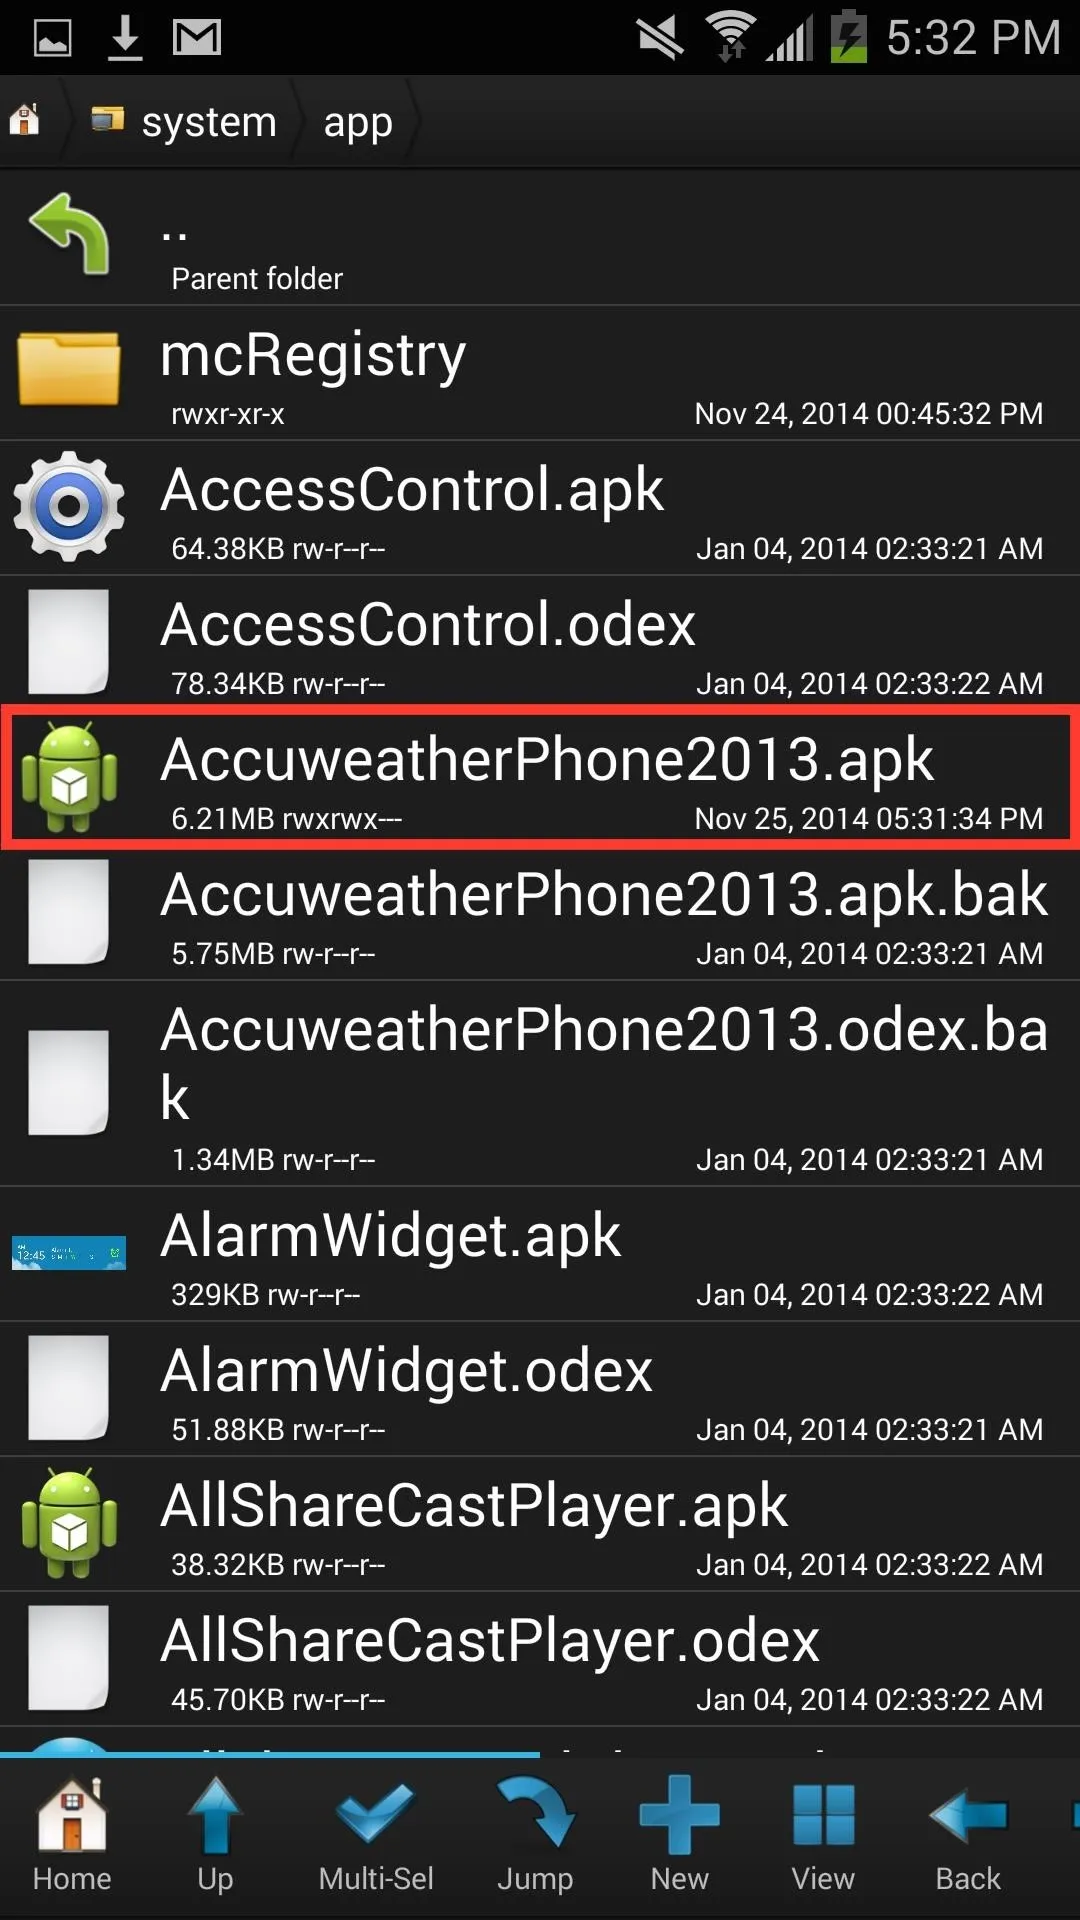
Using Root Browser (or any other root-level file explorer), copy and paste whichever file you downloaded from Step #2 above over to the /system/app folder. Now scroll up and find the files for "AccuweatherPhone2013.apk" and "AccuweatherPhone2013.odex," which are for the stock weather widget.
While you could just delete the files, it's better to keep a copy of them on your device for safe keeping, in case you ever want to revert back. Press down on each file, select "Rename," and add ".bak" to the end of both of them to disable the widget and keep the files safely in your storage.

In case you ever want to revert back to the stock widget, all you'll need to do is delete the custom widget and remove the ".bak" from the original files.
Rename New Weather Widget File
When you're done renaming the old weather widget files, scroll back down to find the new weather widget file. The one I downloaded is called "Mod442_100transpNight_AccuweatherPhone2013.apk".
Your file might be named something slightly different, but in any case, rename the file to "AccuweatherPhone2013.apk"—the same name that the original widget file was called.

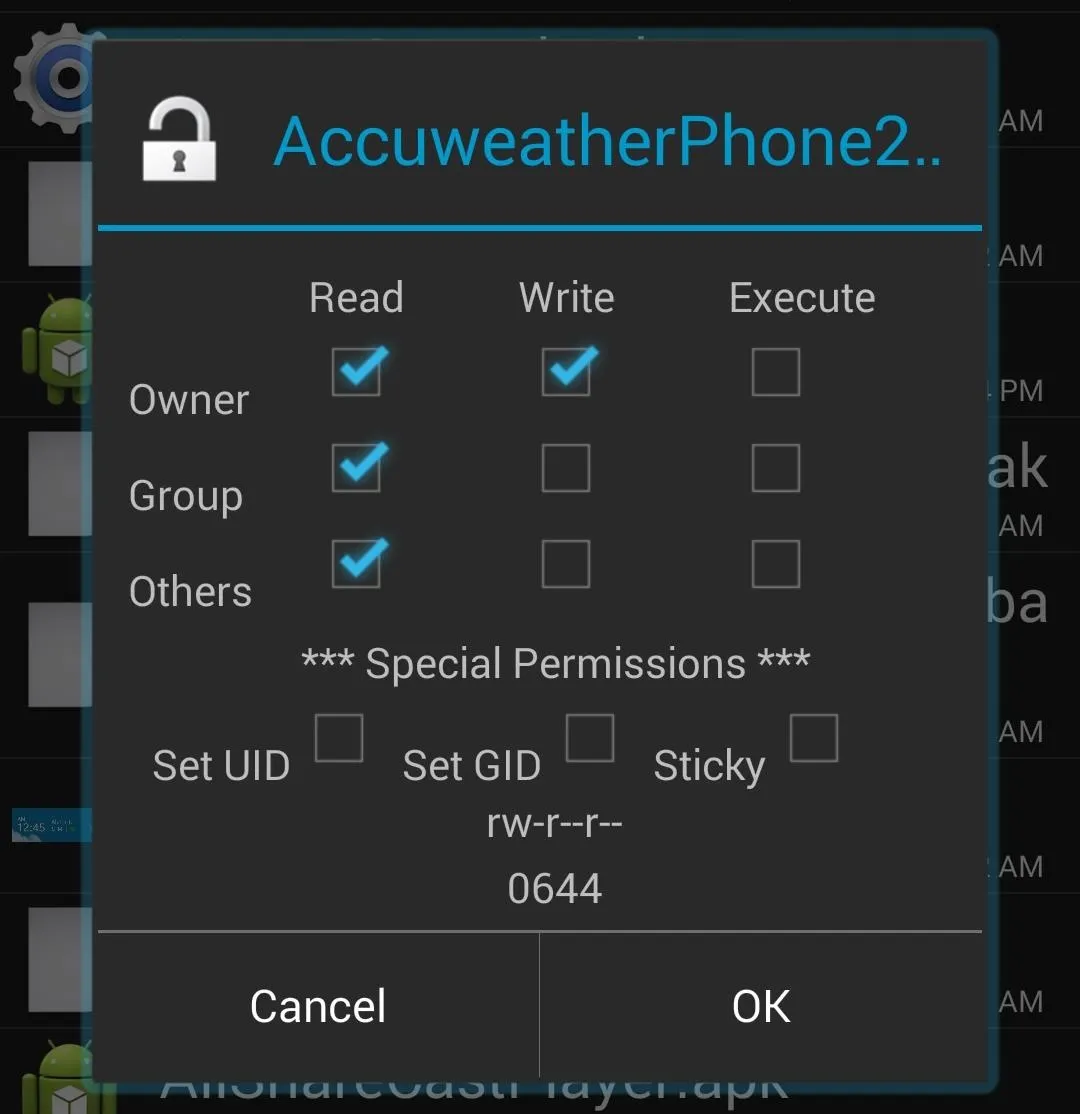
Set Permissions
Now hold down on the new "AccuweatherPhone2013.apk," tap on "Permissions," and set it to "rw-r--r--"—it should look exactly like in the screenshot below.
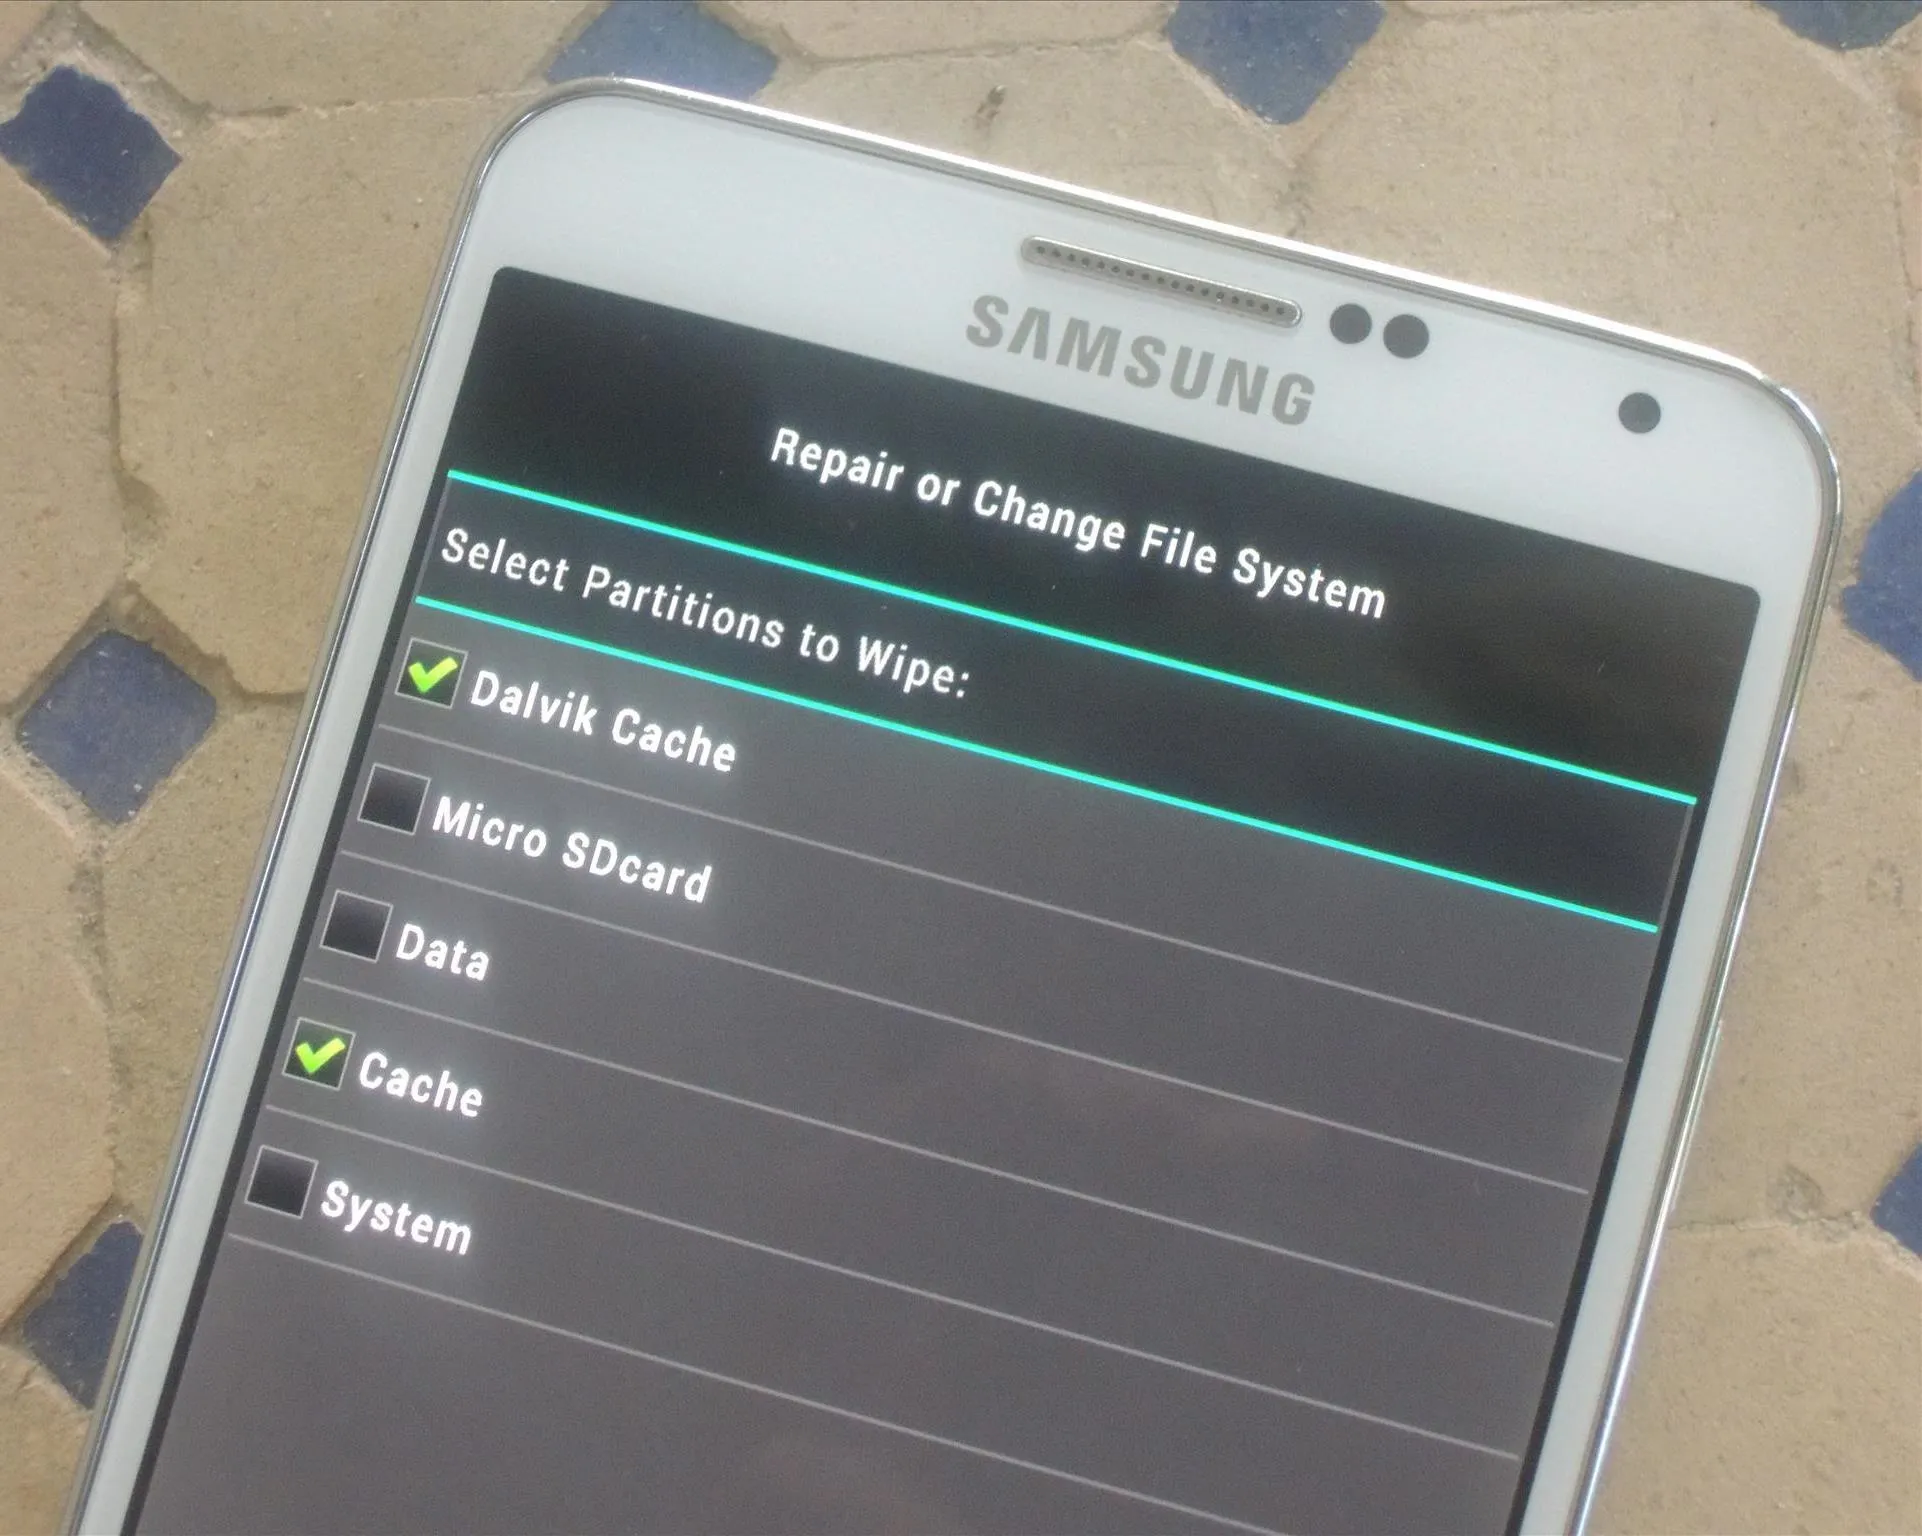
Wipe Dalvik & Cache
Using your recovery, wipe the "Dalvik Cache" and "Cache" from the "Wipe" menu, then reboot your device for all of the changes to take effect.
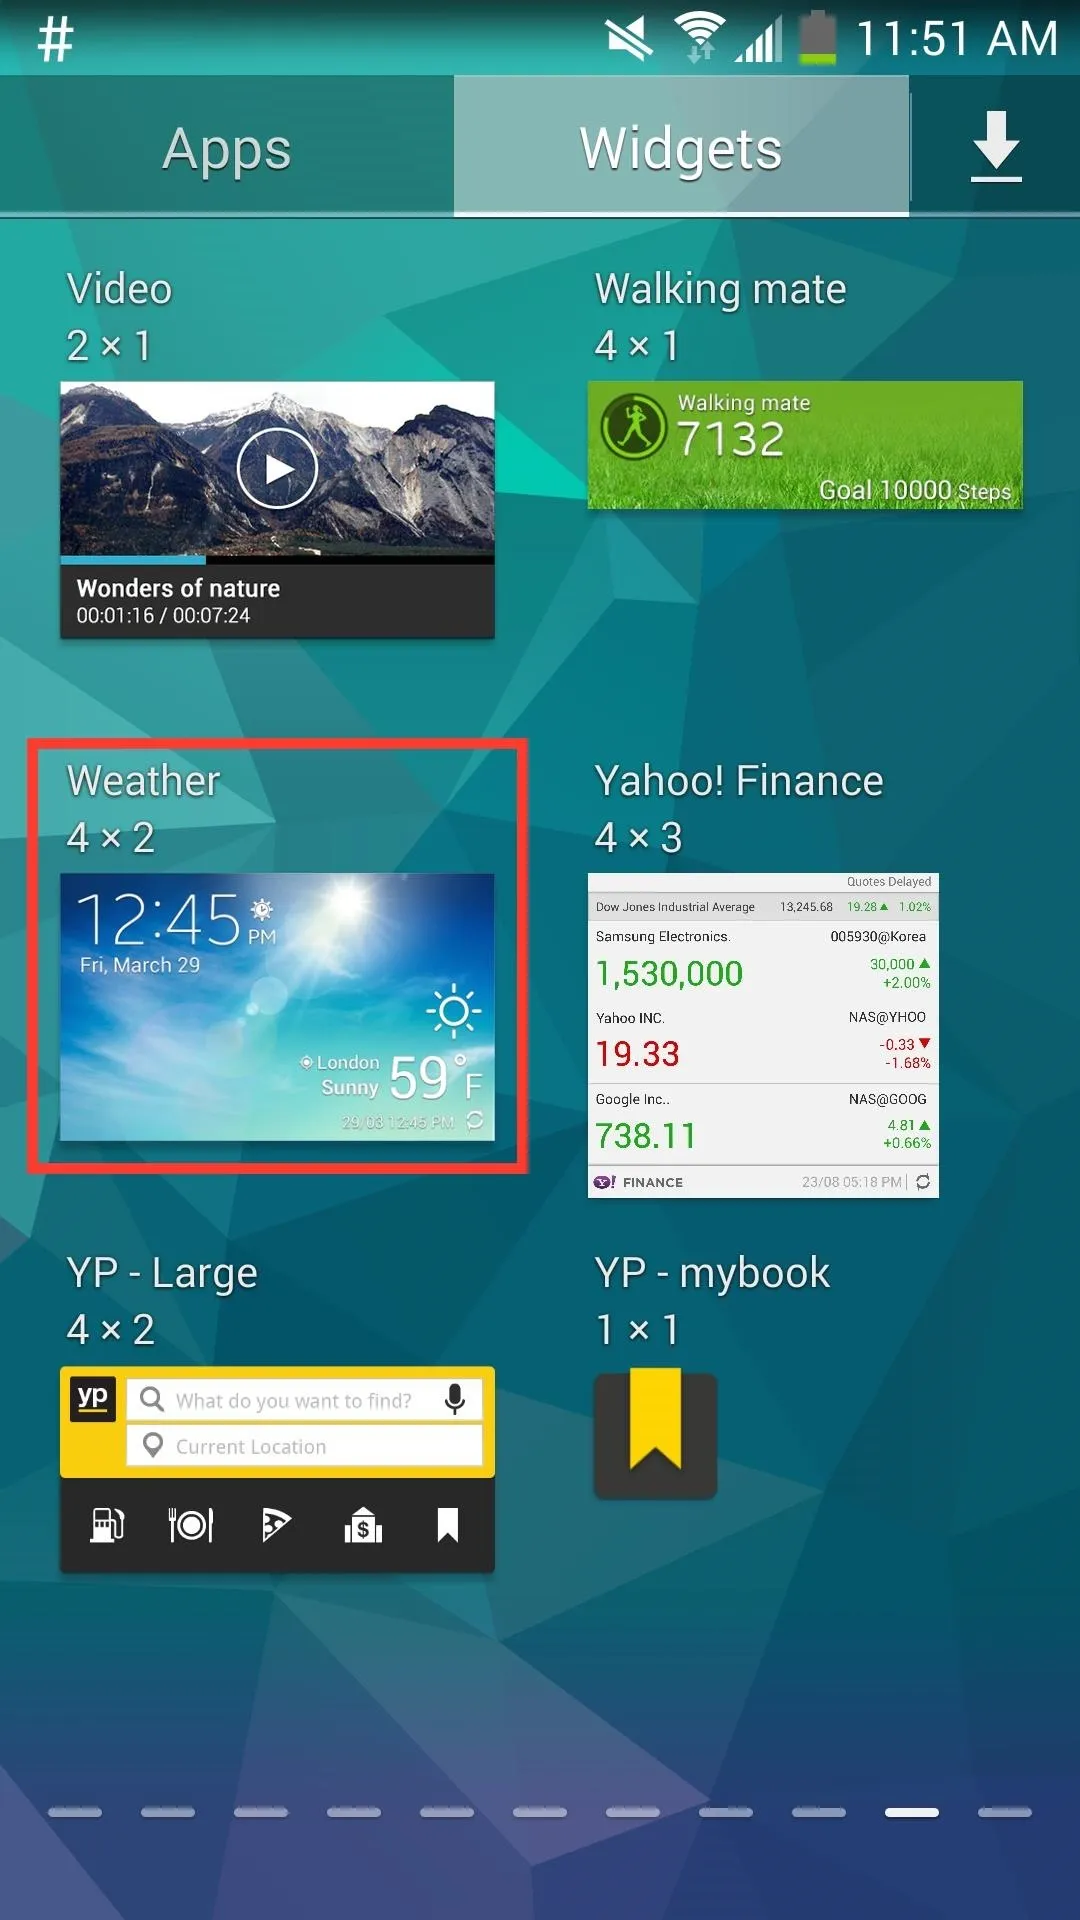
Add the New Widget
If you already had the AccuWeather widget on your home screen, it will now be gone. Add the new widget just as you normally would.
Restoring Your Old Widget (Optional)
Just as mentioned above in Step #3, to go back to your stock weather widget, just delete the new "AccuweatherPhone2013.apk" file and take off the ".bak" extensions from the two original files you renamed. Afterward, reboot your device and you're set.
Do you enjoy these modified AccuWeather widgets more than the stock one? Let us know in the comments below.


Comments
Be the first, drop a comment!