


The outstretched arm, the perfectly positioned angle, the shot and the subsequent array of tinkered saturation, contrast and shadows. In almost every car, changing room, or Starbucks, these string of events happen—you might know it as the selfie.
Whether these self-portraits are manifestations of our sickly self-obsession or simply a form of our expression through a virtual diary, selfies matter because well...everyone takes them.
The art of the selfie is one that takes time and practice, so it's only normal that features and apps come out that help us along the way. We've shown you how to take animated selfies and add self-timers into popular photo apps, but today I'm going to show you how to use a makeshift flash to take a clearer selfie in low-light situations using your front-facing camera.
Install Front Facing Flash
Front Facing Flash, from XDA dev elesbb, brightens up your screen in order to create a makeshift flash, enhancing the experience of taking a selfie with the front-facing camera.
Download the app (using this link) directly to your device to install it. Because the app isn't yet available in Google Play, make sure you have "Unknown sources" checked off in your Security settings so that you can side-load it.
Set Up Your Selfie
After downloading Front Facing Flash, open it up (it will be called "3F" on your device for short) and you'll be taken to a slightly modified version of your stock Camera app.
In the middle of the screen you'll see a grey "Ready?" box.

Now is the time to set filters or other camera-specific settings, just as you would with a normal picture.

After making any changes, including activating your front-facing camera if you haven't already, tap "Ready?" to move ahead.
Activate the Trigger
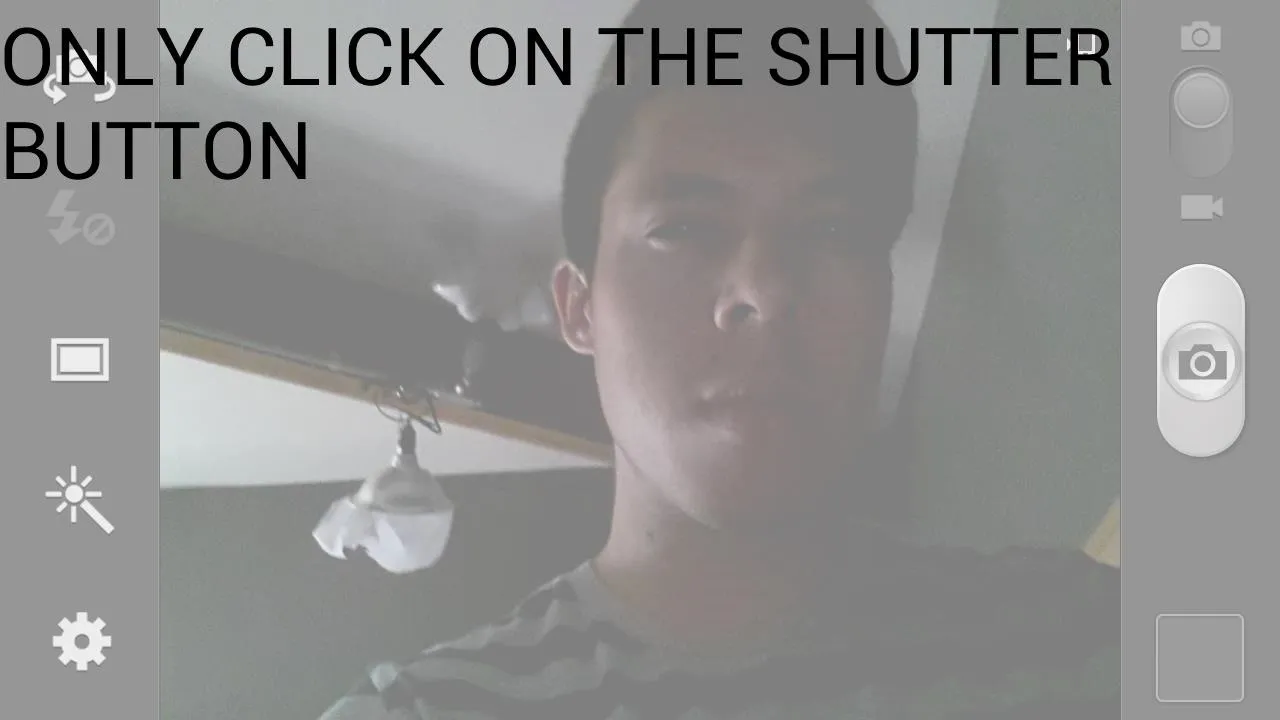
Hitting the "Ready?" button will cast a white film over the entire screen, informing you that you should only click on the shutter button. This is so that when you go to the next step, you'll be able to locate exactly where you need to tap on your screen to take a picture.
Snap Your Illuminated Selfie
The final screen will completely whiten your display, with a red dot indicating where the shutter button is. Tap on the red button only when you want the picture to be taken.

How Much Will This Improve Your Selfies?
Below you can see two selfies that I took of, you guessed it, me. The one on the left was taken normally and the one on the right with 3F activated.


As you can see, the "flash" version lit up my face and has much more detail than the regular flat, dark version on the left.
Where Are All Your Selfies?
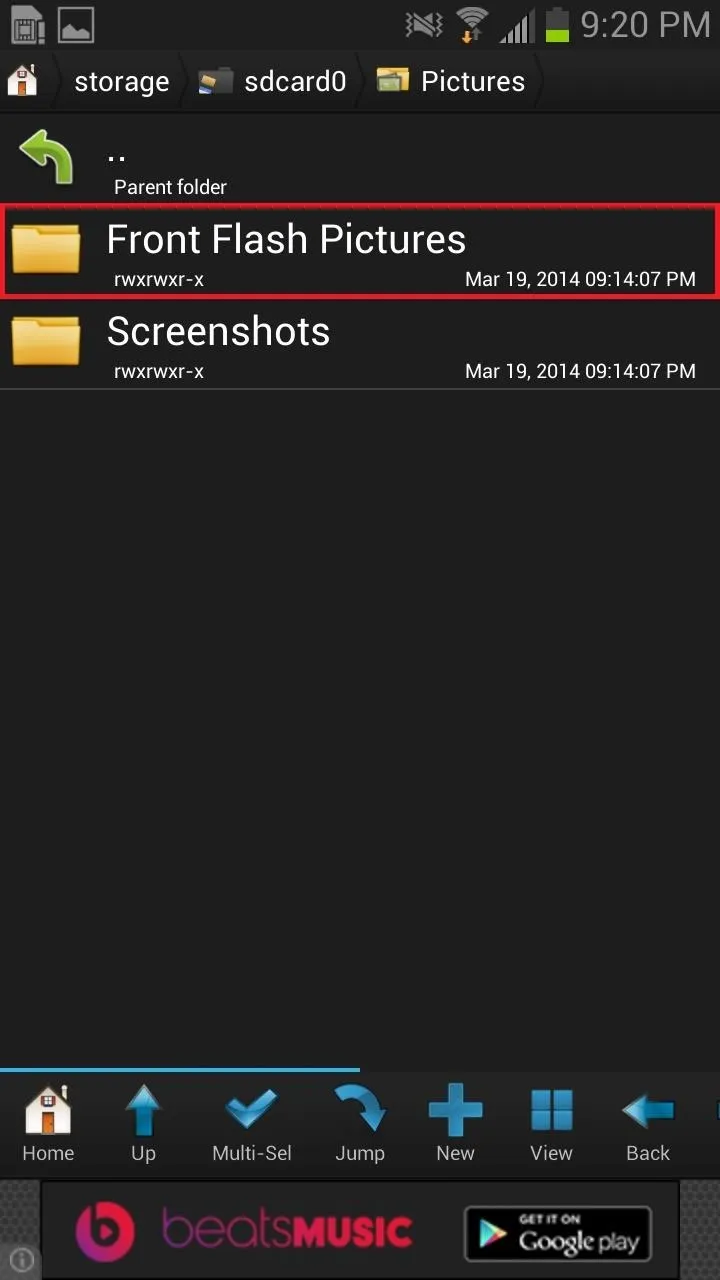
The only real problem with 3F is finding the pictures you actually took, as I was not able to find them in my stock Gallery app. Instead, you'll need to use a file manager to navigate to them in storage/sdcard0/Pictures/Front Flash Pictures.
I'm using Root Browser, but if you're not rooted you can use something like Astro, ES, OI, or pretty much any of the other file managers in Google Play.
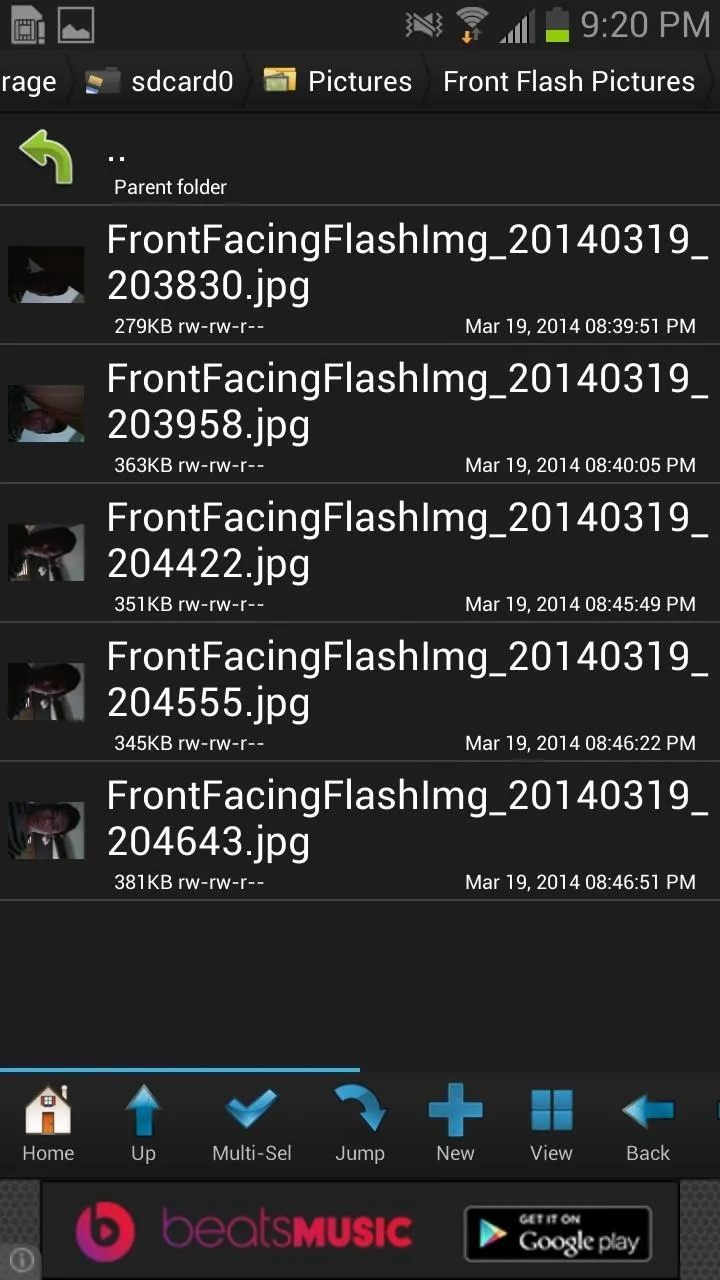
From there, you can move your pictures elsewhere, share them with others, or delete them entirely. For a simple app, it's very useful whenever a selfie occasion arises and the lighting just ain't cuttin' it.
Look out for several updates in the future that will eliminate any bugs, make the app easier to use, and hopefully add Gallery support.


Comments
Be the first, drop a comment!