


Whether you've been fully converted or just want a little Apple with your Android, adding your iCloud email to your Galaxy Note 3 is a fairly simple task. Usually, Apple and Android don't play nice, but your iCloud address can be added to your stock email app just like any other email account.
As simple as adding an email account can be, it's still a little bit tricky if you're not sure what server and port you should be using. To make life easier for you, I'm going to show you how to add your iCloud to your Galaxy Note 3, or any other Android device you have.
Obviously, we're showing this process on the Note 3 using Samsung's proprietary Email app, which will be the same on other Samsung devices. For other devices, you can use your built-in email app (more than likely called "Email"), or a third-party one like K-9 Mail. While the process won't be the exact same, the values you need to input will be. If you are having trouble getting set up on another email client, let us know in the comments.
Add a New Account to Your Email App
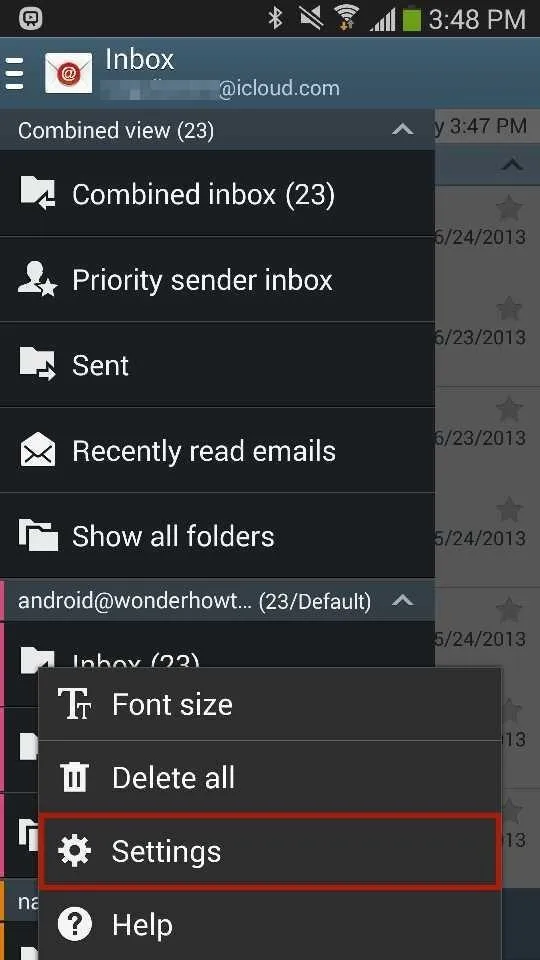
To start, open the stock Email app on your device, tap on the Menu button, select Settings, and hit Add account.
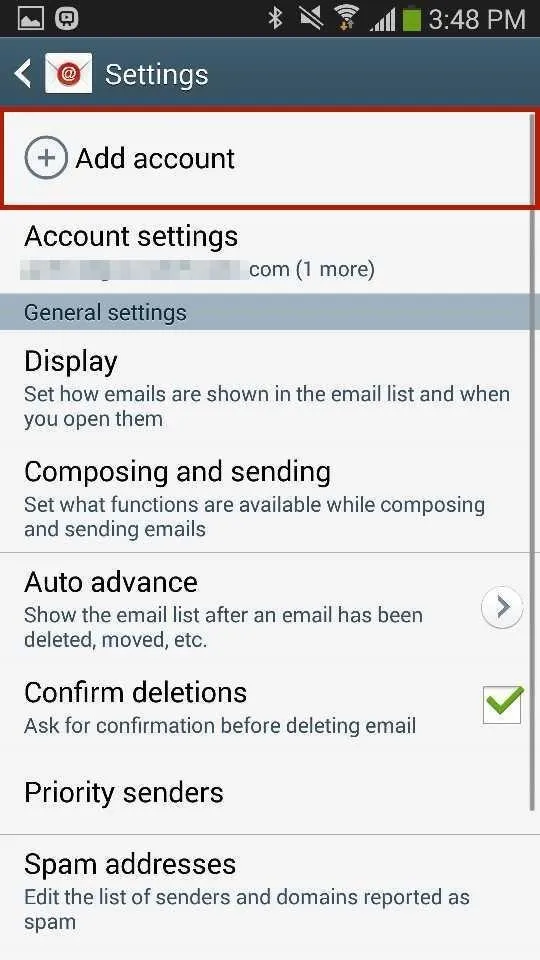
This will start the set up for your iCloud account.
Enter in Your iCloud Log-in Info
Enter your username@icloud.com and password, then tap on Manual setup at the bottom. You could also use @me.com or @mac.com.

Choose IMAP for the Account
You'll now be taken to a page where you can choose from three different types of protocols. You'll want to choose IMAP account here, as iCloud does not support POP or EAS protocols.

Add the iCloud Server Information
Next up is the Incoming server settings page, which is then followed by the Outgoing service settings page. These have different servers and ports, so make sure you input the rights ones for the appropriate sections. Skip below the pics to see the exact data you need to enter in each section.


Incoming Server Settings
- Email address - your full iCloud email address
- Username - the username part of your iCloud email
- Password - your iCloud password
- IMAP server - imap.mail.me.com
- Security type - SSL or SSL (Accept all certificates)
- Port - 993
Outgoing Server Settings
- SMTP server - smtp.mail.me.com
- Security Type - SSL or TLS (Accept all certificates)
- Port - 587
- Username - the username part of your iCloud email
- Password - your iCloud password
- If you're asked about needing SMTP authentication, select Yes.
Press Next and you're practically done.
Finish Up
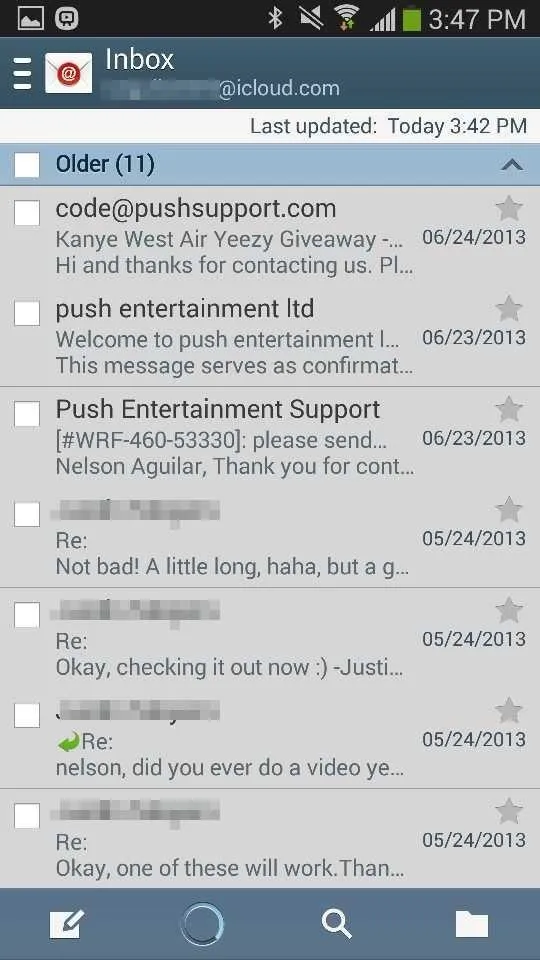
You can tinker with the account options, but I left everything pretty much as it was. You can also enter information as to what you want the account nickname to be, if that's your thing. Afterwards, press Done and you will be taken to your Email app, where you can then check on your iCloud account and its emails.

All together, the whole process takes a couple of minutes and is incredibly useful, especially for those of us who want more convenient access to our iCloud accounts.


Comments
Be the first, drop a comment!