I have Verizon, America's largest 4G LTE network, as my cell service provider, but there are times when I find myself with a pretty shitty signal, rendering my upload and download speeds substantially slower than usual.
One of those times are when I'm in my bedroom, and although I've experimented enough with positioning to know where to yield the best connection (tightly pressed up against the left side of my window), it took me a while to figure out exactly where I was getting the best data service.
Even with Wi-Fi, there are definitely places where the signal suffers, especially around corners and through walls, leaving you with a much weaker signal than if you were in the same room as your router.
If you've been in similar jams, you know it's important to be able to determine how fast your cellular or Wi-Fi connection is and where it's at its best. With today's softModder guide, I'm going to show you how to always make sure you know the status and strength of your internet connection.
We're going to be using an Xposed module for this hack, so you'll need to be rooted and have Xposed Framework installed on your device. If you're looking for a non-root method, you can check out my previous guide on using Internet Speed Master on the Note 2.
Installing the Network Speed Indicator
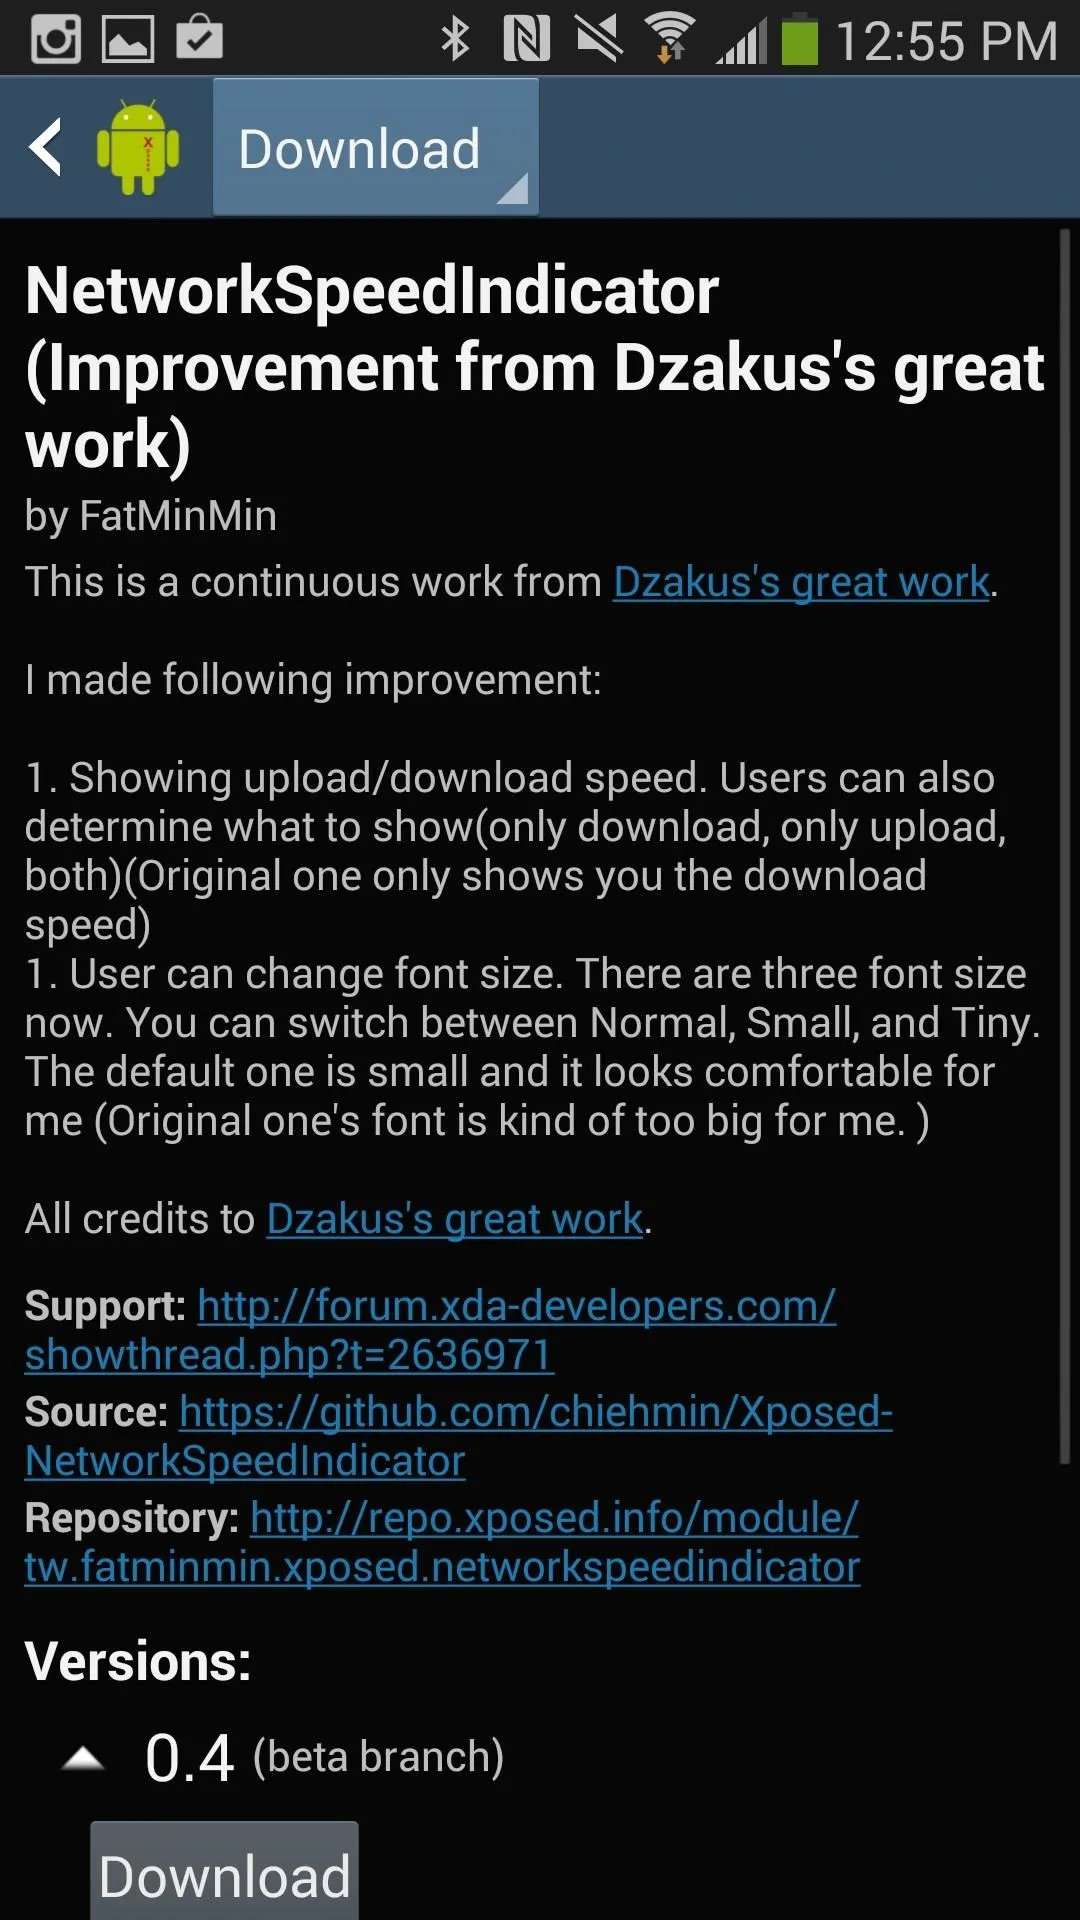
NetworkSpeedIndicator, continued by dev FatMinMin (from Dzakus's original work), shows your current upload/download speed directly on your status bar.
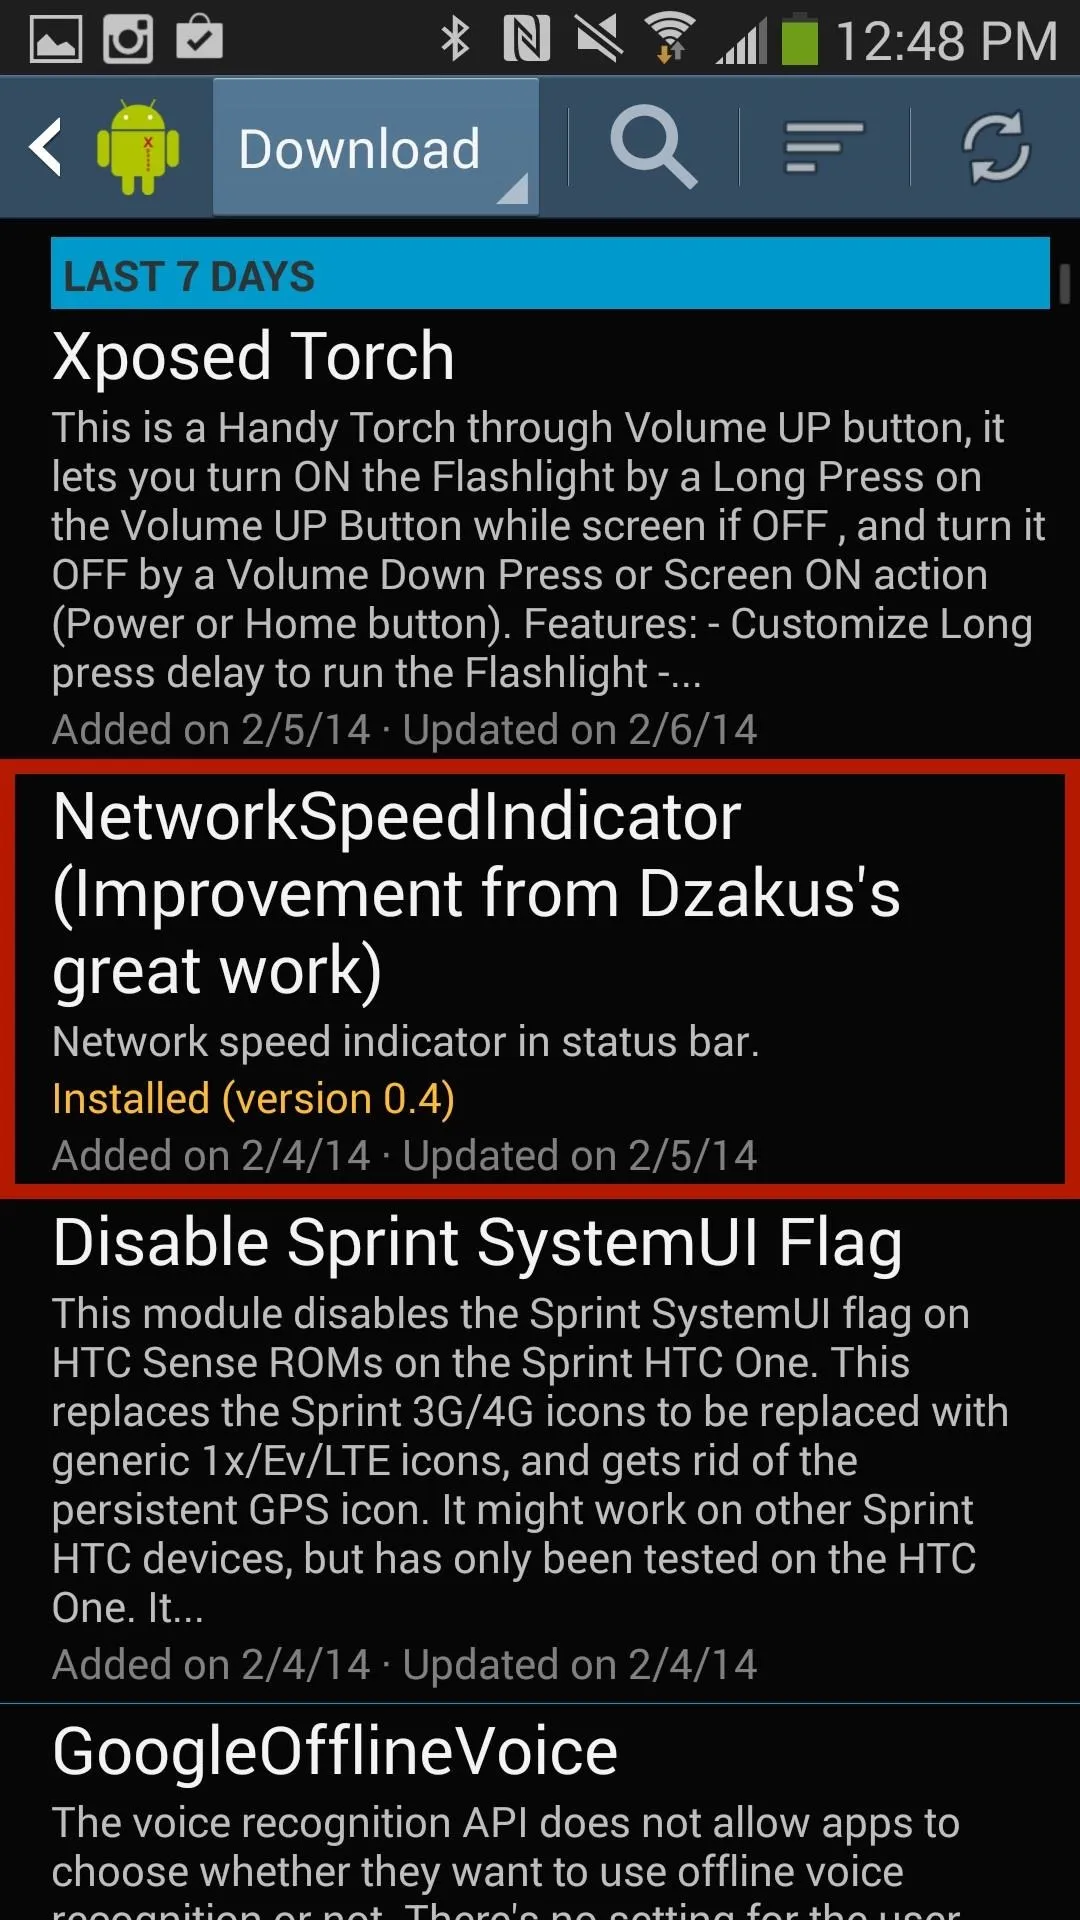
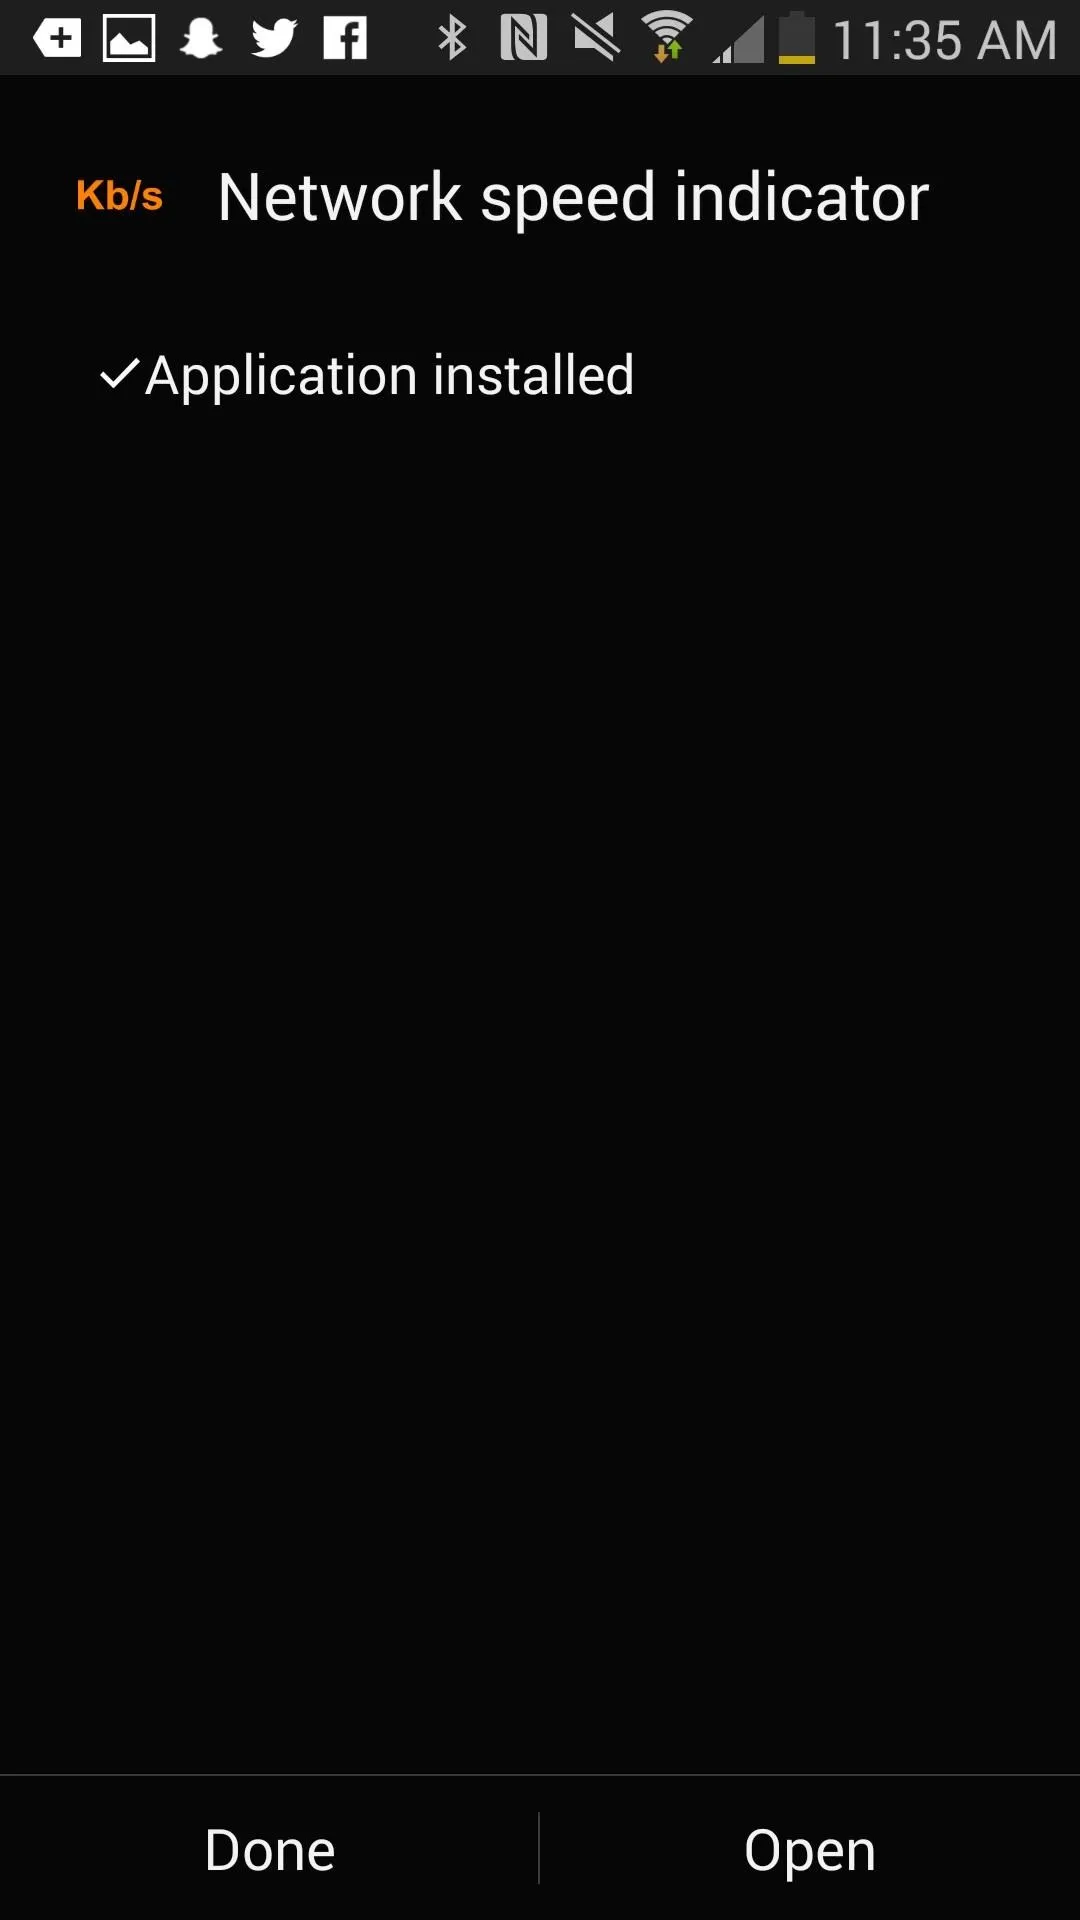
Head to Xposed Installer, go to the Download section, and either scroll down or search for the "NetworkSpeedIndicator" module, then simply download and install it.


Now Activate the module by going back into Xposed Installer, going to Modules, and ticking the box next to "Network speed indicator."
Now head to the Framework section in Xposed Installer and select either of the reboot methods, or just reboot like normal with your Power button.
Managing Display Settings on Your Device
Now open the app from your app drawer or Xposed Installer. From NetworkSpeedIndicator's only page, you can toggle and configure several settings, such as the following.
- Show upload speed
- Show download speed
- Hide unit
- Hide when speed is zero
- Force unit (change the units to B/s, Kb/s Mb/s or auto)
- Change font size (normal, small, tiny)
- Position (left, right, notification bar)
- Suffix (none, triangle)
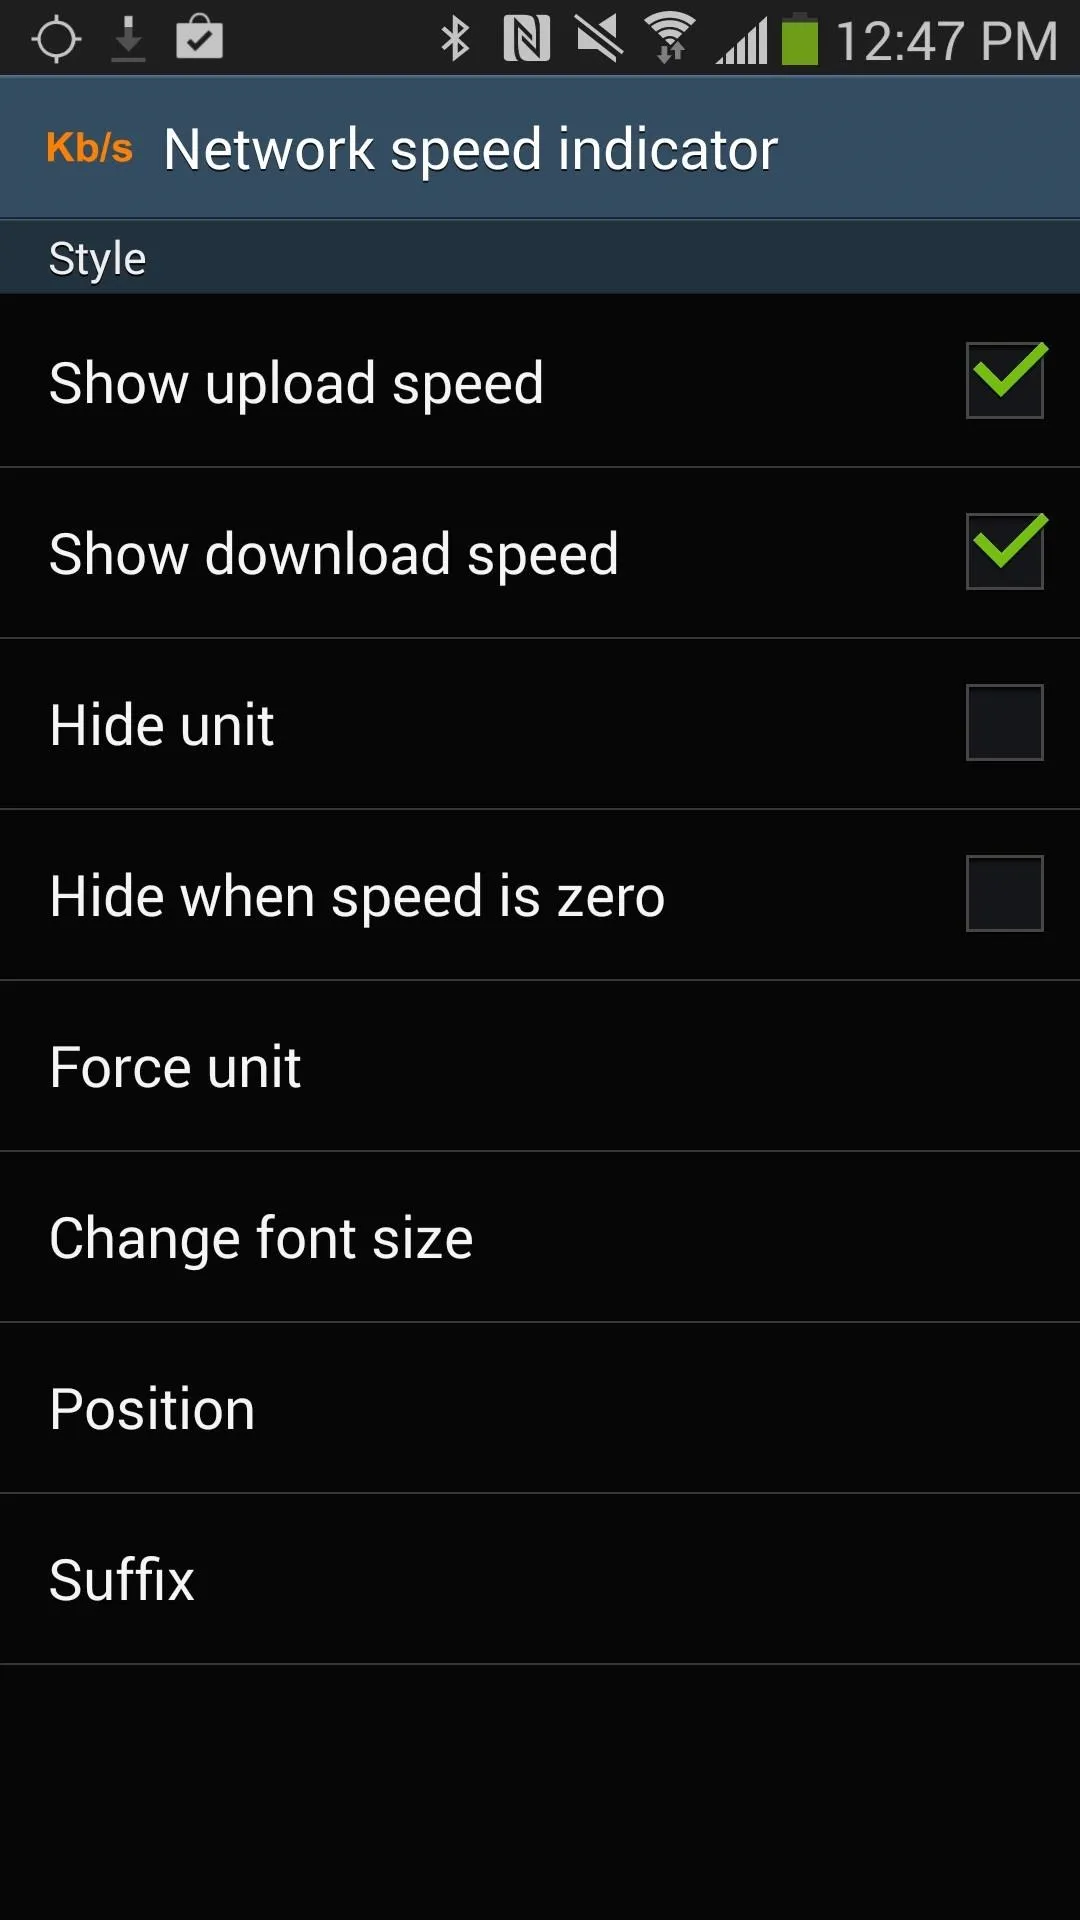
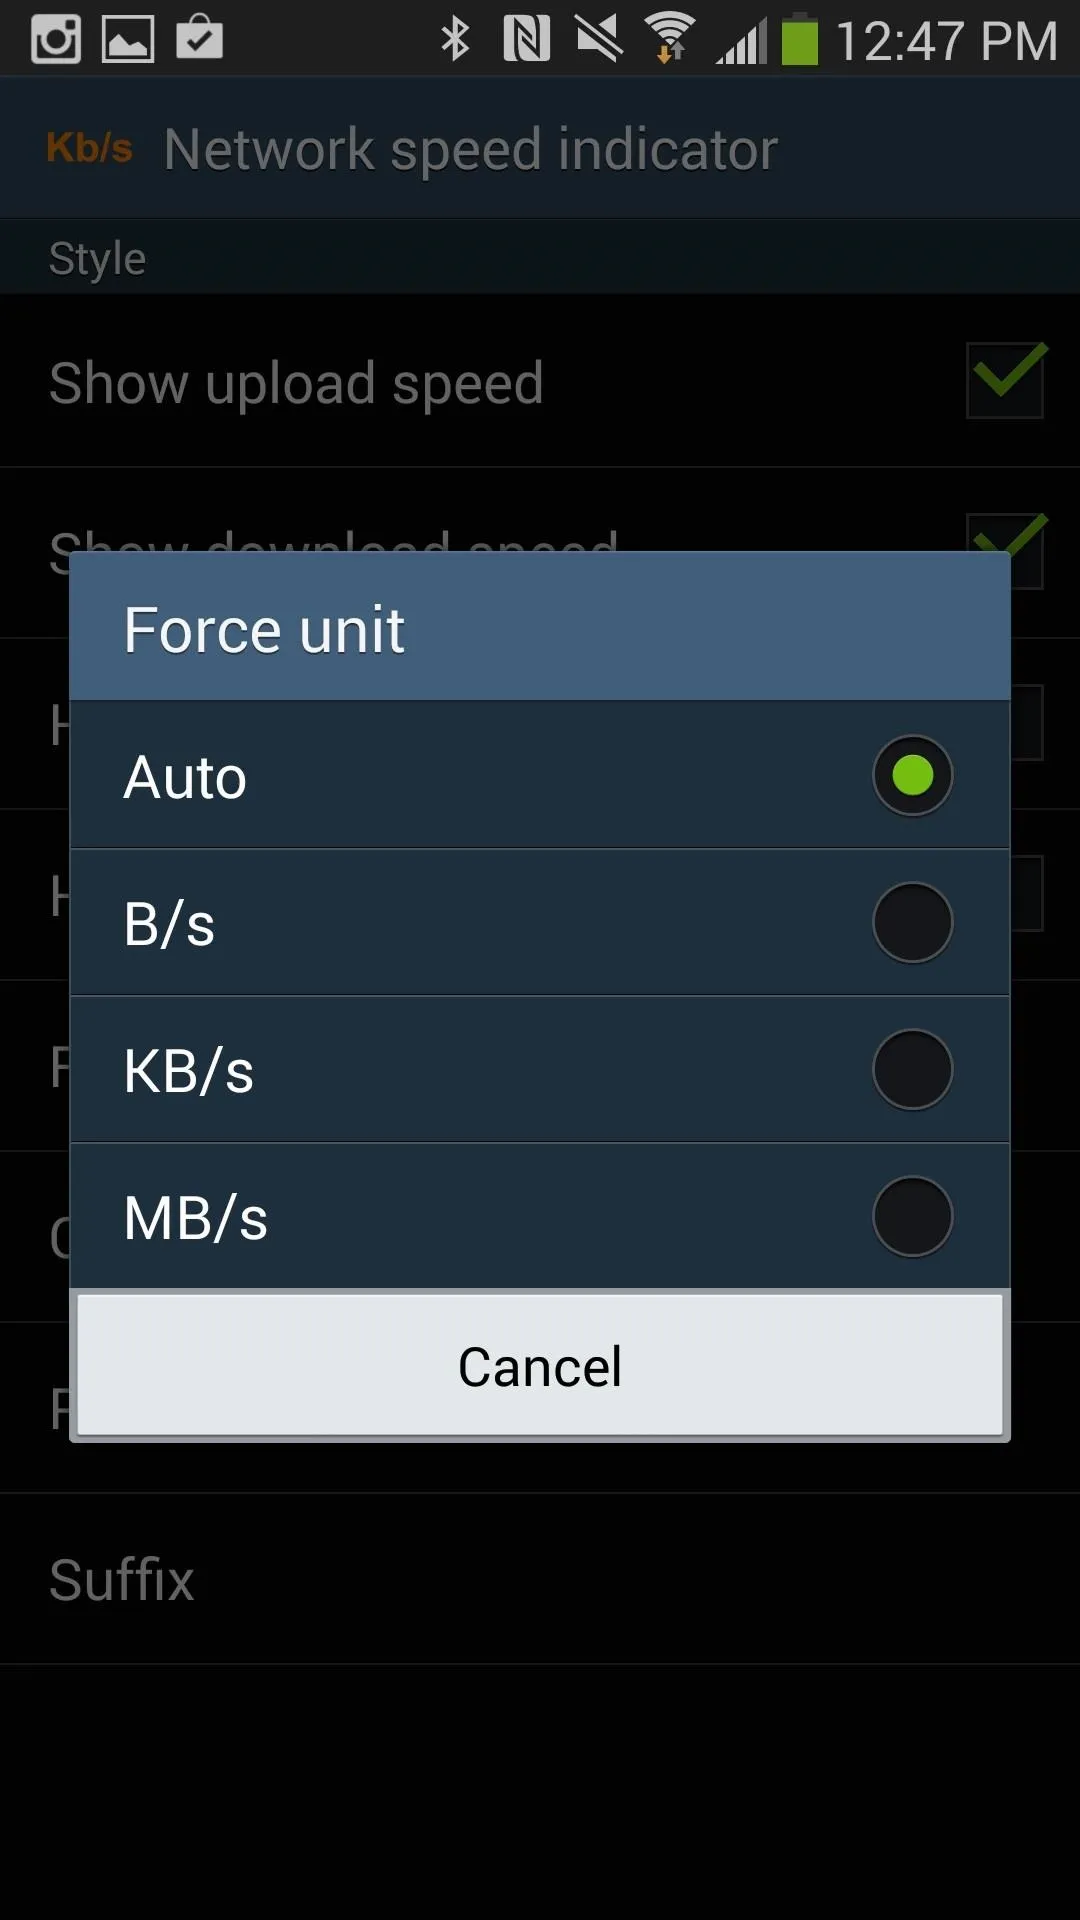


The changes are made in real time, so no need to reboot after you've messed with the settings.
Viewing Connection Speeds Through Your Status Bar
Once you're back up, you'll see the download/upload speeds in your status bar—unassuming yet extremely useful, especially for finding those dead zones in your home or office.
Below you can see a few screenshots of several configurations I made with the settings:

Above: "Notification Bar" alignment with "KB" measurements

Above: "Left" alignment with arrow indicators

Above: "Right" alignment with no arrows or speed indicators
That's it! A simple app with simple settings, and information right where you need it.











Comments
Be the first, drop a comment!