Geohot's Towelroot exploit made rooting the Galaxy S5 so easy that it was almost unreasonable not to try it out—even for the first-timers out there. This, of course, meant that folks who didn't truly need root for their usage went ahead and got Superuser privileges anyway.
Maybe you just wanted to uninstall a few bloatware apps, and after that, you decided you don't need root anymore. Or maybe you need to return your device to the manufacturer for warranty purposes. Whatever the reason, it's almost as easy to unroot as it was to root in the first place, and we've got you covered here.
Note: While I'll be unrooting my Galaxy S5, this method should work for all Android devices.
Requirement
- Galaxy S5, or other Android device, that was rooted using the Towelroot method
Ensure That SuperSU Is Installed
If you followed my guide to achieve root in the first place, you should already have SuperSU and the updated binaries installed. If this is the case, you can skip directly to Step 3 now. If not, you'll need to take care of both prerequisites before you can go about unrooting your phone.
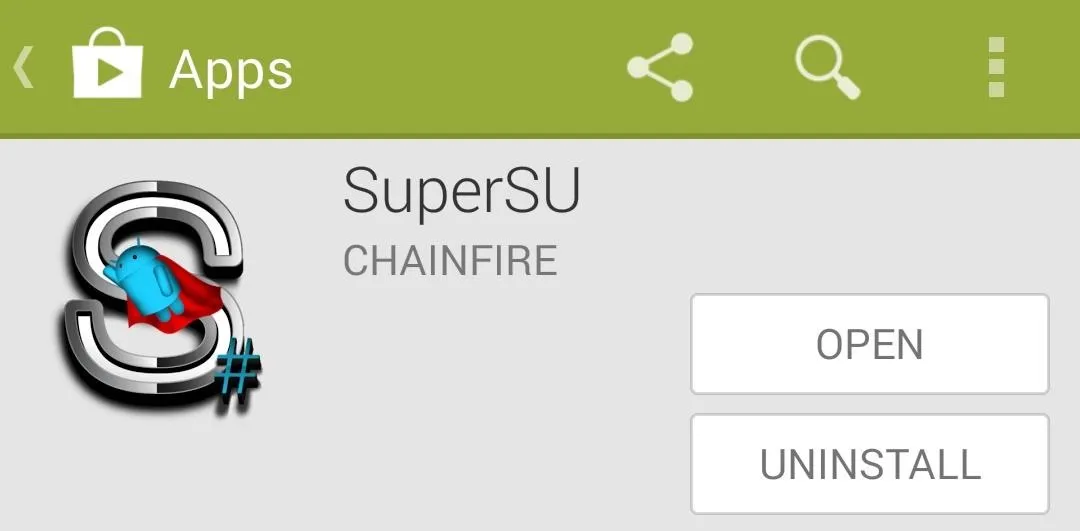
Search SuperSU on Google Play to get the app installed, or tap this link from your Galaxy S5 to head directly to the install page.
Update the Superuser Binaries
This is another step that was covered in my root tutorial, but if you didn't install SuperSU or if you used a different guide, you'll have to take care of this first.
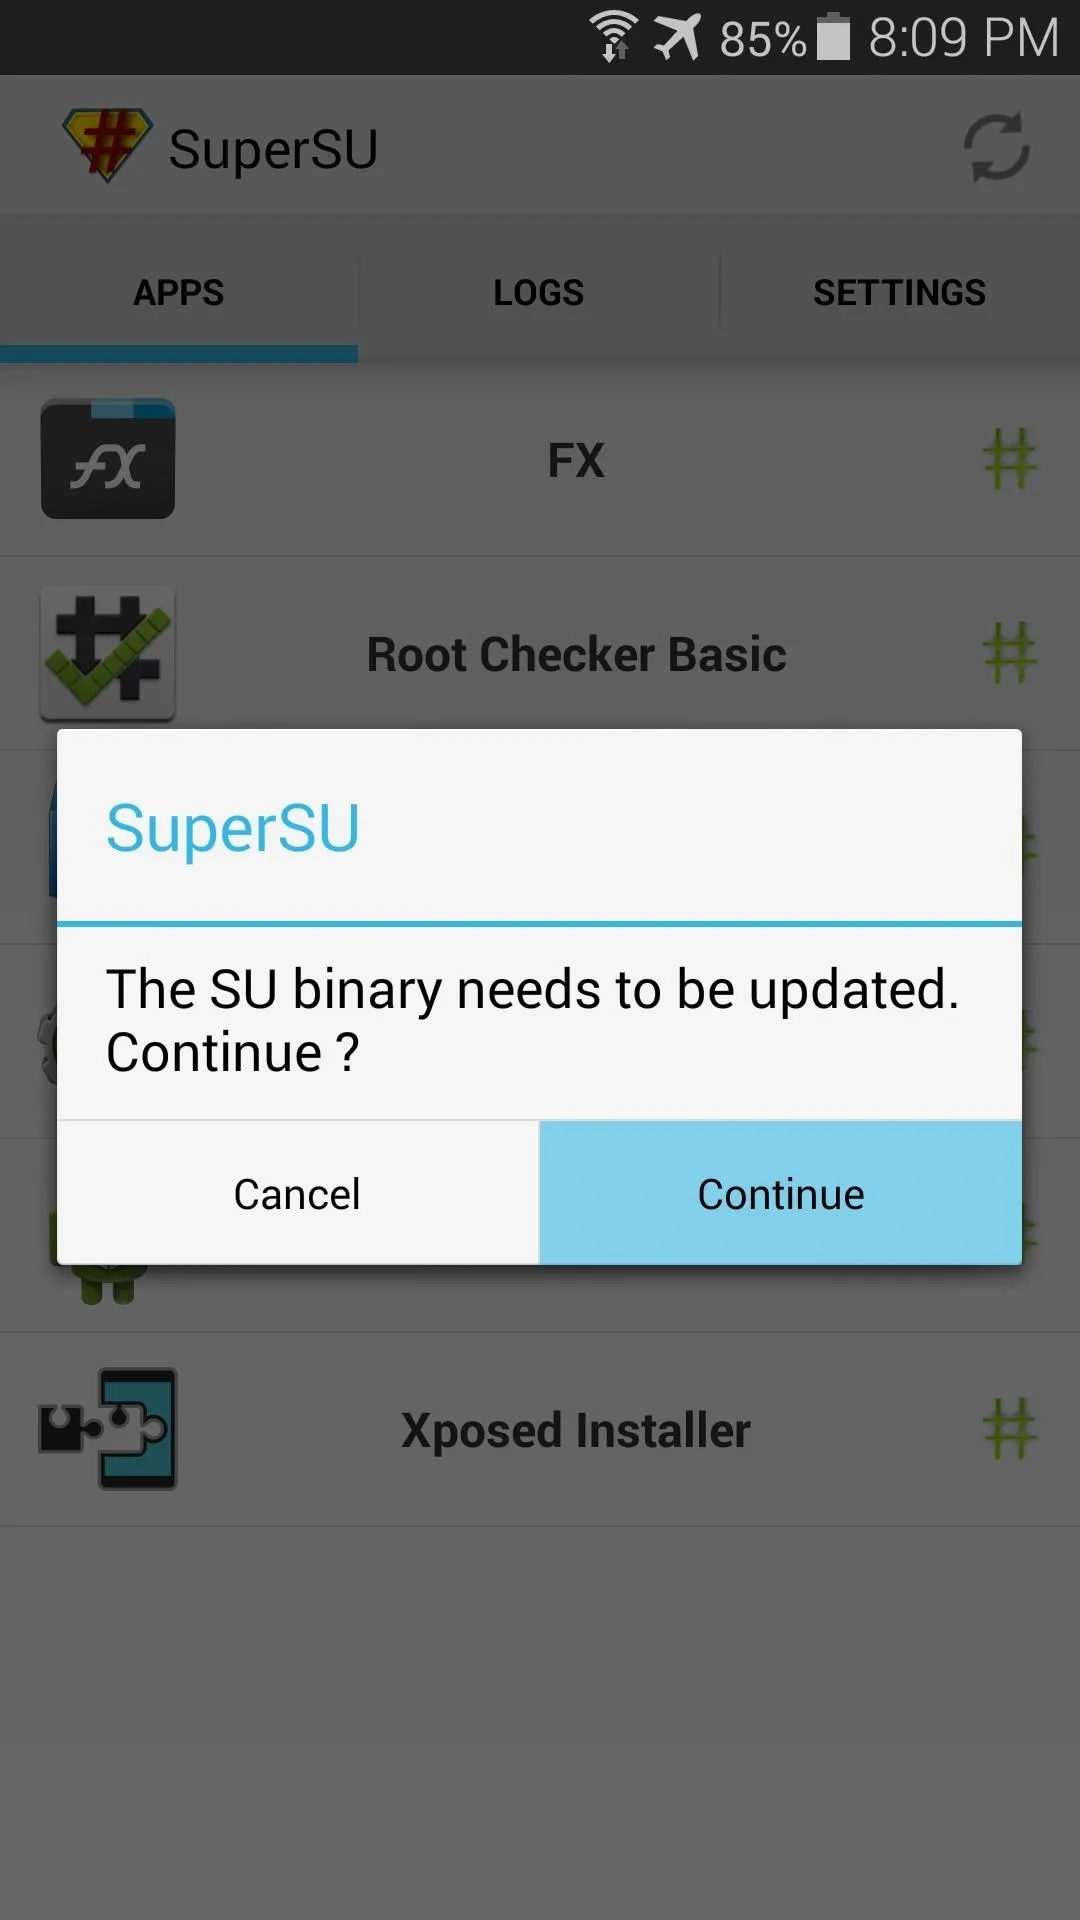
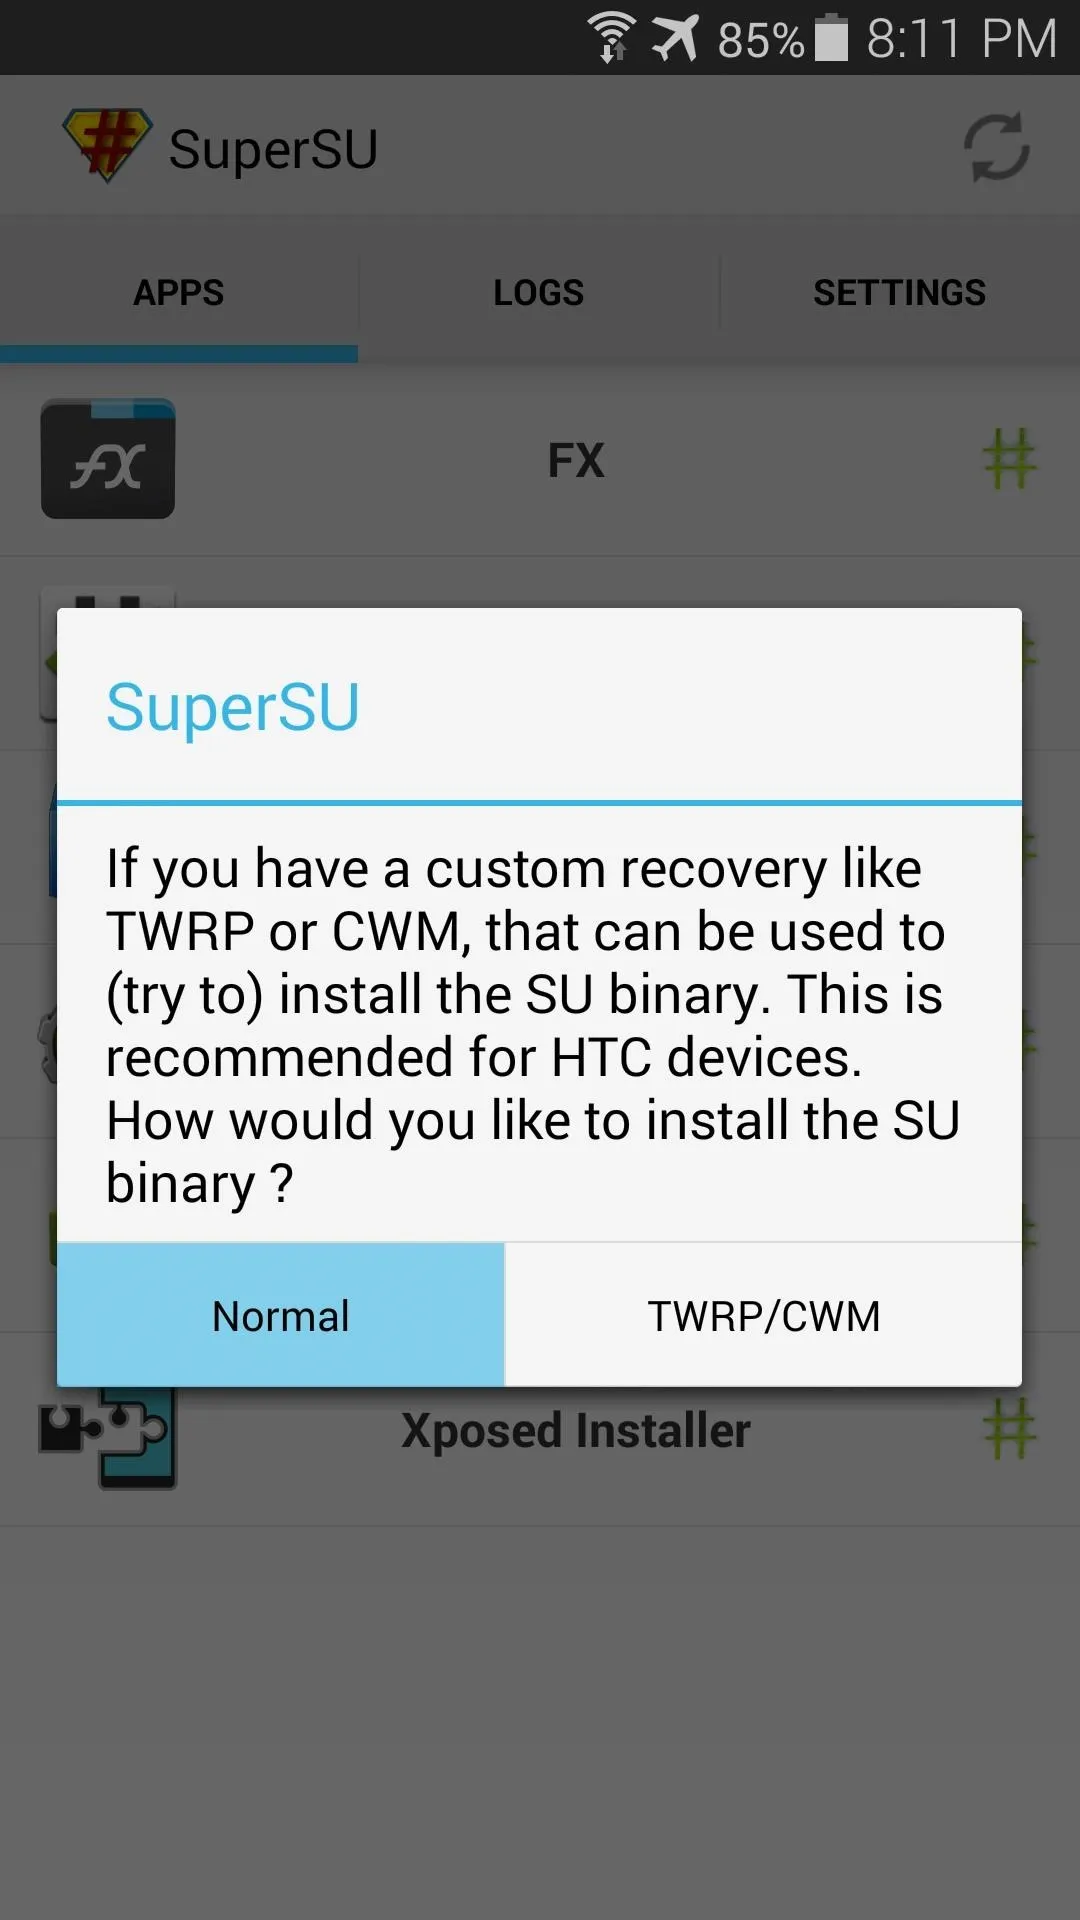
SuperSU is the app that you'll be using to unroot your Galaxy S5, and it requires that you have the latest superuser binaries installed before it will run. So open up the freshly-installed SuperSU app on your phone, and you'll be greeted by the message asking you to update the binaries. Tap Continue on this message, then choose Normal as the method of installation on the following menu.


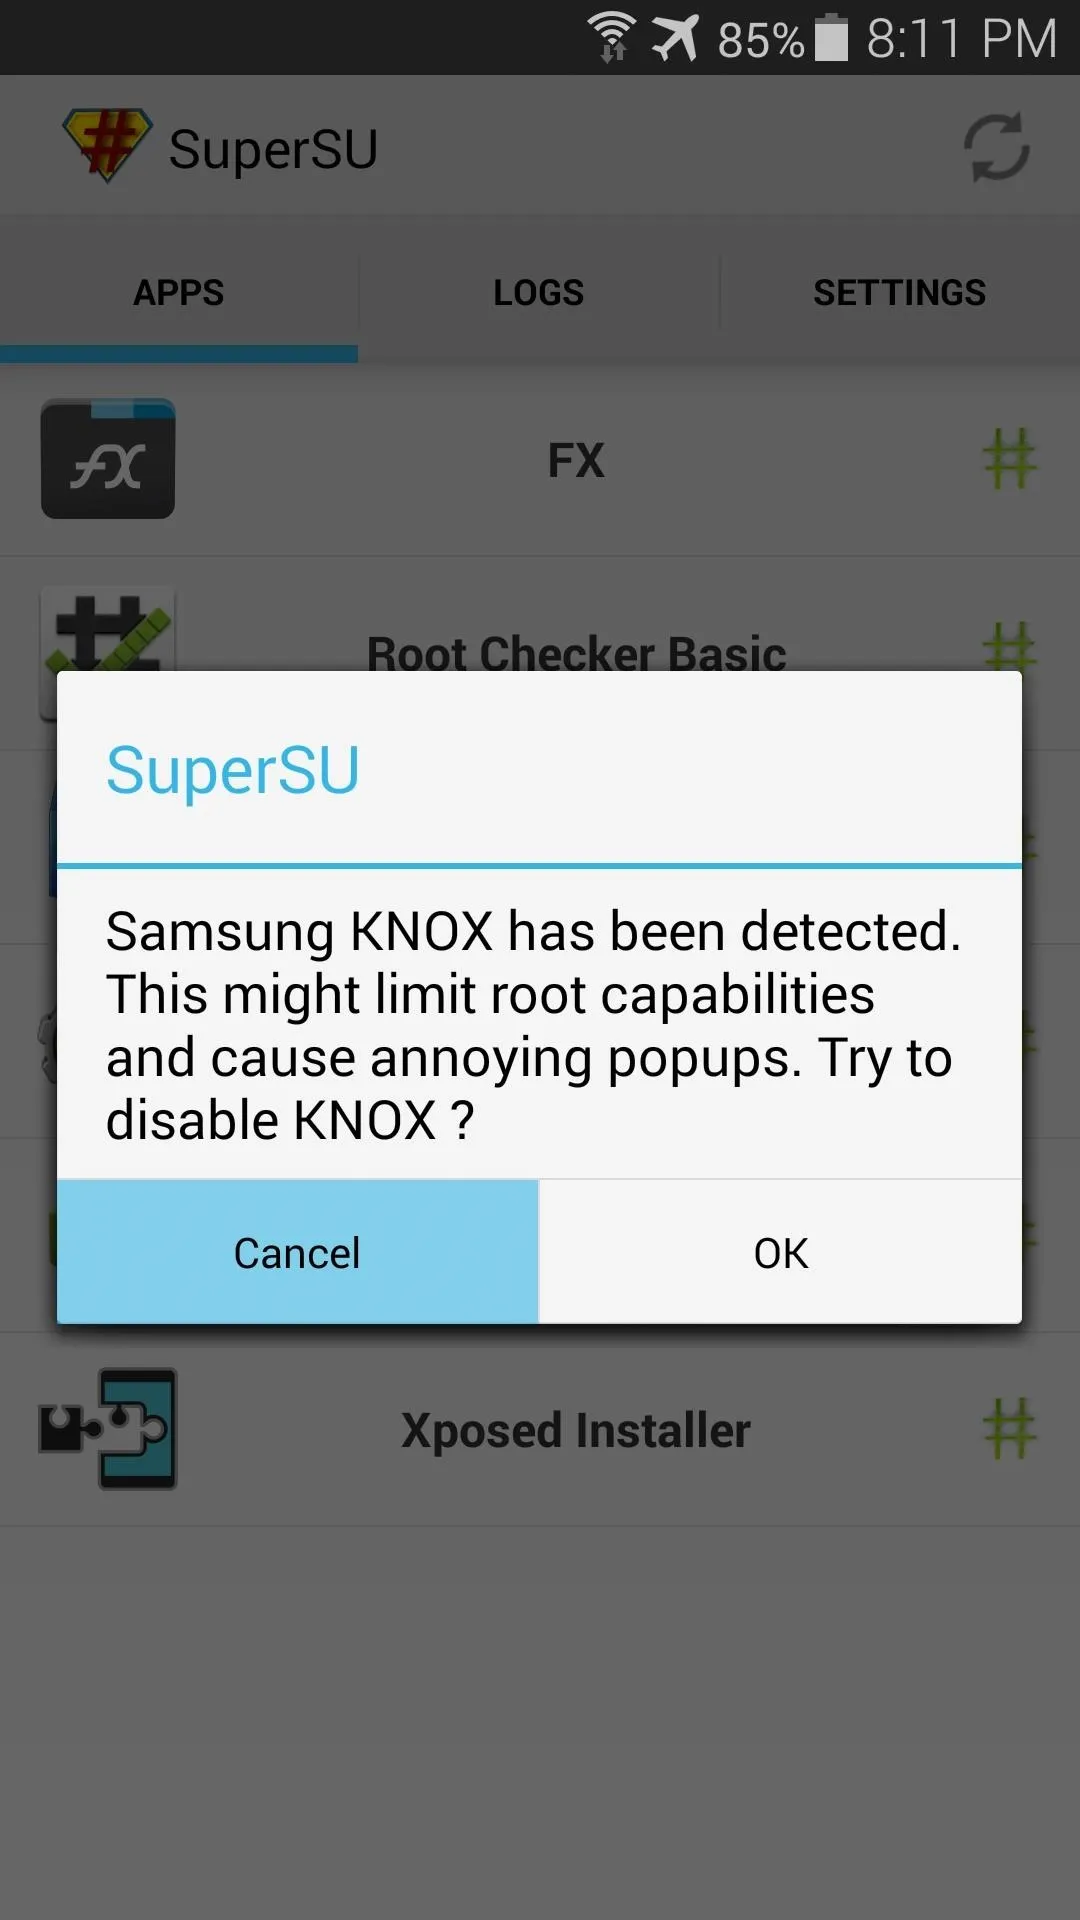
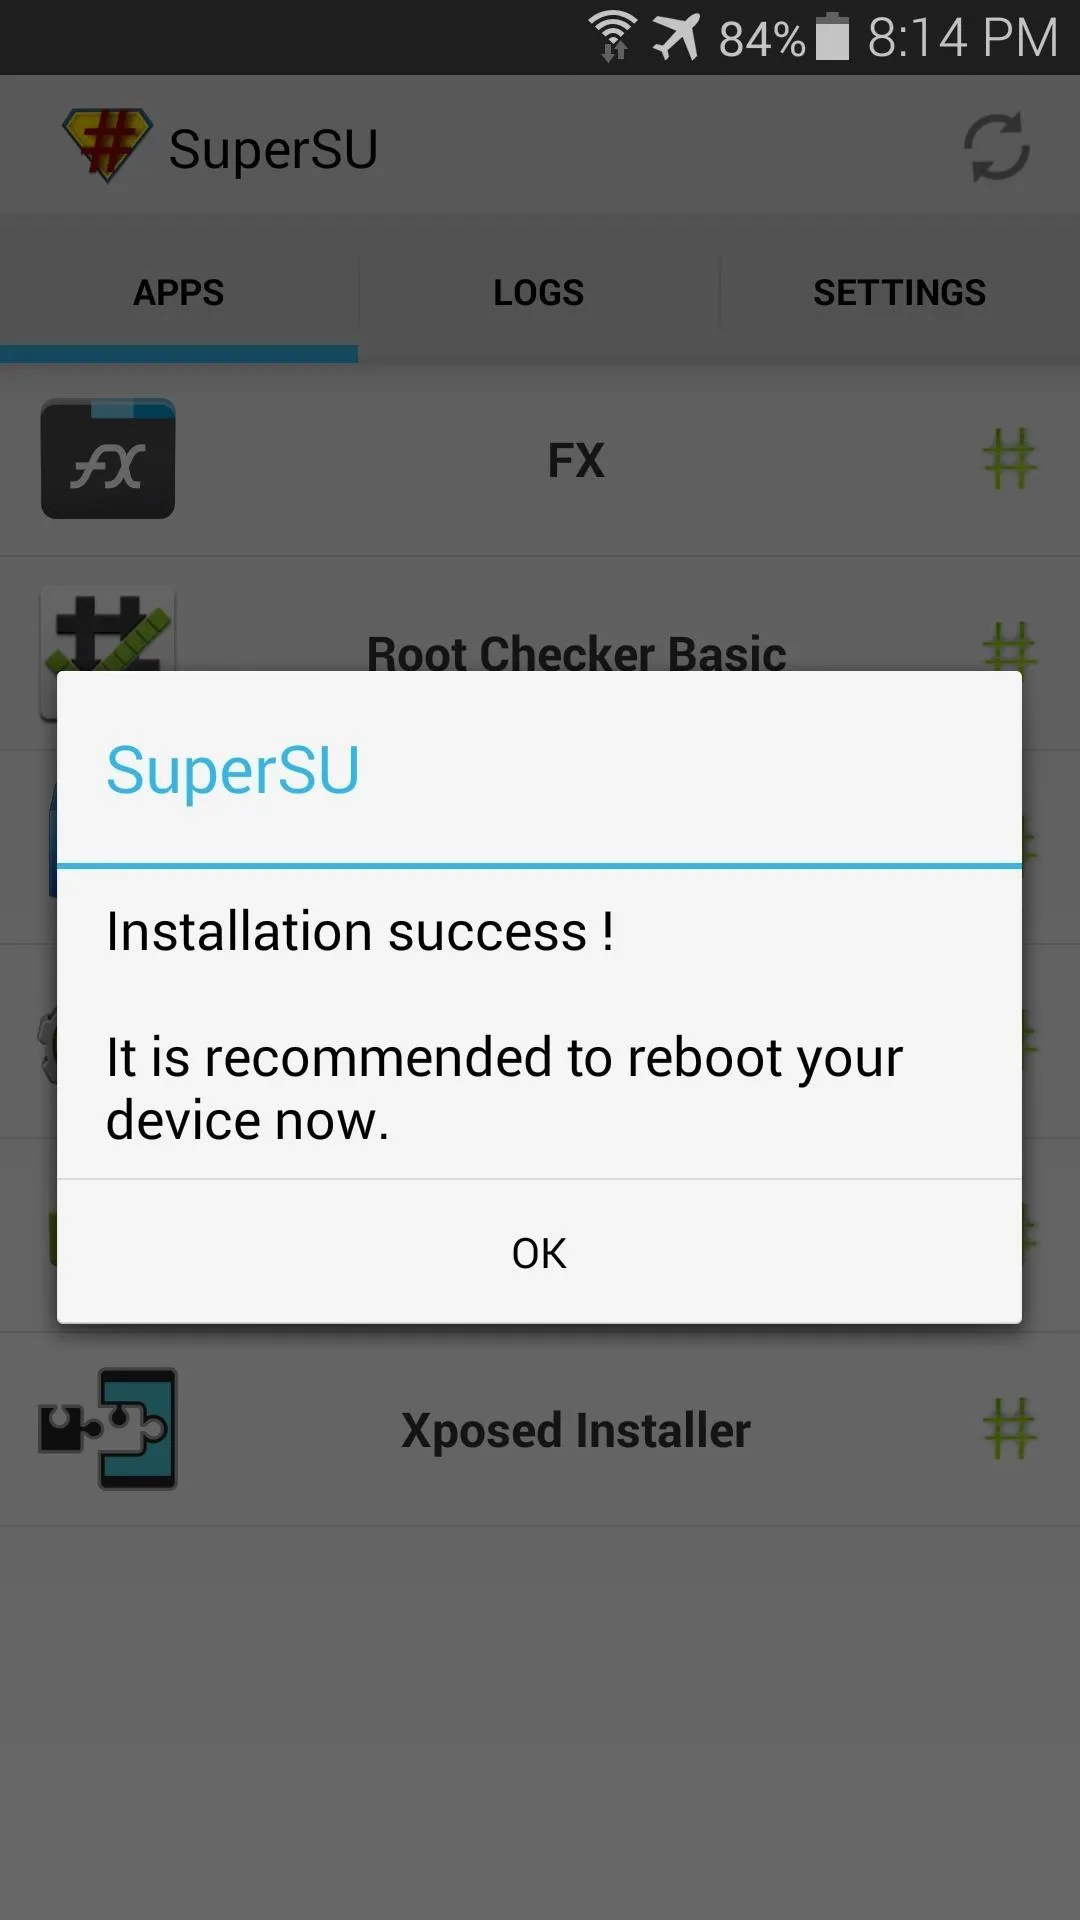
After about a minute of processing, you'll get a message asking if you want to delete Knox. Press Cancel here, then you should see a confirmation dialog that lets you know the binaries were updated and a reboot is needed. Go ahead and reboot your phone at this point.


Unroot
When you've booted back up (or if you've already taken care of the first two steps previously), you can go about the process of actually unrooting your phone.
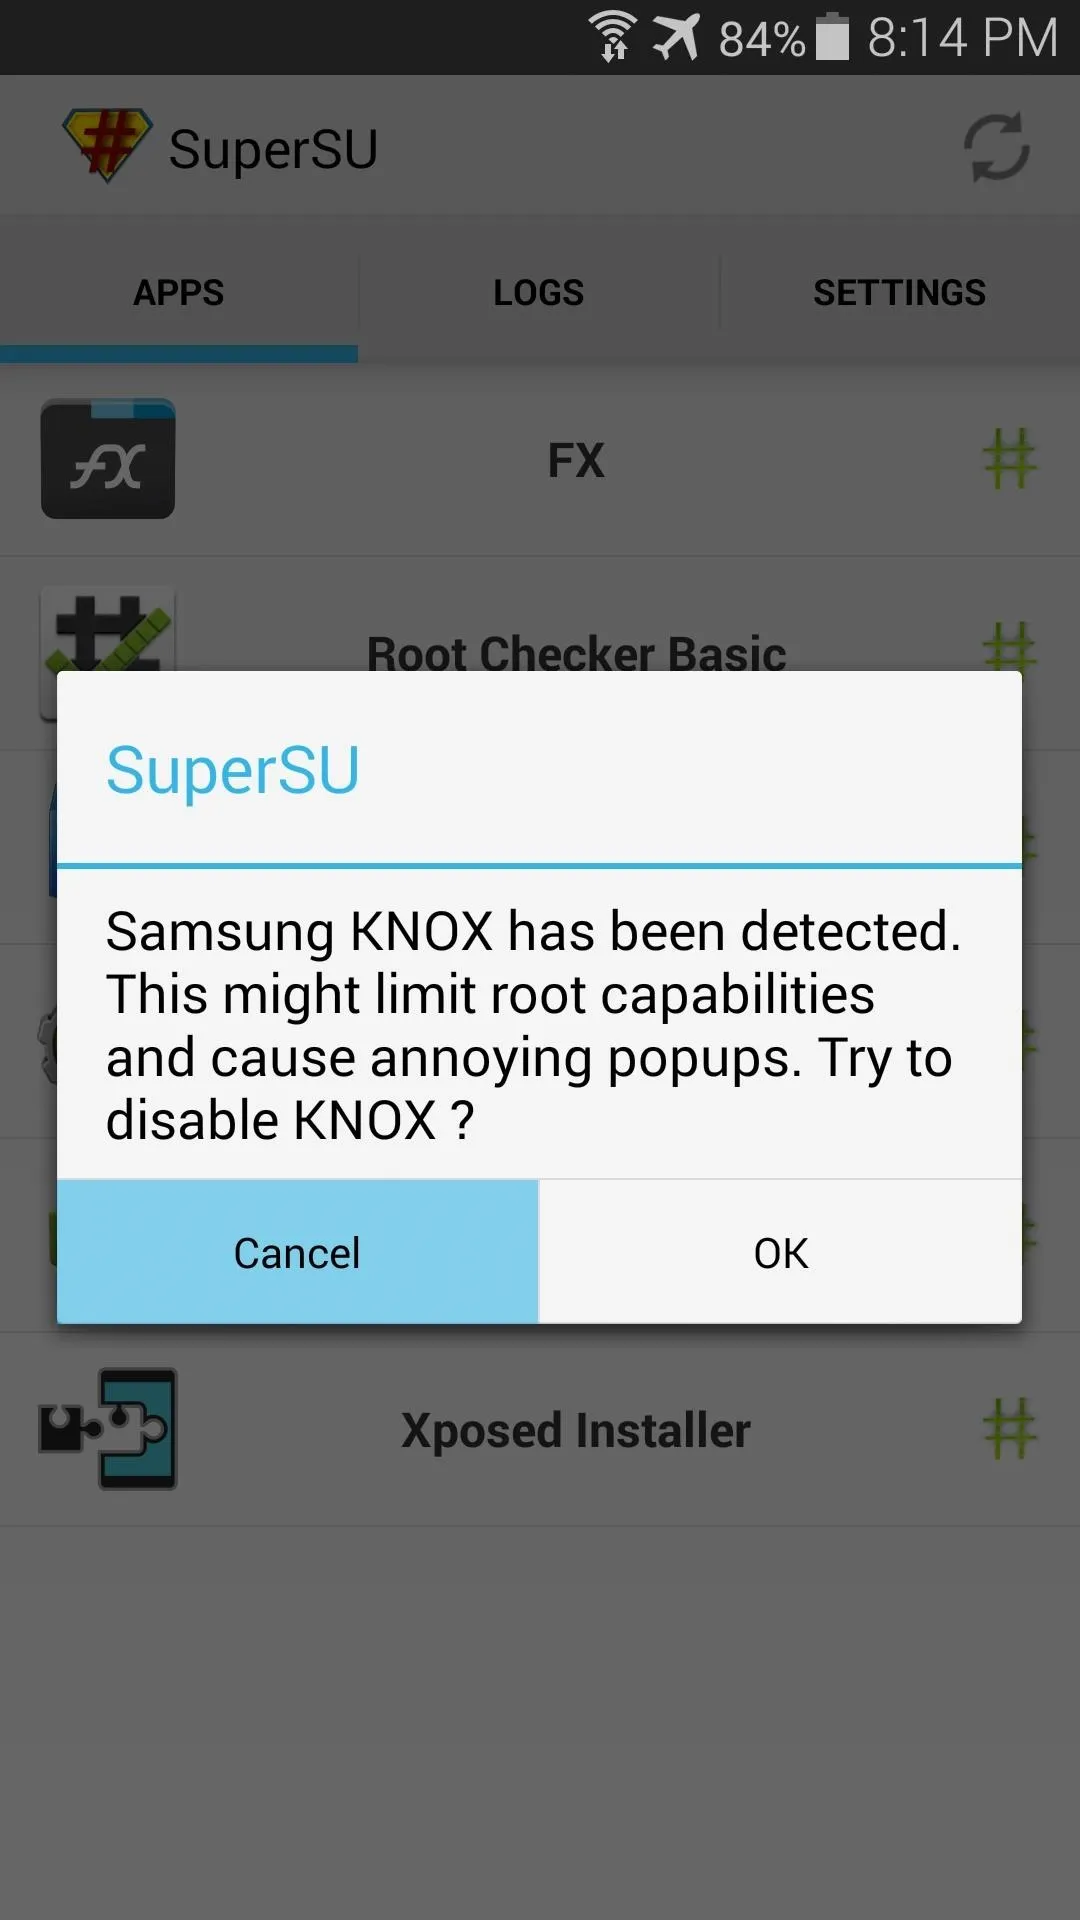
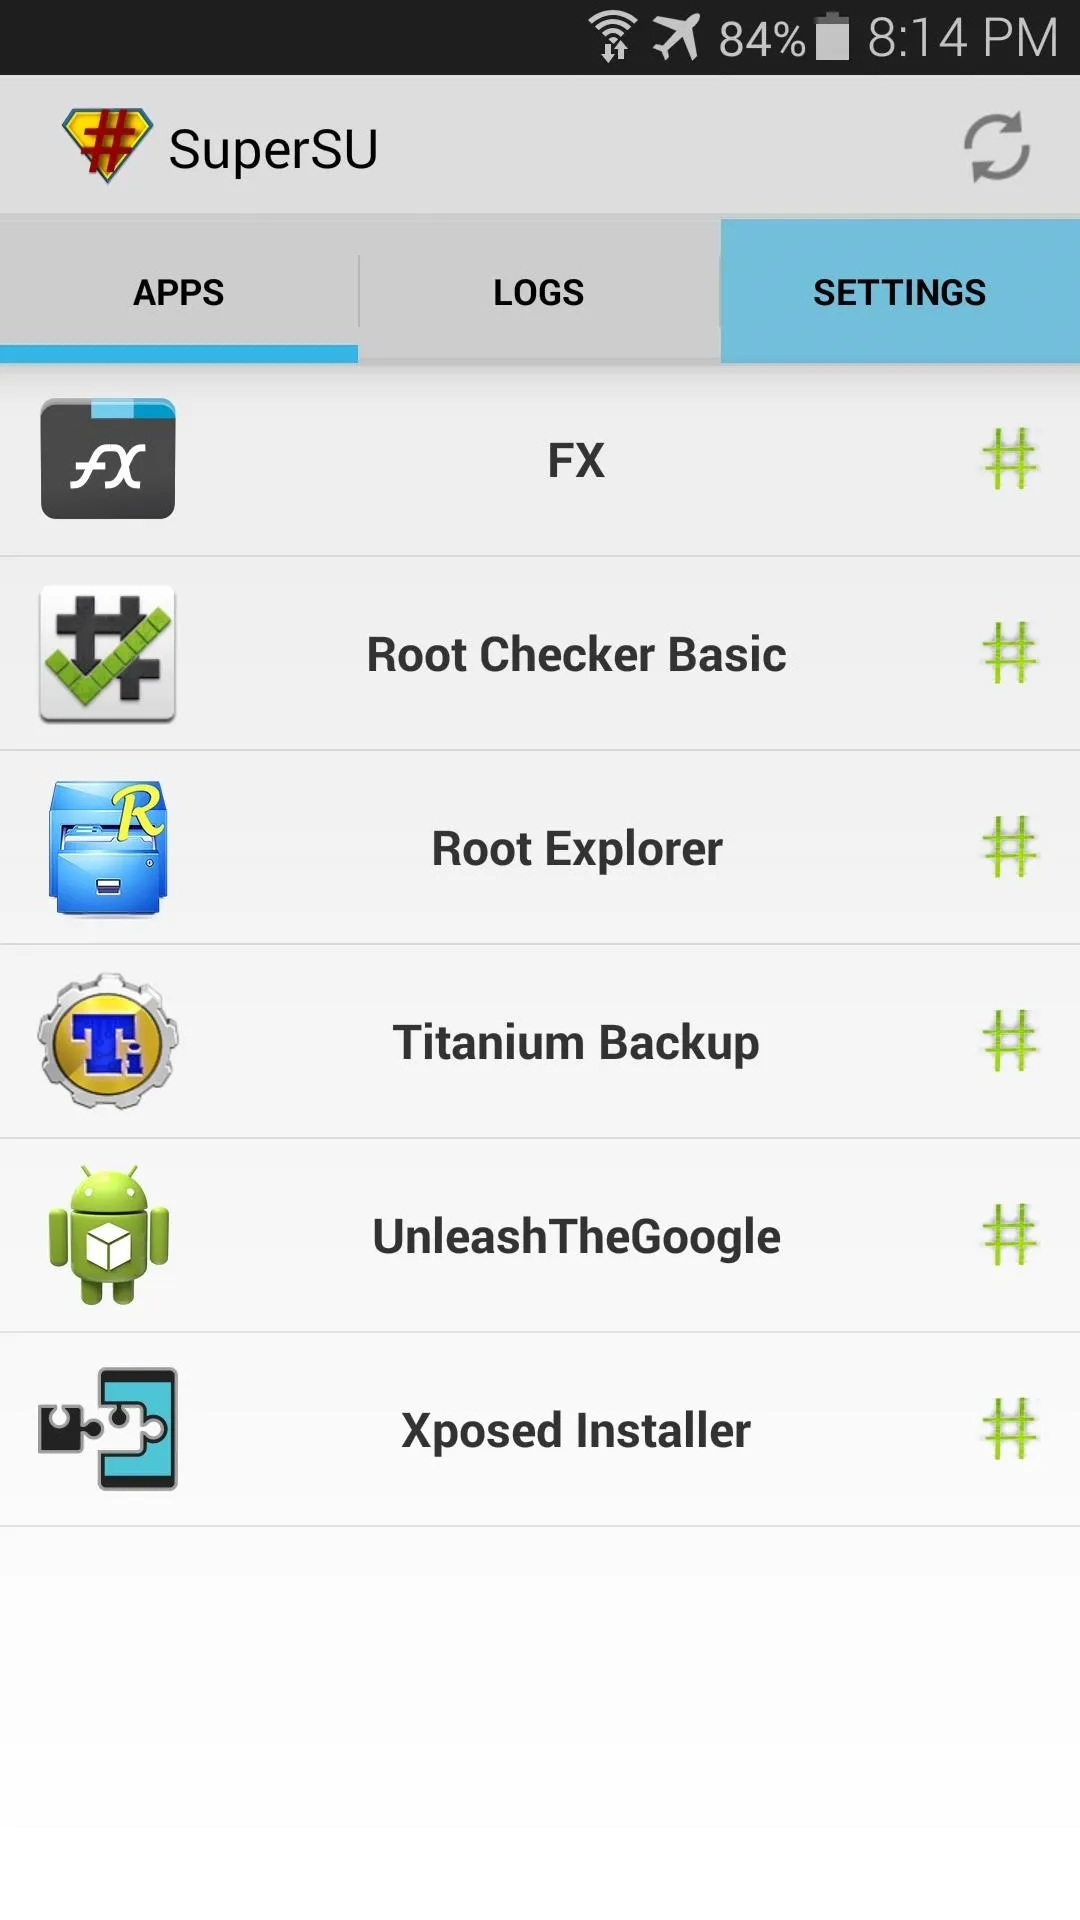
Open the SuperSU app, and it will ask if you want to delete Knox again, so press Cancel. Next, tap the Settings tab near the top of the screen.
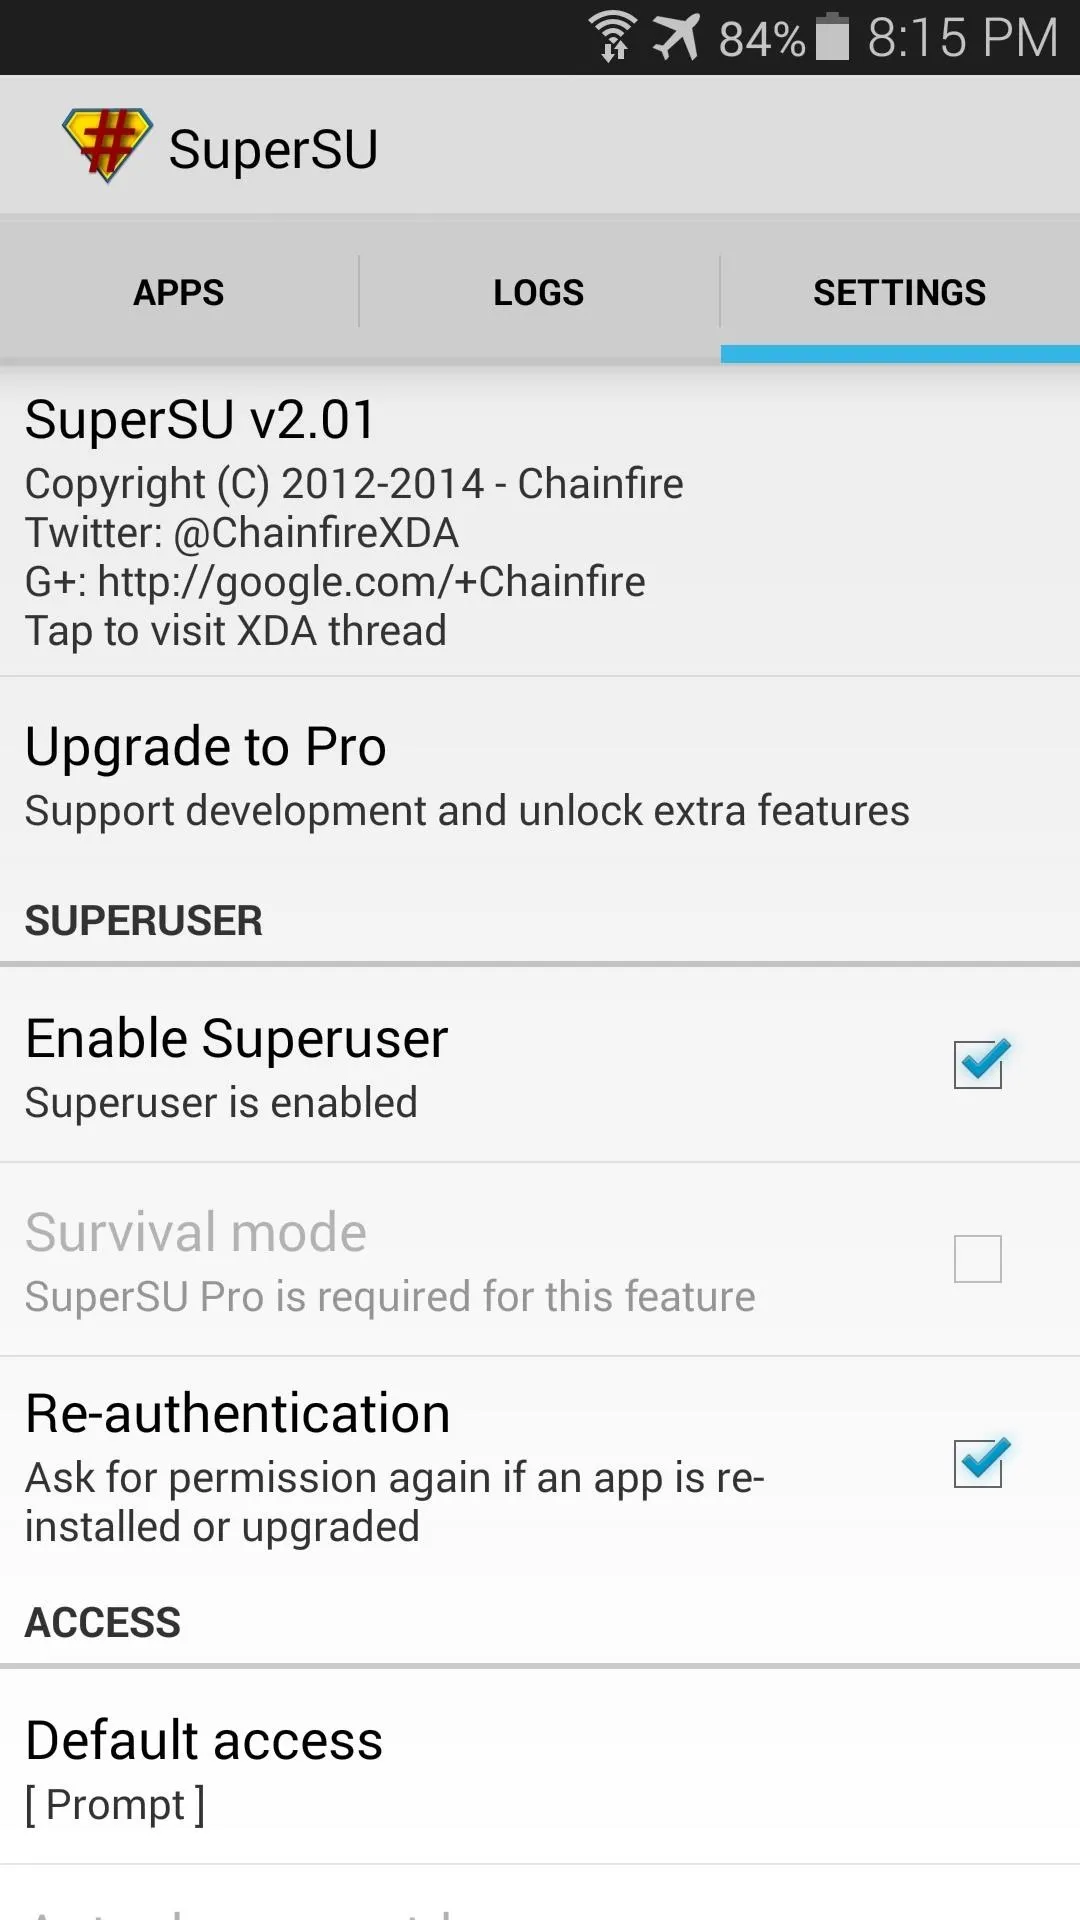


From here, scroll down the list until you find an entry titled Full Unroot. Tap this option, then hit Continue on the next menu.
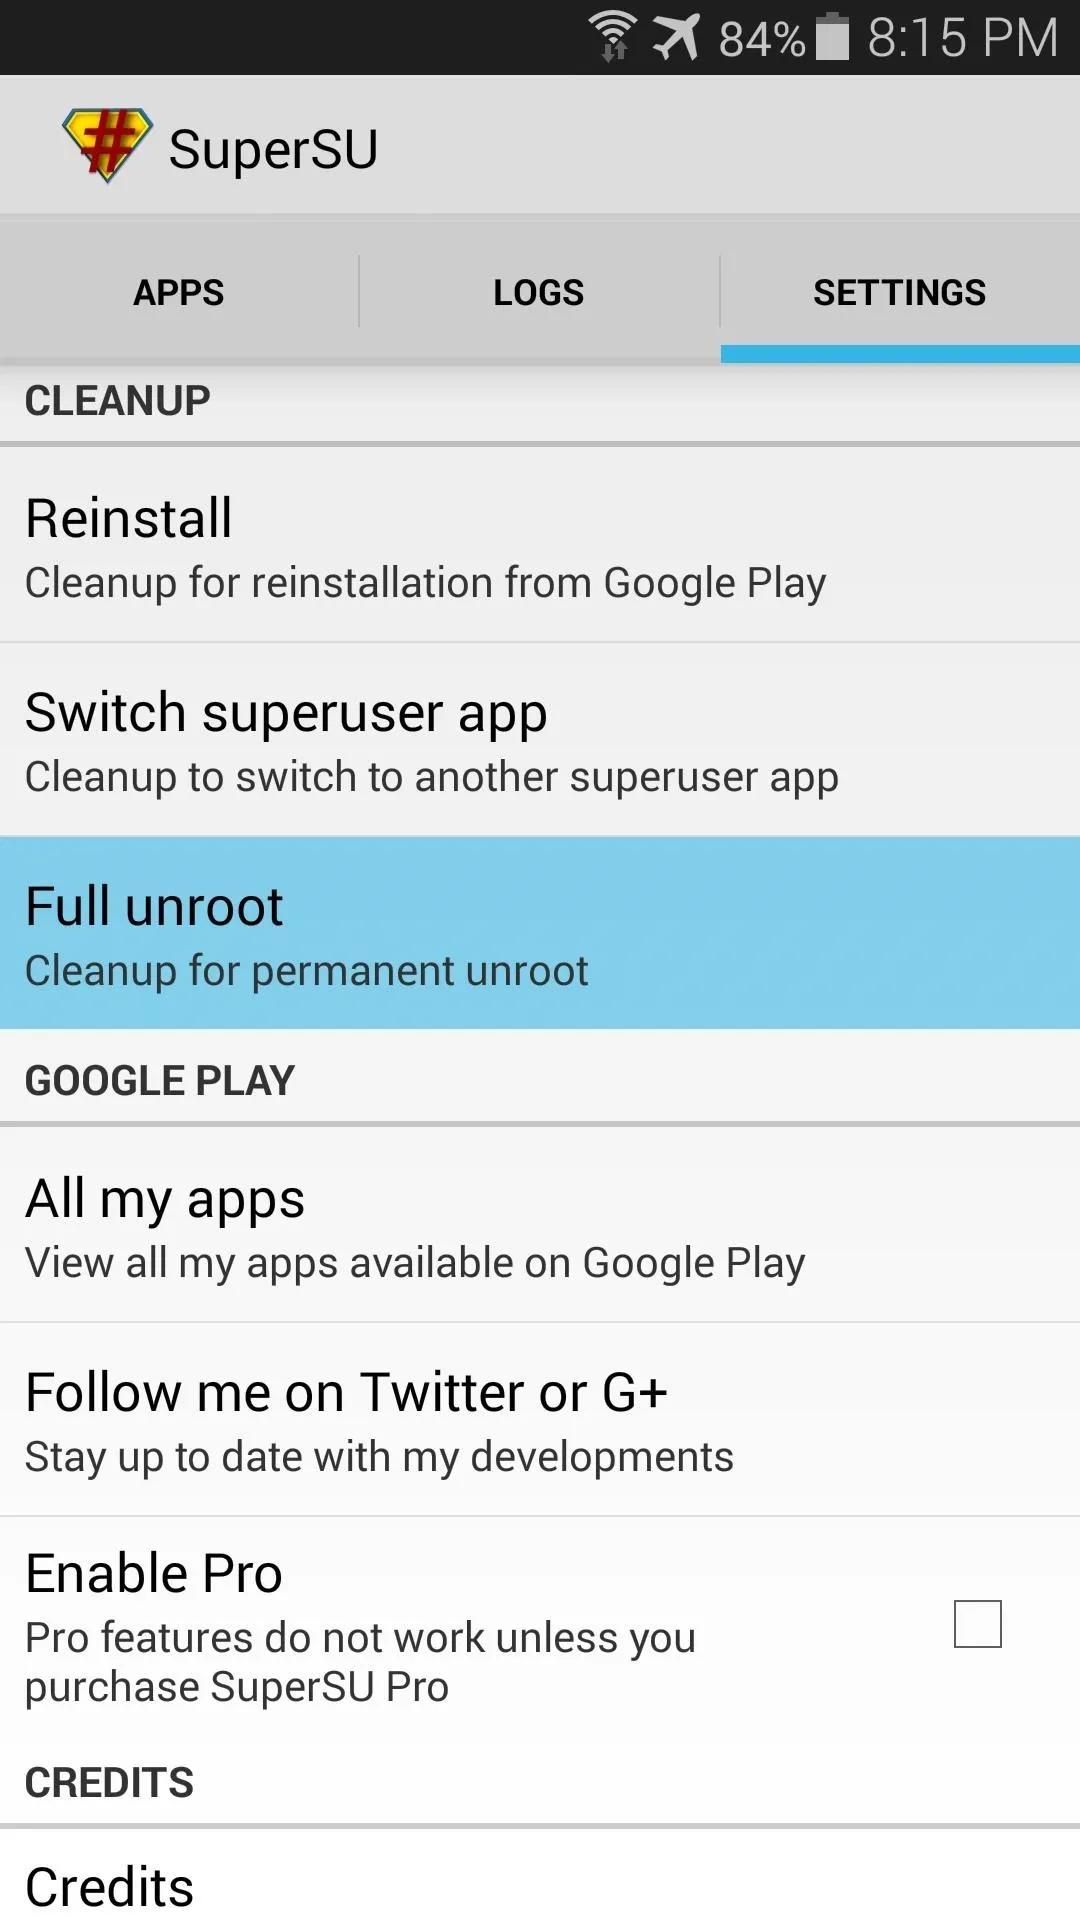
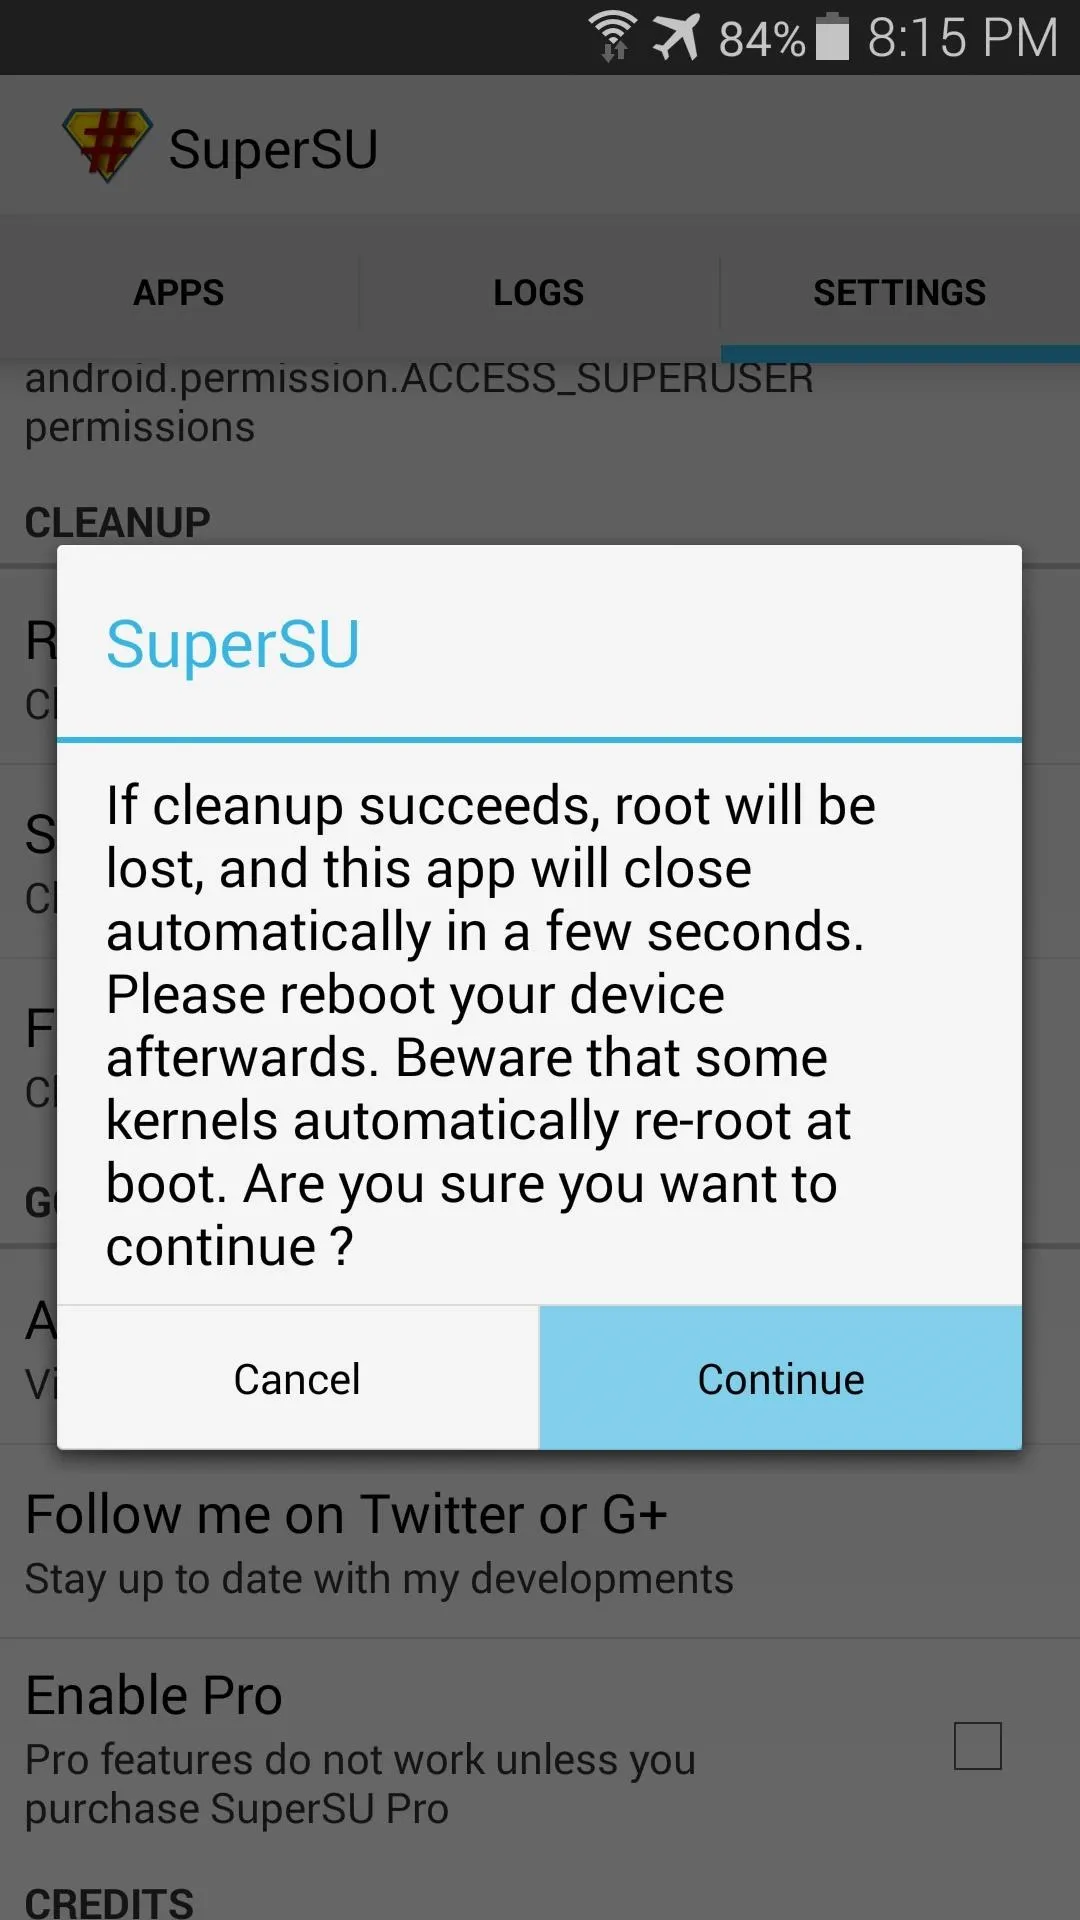
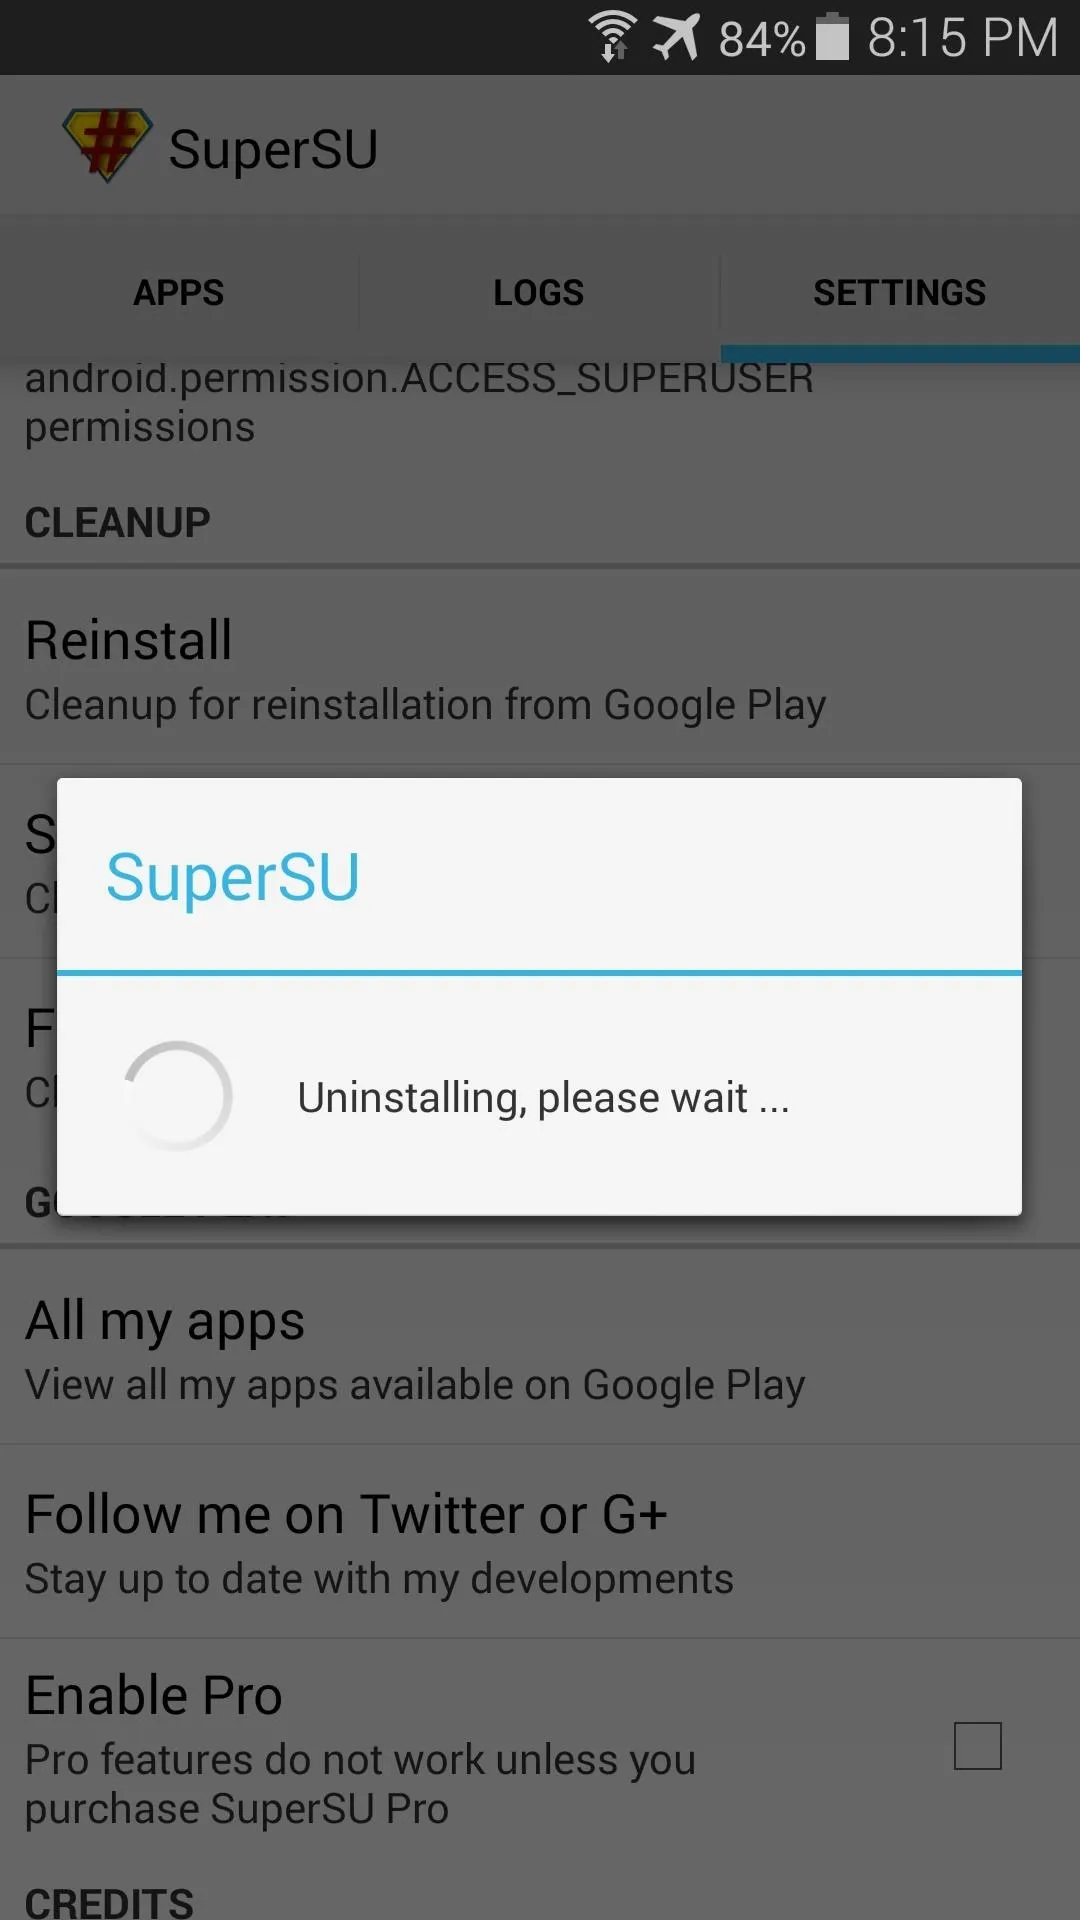


After a few moments, the app will close out without any confirmation dialog. At this point, you're already unrooted. Just reboot your phone so that the changes can take effect.
When you get back up, download Root Checker from the Play Store to verify that your phone is indeed no longer rooted.
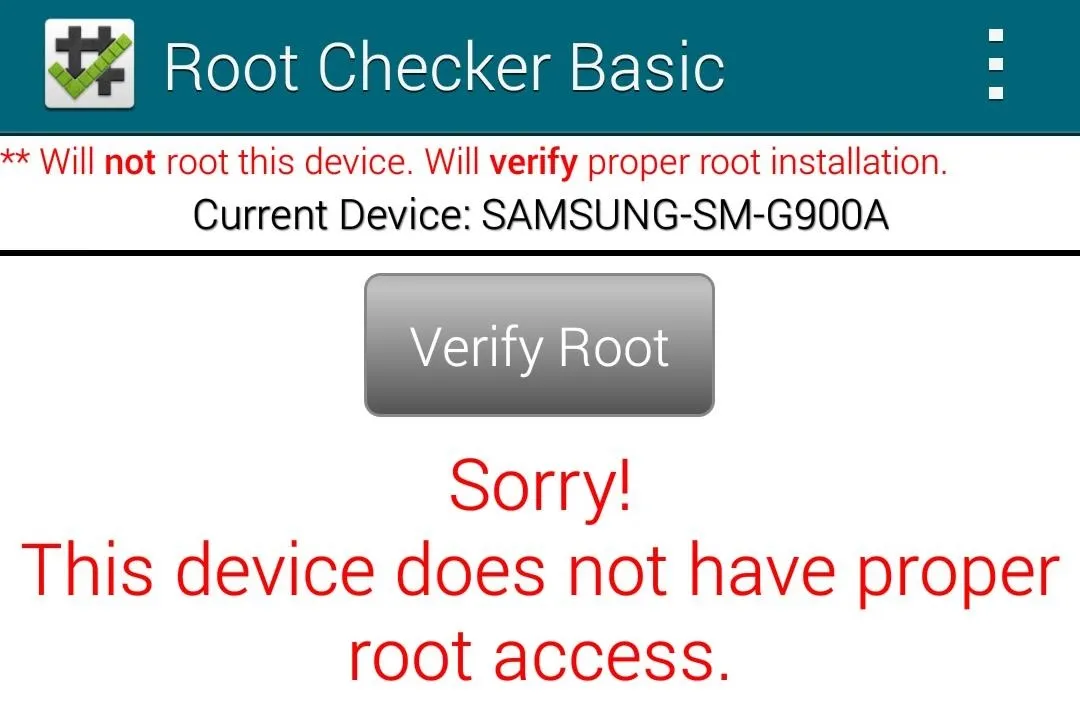
I told you it was easy, didn't I? How long did it take you to unroot your Galaxy S5? Let us know in the comments section below.









Comments
Be the first, drop a comment!