


From amateurs to professionals, DSLR cameras are the standard weapon of choice for most photographers. If you own one, then you probably know how expensive of a hobby photography can be. A good starter camera can run between $400 and $500. Then there are accessories like tripods, lenses, filters, and memory cards that can slowly empty out your wallet.
If you own a Samsung Galaxy S4, one accessory you don't have to spend money on is a wireless remote shutter release. The GS4 has a built-in IR (infrared) blaster, just like the HTC One does, which can be used to control TVs, radios, and you guessed it—DSLR cameras!
Follow along and I'll show you how to use your GS4 to wirelessly take photos with your DSLR. This works great for group photos that you want to be in, or when capturing photos from a distance or at odd angles.
Make Sure Your DSLR Is Compatible
The app we'll be using, DSLR Remote, utilizes your Samsung Galaxy S4's built-in IR blaster, so you'll need a DSLR with an IR receiver. For this tutorial, I'll be using a Nikon D3000, which has the IR receiver on the front, under the red accent on the grip.

Some cameras may have them on both the back and front, or not at all. Consult your DSLR's manual if you're not sure. If you don't have one, scroll down to the bottom of this article for an alternate method.
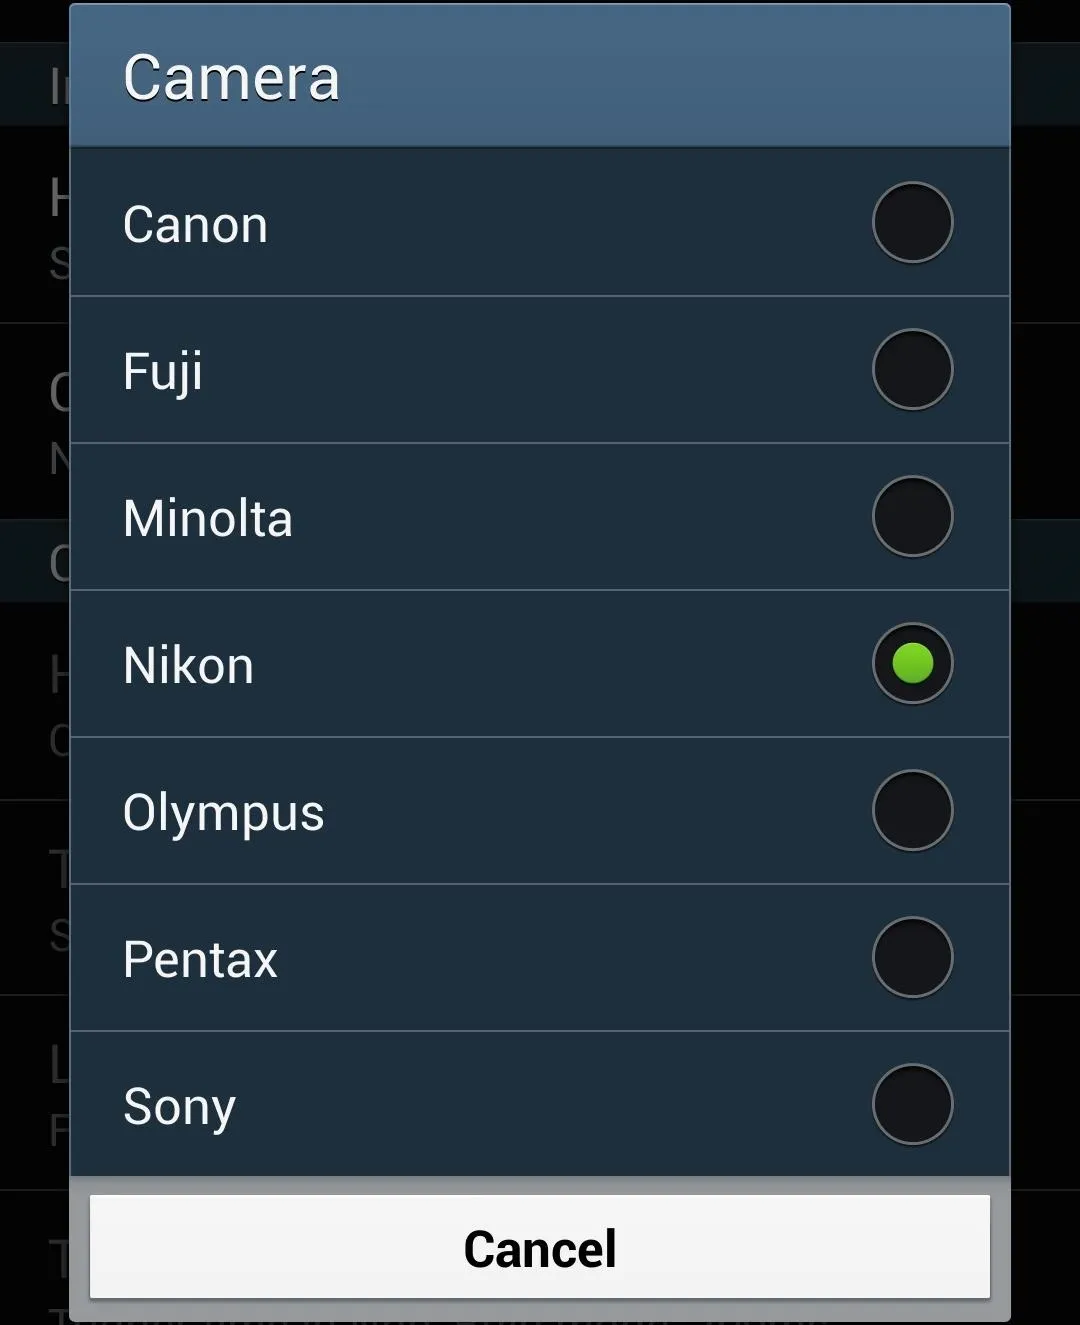
Below is a list of camera manufacturers that the app supports.
Set Up the DSLR Remote App
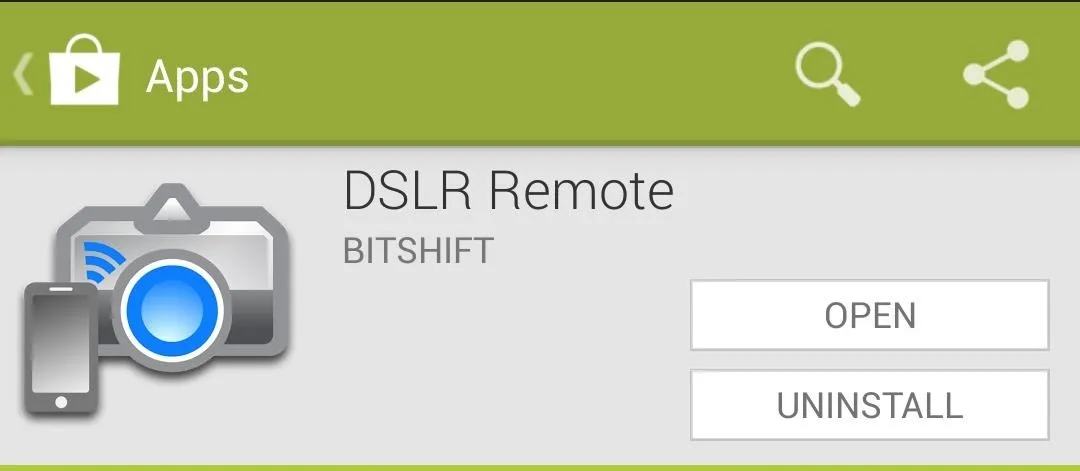
DSLR Remote was created by developer Bitshift and can be downloaded for free from the Google Play Store.
From the app's main screen, tap your GS4's menu button, then tap on Settings.
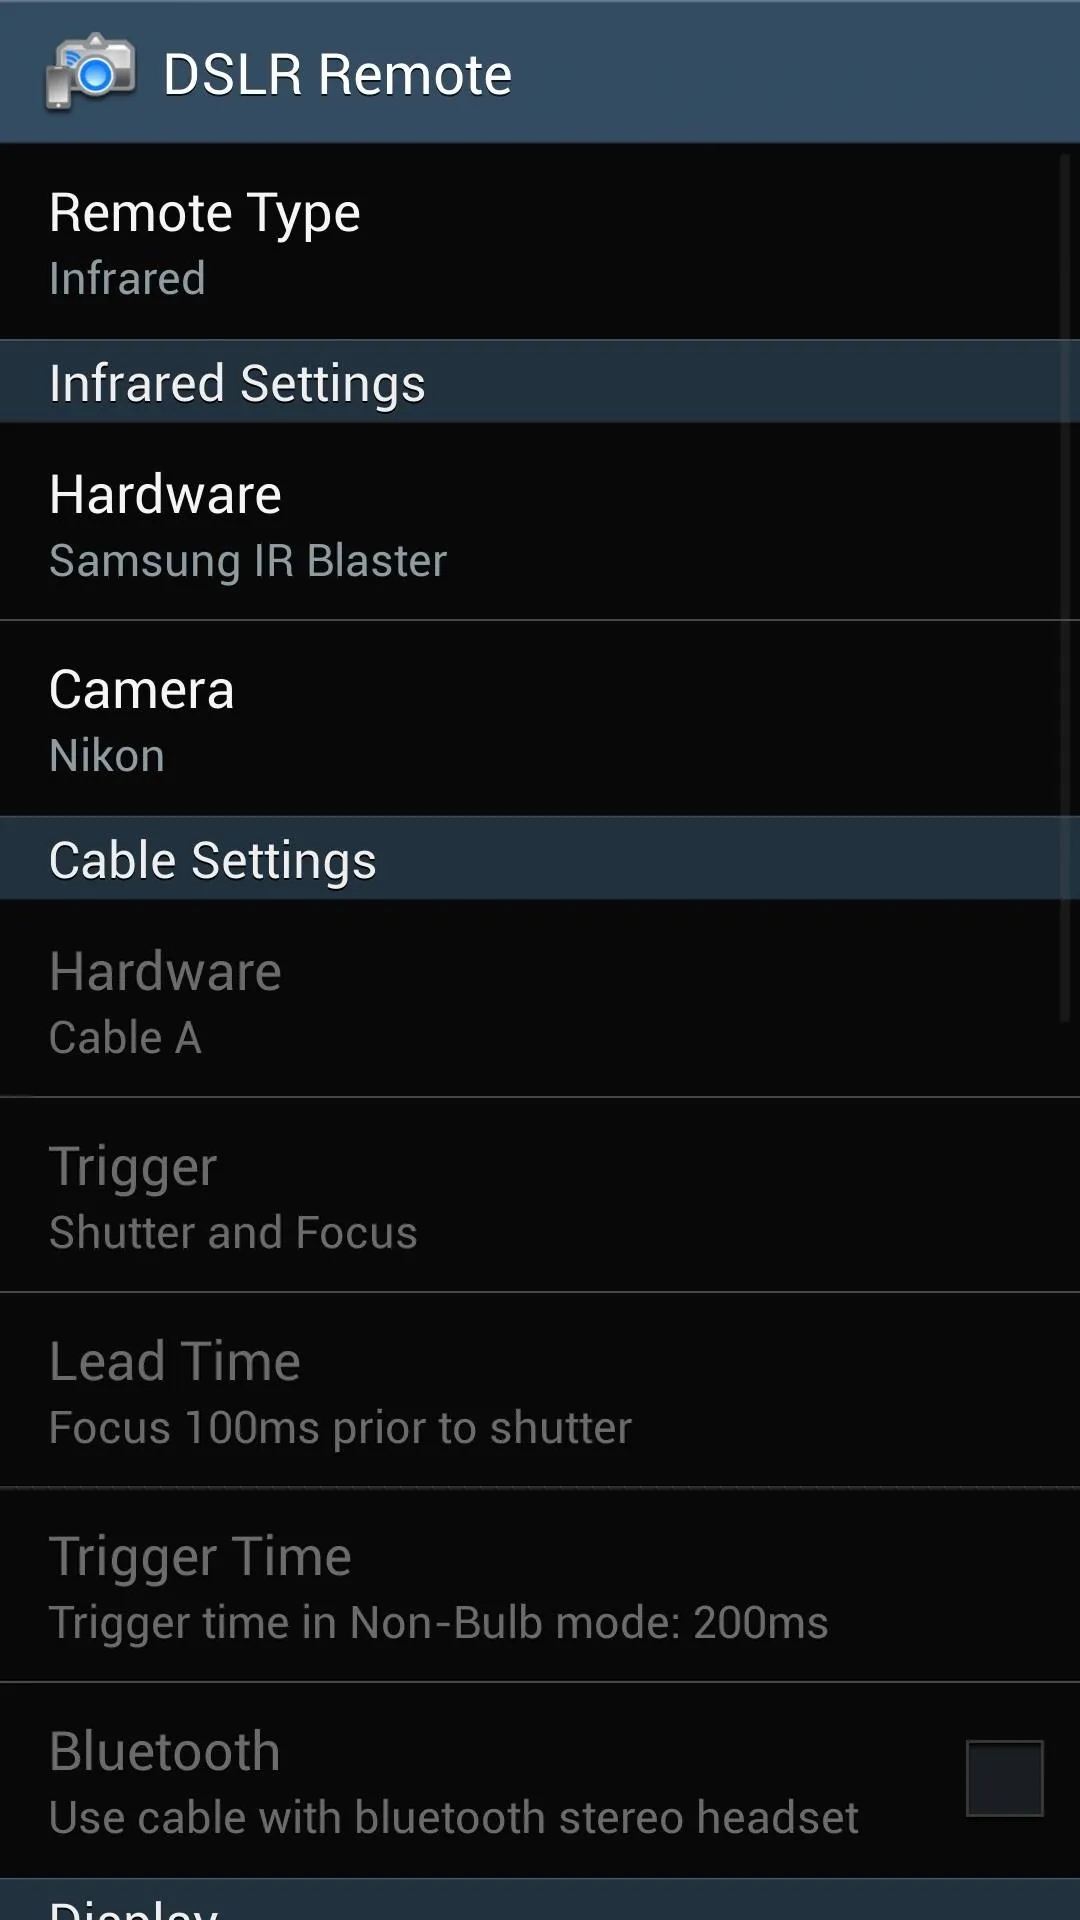
Make sure to configure the following settings:
- Set Remote Type to Infrared.
- Set Hardware to Samsung IR Blaster.
- Set Camera to your DSLR's manufacturer.
Enable Remote Mode on Your DSLR
Now we'll set up remote control shooting on your DSLR. The menus pictured below will be from my Nikon D3000. It's an older model, but the process and general layout of the menus should be similar amongst newer models.
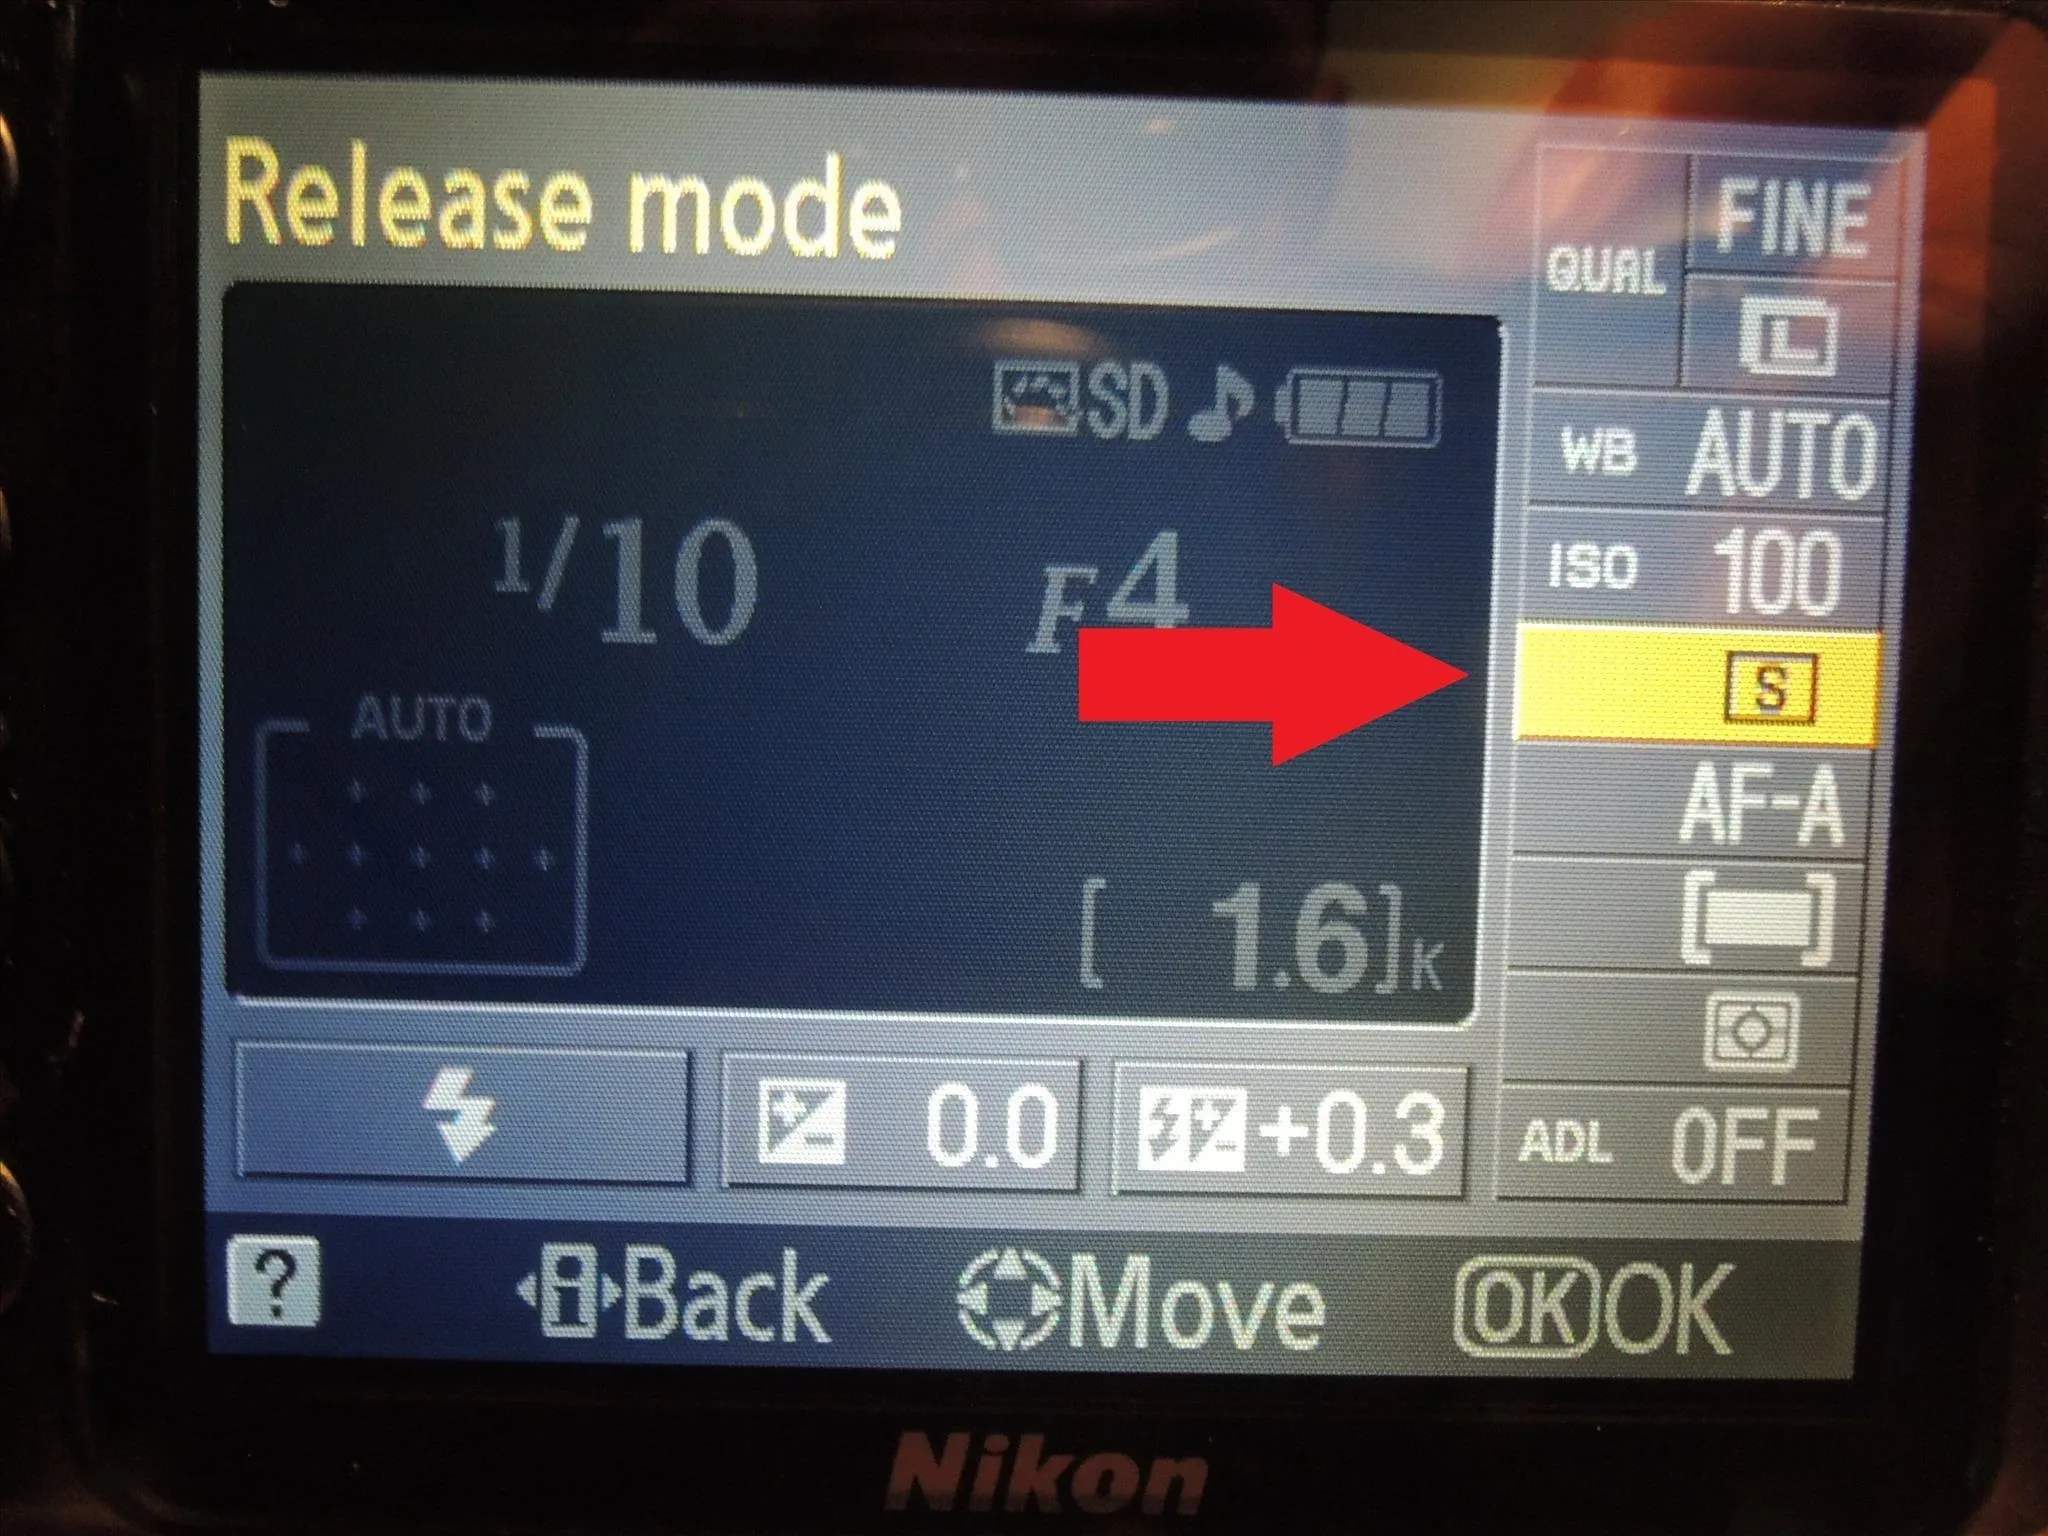
Navigate to your camera's Release mode. By default, it's set to [S] for Single frame.
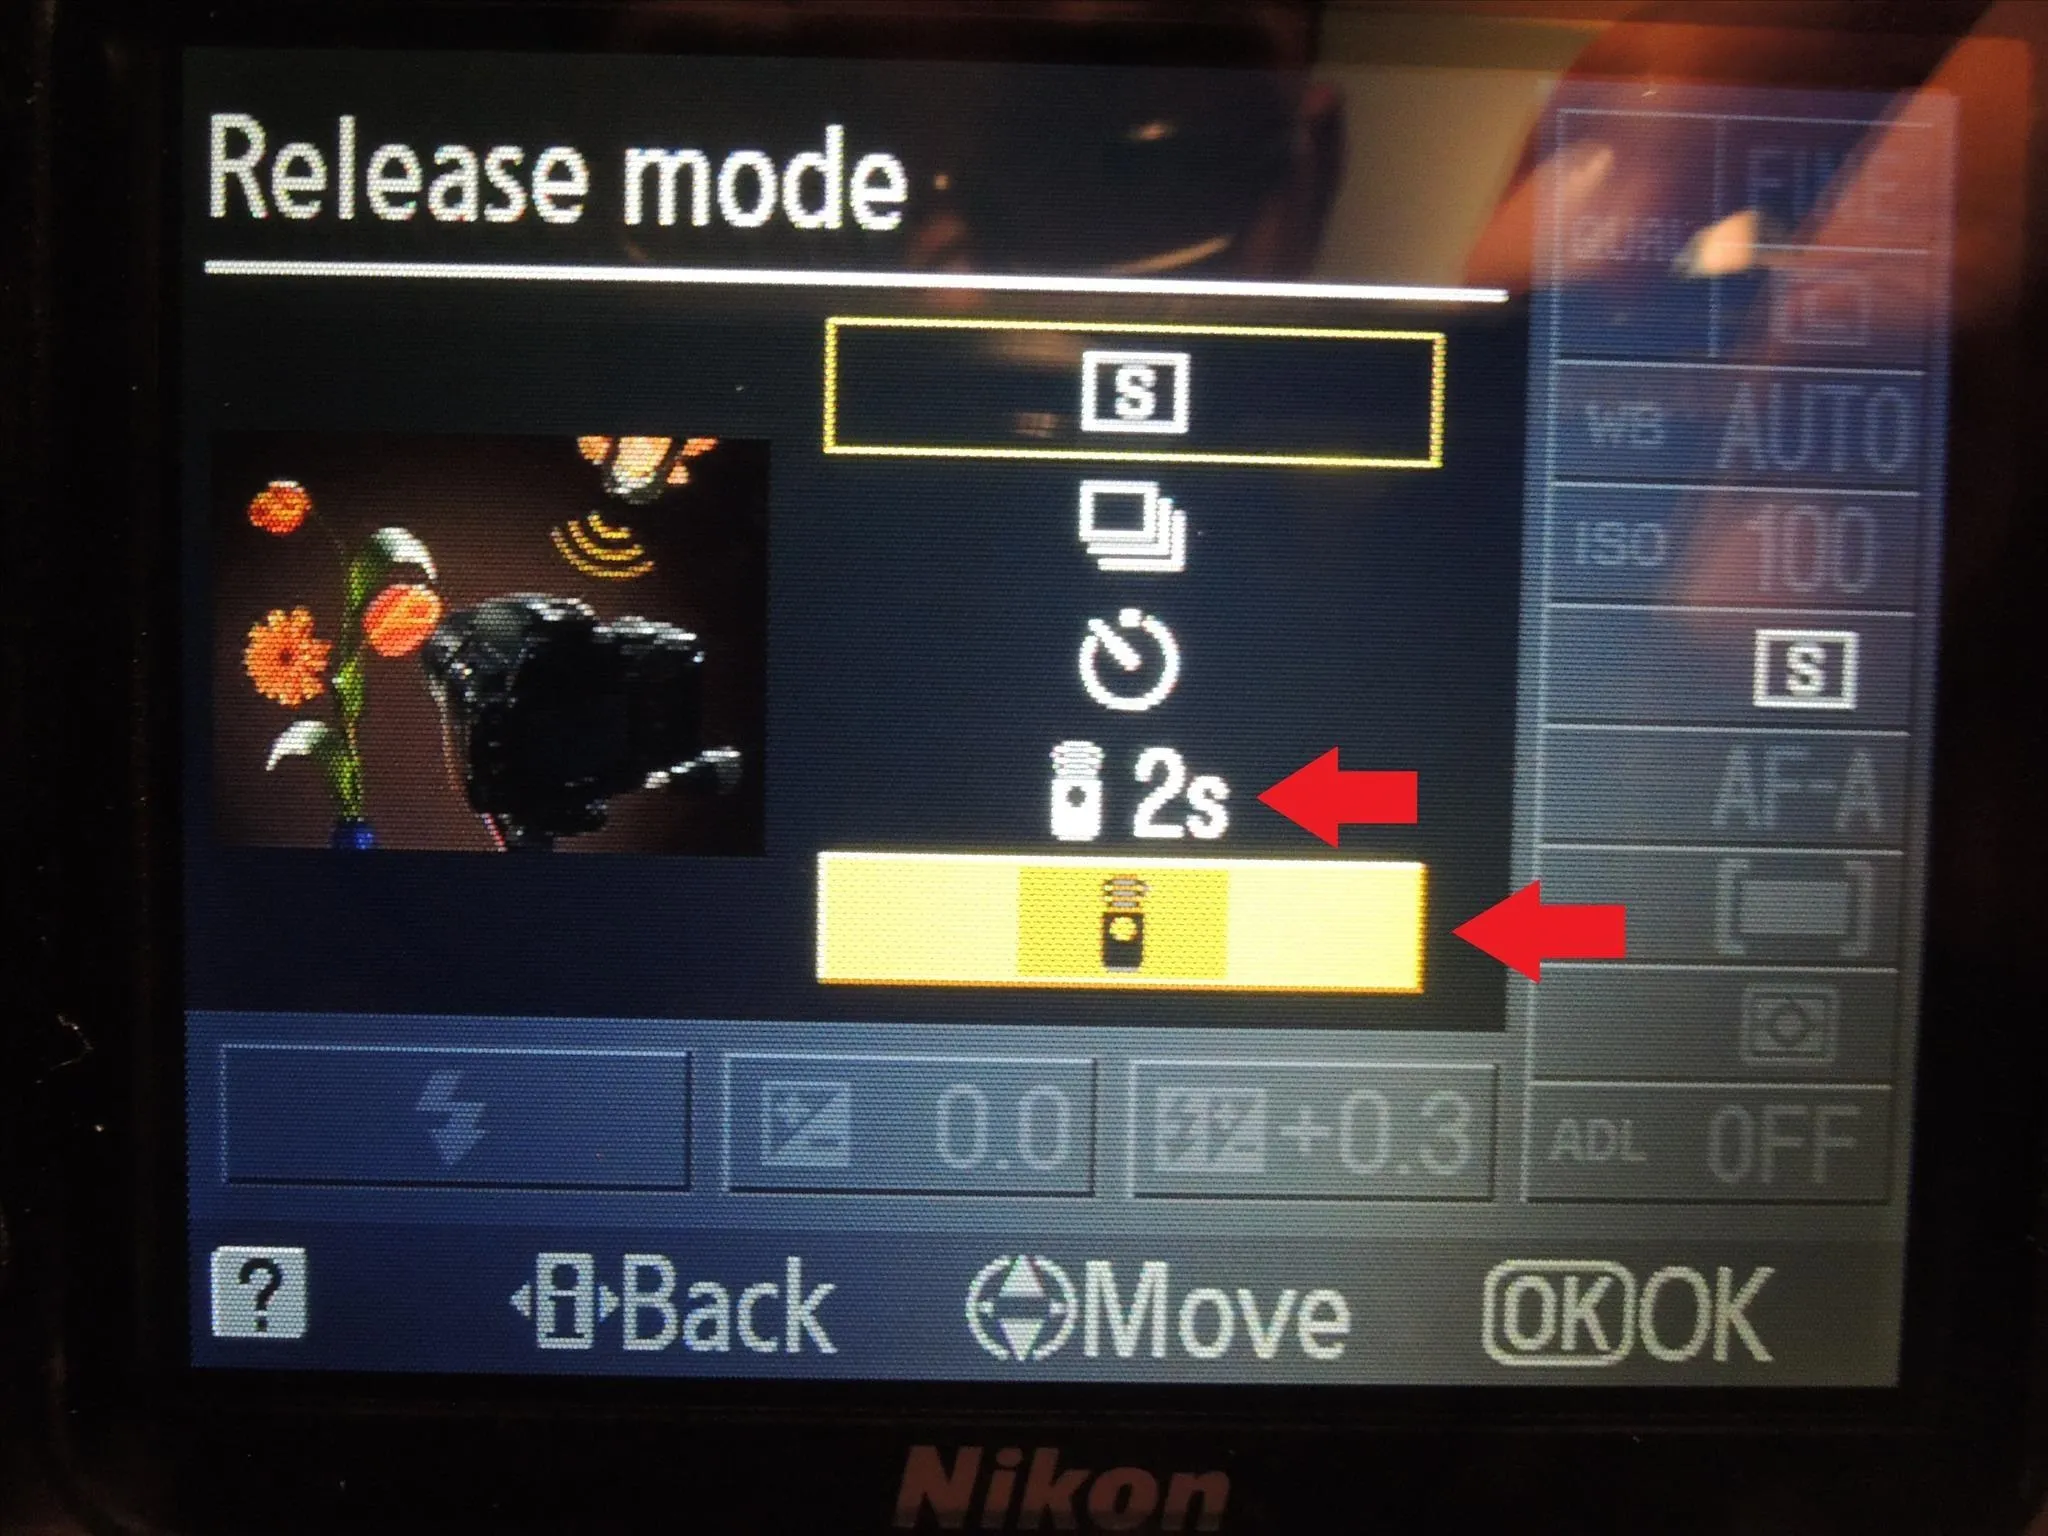
Change it to a Remote setting (the icon will be a remote along with wavy lines). Both Nikon and Canon have options for quick-response remote and 2 second delayed remote. The latter is useful if you want to get into a shot, fire the shutter, and pocket the phone so it won't be in the picture.
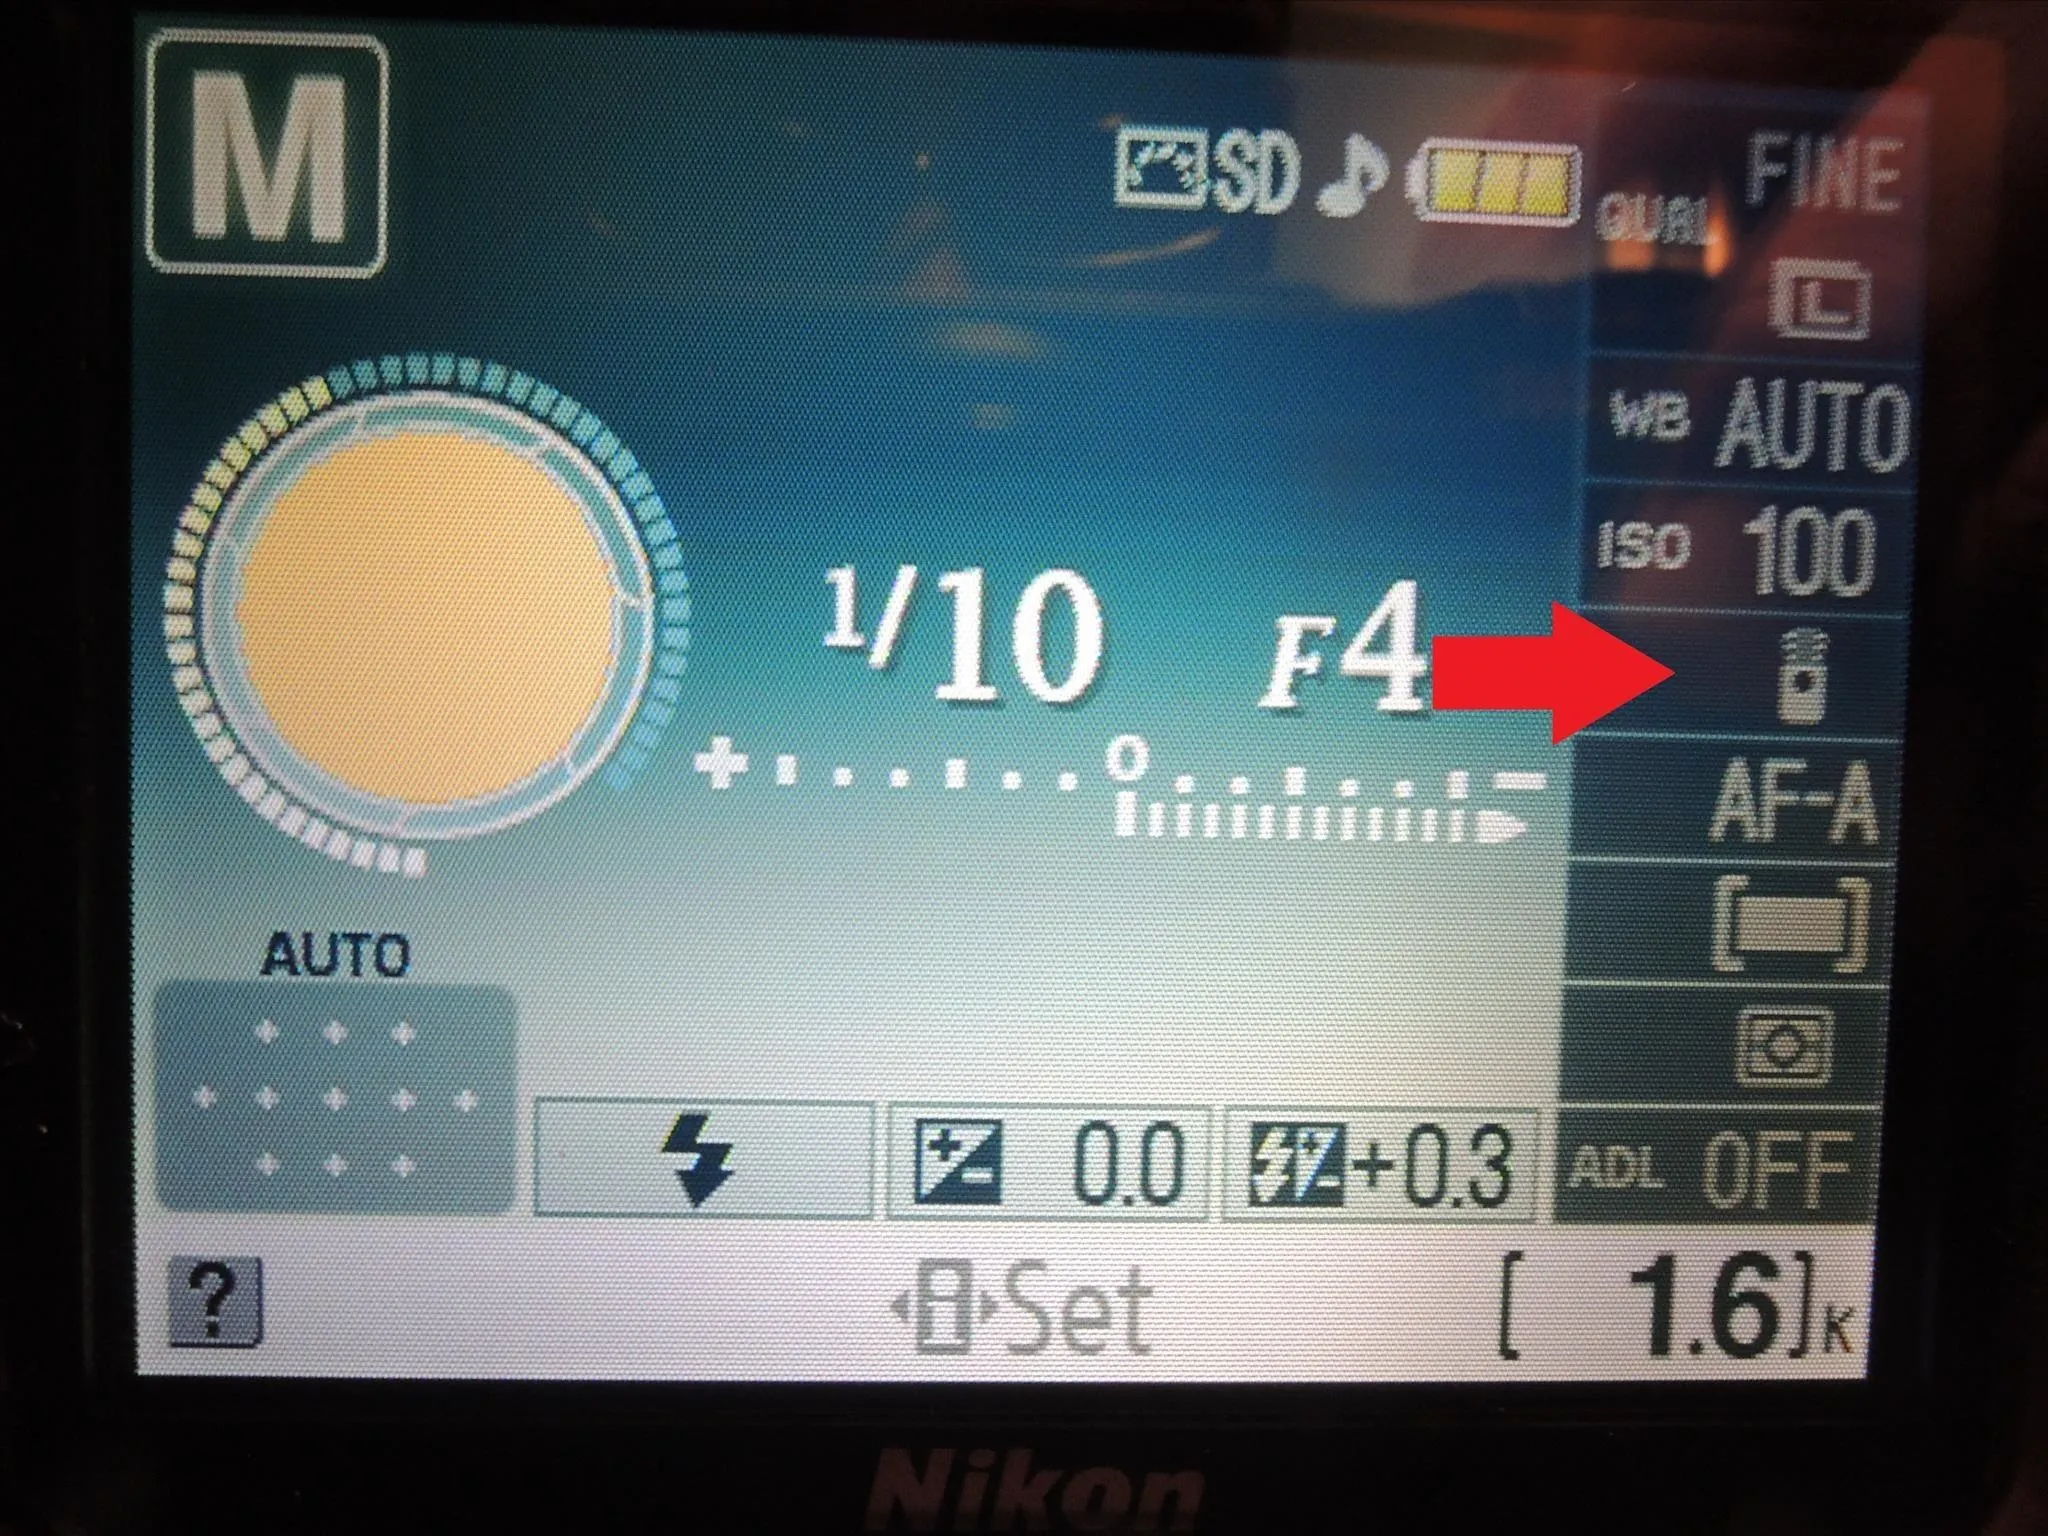
Your DSLR's shutter can now be activated via remote!
Use Your New DSLR Remote
From DSLR Remote's main menu, tap on Remote.

Here you'll be greeted by a very simple screen — a single button in the middle, labeled with an S for Shutter.

To take a picture, simply frame your shot, point the top of your Galaxy S4 towards your DSLR, and tap the S button.
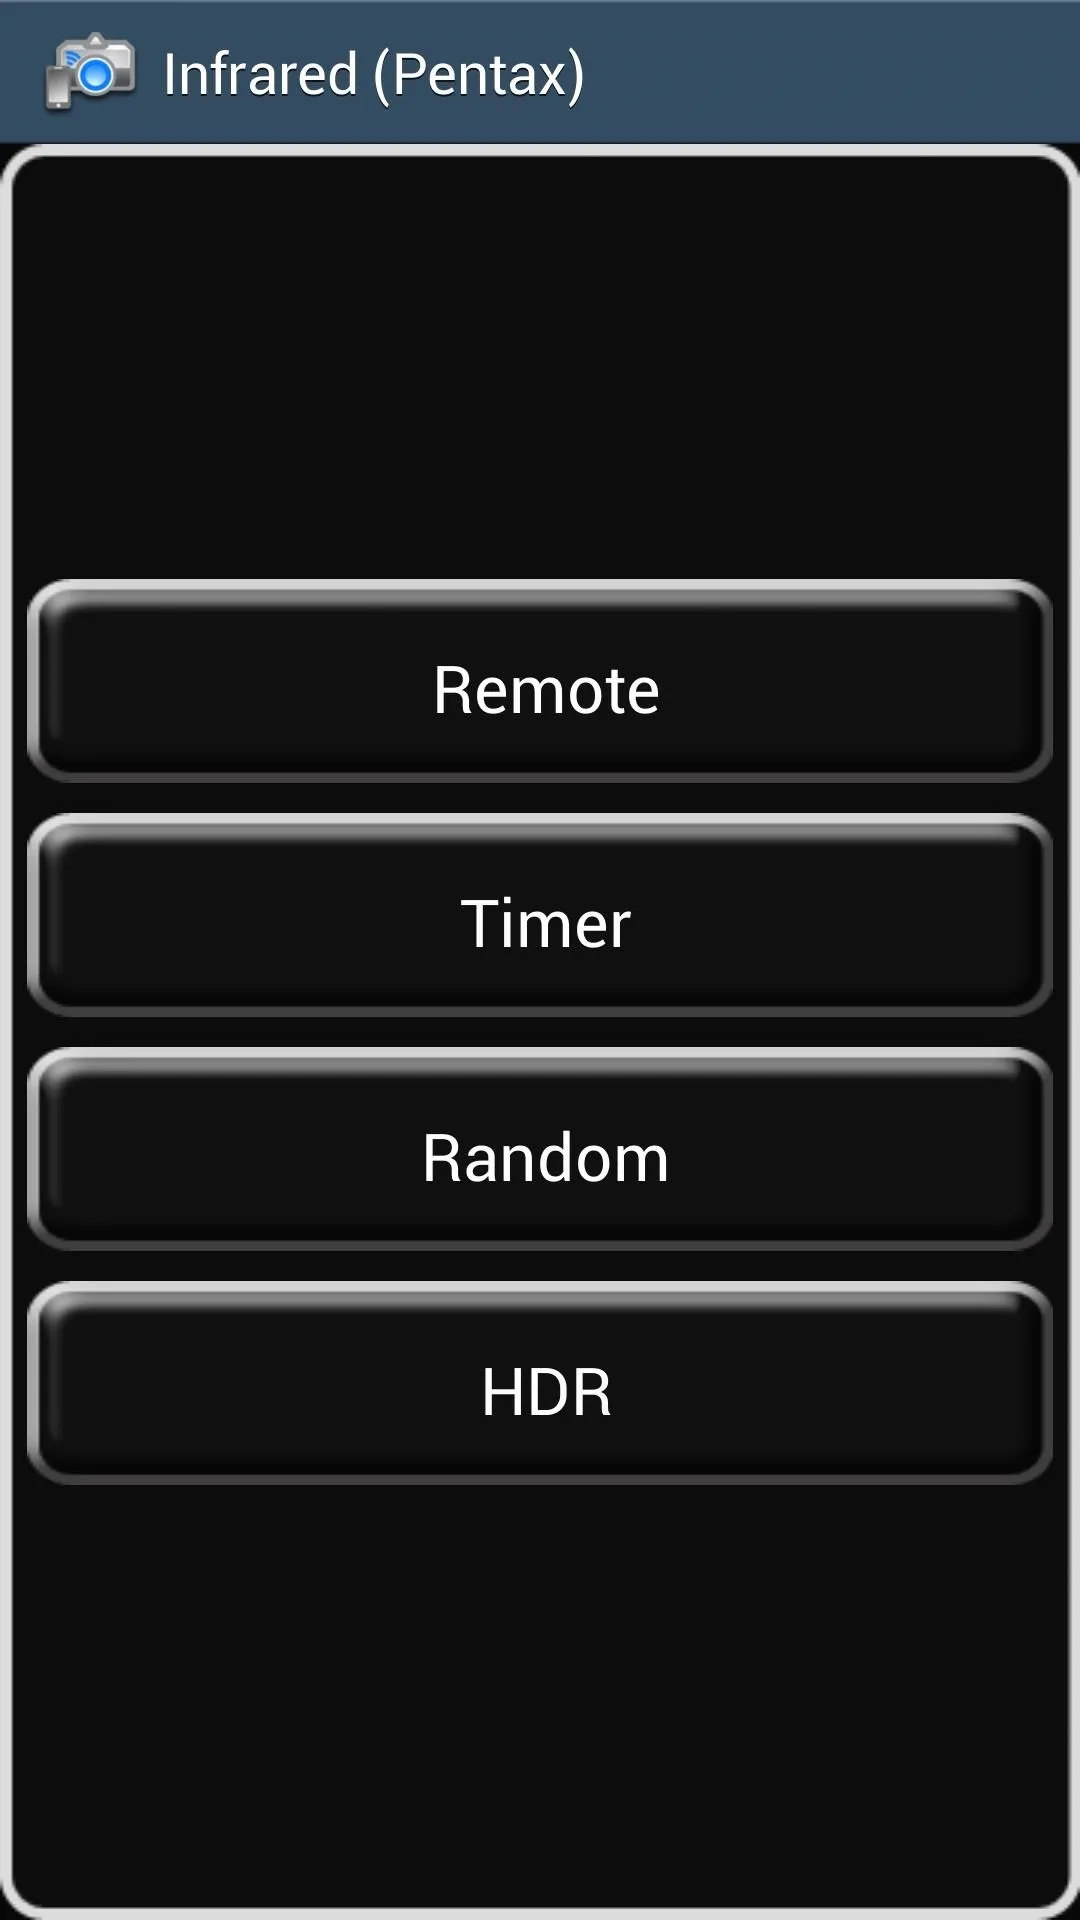
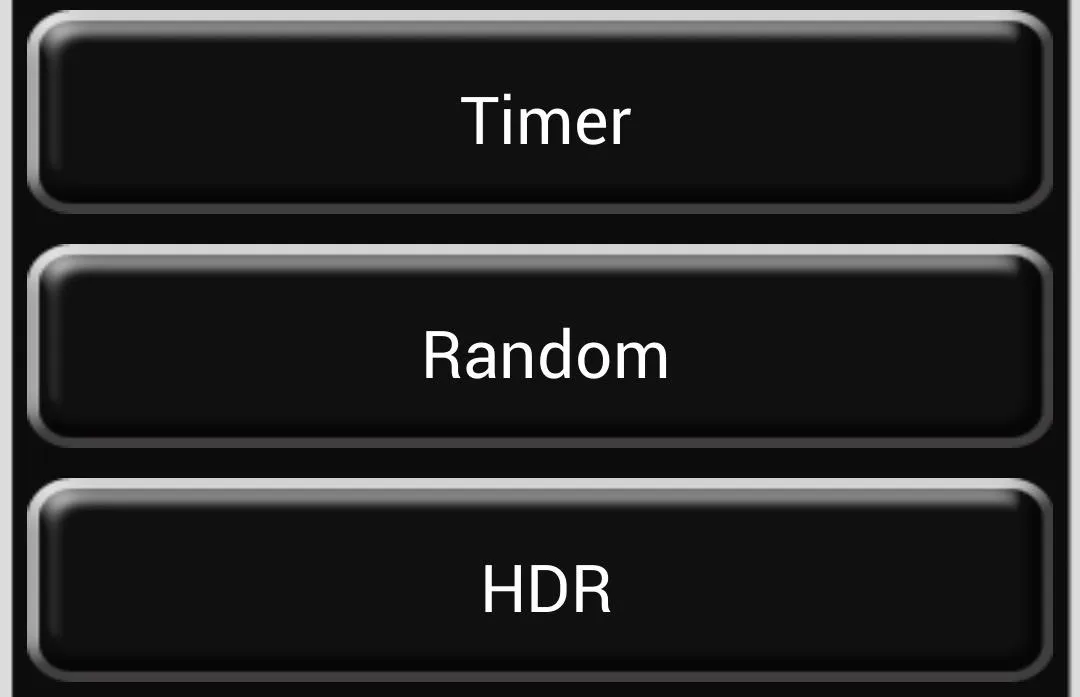
Timer, Random, and HDR Modes
There are three additional shooting modes, all of which are easily accessible from the main menu.
Timer mode works great for time-lapse photography. Since you can control the camera without physically touching the shutter button, you can prevent accidental camera shake from ruining your photos.
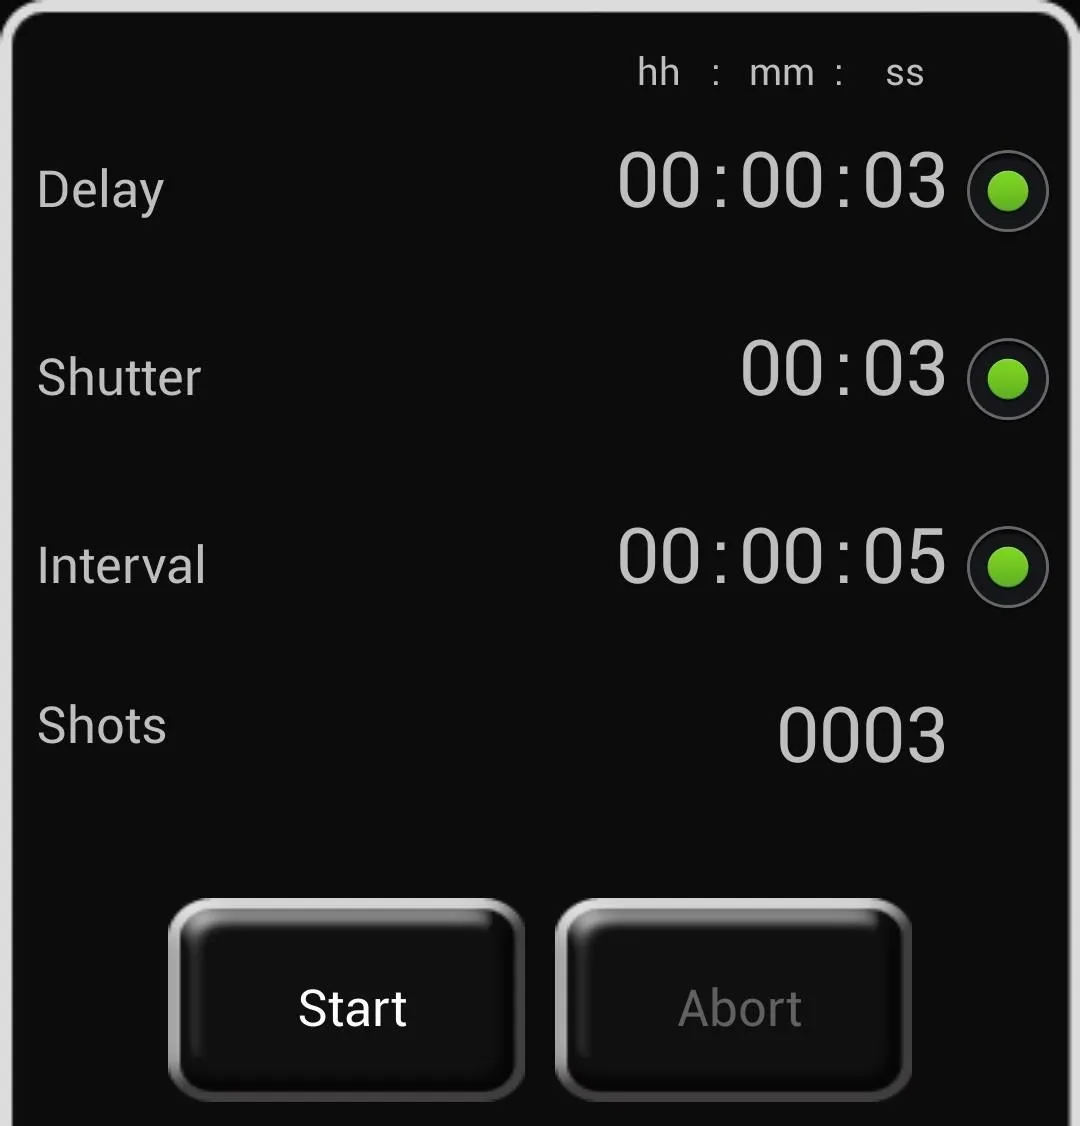
Here are the settings you'll have to tinker for Timer mode:
- Delay: How long before the shutter fires.
- Shutter: How long your shutter is open (to be used in conjunction with your DSLR's Bulb setting for long exposures; on my Nikon this setting was found in Manual mode by scrolling through the shutter speeds).
- Interval: How long between shots (if you have more than one).
- Shots: How many shots you want taken.
Once you've adjusted the settings to your needs, tap the Start button to start shooting.
Random mode lets you set a certain amount of time, and will fire the shutter at random times (however many shots you choose).
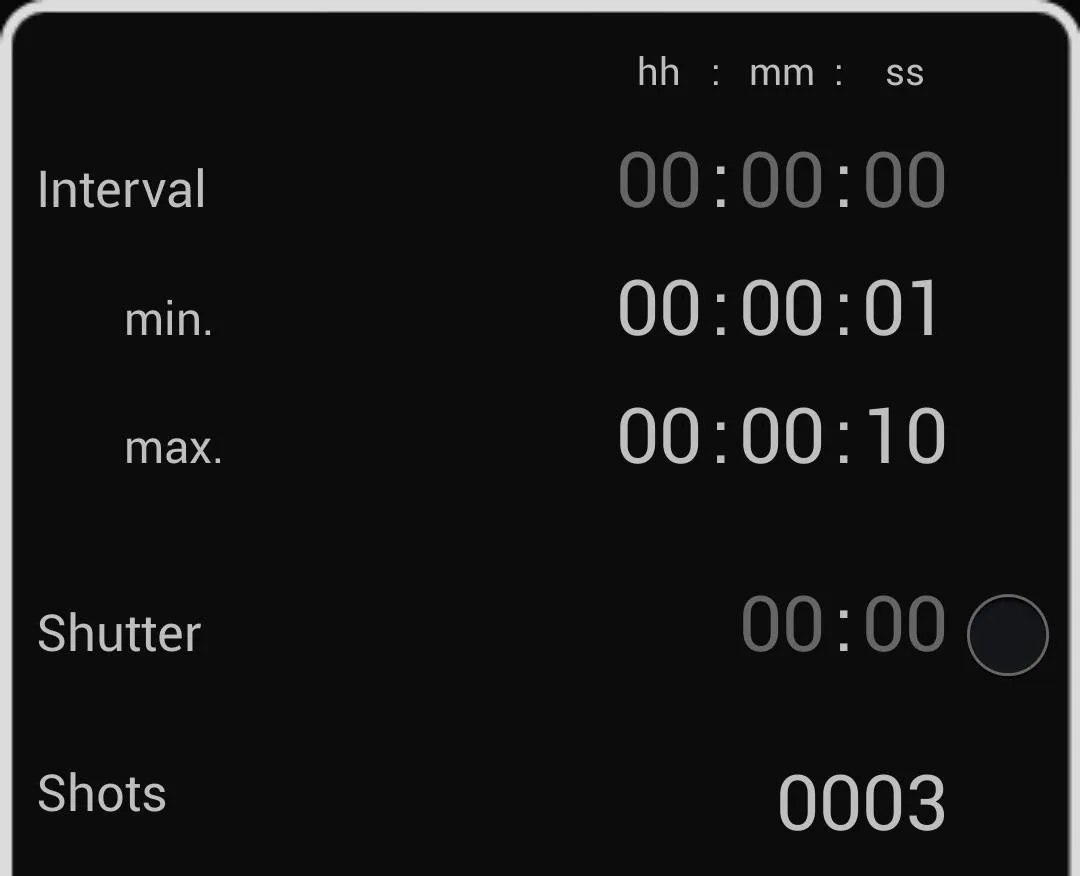
Just set the min. and max. times to however long you want the interval to be, how long you need the Shutter open (if necessary), and how many shots you want to take. Again, you would point your GS4 at your camera and press Start to begin shooting.
Last, but not least, is HDR or high-dynamic range mode. HDR photos are a composite of the same photo taken several times at different exposure levels, bringing out a richer array of colors.
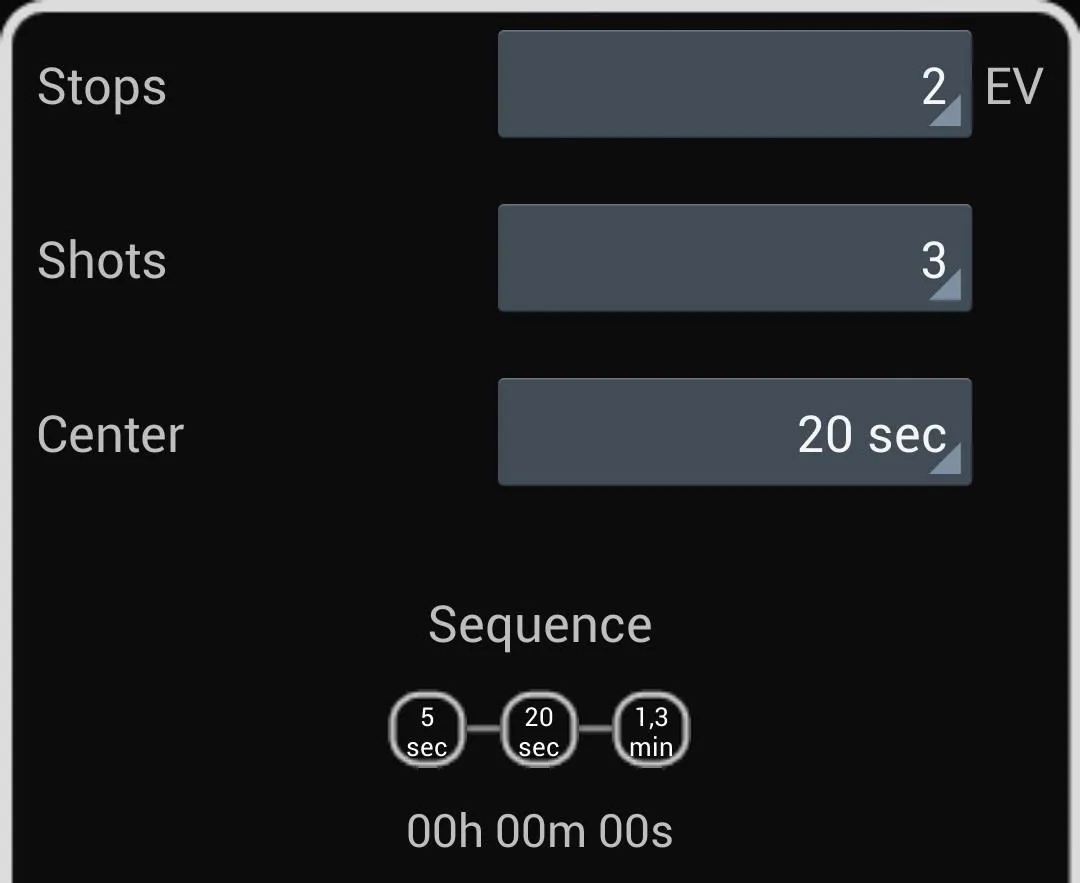
There's a Stops option to change the exposure value (EV), however it didn't seem to work with my Nikon, possibly because it's an older model. I had to manually change the exposure on the camera itself in-between shots.
The Shots option is how many shots you want taken, and Center is the length of time to base your shooting sequence around. For example, pictured above is a sequence with 20 seconds as the center. The camera will take pictures at 5 seconds, 20 seconds, then 1.3 minutes.
No IR Receiver on Your DSLR? Make a Bluetooth Dongle
If you're an experienced DIY-er, you might have some fun putting together a Bluetooth cable for the app. For required materials, and step-by-step guides, check out developer bitshift's Hardware page on his website. For camera compatibility, as long as your DSLR has a remote option for using a 2.5mm jack, it should work.
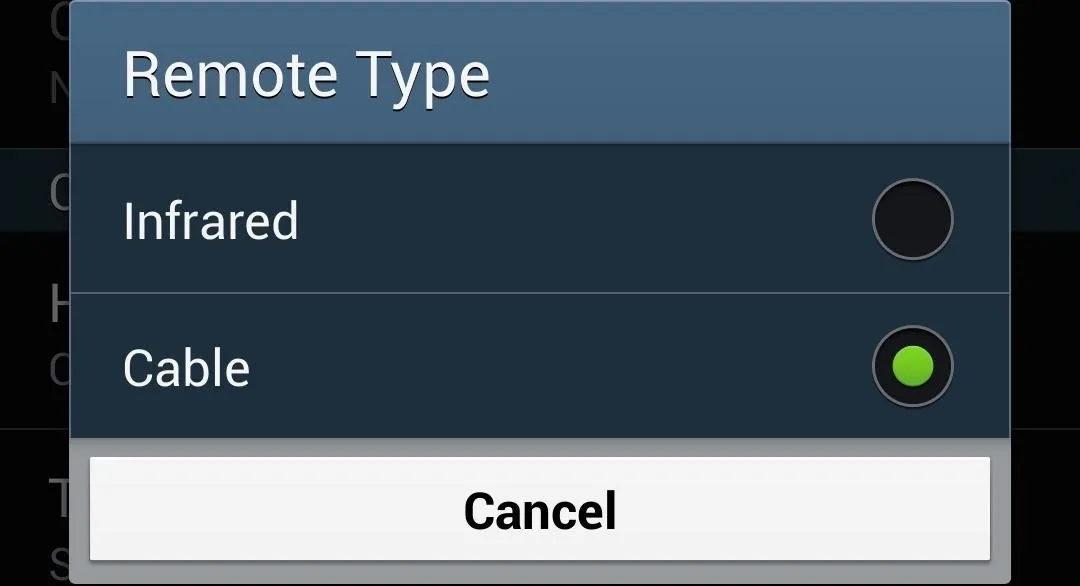
Once you've fashioned together the cable and dongle, don't forget to head into the app's settings and change Remote Type to Cable instead of Infrared.
Able to get some really cool time-lapse or HDR photos with the help of this app? We'd love to see them in the comments below!


Comments
Be the first, drop a comment!