


Rooting is usually the first thing on the to-do list whenever one of us softModders gets a new Android device. Unfortunately our efforts are sometimes hindered by certain obstacles; a common one is a locked bootloader.
What Is a Bootloader?
A bootloader is the lowest level software on your Android device, starting up your phone when you press the power button, initializing everything, then handing control over to the Android operating system. Carriers often lock the bootloaders on their phones, and AT&T has done so with their Samsung Galaxy S4s and thrown away the key.
When the AT&T GS4 was first released, developers had found a way around the bootloader. AT&T then pushed out a firmware update (known as MF3), which patched up the exploit.
While our bootloader is locked, we can still have root thanks to the work of XDA's jortex. You can check out his original thread here.
What You Should Know Before Starting
- This guide is only for AT&T Galaxy S4s with MF3 firmware (see the next section to double-check if you can use this guide).
- At this time, there are no custom recoveries compatible with GS4s on MF3 firmware. A recovery is a software for your phone that allows you to flash custom ROMs like CyanogenMod, so without one, you won't be able to install ROMs on your phone.
Video Walkthrough
Before You Proceed
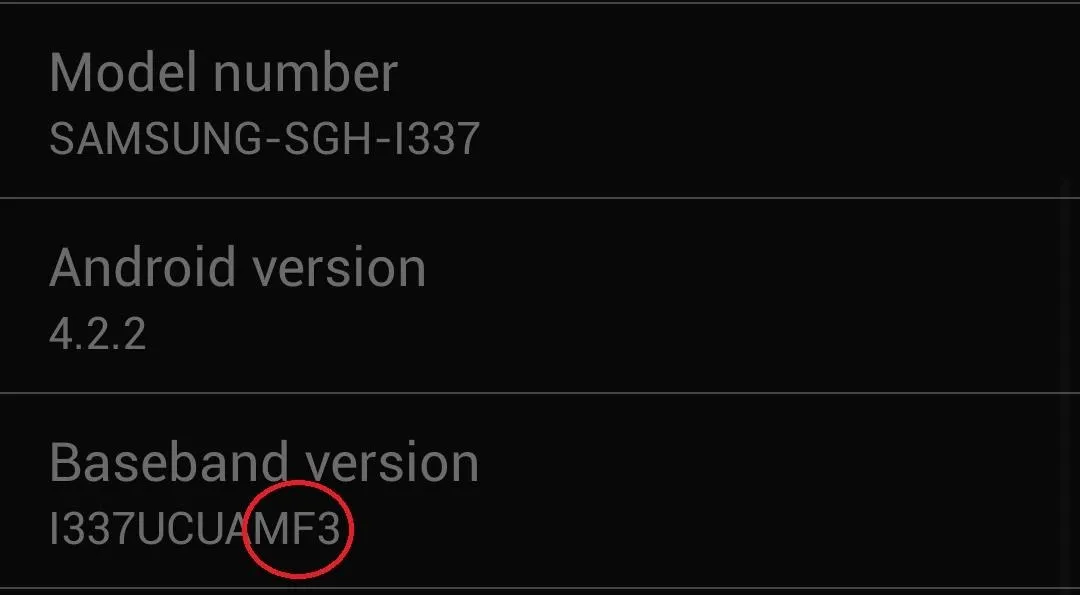
Remember, this guide is only meant for the AT&T Galaxy S4 with MF3 firmware. To find out your firmware, go to your phone's Settings -> More -> About device, then check Baseband version.
If the last three characters of its number are MF3 (for example, I337UCUAMF3), then you can proceed with this rooting guide.
What You'll Need
For this guide you will need:
- A microSD card
- SD card reader
- Root_for_ATTSG4_FM3.rar file from jortex's XDA thread.
- A desktop computer. I'll be doing this tutorial with Windows 7, but the steps should be manageable with Mac and Linux as well.
Unmount & Remove Your GS4's microSD Card
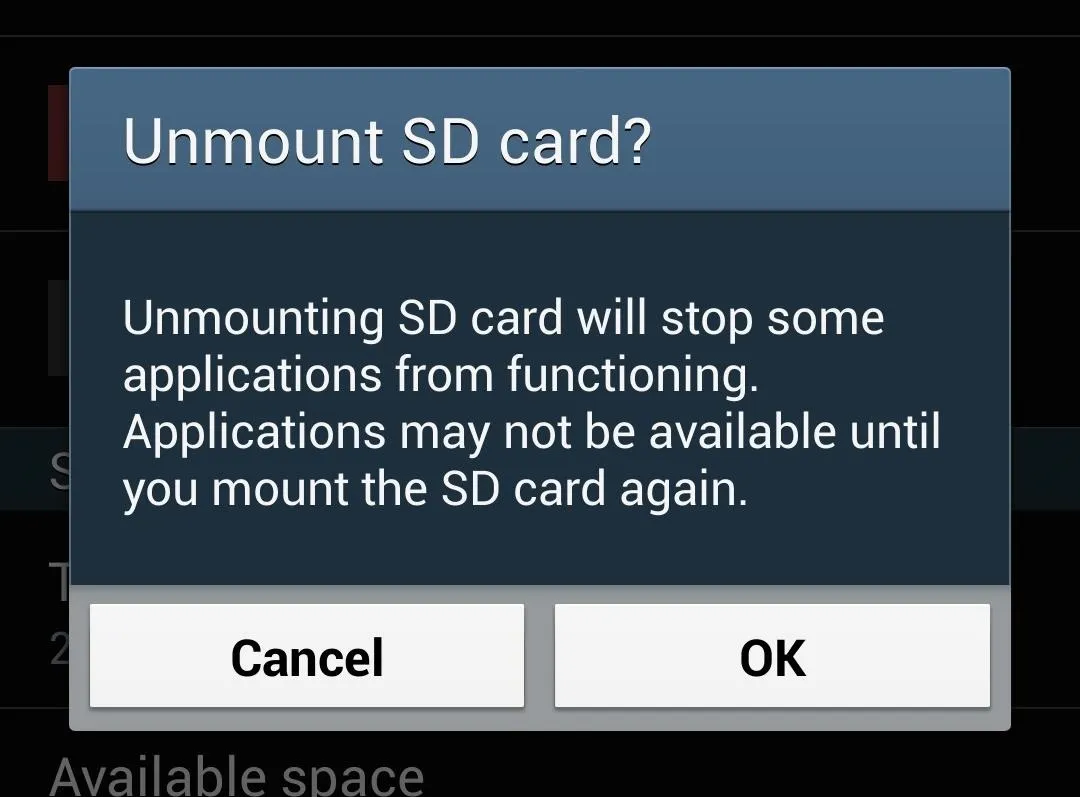
You'll have to connect your microSD card to your PC via a card reader in the next step (connecting through your phone will not work). Before you remove your microSD card, don't forget to properly unmount it to prevent any data loss.
If you don't know how to do that, go to your GS4's Settings -> More -> Storage, select Unmount SD card, then tap OK at the confirmation window.
Format Your microSD Card to exFAT
This step will delete everything from your SD card, so make a backup of everything on there. Create a folder in your Documents, name it SD Card Backup, then copy and paste all your SD card's contents.
Once you've backed up everything, right-click on the drive containing your SD card and select Format. The following window should pop up:
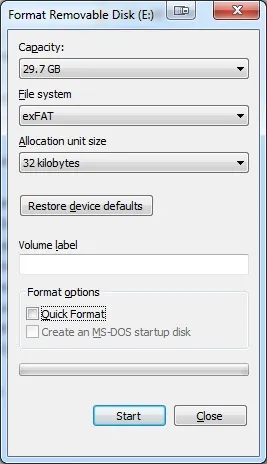
Under File system make sure exFAT is selected, and under Format options make sure Quick Format is unchecked. Click the Start button, then OK on the confirmation window.
Depending on factors like how big your SD card is, or how fast your PC or card reader are, this step may take some time.
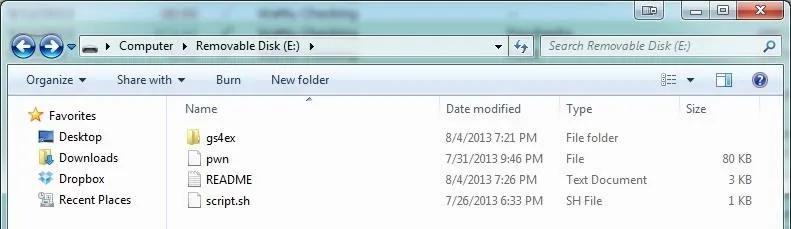
Unzip the .Rar File onto Your SD Card
If you don't have any unzipping software on your computer, I recommend this free one called 7-Zip.
Make sure you unzip to the root level of the card (e.g. not in a folder). You'll see the following files:
- A folder titled gs4ex
- pwn
- README
- script.sh
Reinsert the Card Back into Your GS4
After reinserting, head to your GS4's Settings -> More -> Storage and make sure you can see your SD card.
Install Android Terminal Emulator
Download and install Android Terminal Emulator by Jack Palevich, available on the Google Play Store for free.
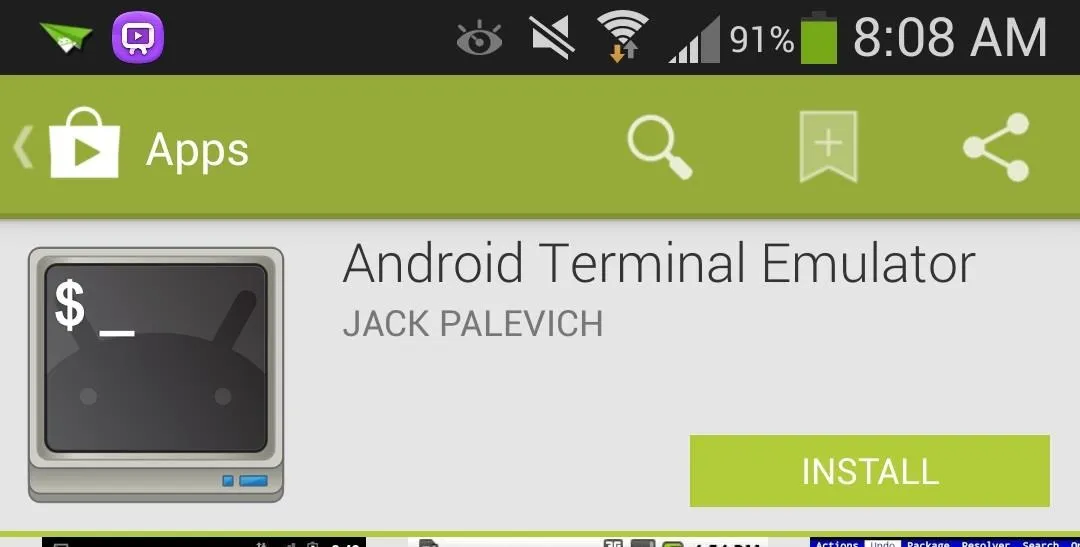
We'll be using this app to input a few commands in the next step, so open it up once you have it installed.
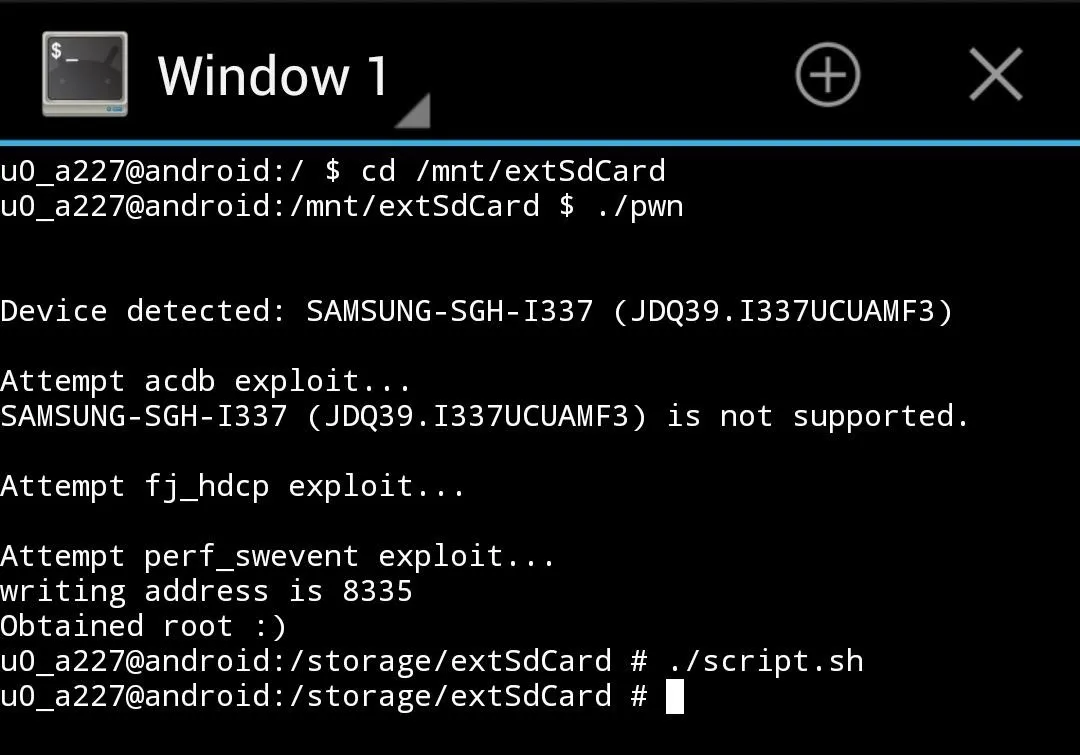
Input the Following Commands
It is very important that you input these commands exactly as shown—they are case sensitive. Enter them one at a time, in order.
- cd /mnt/extSdCard
- ./pwn
- ./script.sh
It should look something like this after everything's been entered:
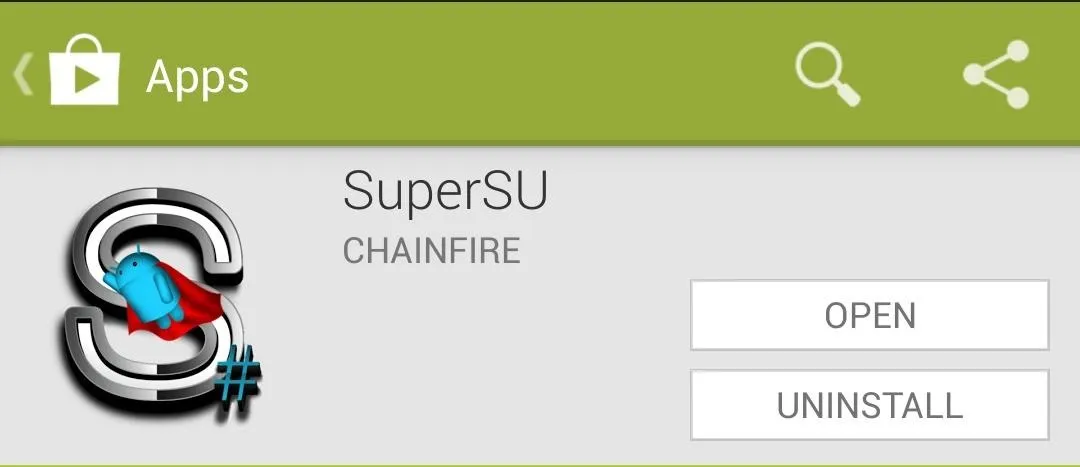
Check if SuperSU Was Installed
That last command that we ran through Android Terminal Emulator, ./script.sh, is supposed to install an app called SuperSU.
Developed by chainfire, SuperSU helps you manage root permissions, by displaying a Grant or Deny prompt every time an app attempts to access root.
The script is supposed to install it, but some GS4 owners using this root method have had trouble. Check your app drawer, and if it's not there, you can simply download and install it from the Google Play Store.
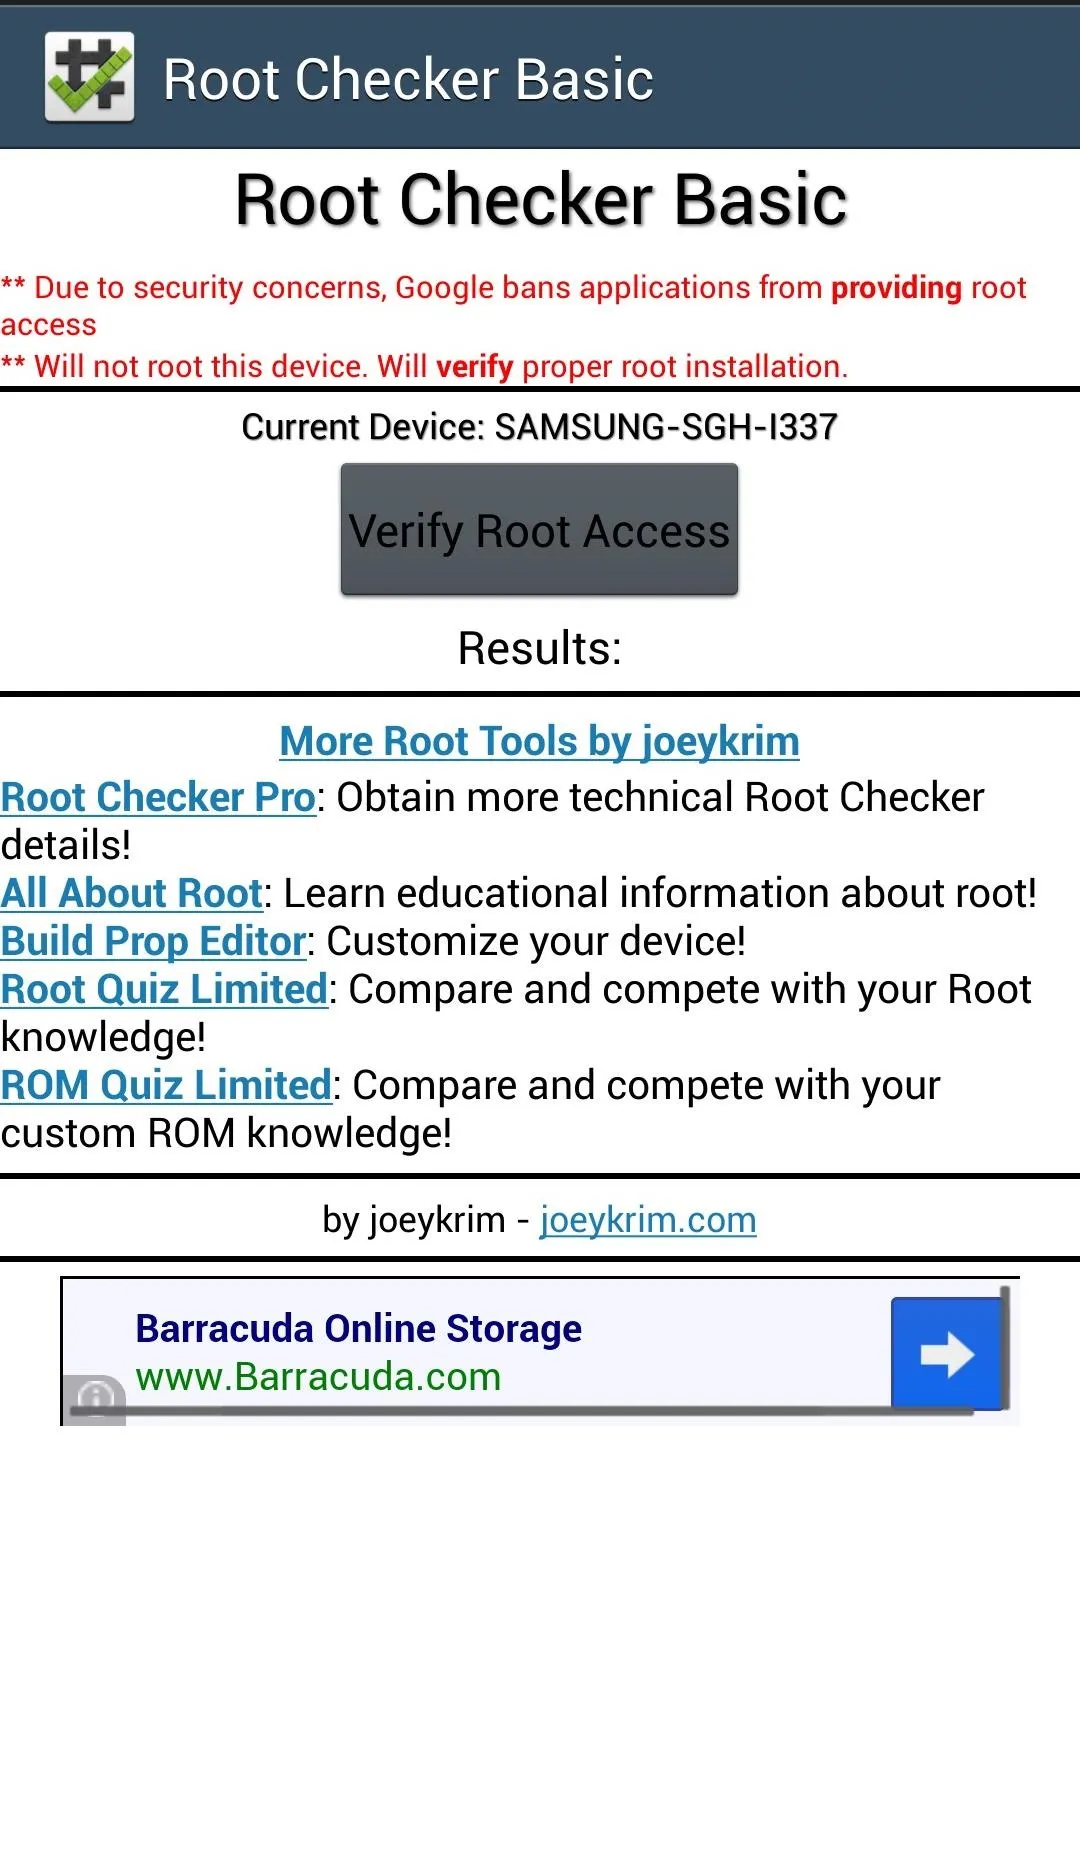
Verify Root with Root Checker
Download joeykrim's very popular Root Checker, which verifies whether your device has root or not.
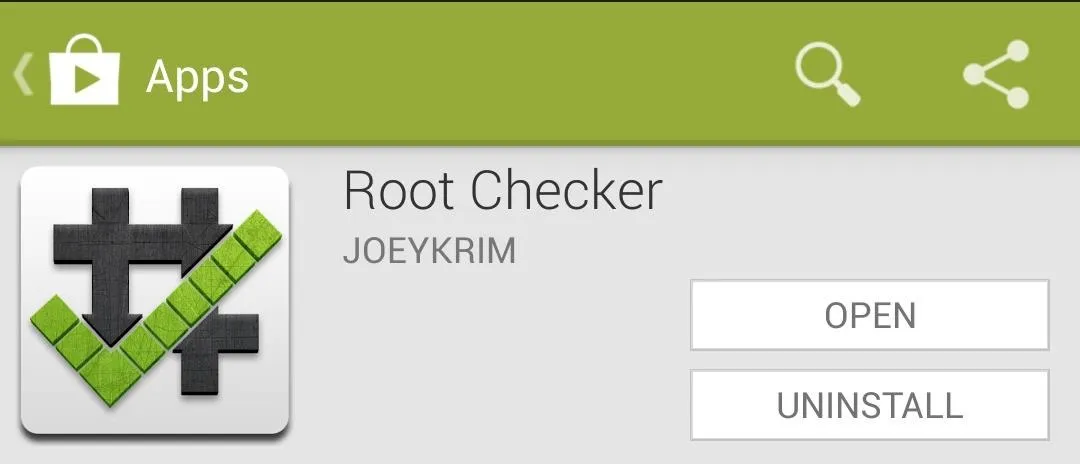
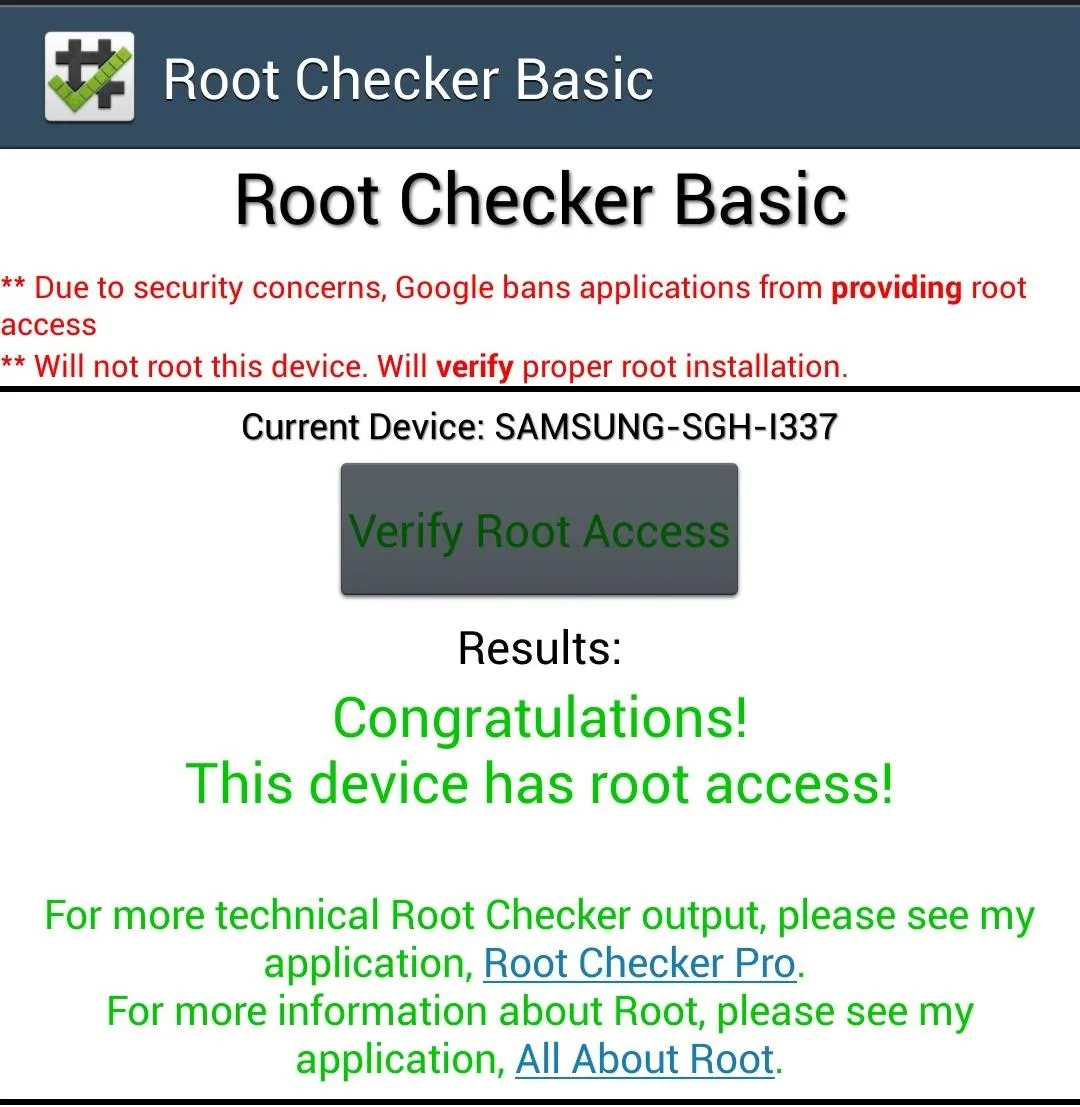
Open up the app then tap on the Verify Root Access button. A Superuser request should pop up, so select Grant.

You should now see the words that every softModder yearns to see on their phone:
Reboot & Run Root Checker Again
We're not quite done yet, we just have one quick thing to do. Simply restart your phone, then run Root Checker a second time to make sure you still have root after rebooting.
If you run into any issues, feel free to ask questions in the discussion section below.


Comments
Be the first, drop a comment!