The recently released HTC One M8 and the upcoming Samsung Galaxy S5 are both boasting selective focus features for their camera apps, but with a 13 megapixel camera, the GS4 can take some pretty stellar pictures, too.
To get that nice blurred background effect being showcased on the new devices, we can apply a little post-production to quickly achieve similar results, taking mediocre photos and transforming them it into something beautiful with just a couple of actions.
To achieve these selective focus effects, we'll be using AfterFocus by MotionOne, available for free on Google Play. Allowing you to easily select a focus area and apply blur effects to the background, the app will have you posting more professional-looking photos to your Facebook or Instagram in no time.
Choose a Photo & Adjust Settings
Open up AfterFocus and either take a new photo or choose from the existing photos on your device.

Also, before moving on, enter the app's settings and adjust the upload and save image size. I always prefer the largest options available.
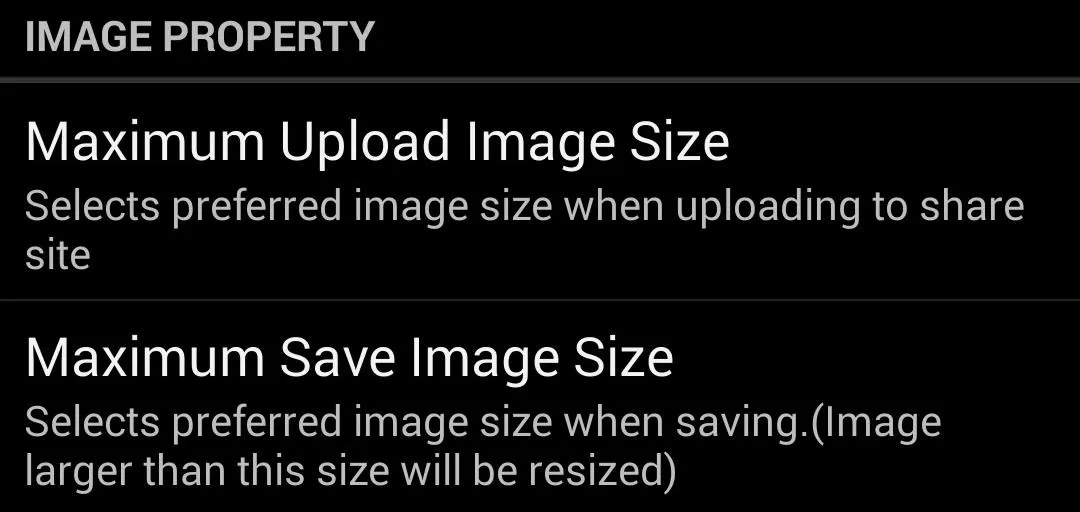
Pick Selection Method
The app has two types of selection methods that you will need to choose from — Smart and Manual.
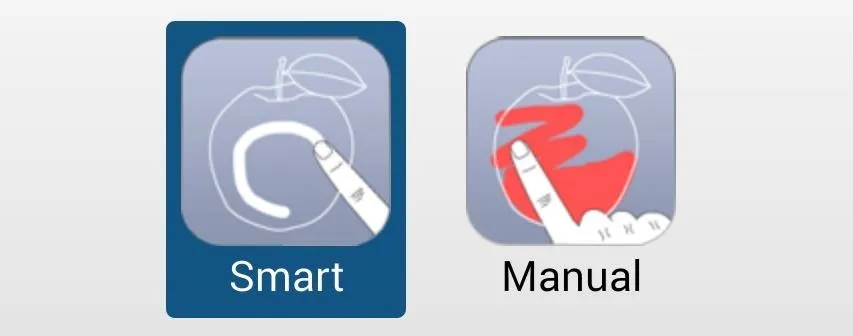
Smart mode will let you easily do a quick (not perfect) outline of the focus area, then apply black lines as a border to mark the background.
Smart selection is quick, but for more precise results, try Manual which allows you to fill in the focus area alone to separate from the background. Brush size and zooming options are also at your disposal.
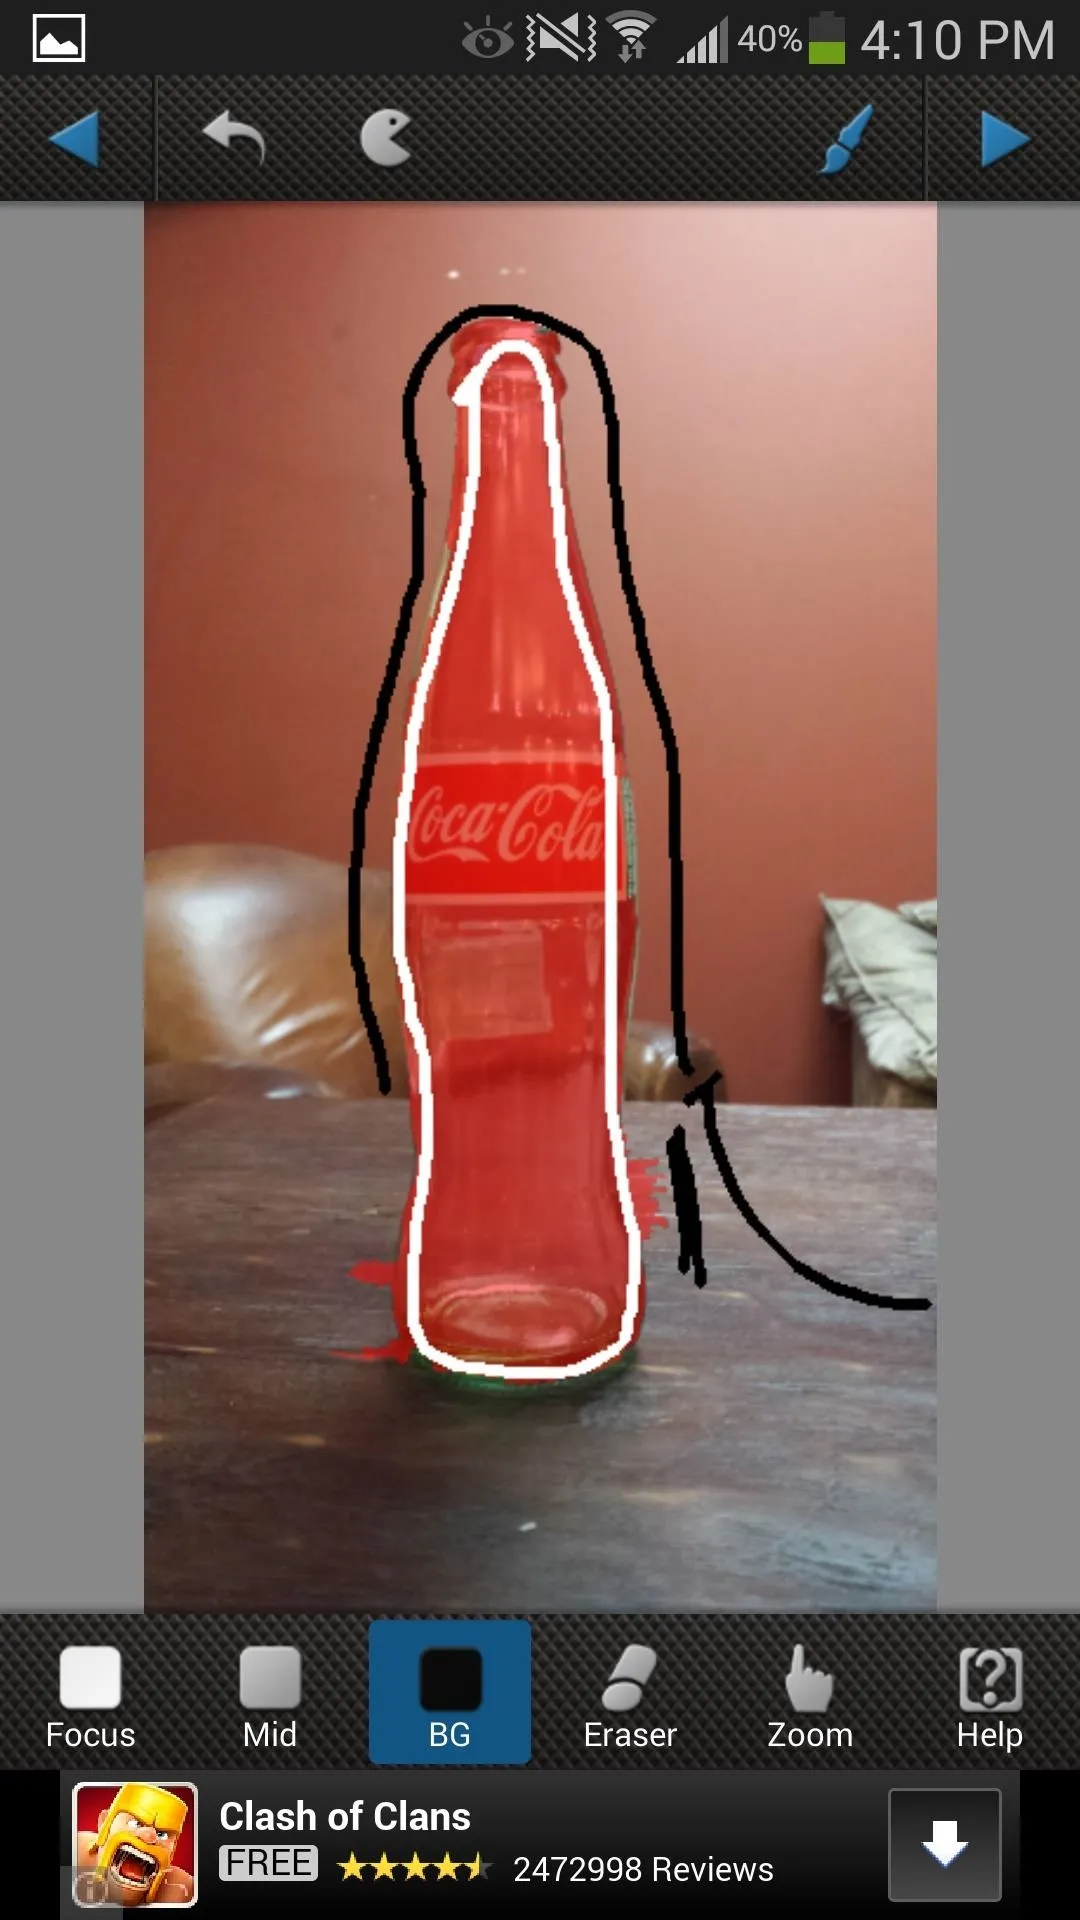
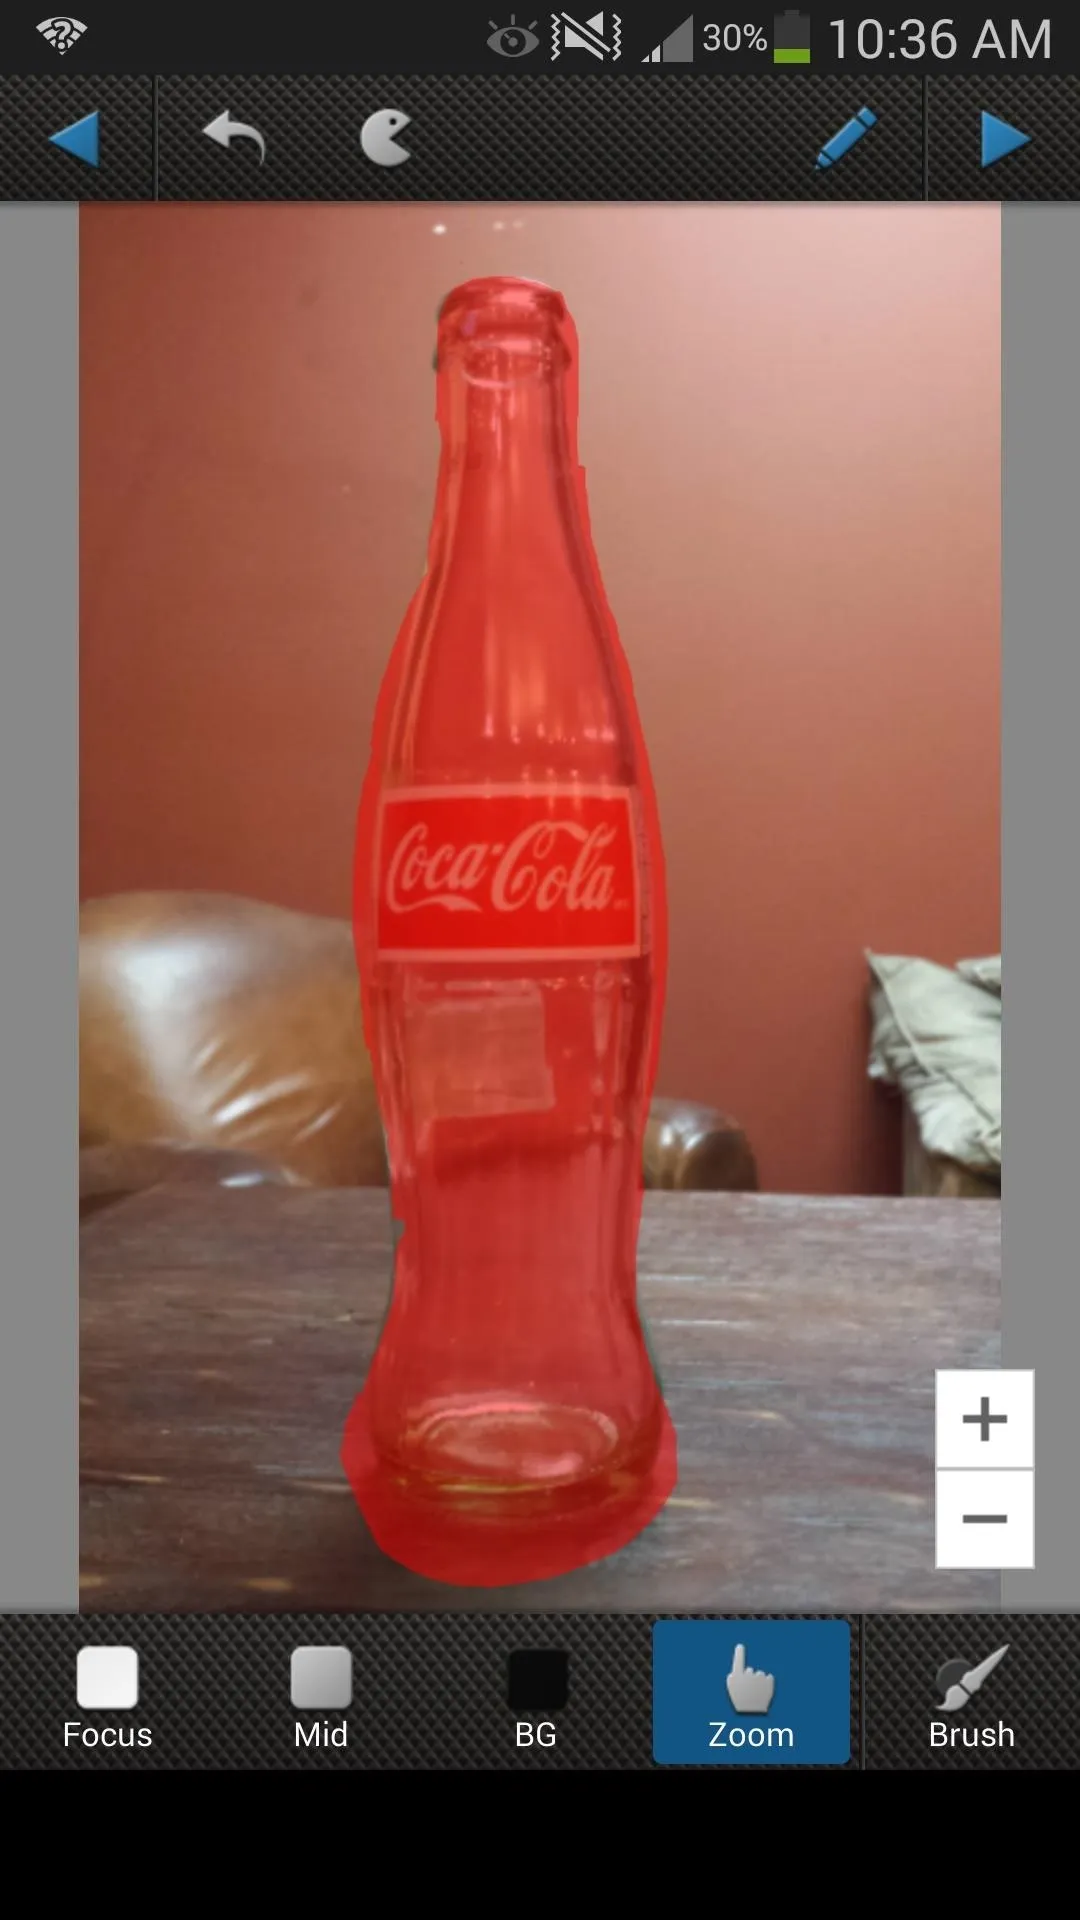


After designating the focus area, continue the process by tapping the arrow in the top-right corner.
Make Additional Adjustments
AfterFocus will subtly blur the background, so to get better results, adjust the blurs and add additional filters to really make your picture pop.
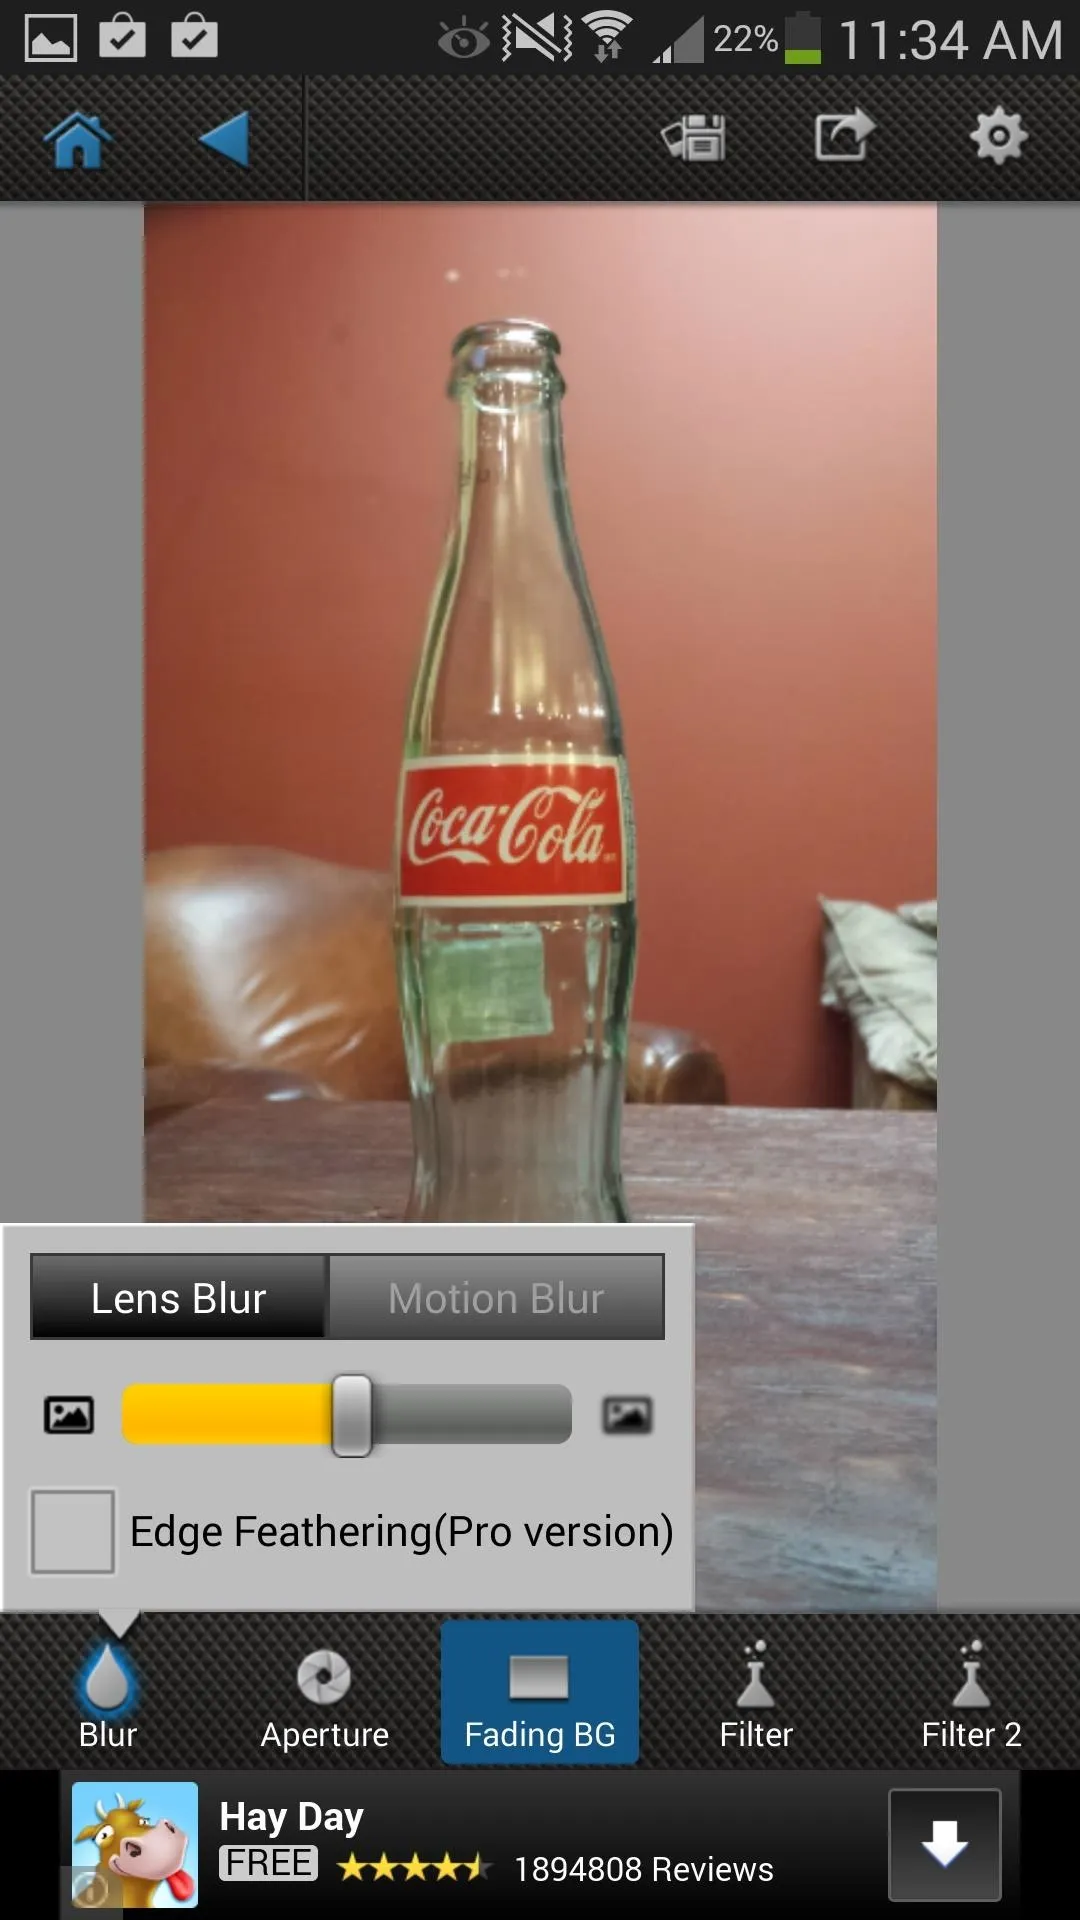
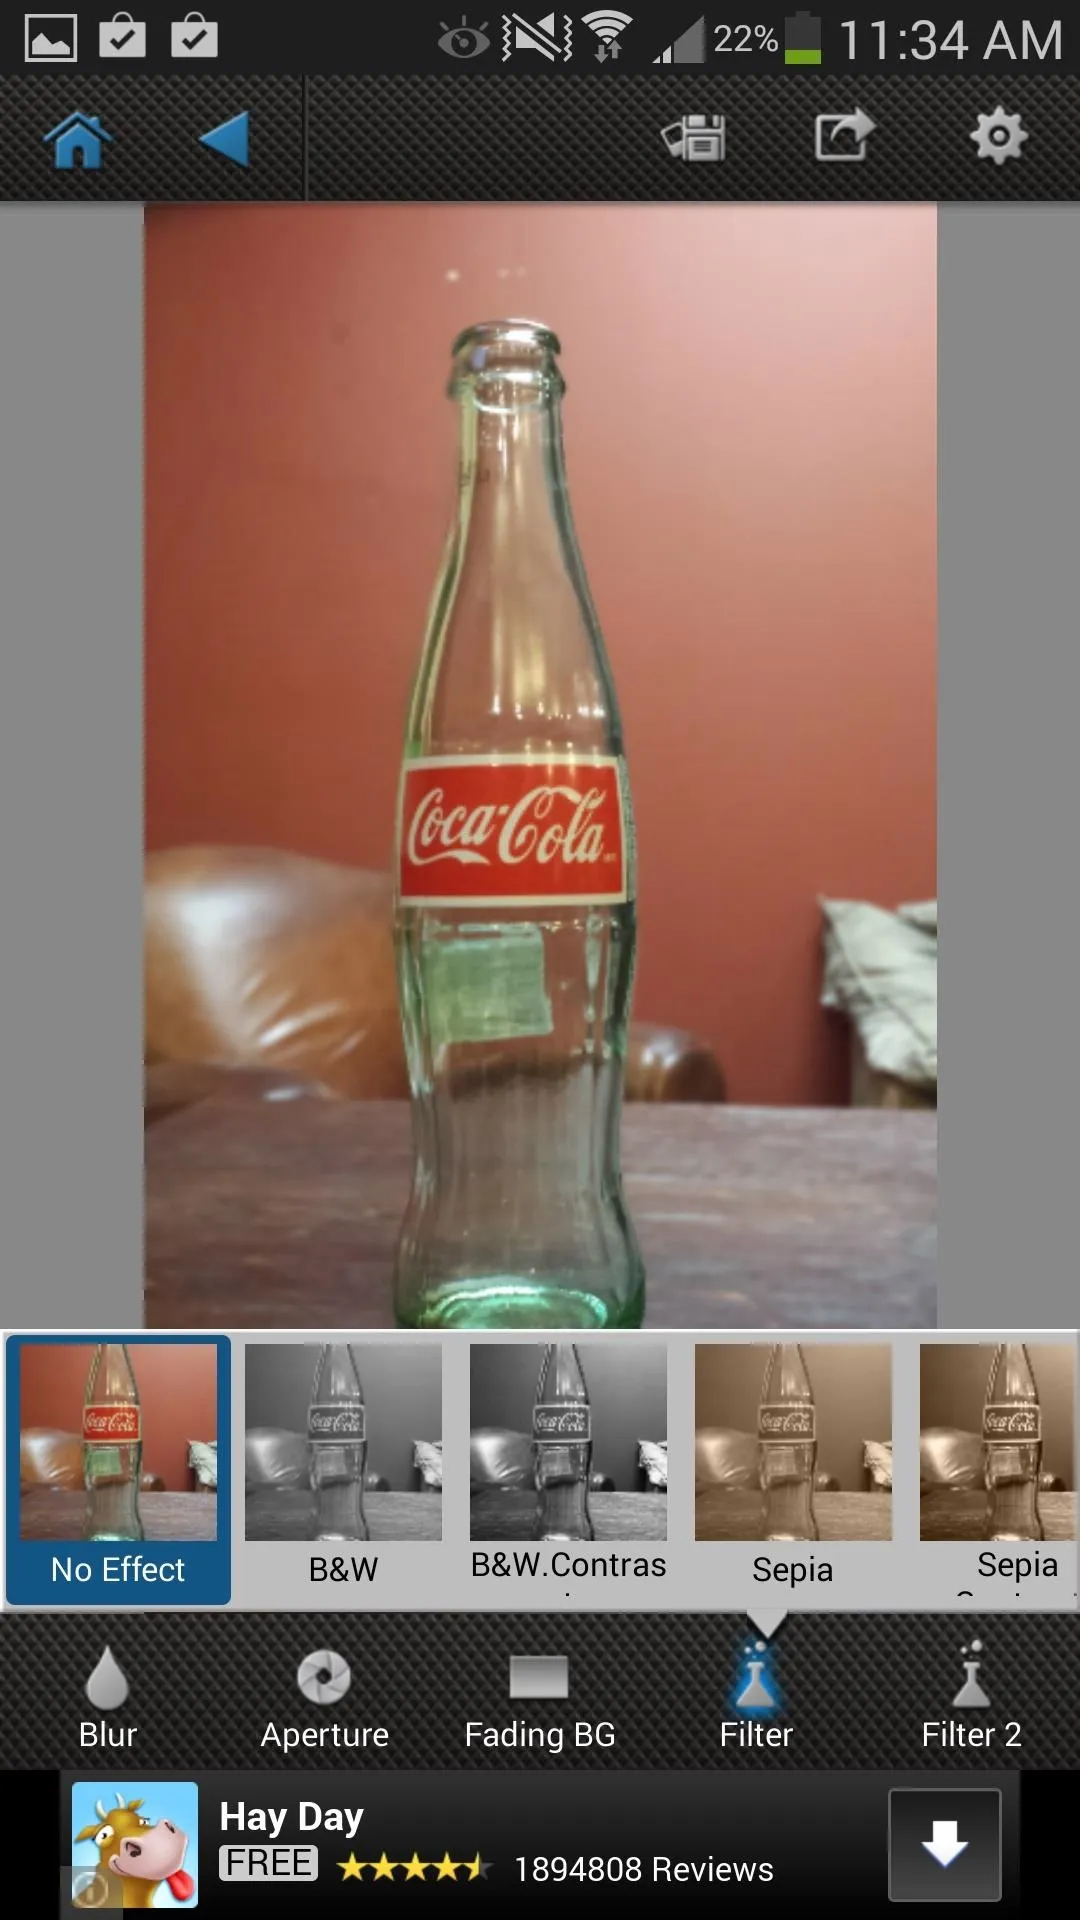


Take a look at the transformation, as I made this bland Coke bottle picture looking like something worthy enough to be in an advertisement.
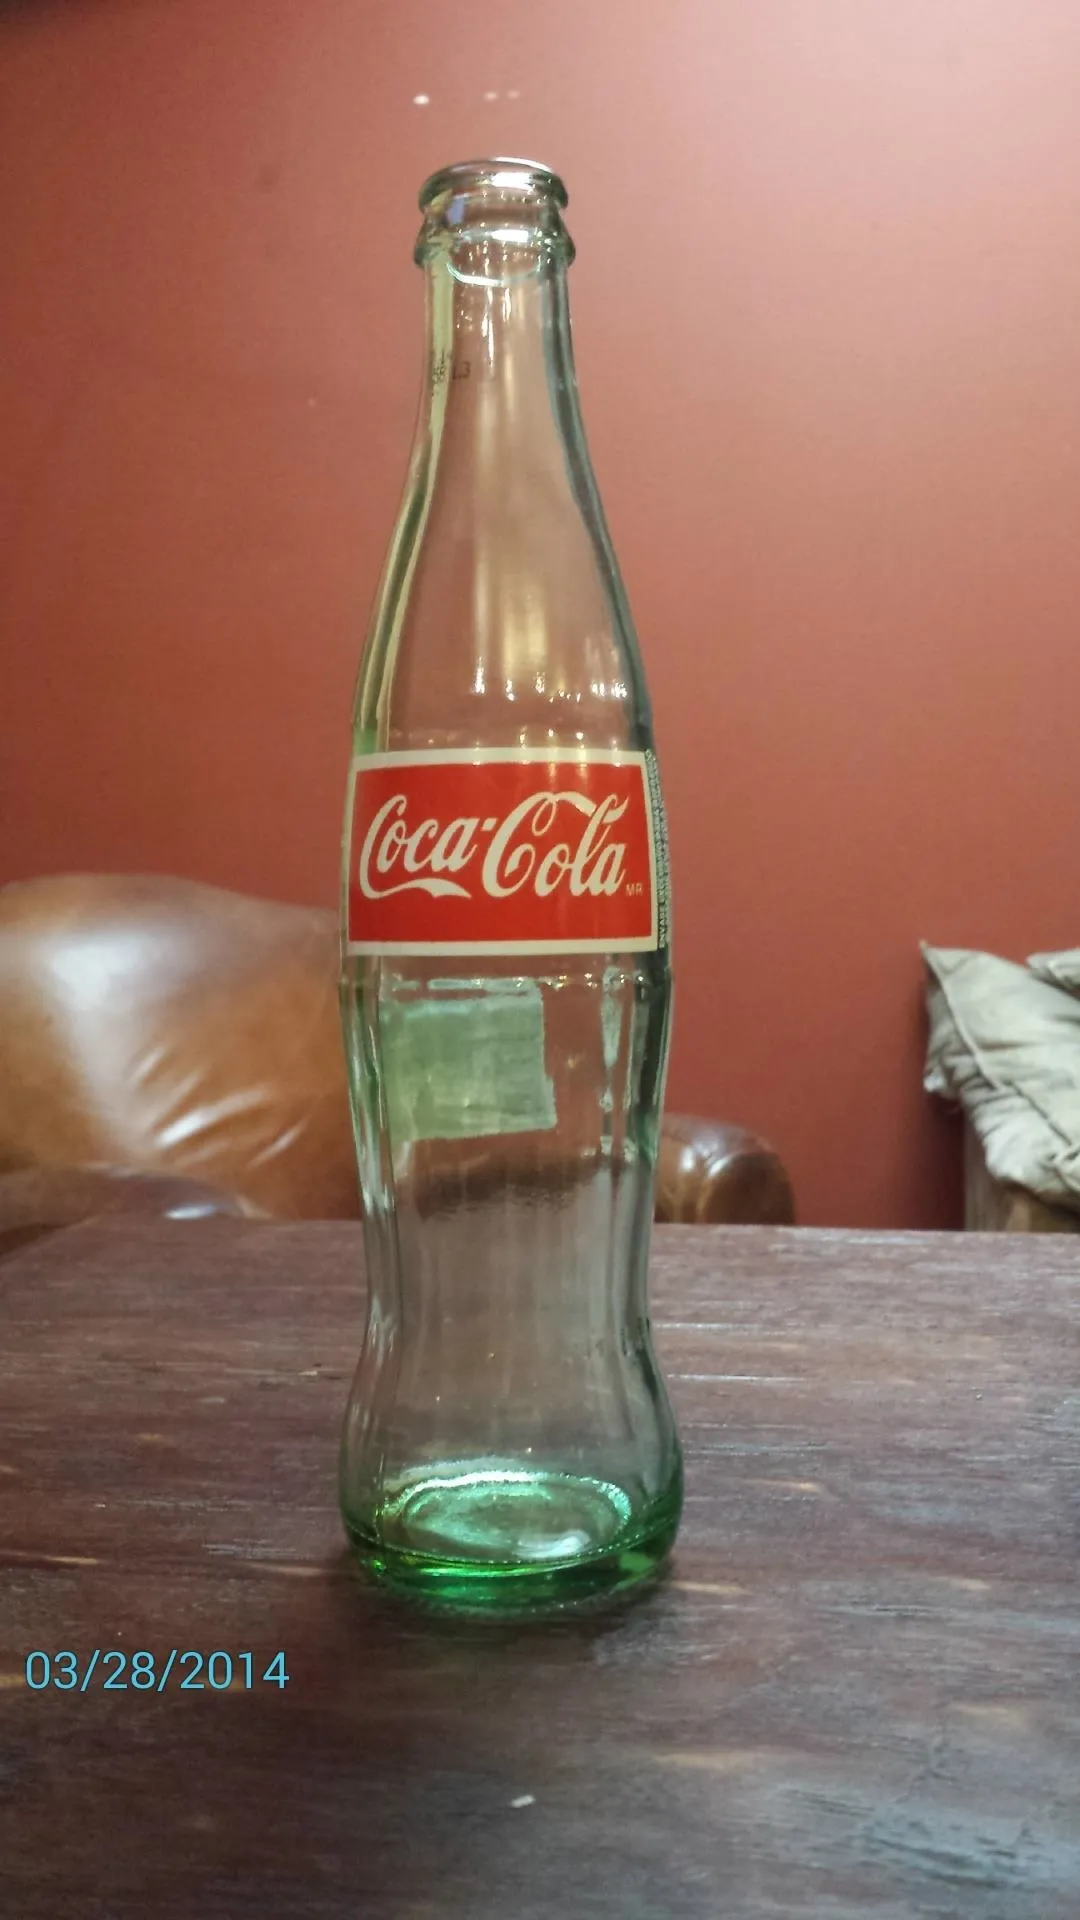
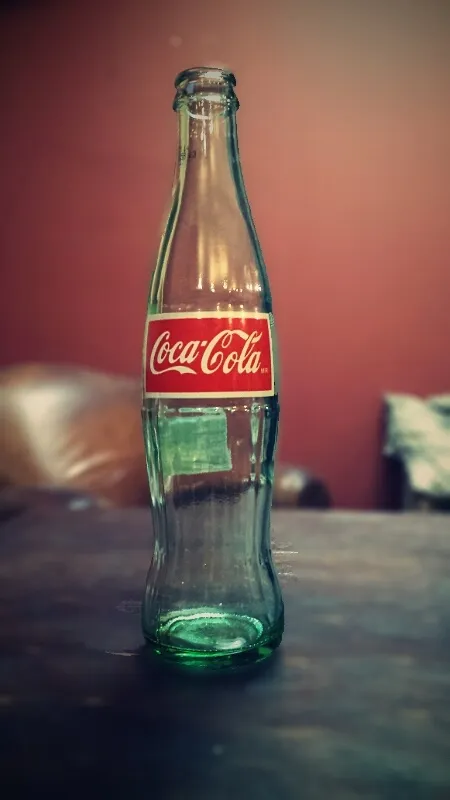


Okay, I may be tooting my own horn a bit, but it looks good!
Want More? Try the Pro Version
There is a Pro version ($1.99) with additional options for higher save image sizes (1024px to 3264px) and will also unlock the Take Two feature that eliminates the need to draw the focus area, letting you use two photos of the same image to automatically adjust it.
For my money, the free version works just fine, especially since I'm sharing almost exclusively via my phone. But if you wanted to make prints or even just a full-screen image, having the additional save sizes may be worthwhile. Whether you go free or pro, you're bound to get some great looking pictures with AfterFocus.
If you end up trying AfterFocus out, post some before/after pics in the comments below so we can all see (and learn from) your awesomeness.





Comments
Be the first, drop a comment!