With Safestrap bringing custom recovery functionality to the AT&T and Verizon Wireless variants of the Samsung Galaxy S5, it's high time we covered this process for all other versions of the GS5.
If you're not familiar with the term "custom recovery", it's a piece of software that serves as a replacement to the stock recovery on your device. While the stock recovery lets you do things like factory reset your phone, a custom recovery allows users to do much more. From backing up your device to installing custom firmware like CyanogenMod, a custom recovery is the single most powerful tool available to Android users.
The process outlined below requires a Windows PC and a USB Cable, but it's the safest method of installing a custom recovery on your Galaxy S5.
Supported Devices
This tutorial only applies to the following variants of the Galaxy S5:
- G900F
- G900T
- G900W8
- G900I
- G900P
- G900M
Do not proceed unless your device's model number is listed above. If you're unsure of your Galaxy S5's model number, you can find that information in Settings under About Device.
As with any device, installing a custom recovery on your GS5 will void your warranty, so consider that fact before proceeding.
Step 1: Download Necessary Files
Before you begin, you'll need to be sure that you have the Samsung USB drivers installed on your Windows PC. You can find the installer file for these drivers at this link. Once downloaded, just open the file and follow the prompts to install the drivers.
Next, there are two pieces of software that you'll need to download—Odin & Philz Touch Recovery. Odin is a software suite for installing files on Samsung devices by way of a Windows PC. Philz Touch is the recovery we'll be installing today, as it is the most feature-rich custom recovery that functions on all of the above-listed devices.
To begin, you'll need to download these files to your Windows PC. First up is Odin, which you can download here. Once downloaded, extract the two ODIN files to your desktop.
Next is the Philz Touch Recovery file. To download that, head to this link. From that page, find the most recent entry with a filename that ends in tar.md5 and download the file.
To make it easier to keep track of everything, move the philz_touch_6.x.x-klte.tar.md5 file to your desktop as well.
Step 2: Put Your Phone into Download Mode
Odin operates by sending files and commands to your Galaxy device while it's in Download Mode. To enter Download Mode, power your Galaxy S5 completely off. When the screen goes black, press and hold the Home Button, Volume Down, and Power buttons simultaneously.
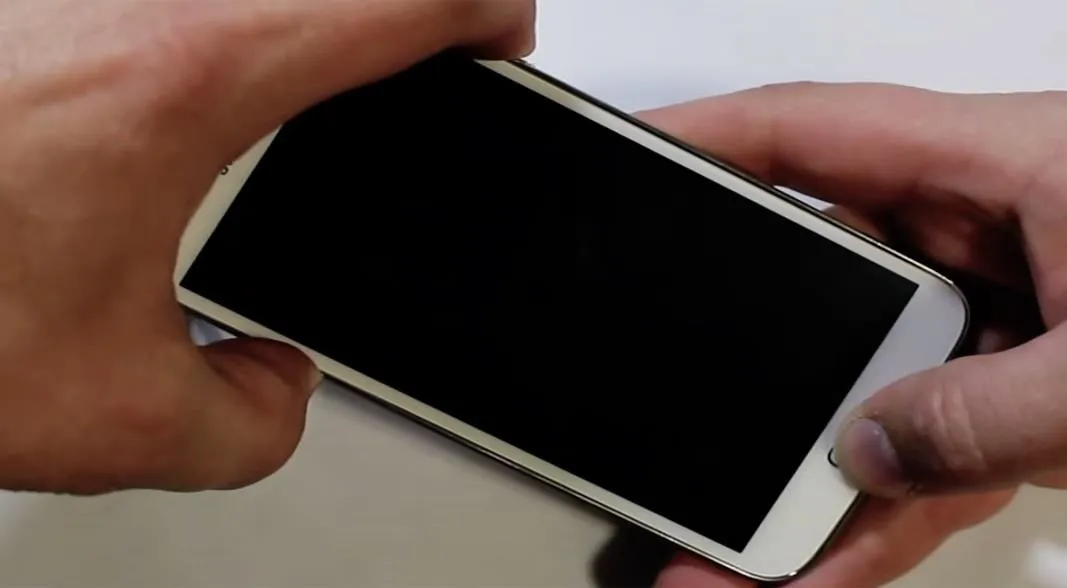
After a few seconds, you will see a warning message. Press the Volume Up key to continue into Download Mode.
Step 3: Install Philz Touch Recovery on Your S5
From your Windows PC, right-click the Odin3 v3.09.exe file that is on your desktop and select Run as Administrator. This will take you right into Odin's main screen.
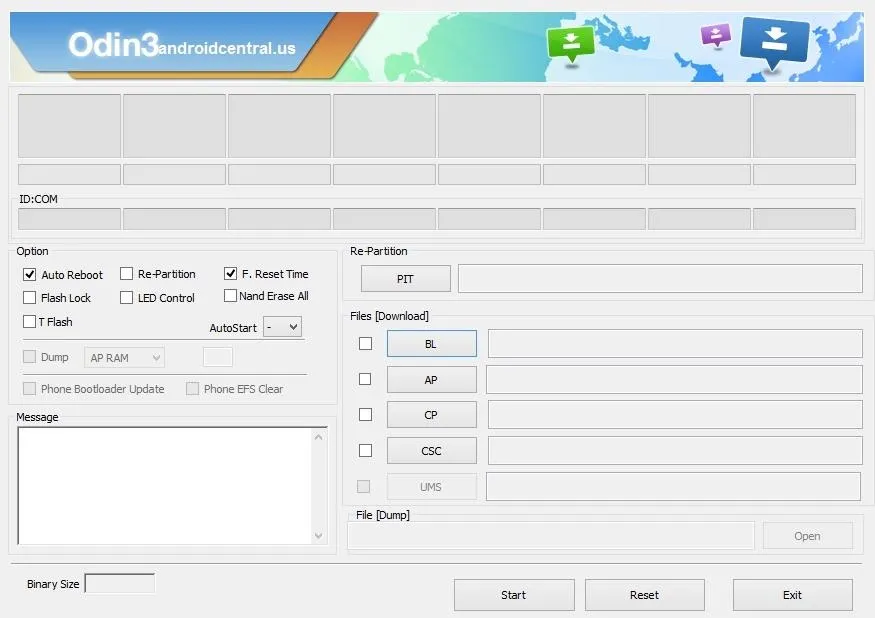
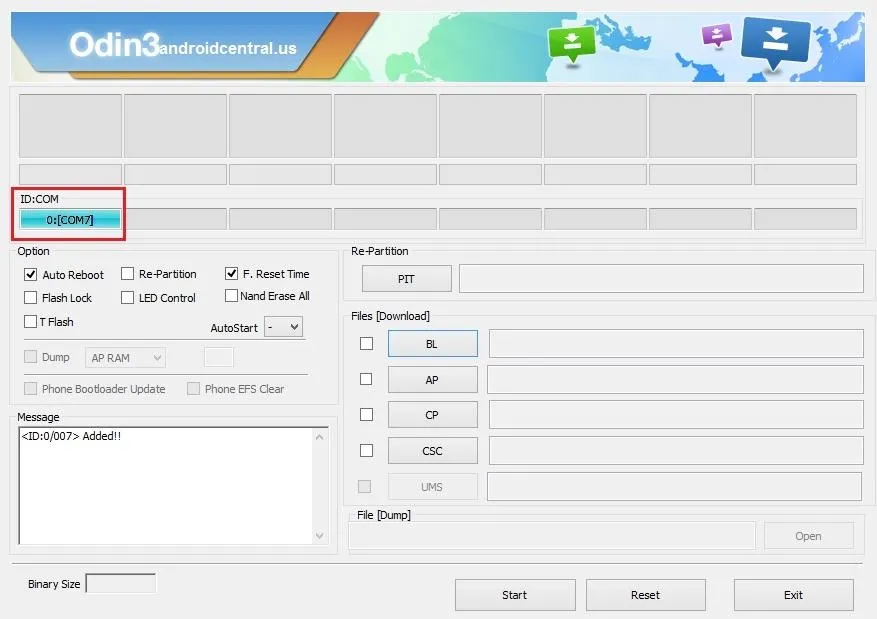
Next, use a USB cable to connect your phone to your PC. After a few seconds, Odin will recognize your phone and a blue box will appear under the ID:COM field.
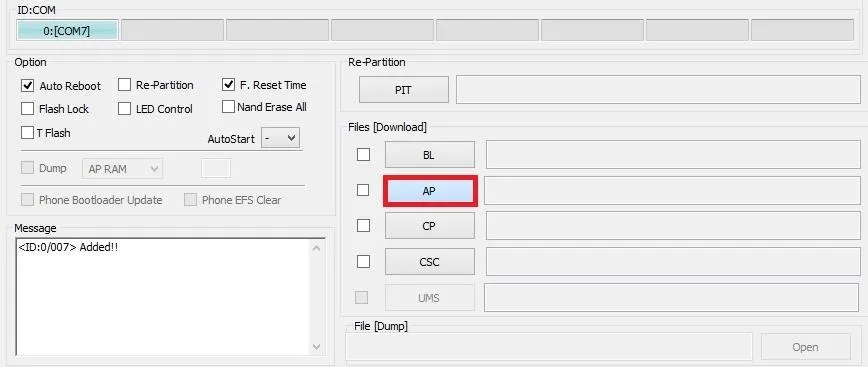
From here, click the AP button under the Files Download section, then browse and select the philz_touch_6.x.x-klte.tar.md5 file that you saved to your desktop.
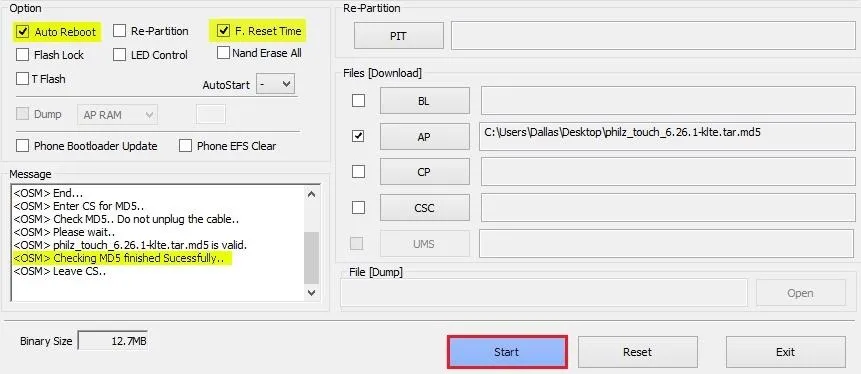
After a few seconds, the Message field in the lower-left corner of Odin will display a message stating Checking MD5 finished successfully. At this point, ensure that your USB cable is properly connected and only the Auto Reboot and F. Reset Time options are ticked, then press the Start button at the bottom of the screen to install Philz Touch.
The process may take a few minutes, and when it has completed, a green box with the word Pass will appear at the top-left of the screen.
At this point, Philz Touch will have been installed, and your phone will automatically reboot into Android. When that happens, it is safe to unplug your phone from your PC.
Step 4: Create a Backup
Before you use your new custom recovery to do anything else, make a backup of your existing setup.
To boot into Philz Touch, power your Galaxy S5 completely off. Next, hold the Volume Up, Power, and Home keys simultaneously, and after a few seconds, the recovery interface should appear.
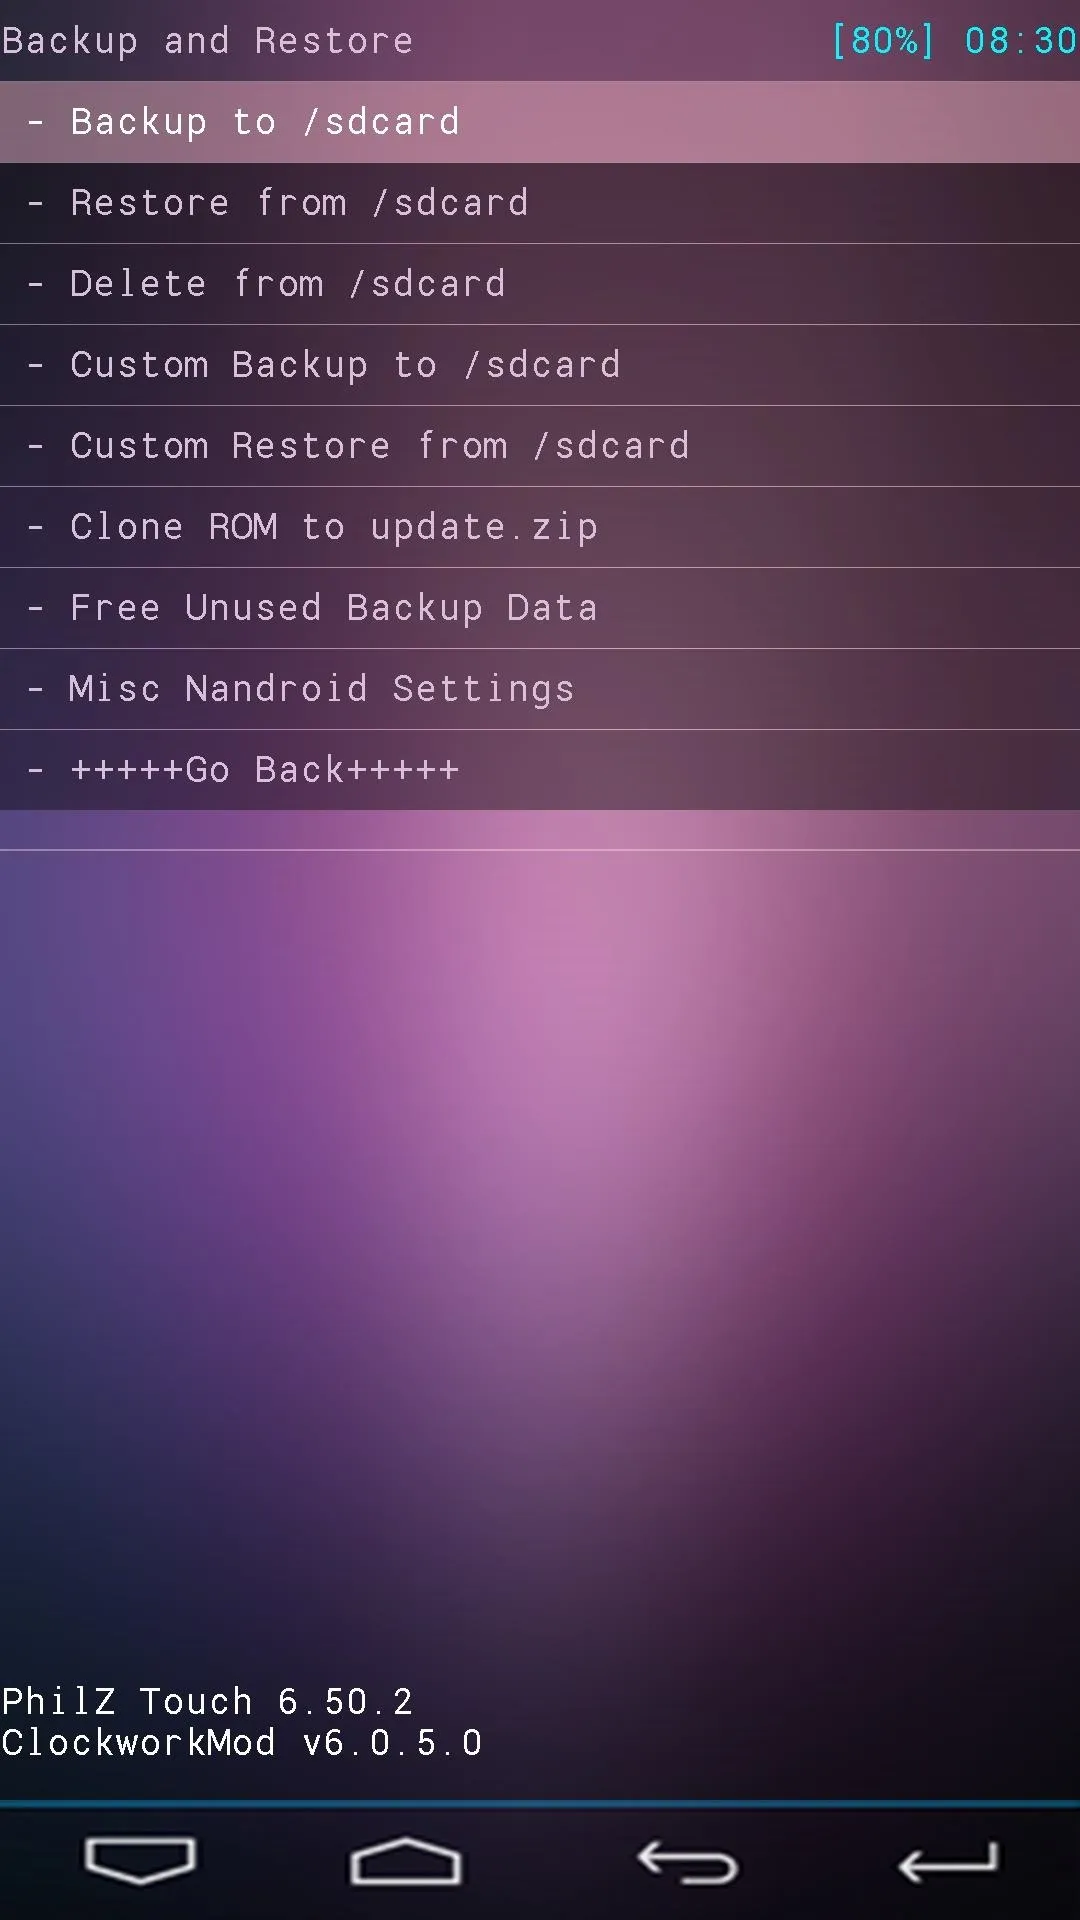
Philz Touch Recovery responds to touches, obviously, but a set of software keys at the bottom of the screen let you navigate the interface as well. From the main screen, select Backup and Restore to begin the backup process. Next, choose Backup to /sdcard, and the backup process will begin immediately.
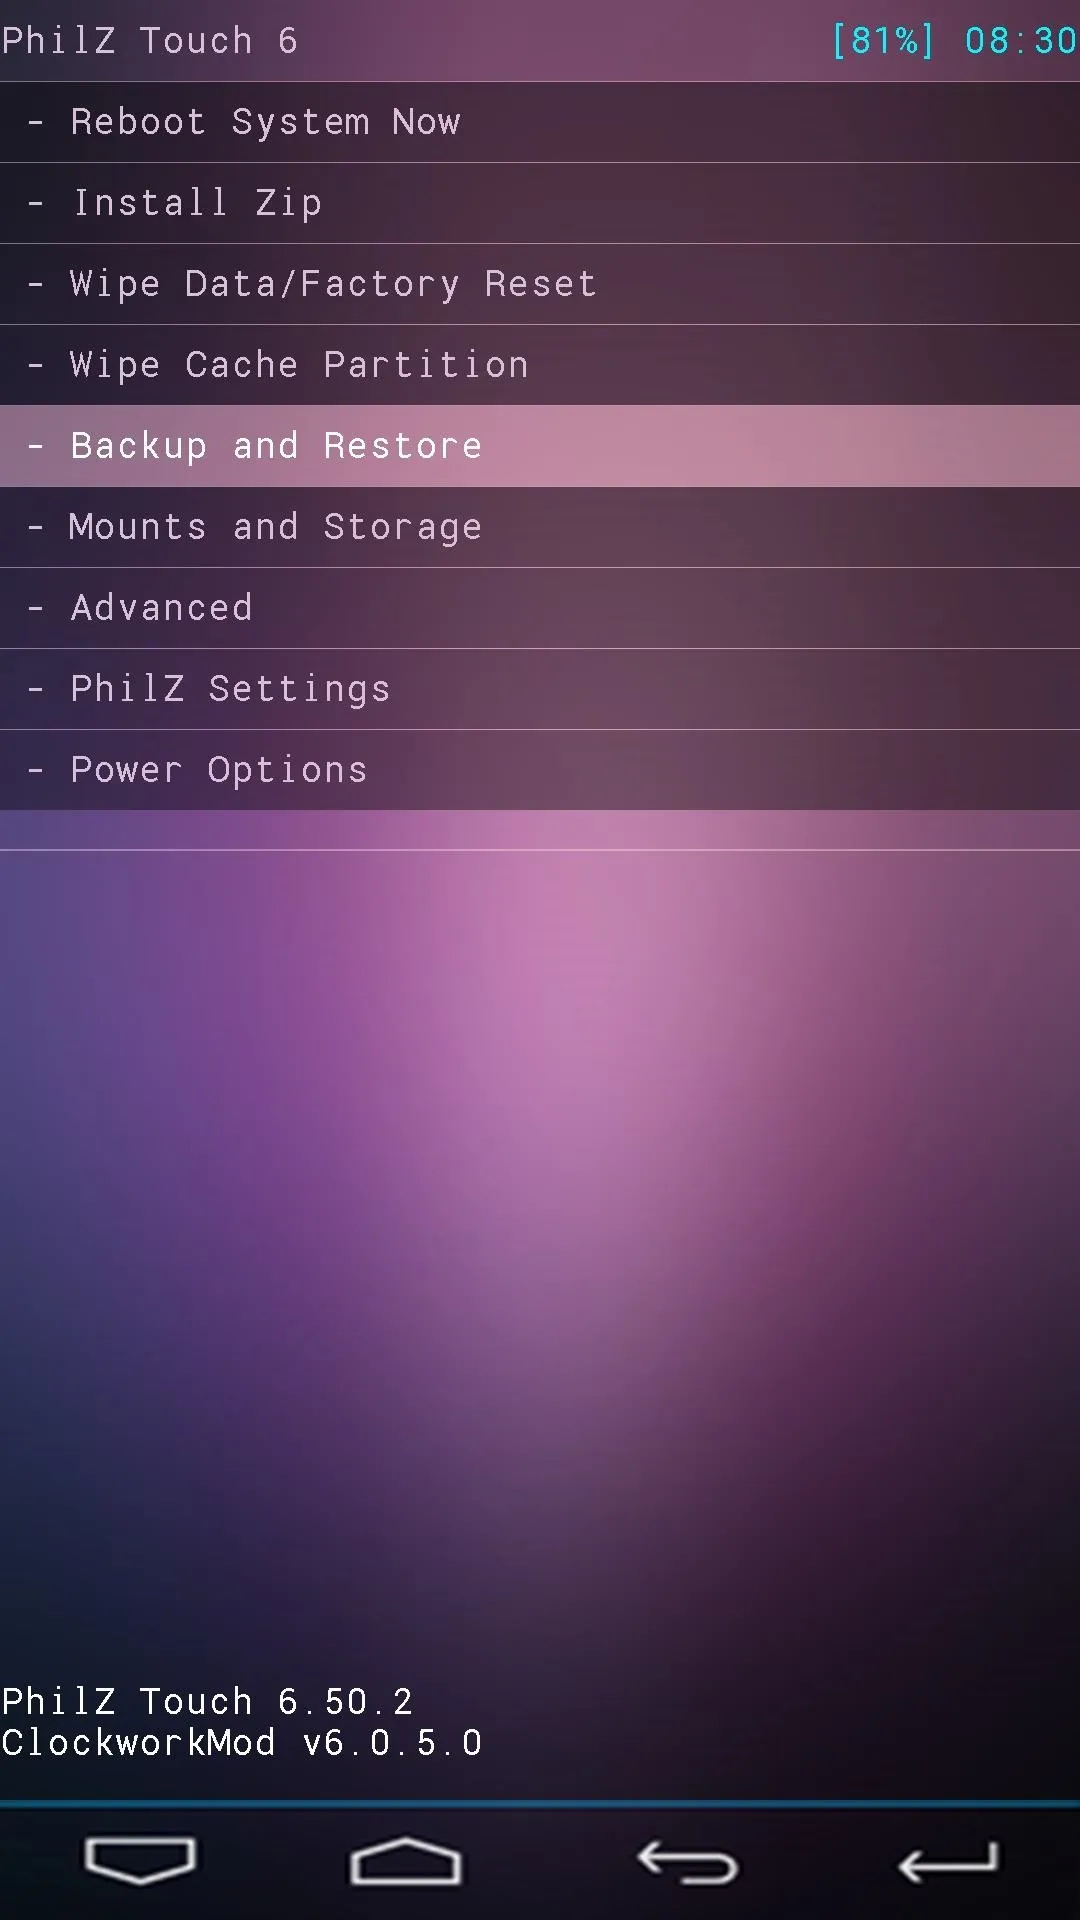
The backup process may take as long as 10 minutes to complete, but when it's finished, you'll have an exact snapshot of your system to serve as a restore point in case anything ever goes wrong.
How to Flash ZIP Files
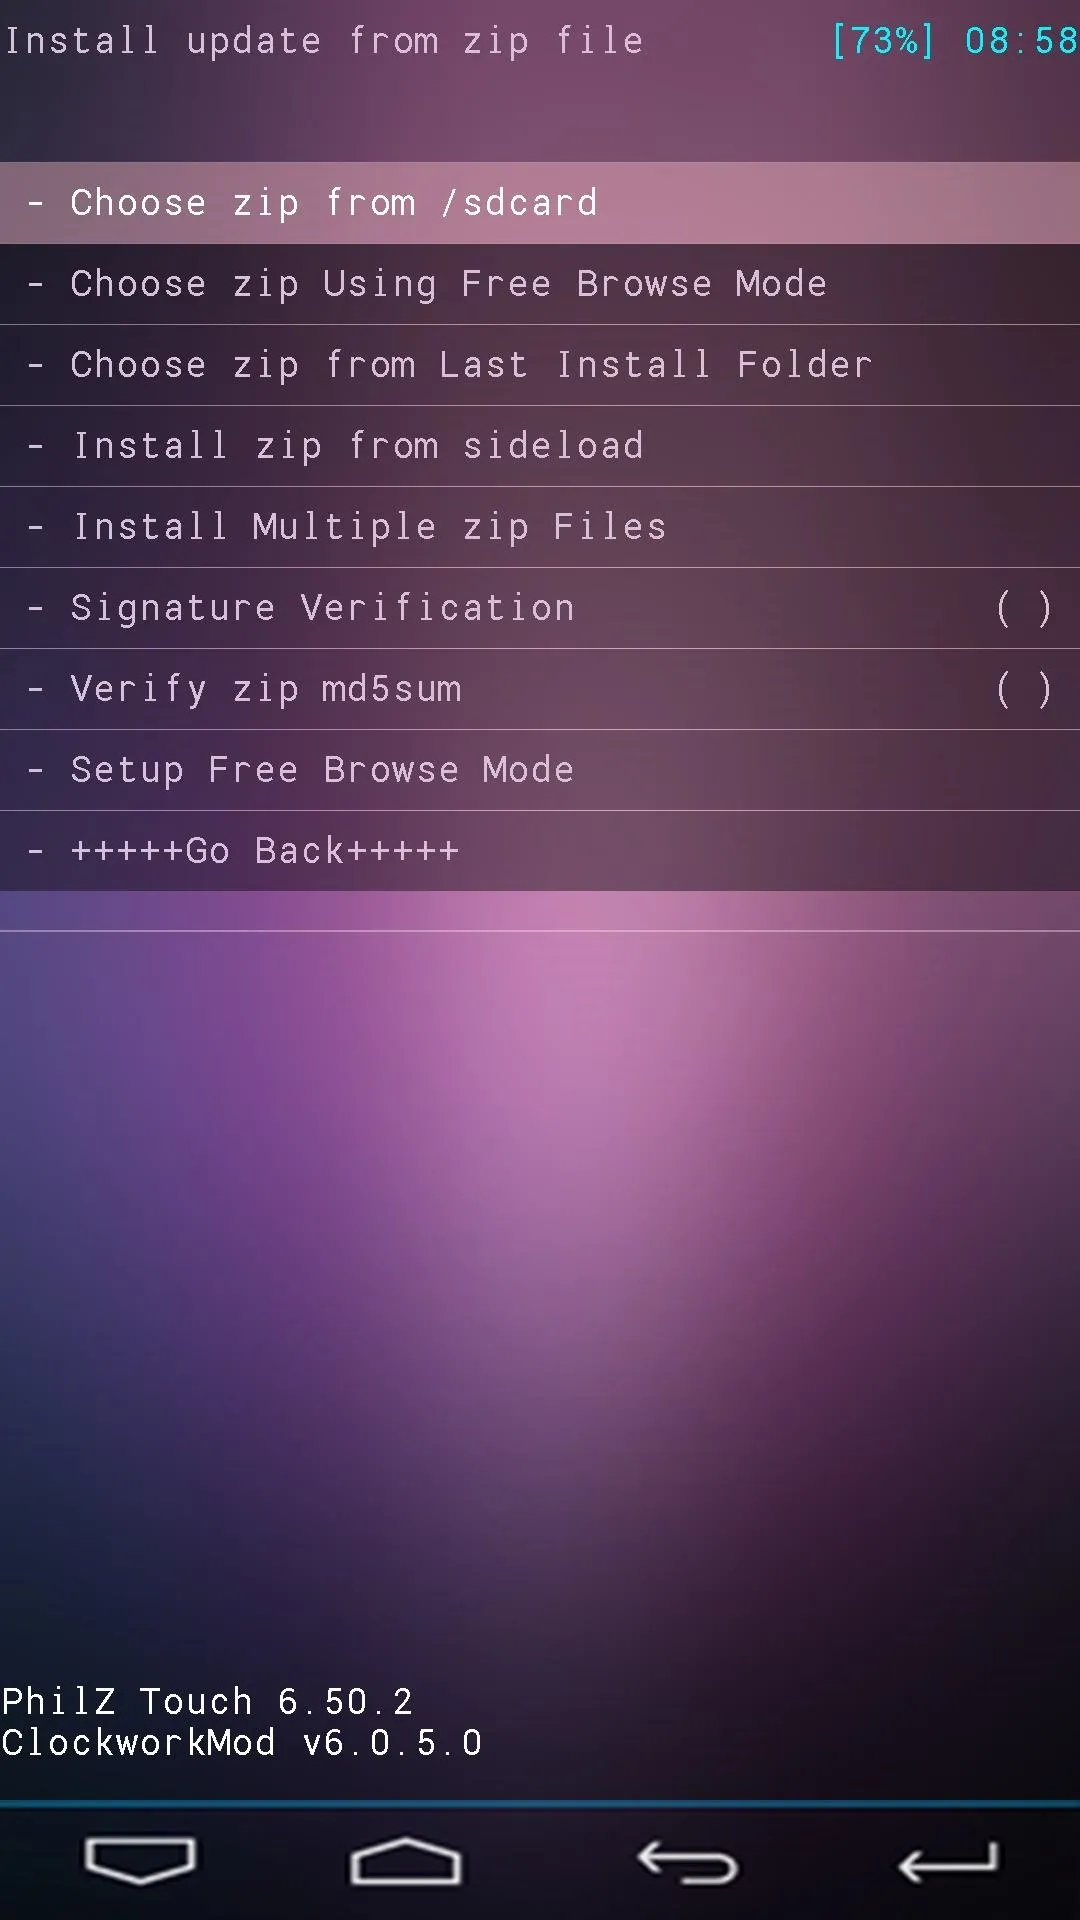
When you're ready to try out some of the cool hacks that come in the form of a flashable ZIP file, the process is pretty straightforward. Just boot into recovery, then select Install Zip from the main menu, then Choose zip from /sdcard.
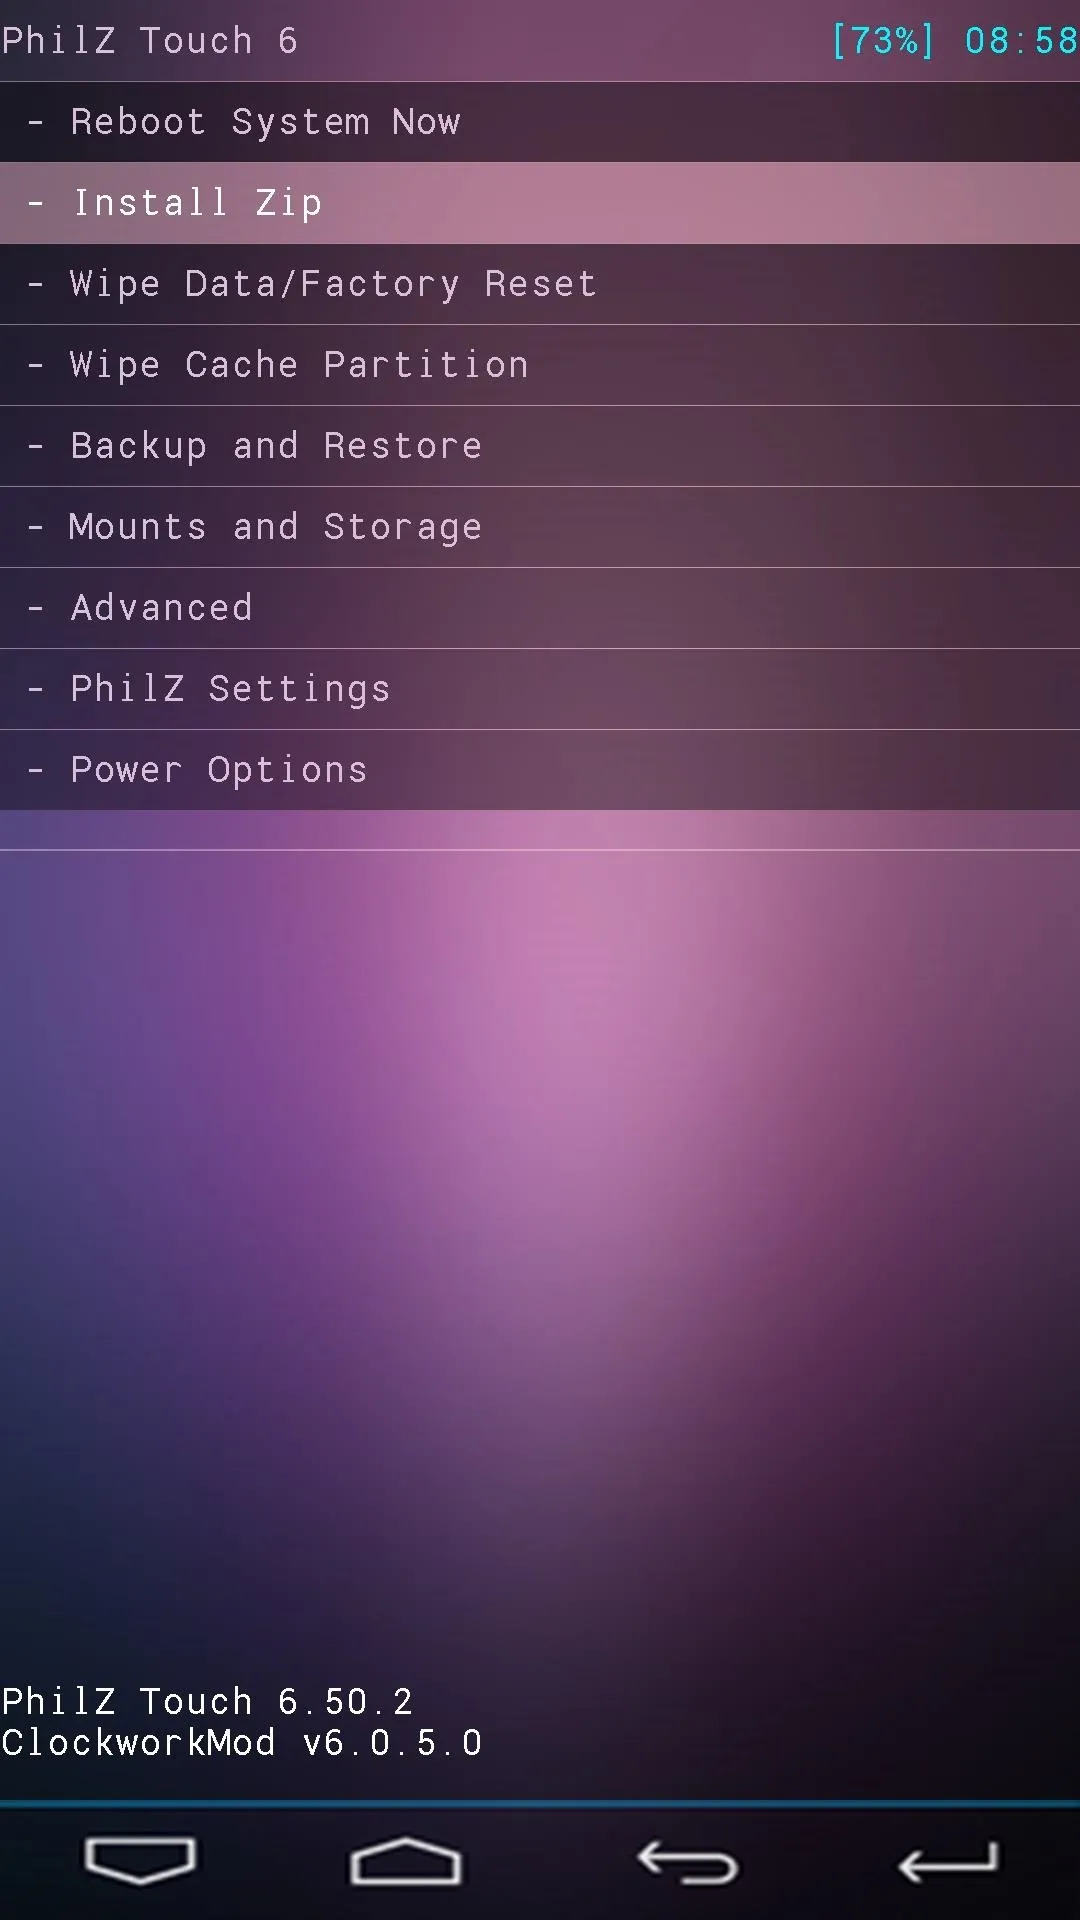
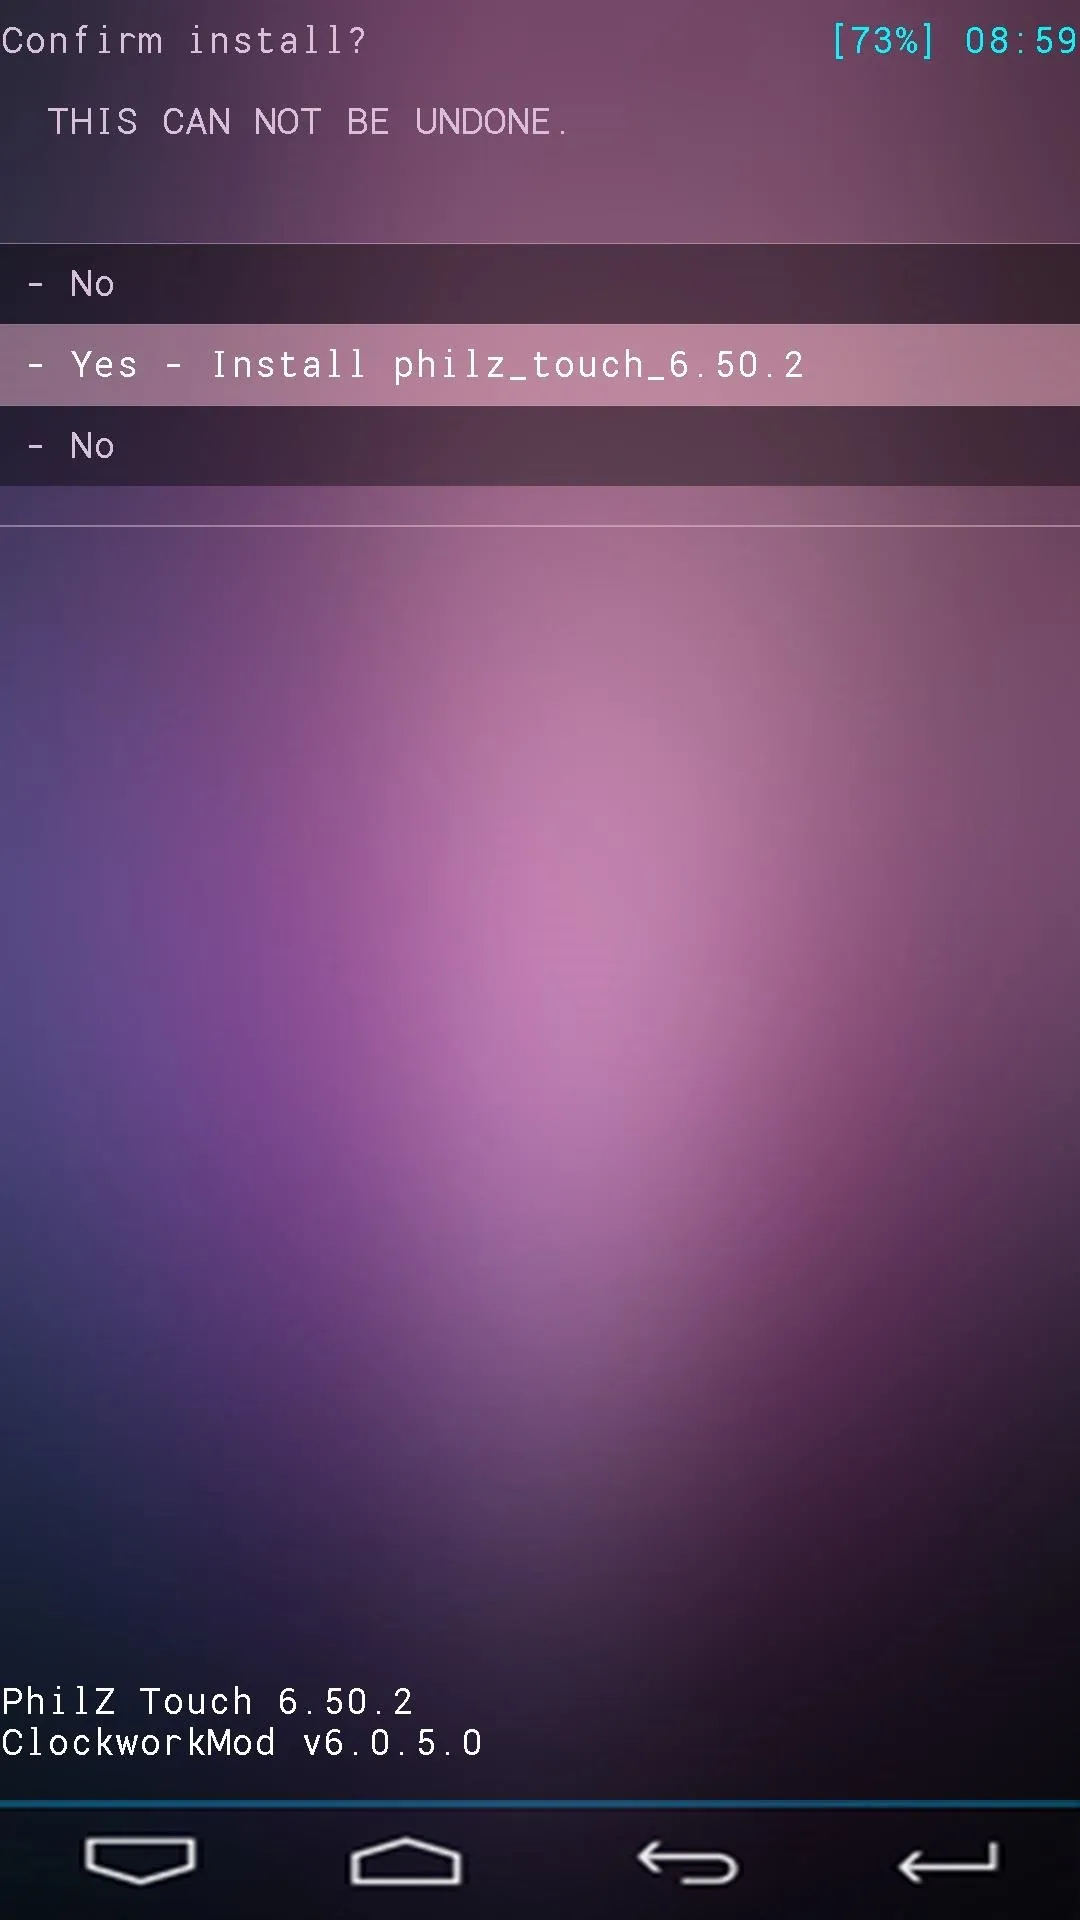
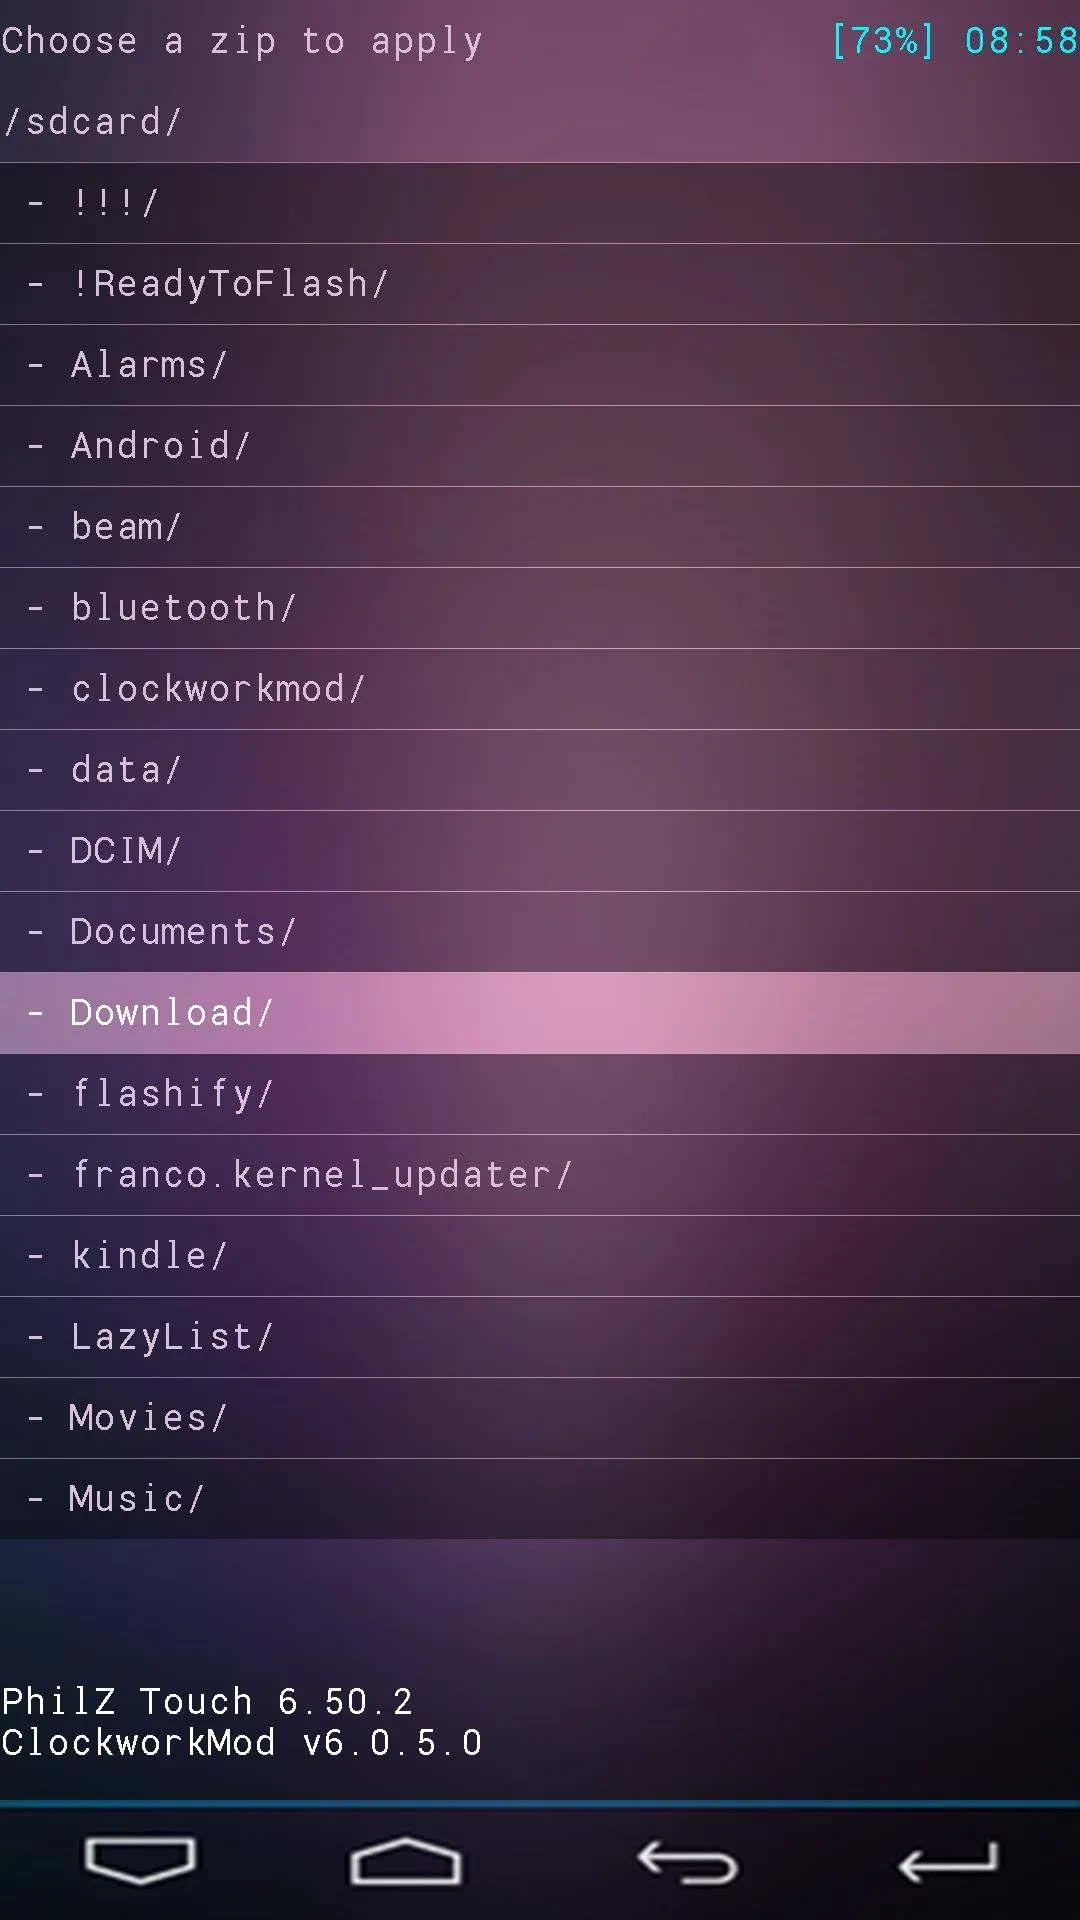
Next, browse and select the ZIP file that you'd like to install, then select Yes from the menu to confirm installation.
If this is your first time installing a custom recovery on an Android device, get ready for some fun. You've just unlocked an entire world of Gadget Hacks that can now be applied to your Galaxy S5. And the peace of mind that comes with having a backup handy is a great added bonus!
What was the first ZIP you flashed with your new Philz Touch recovery? Let us know in the comments section below.
Just updated your iPhone? You'll find new Apple Intelligence capabilities, sudoku puzzles, Camera Control enhancements, volume control limits, layered Voice Memo recordings, and other useful features. Find out what's new and changed on your iPhone with the iOS 18.2 update.
25 Comments
Hi,
I am Just wondering if i rooted my s5 900w8 already using 20 seconds towel root method , and then i can still follow your post to install custom recovery/ custom rom as explained WITHOUT any soft/hard problems??
Can i do that if i am already rooted safely?
is there TWRP for S5?
and my last one is, What happens if KNOX is deleted during su installation? ( I am still rooted 900w using towel root to enable write features onto sd card using 3rd party apps)
Using the method depicted here, you do not need to be rooted before installing custom recovery. The two are independent of each other.
TWRP is available for the S5, but it has a few bugs right now. Backups created using TWRP have problems once they've been restored (apps in the /system/priv-app/ folder somehow end up with the wrong permissions and force-close after you restore). I definitely prefer using TWRP, but the little bugs it has right now are a dealbreaker.
If KNOX gets deleted during SuperSU installation, your warranty will be void. Technically, your warranty is voided once you root your phone, but you can unroot and the manufacturer will be none the wiser. But if KNOX is deleted, Samsung's warranty department will reject your claim when they see that you've removed KNOX. Other than warranty purposes, your phone will continue to function the same from a software standpoint.
Please advice ...woud be highly appreciated.
Will i loose root capabilities after installing custom rom or have to root again?
is it required to back up data in internal storage and messages, contacts etc before installing custom? or not required...
Most Custom ROMs already come pre-rooted, so you shouldn't have to root again. But even if the ROM you want to flash is not pre-rooted, rooting is incredibly easy when you have a Custom Recovery installed. You just flash the SuperSU ZIP file, and you're rooted. It will root any ROM (even stock).
It's not required to back up internal storage data before flashing a custom ROM, but it's a good idea nonetheless. If you don't back those up, when you go to restore, it will be like you factory reset your phone.
thanks a lot ...for great explanation.
1.) Is there any way to check whether KNOX is deleted or not?
2.) Is there a way to restore KNOX after delete ?
3.) Can we Unroot properly ( Just as before root) and re-enable KNOX or reset its counter if in case its send to Samsung for warranty purpose?
thanks....
If you're rooted with SuperSU installed, you can check to see if KNOX was deleted or not by simply opening the SuperSU app. If it hasn't been deleted, it will ask if you'd like to delete KNOX. Otherwise, if KNOX has been deleted, it won't show any messages about it.
The only way to restore KNOX would be to restore a back up of your original firmware. This is another reason that custom recovery is helpful—you can back up the stock firmware on your device, then if you ever need to send it in for warranty, you can restore that backup and everything (including KNOX) will be just the same as when you created the backup.
Unfortunately though, there is no method for resetting the KNOX counter at this time. If it has been tripped (which would be likely if you have installed a custom recovery), it cannot be undone.
This may just be a newb question, but is my sm-900w8 from Bell mobility (Canada) the same as the 900w8?
Yes, that is the same model. Your Galaxy will be compatible with this recovery.
hi dallas, Could you recommend some good fully functional with good mixture of battery life and performance custom ROMS for Galaxy 900w8 S5?
I had developer options enabled on my s5 and i think its doesn't have any thing during installation of Custom recovery. What would you like to say here? Is it okay or doesn't matter...?
Can we install gravity box module on rooted s5 without troubles ? is there other such thing available in comparison to gravity box for samsung s 5?
will it work on gsm if the phone is lock?
Hi,
for SM-G900A, What I'll need?
Hi
First i want to say THANKS. I have struggle for the last 4 days to root and install a costume recovery on my SGS5 SM G900F
Now i have don it with now problem. Very easy to fallow this instructions. But now i want to put a Costume ROM on my phone any tutorial for this?
Unfortunately, I have the G900A version of the Galaxy S5, which doesn't have a true custom recovery available for it. As a result, I can't really make a good tutorial on installing a custom ROM for the GS5.
But the process of installing ROMs is pretty much the same for any device with a custom recovery. So, at least for the basics, you can use this guide that was written for the HTC One.
Hey mate, I successfully rooted the phone I'm pretty sure and when it came to the back up it seems the phone wants to back up to device storage not sd card storage. Anyway I had enough storage on my device so I did that and then on rebooting the phone went into a continuos loop of starting and restarting. Now It's fine but my device storage is at capacity and I have moved everything i can to the sd card im not sure how to move the back up to the sd card or how to delete the back up and try and redo the back up so that i have free space.
Any thoughts?
Also the clockworkmod file on my device storage is 7.15gb and it seems the back up I made has saved into this file. How do I delete the back up I made?
I don't think CWM is capable of storing its backups on your external SD card. So that means you'd have to move the backup from your internal storage over to your SD card manually. Keep in mind, though, that this means CWM probably won't be able to restore the backup while it's stored on your SD card.
But to move the backup, get a root-enabled file browser and head to the root partition of your device (the highest folder you can get to in the folder tree). From there, go to the "storage" folder, then the "emulated" folder. You should find a folder named "clockworkmod" in here, and that's where the backup files should be.
Hey I really need help in downloading custom recovery to my galaxy s5 Sm-g900T Odin says pass my phone restarts but when I go back to the recovery mode is still the stock one ? I also tried removing the battery as soon as I see pass on Odin and is still not working for me any other recommendations that I could try or I my missing something ? I really need help
did you ever figure out why ?
I did! Uncheck Auto-Reboot in Odin, this instructs the phone to reboot. Then redo the flashing steps in Odin, and when it says PASS, pull the battery and pull the cable. Reinsert the battery and now you can boot the custom recovery as planned.
Hi, I have (rooted) g900i, when i follow these instructions odin fails at the authorization point during the flash. i have tried with all the other philz touch files but none have worked. anyone have any solutions?
I am having same problem with my SM-900P Odin says pass but still boots stock recovery?
idk if this is still active, but when I go into install zip, i go into download and it says no files found...
must the file to be tar.md5 to be installed one custom recovery without root ?
Share Your Thoughts