Ever since the early days of their existence, cell phones have been reducing the common wristwatch to nothing more than a fashion accessory. I'm not exactly a watch aficionado, but I do own a few that I wear on a daily basis. Since I have family in different parts of the world, I love my watches that have a second time zone, allowing me to see what time it is where they are.
There are other reasons you may need to know what time it is in another time zone. Perhaps you do a lot of traveling and want to keep track of what time it is back home. Maybe you're an entrepreneur that has business interests in another country. Either way, you can stay on top of it without a bulky wristwatch weighing down your arm. With the Xposed framework, you can add a second clock right onto your Samsung Galaxy S4's status bar.
Before proceeding, make sure you have the latest version of the Xposed Framework on your rooted Galaxy S4.
Back Up Your Data
As always, take the necessary precautions to back up your GS4's data. If you have a custom recovery like ClockworkMod or TWRP, use it to make a full nandroid backup. If not, use an app like Titanium Backup or Helium to back up your apps and system data.
Enable the 'Unknown Sources' Setting
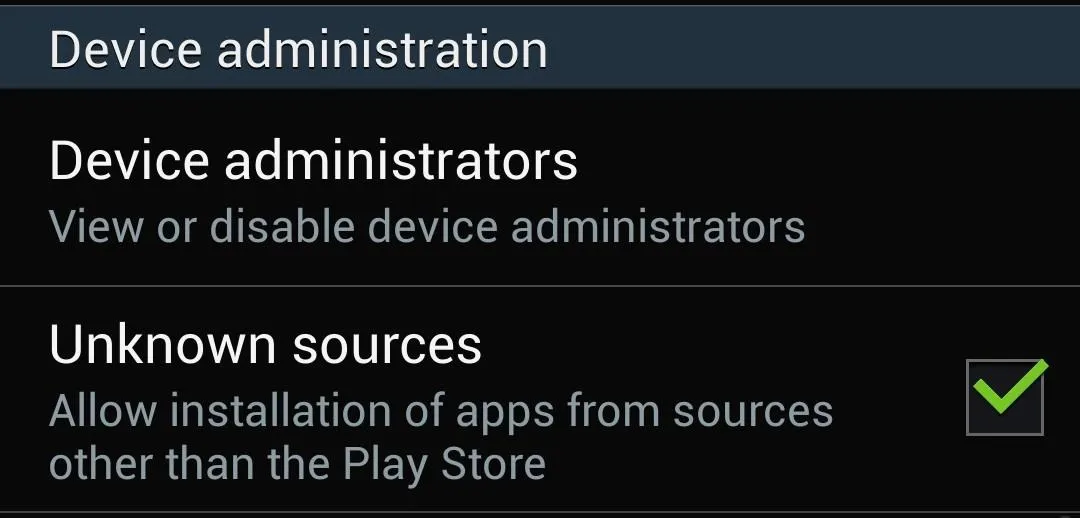
We'll be installing an app from outside of the Google Play Store in a bit, so we need to let our phone know it's okay to do so. Head to your GS4's Settings -> More -> Security, and under Device administration, make sure Unknown sources is checked.
Download the 'XDualStatusclock' Module
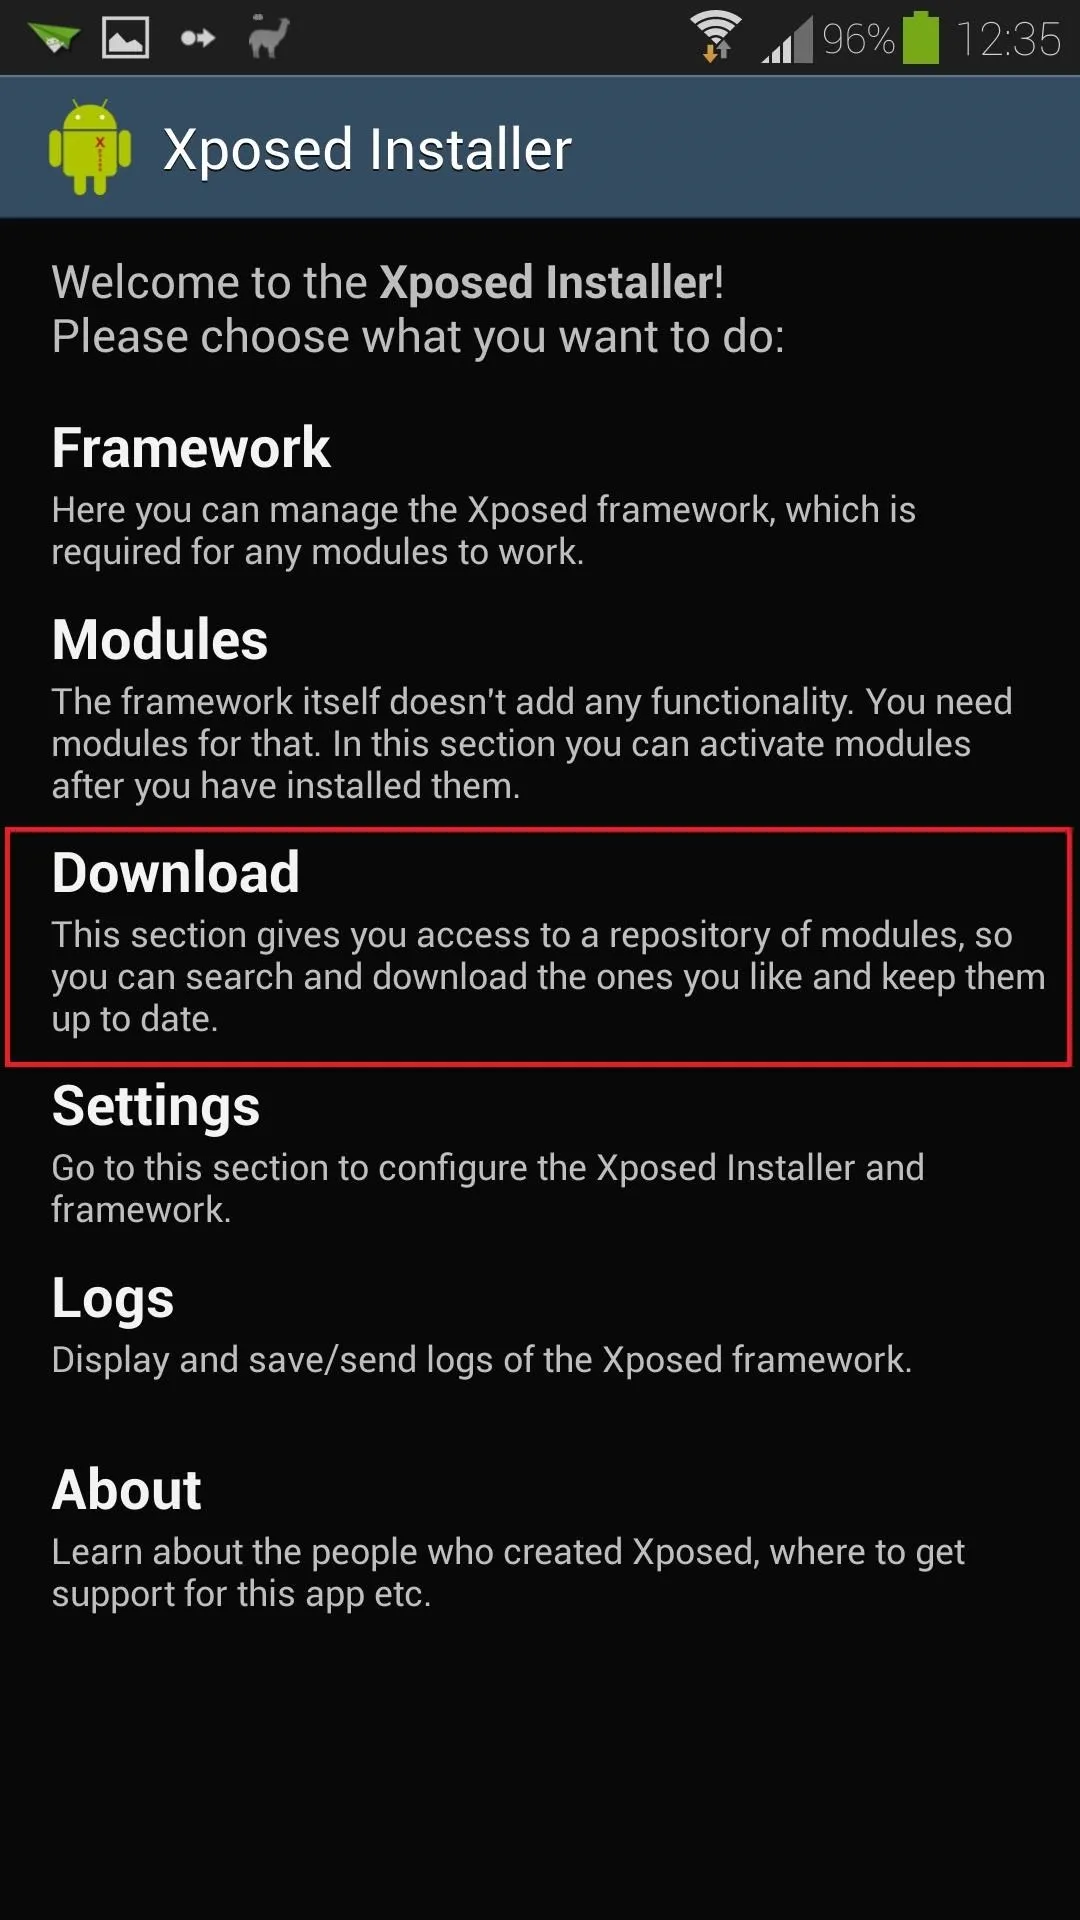
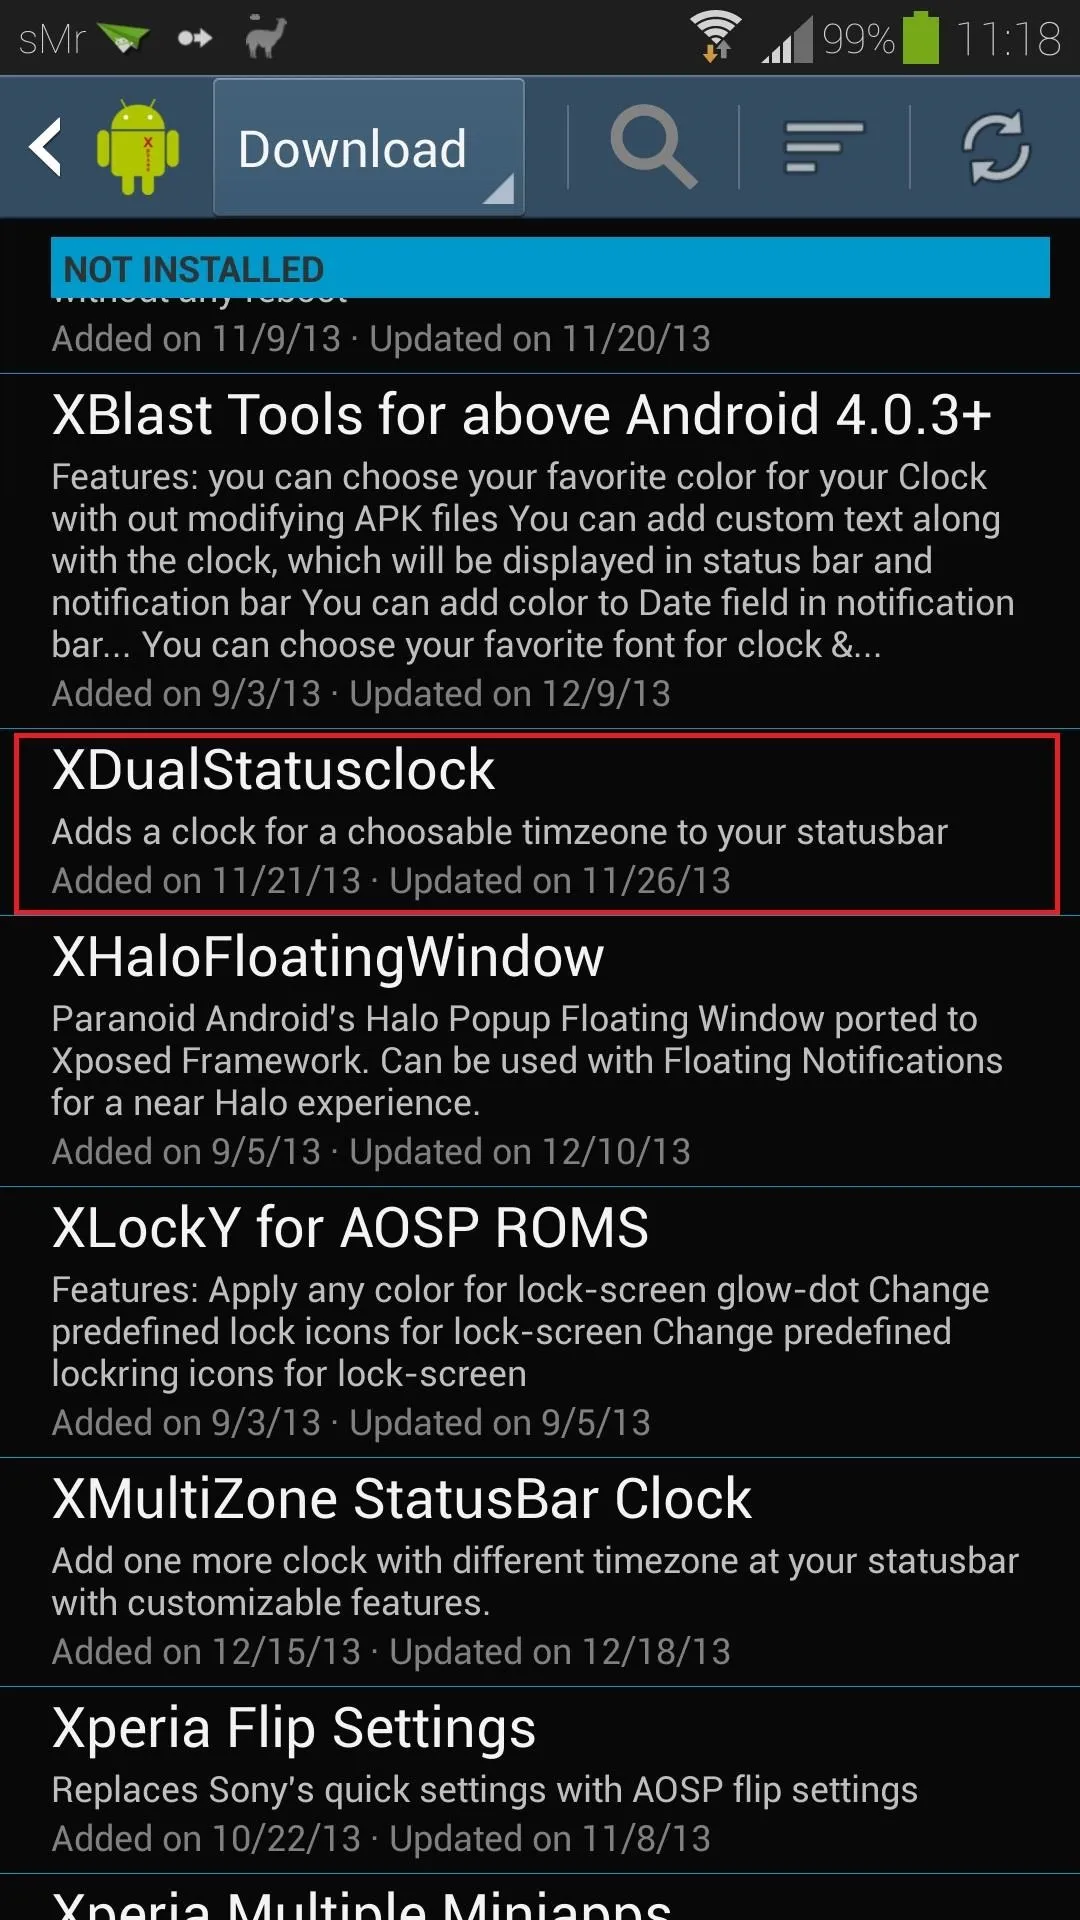
From Xposed's main menu, tap on Download to get to the official repository of modules. You can find XDualStatusclock by using the search bar at the top, or scroll down towards the bottom (the list is in alphabetical order).
Developer Jukka666 created this while studying abroad, so he could easily tell what time it was back home. Check out his XDA thread if you want to give some feedback on the module.
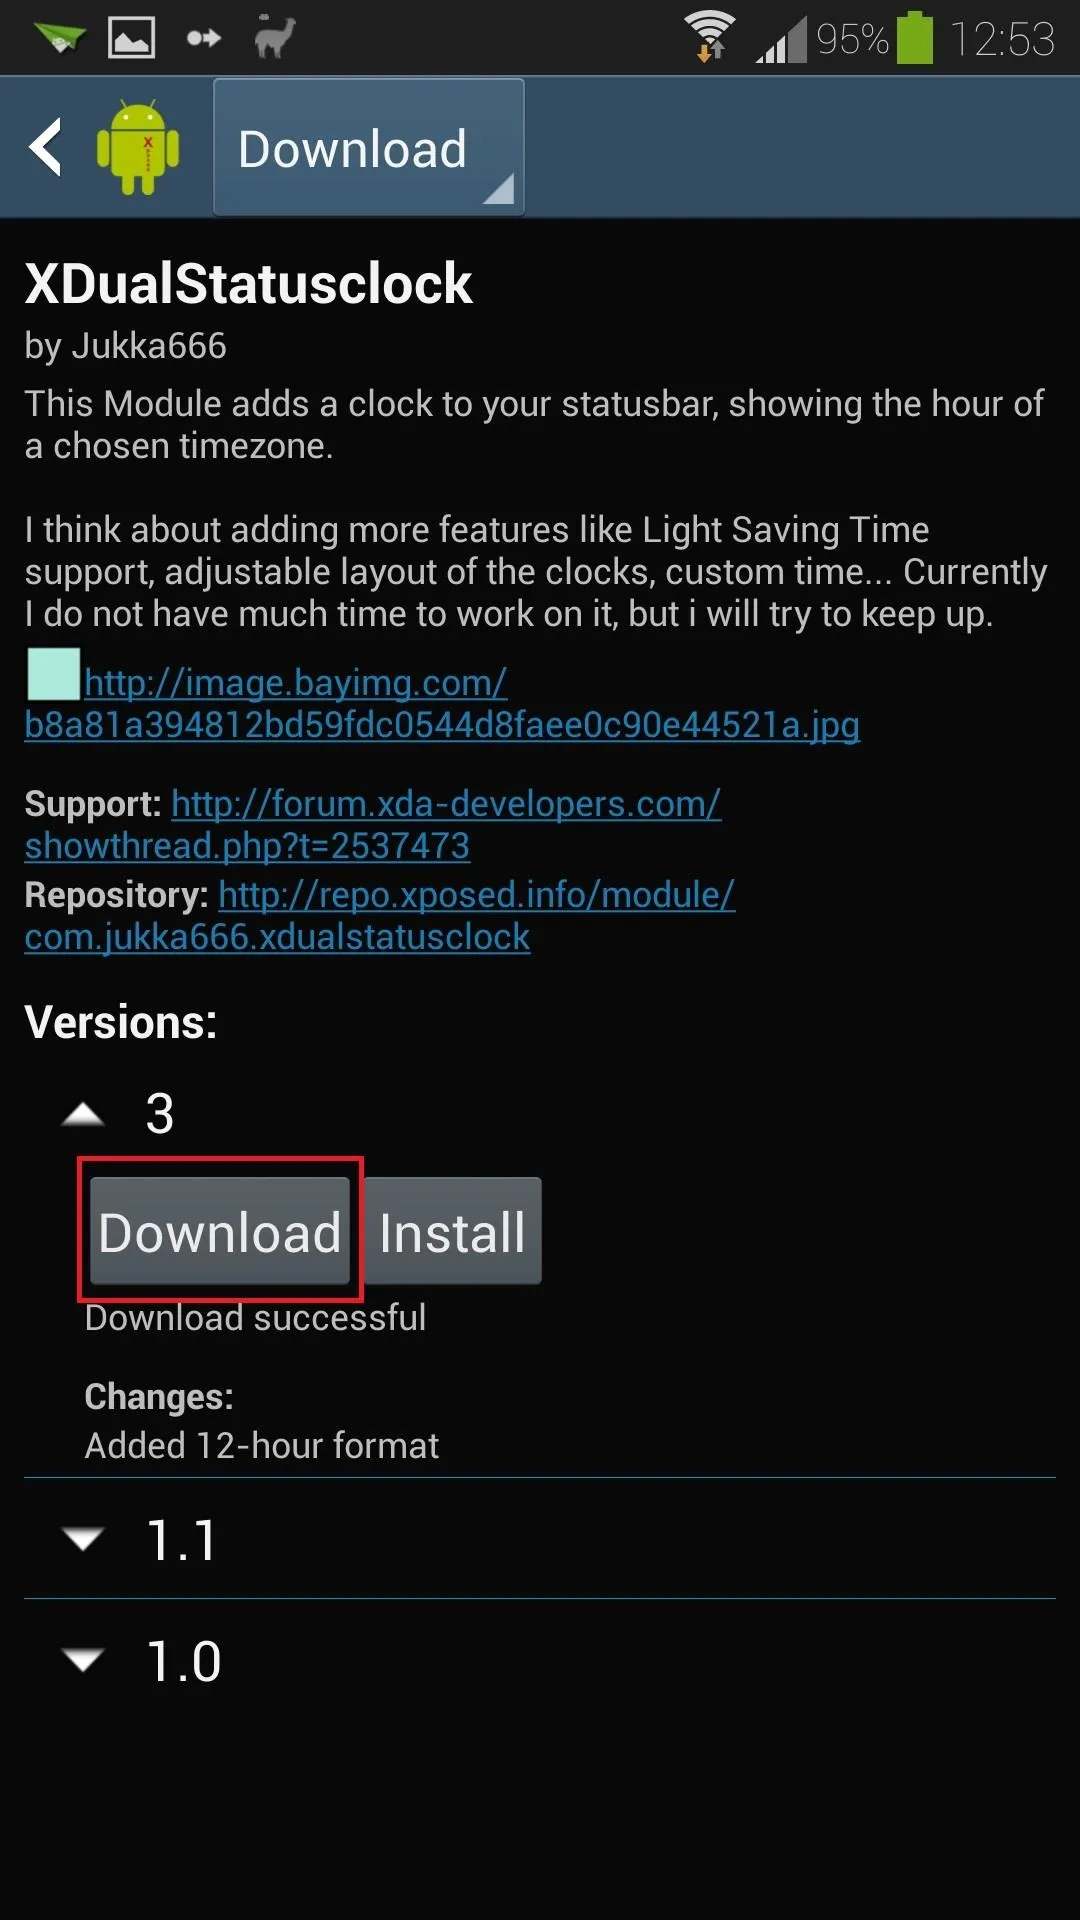


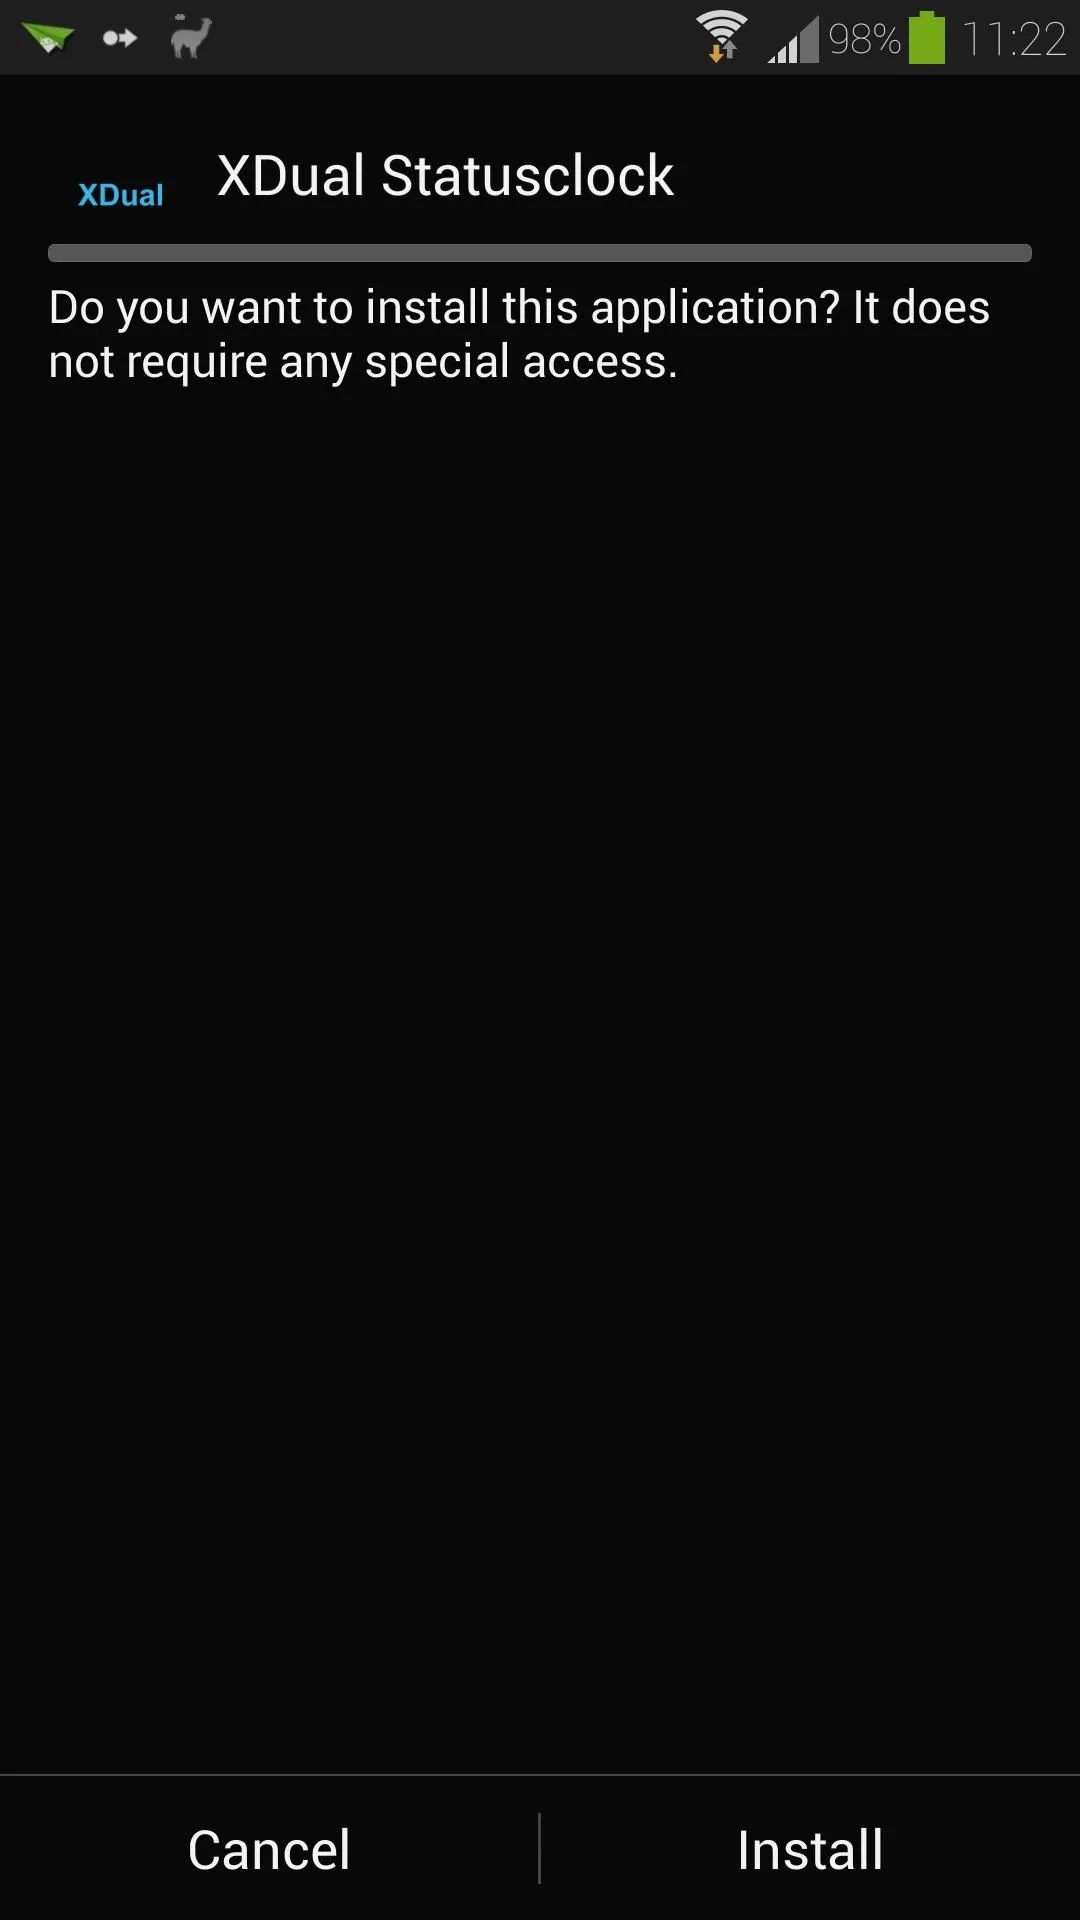
Tap the Download button, and the installer will pop up (if it doesn't, just tap the adjacent Install button).
Install the Module
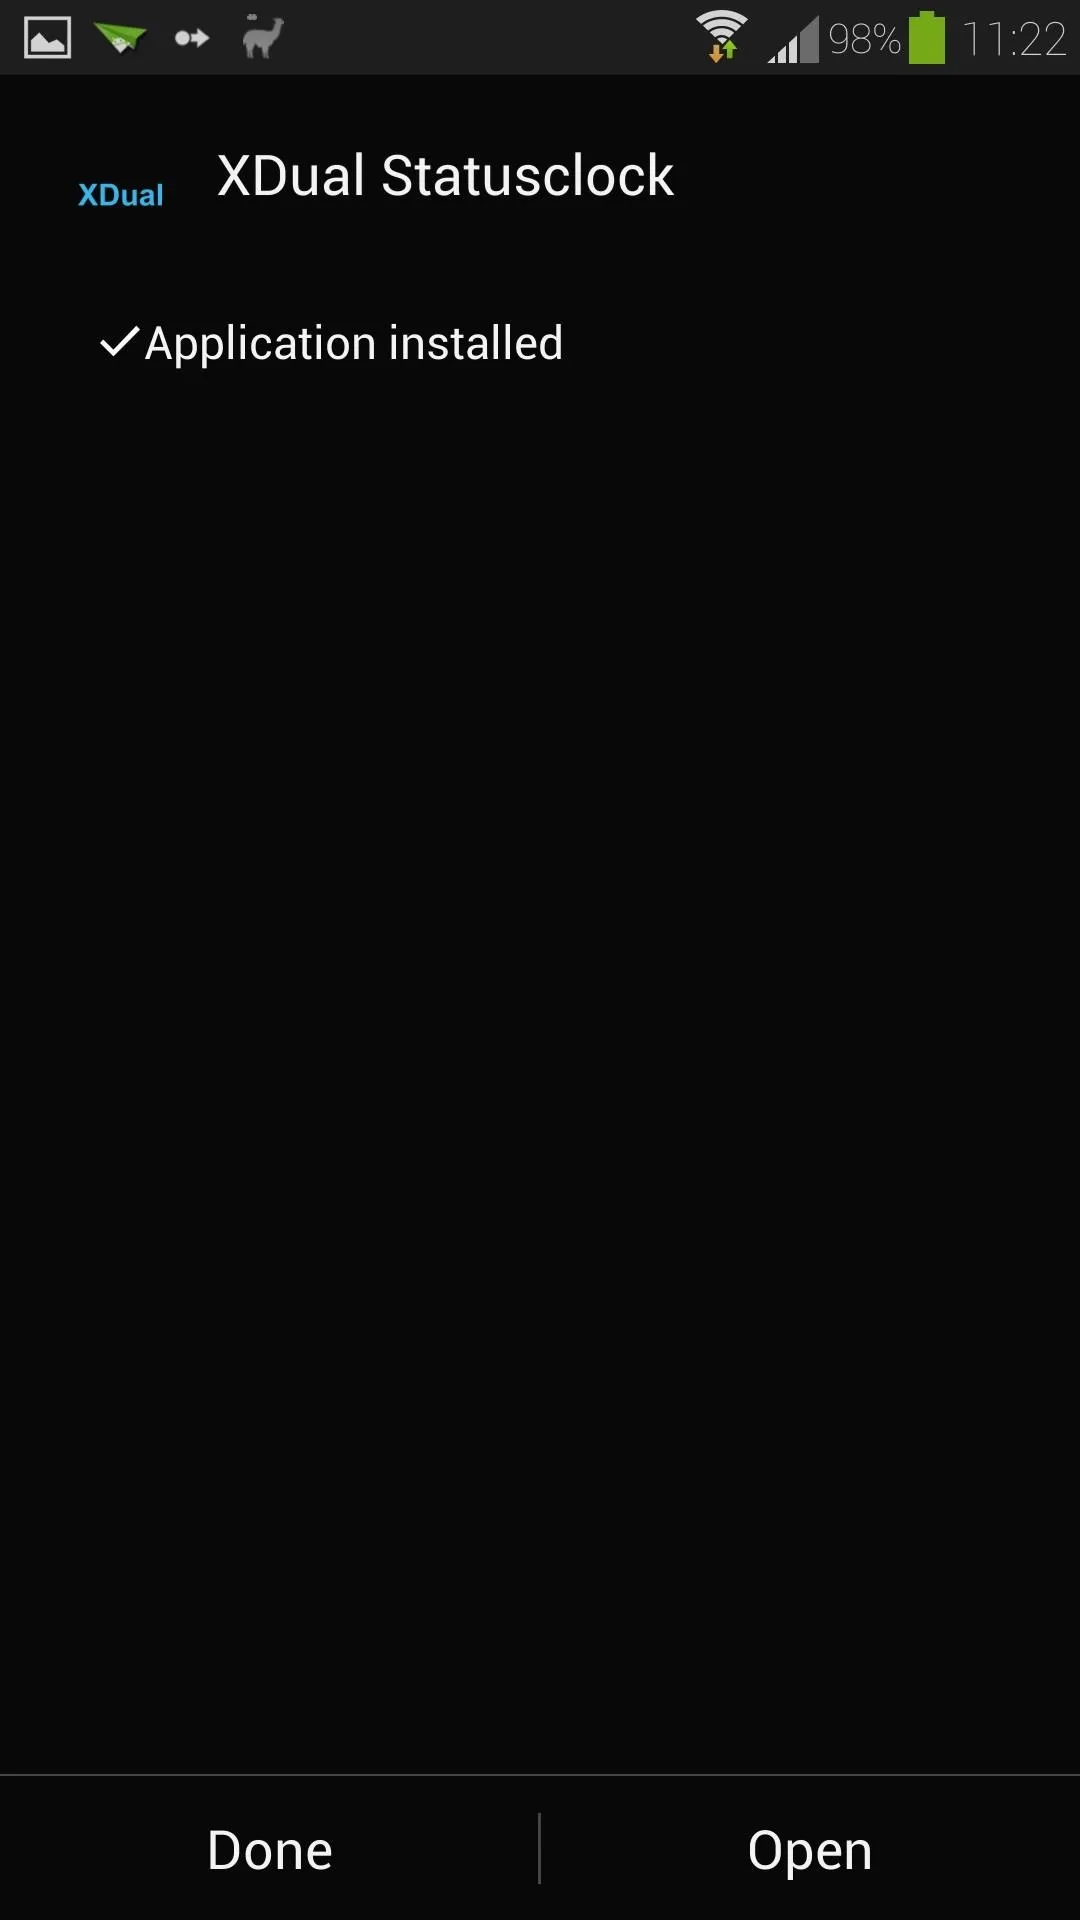
Once you're inside the installer, just tap Install at the bottom, then Done once it's finished.


Activate the Module
After the install is complete, you'll get a notification from Xposed, reminding you to activate the module.

Tap on it to head to Xposed's Modules page. If you miss or accidentally clear the notification, you can always access this page from Xposed's main menu.

Locate XDual Statusclock and check the box next to it. Reboot your phone for the module to go into effect.
Customize Your Dual Clock Settings
Once you've rebooted your phone, you can find the module in your app drawer under the name XDual Statusclock.
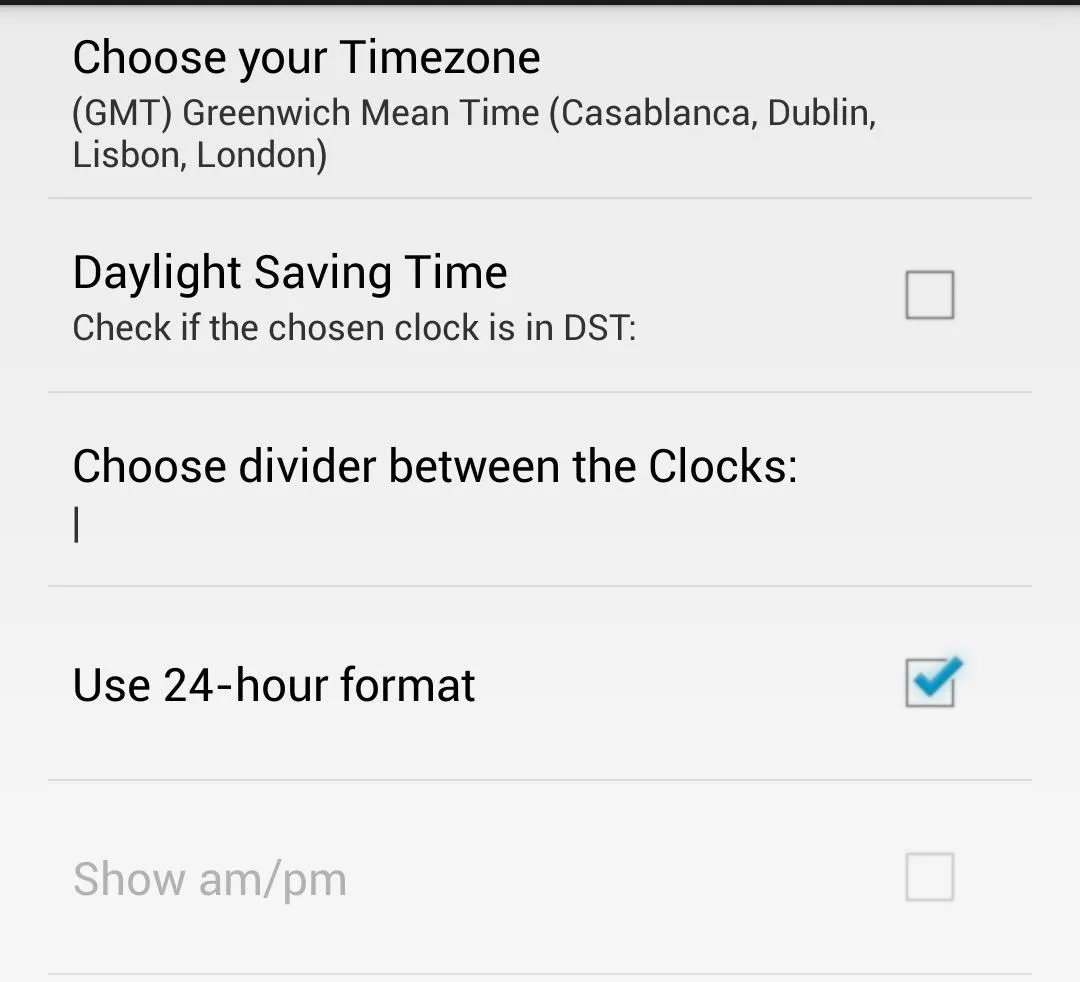
There are only a few settings that you need to change:
- Timezone: Which time zone you want your second clock to be.
- Daylight Saving Time: Whether or not the country you chose uses DST.
- Divider between clocks: Which symbol you want to separate your two clocks (|, /, +, -, or _).
- 24-hour format: If you want the clock to be in military time (e.g. 20:46) or the standard 12-hour format (e.g. 8:46).
- Show am/pm: If you opted for the 12-hour time format above, then you can toggle whether or not to show the AM or PM.
When you're done tweaking the settings to your liking, reboot your phone for the changes to go into effect.
Enjoy Your New Dual-Clock Status Bar
As soon as your phone boots up, you'll see that you now have a second clock in your status bar.

Now you can tell with a quick glance what time it is in another country—without having to wear a watch.
Want to see other cool mods like this? Check out our Xposed Mods section for more. Know of any cool ones? Let us know in the comments.












Comments
Be the first, drop a comment!