The Xposed Framework offers many great customization options for your Galaxy S5. S Health, with its ability to read your heart rate through a built-in monitor, is one of the main selling points of the GS5. Trouble is, the two don't seem to play nice together.
Many users (myself included) have experienced lag and other issues on their Galaxy S5 after installing the Xposed Framework. In extreme cases, S Health stops working altogether, but at a minimum, the phone seems to run a bit slower in general.
But don't uninstall Xposed just yet—there's a simple fix that will allow you to enjoy your favorite modules and all of S Health's functionality. After editing a single word in your device's build.prop file, your Galaxy S5 will be back to running at lightning speed in no time.
Temporarily Uninstall the Xposed Framework
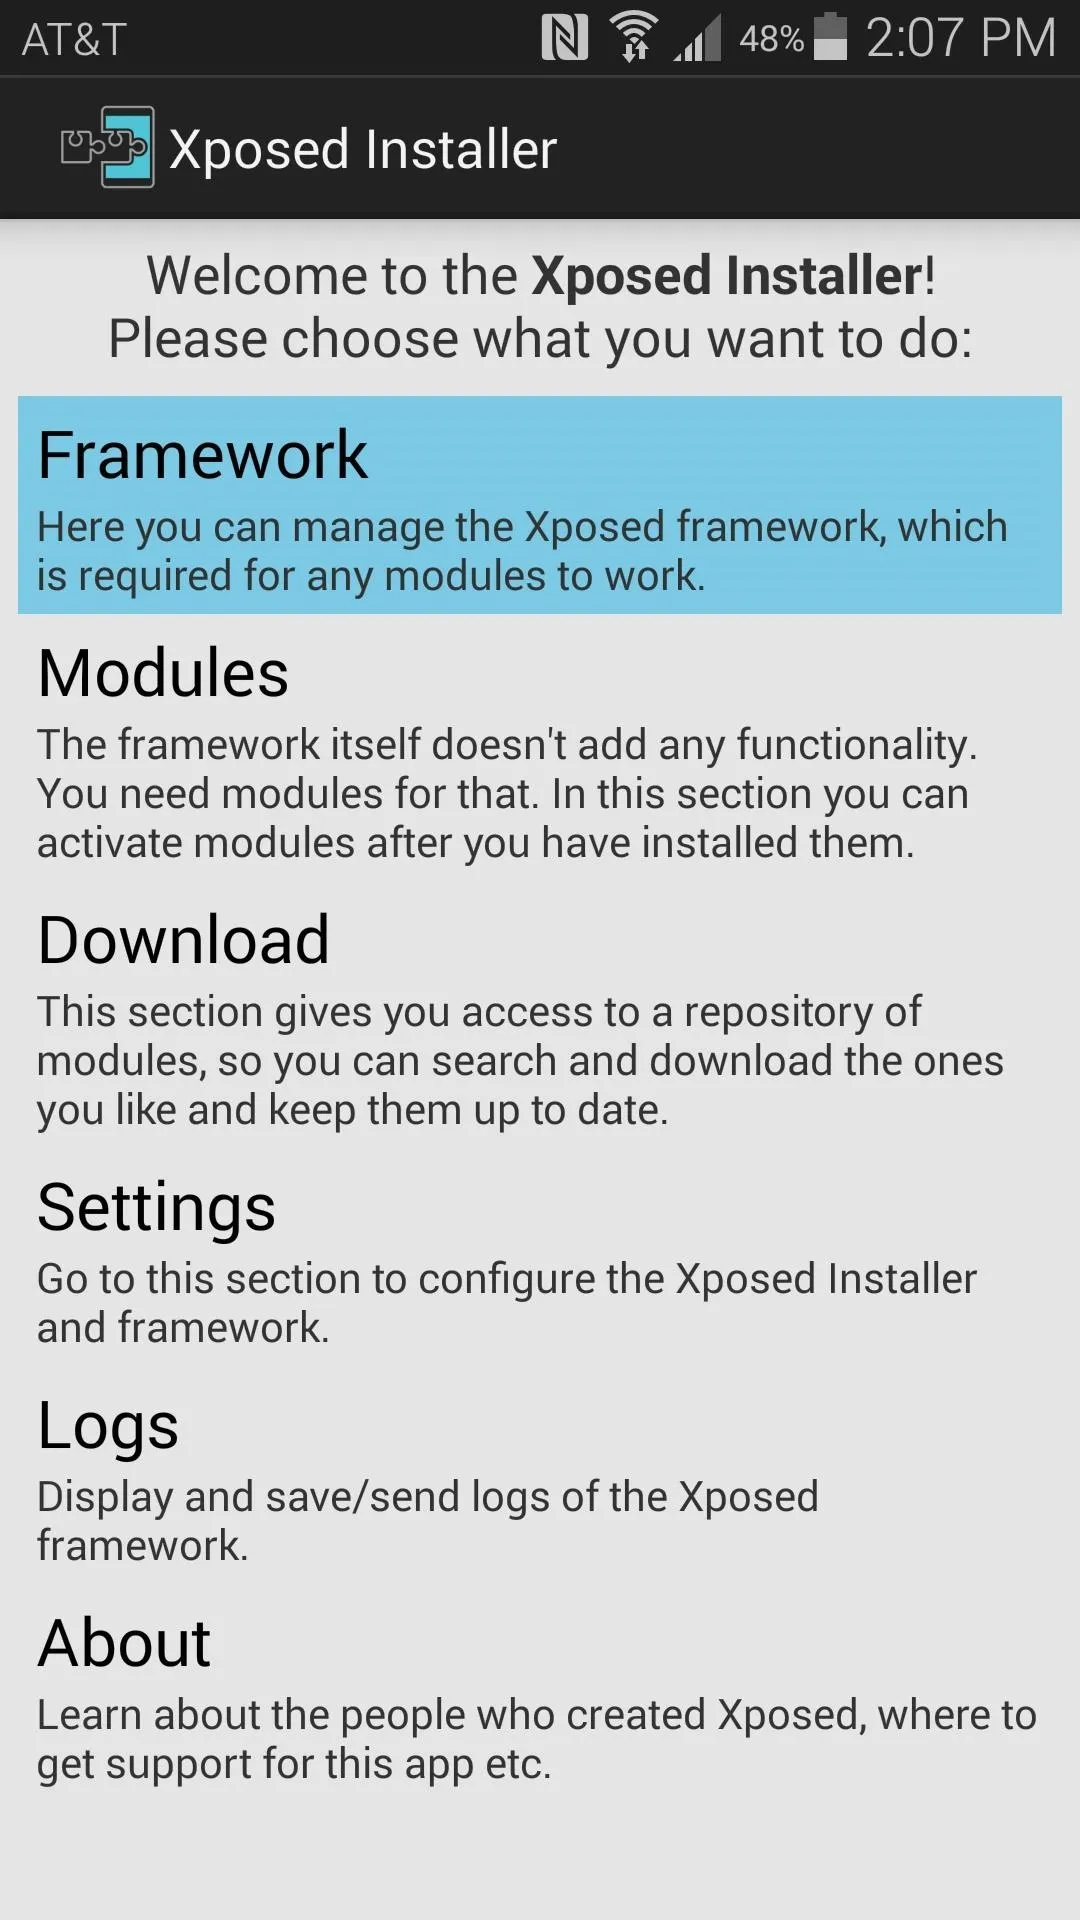
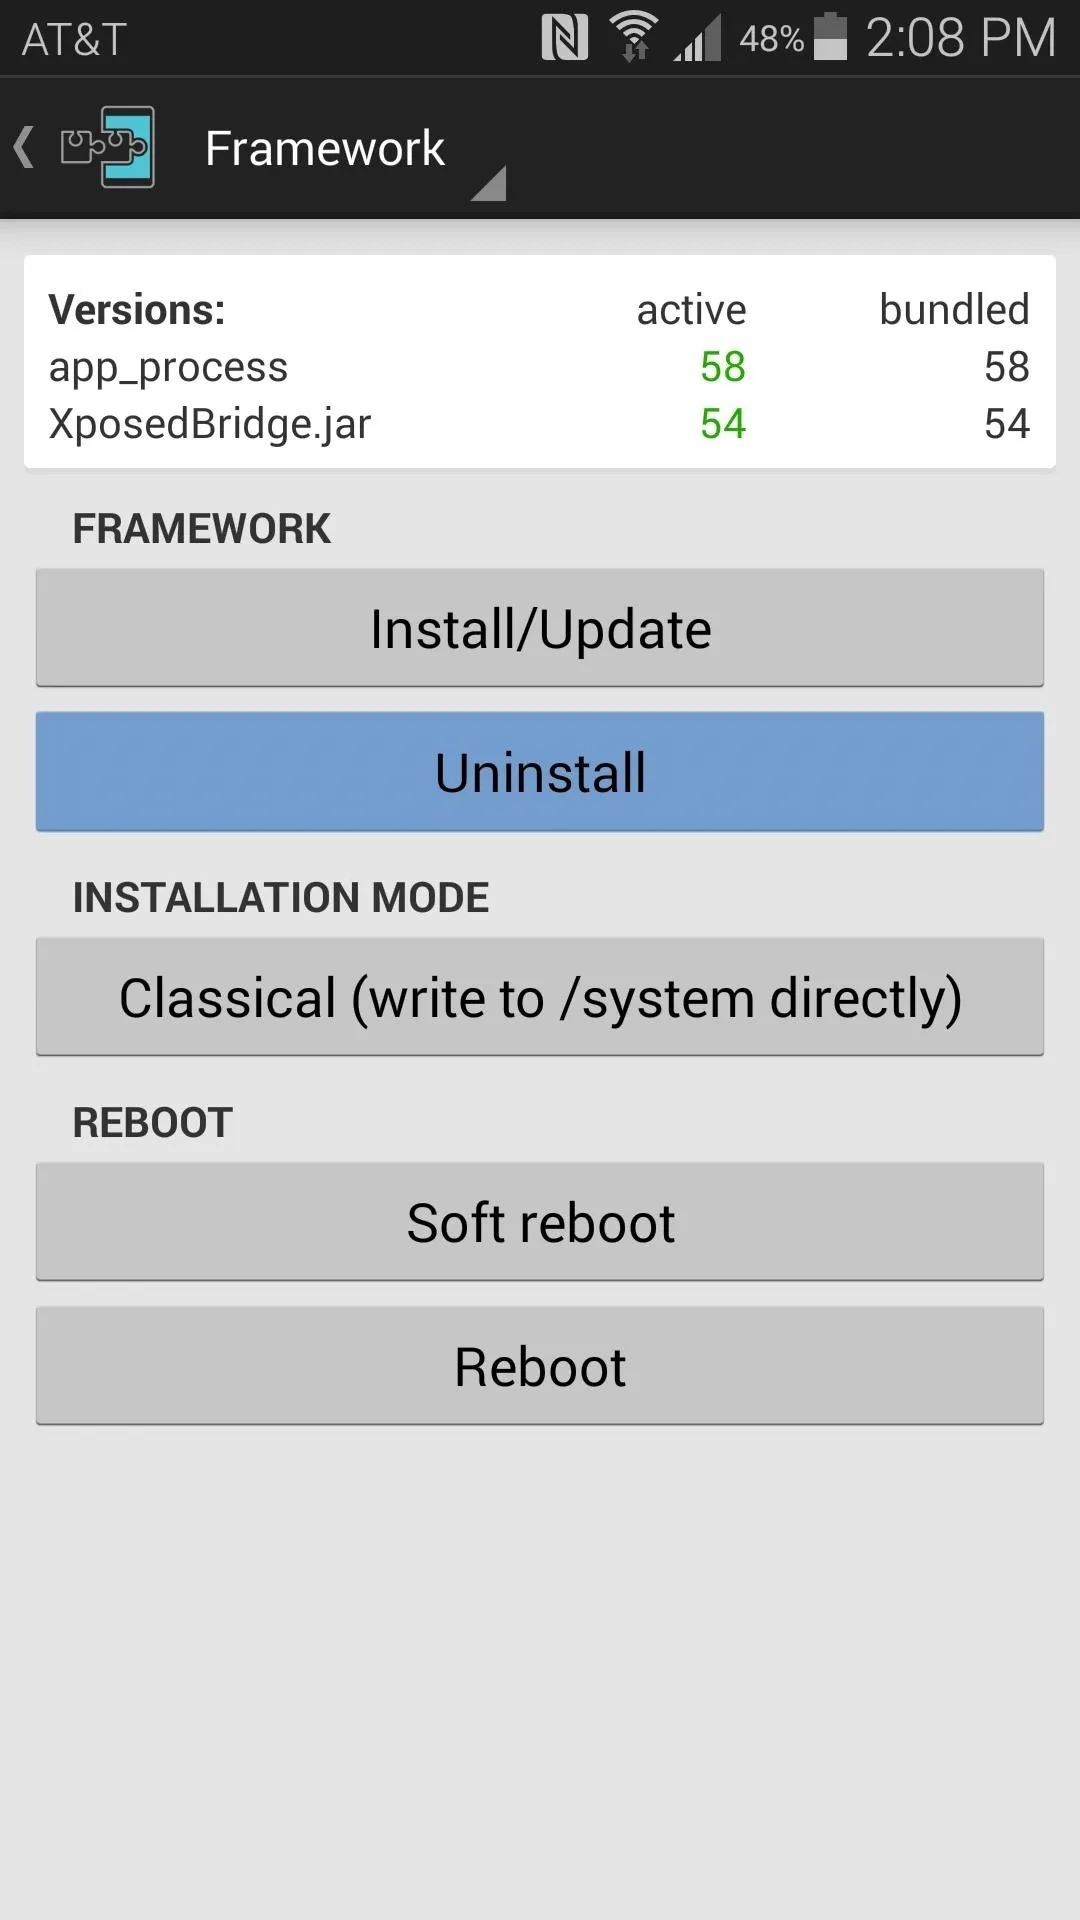
This guide, of course, assumes that you are rooted with the Xposed Framework installed on your device. As such, the first step here is to temporarily uninstall the Xposed Framework—not the Xposed Installer app, but the framework itself.
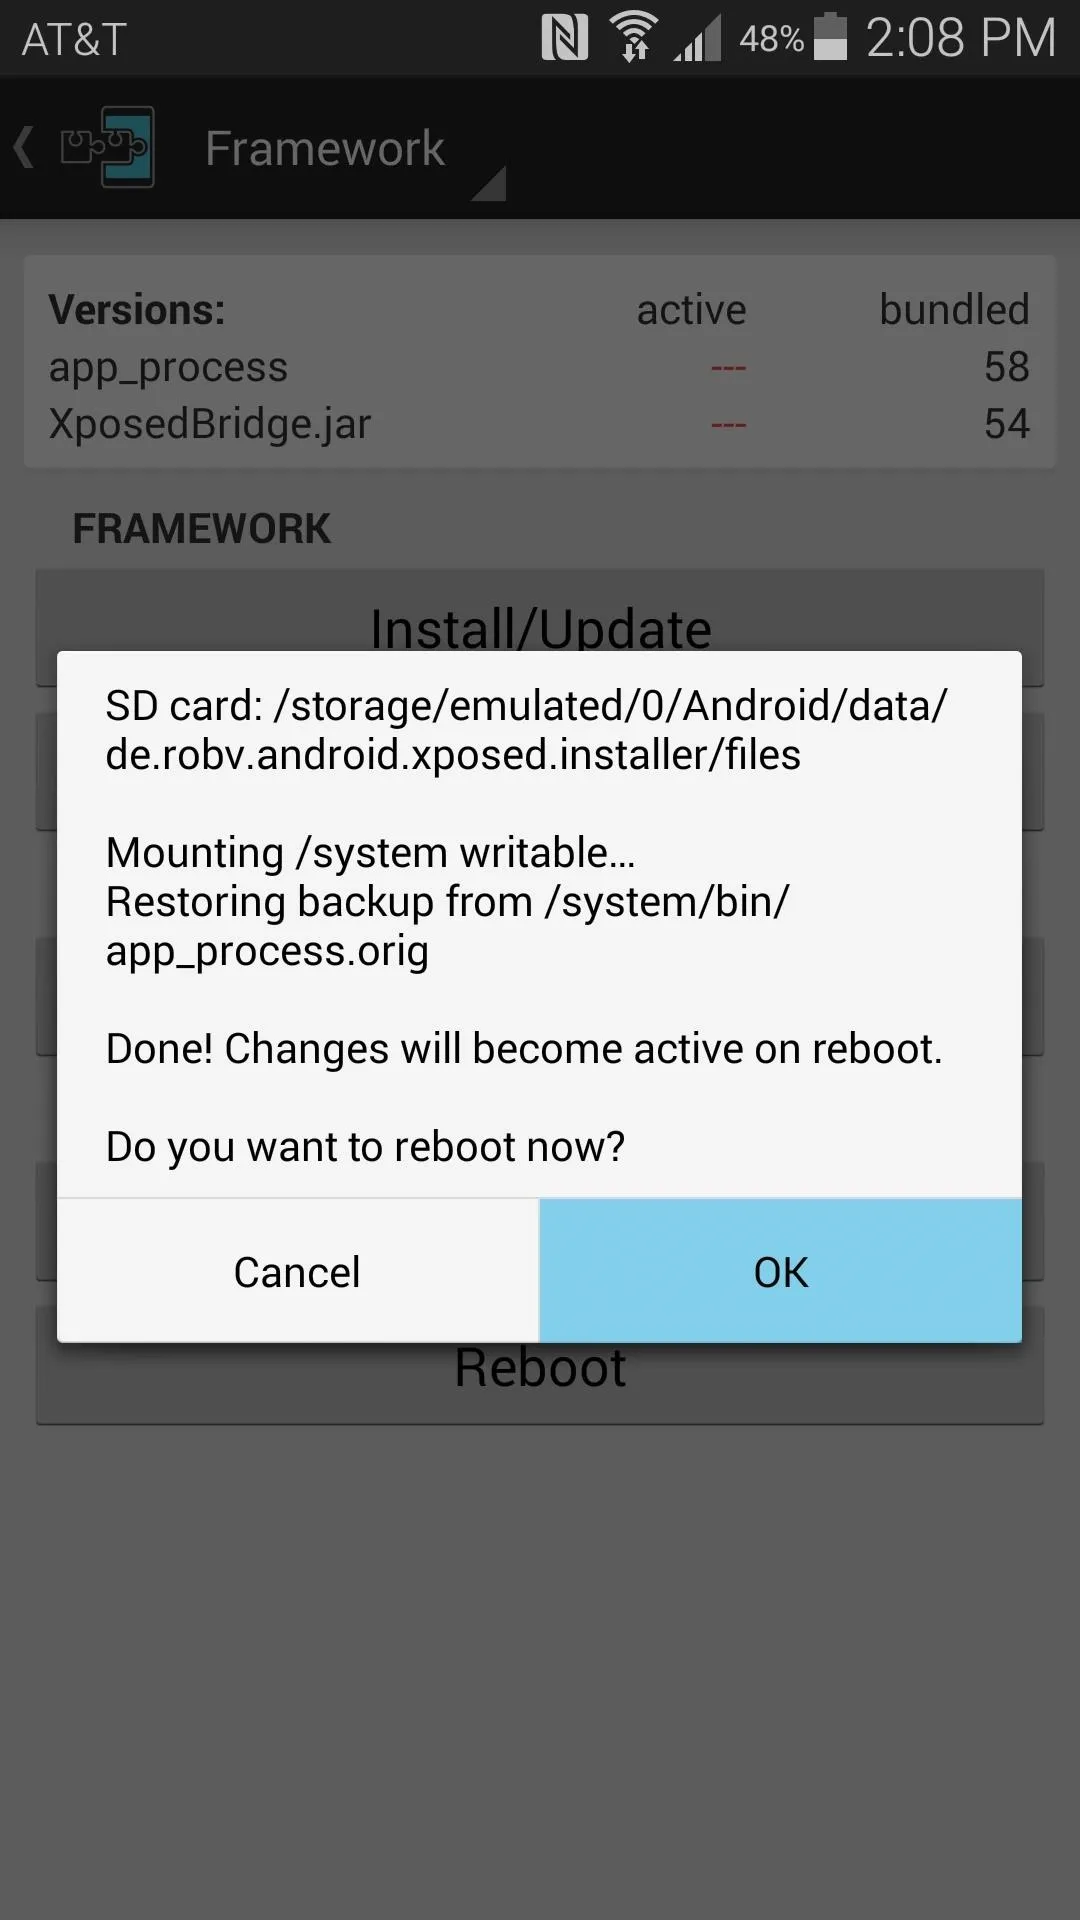
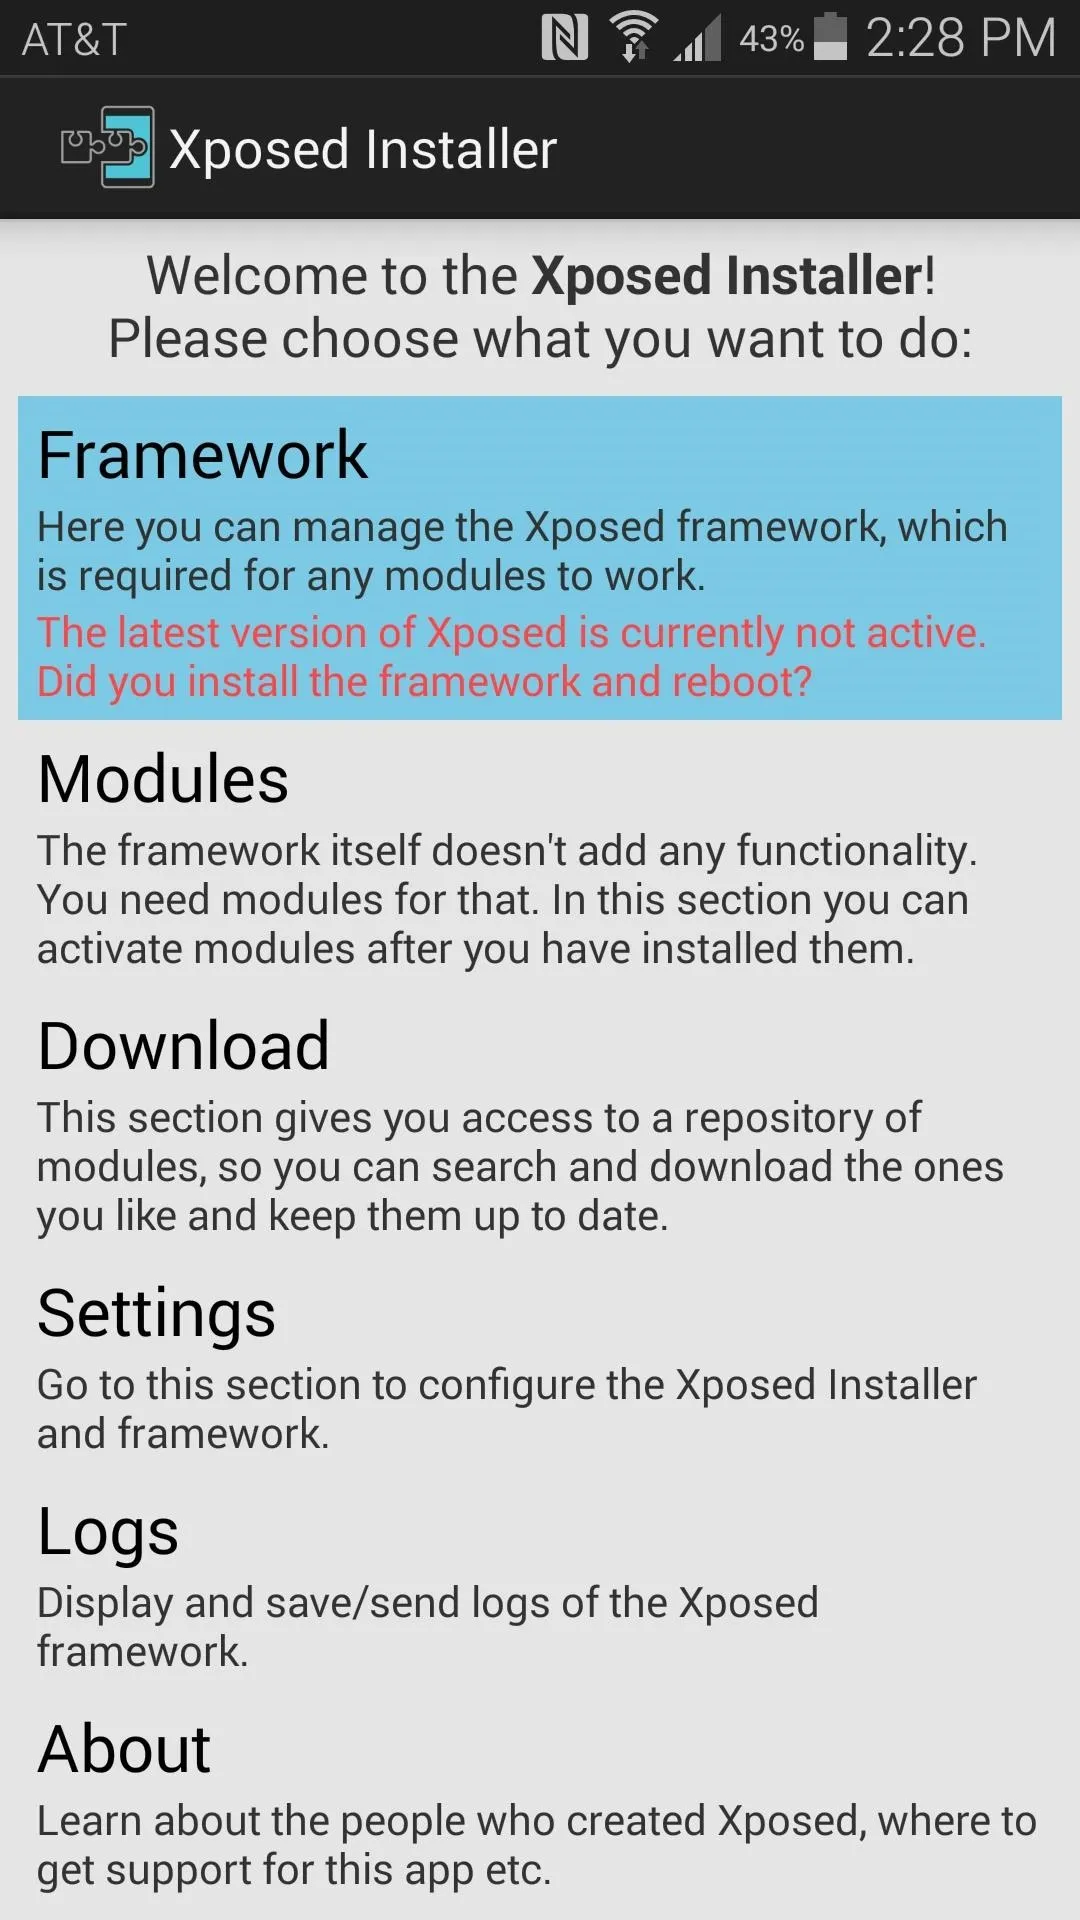
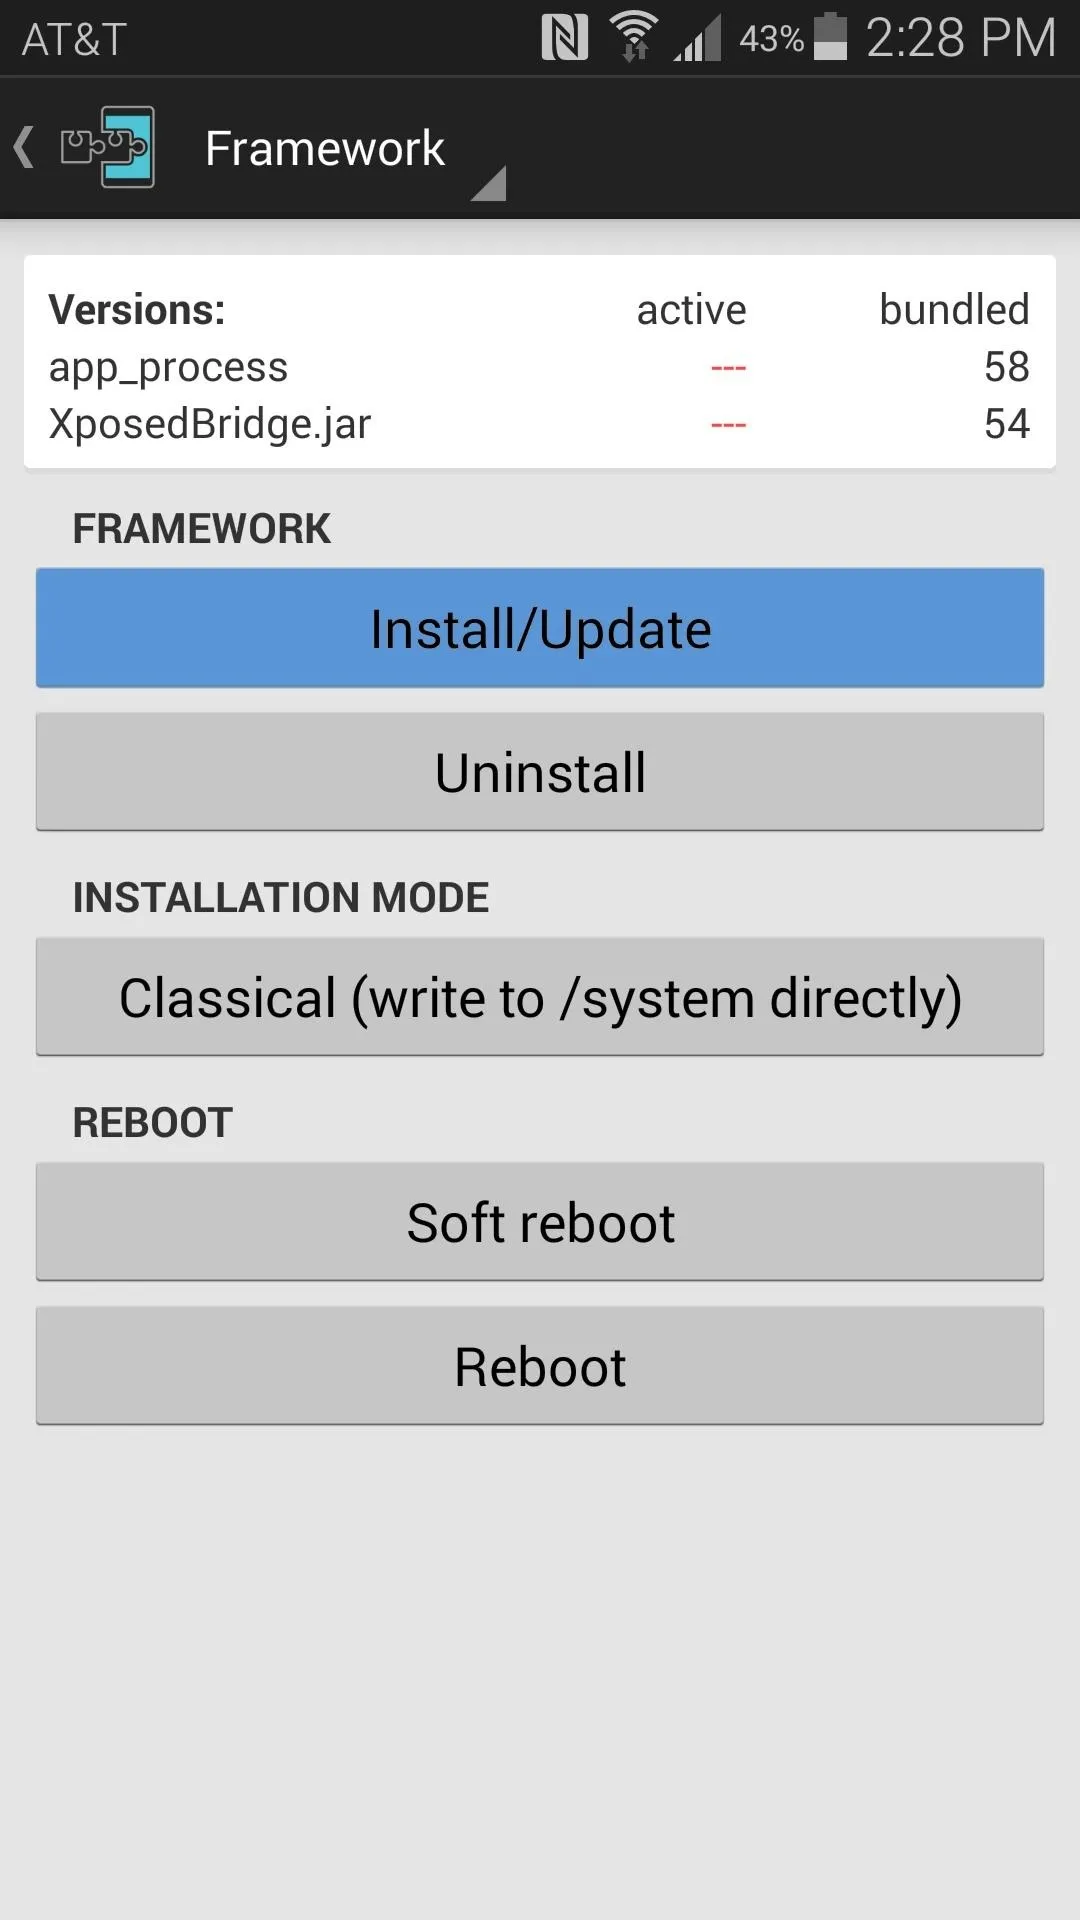
To do this, simply head to your Xposed Installer app and hit up the Framework section. From here, tap Uninstall, then press OK on the popup and reboot your device.


Install a Root-Enabled File Browser
The main hack that you'll be applying today is a simple edit to your device's build.prop file. To access this file, you'll need a root-enabled file browser. There are many such apps available on the Play Store, but the one I'll be demonstrating with today is called FX File Explorer.

If you're using the FX File Explorer app, once you have the main app installed, you'll also need to also grab FX's Root Add-on.
Edit Your Build.prop File
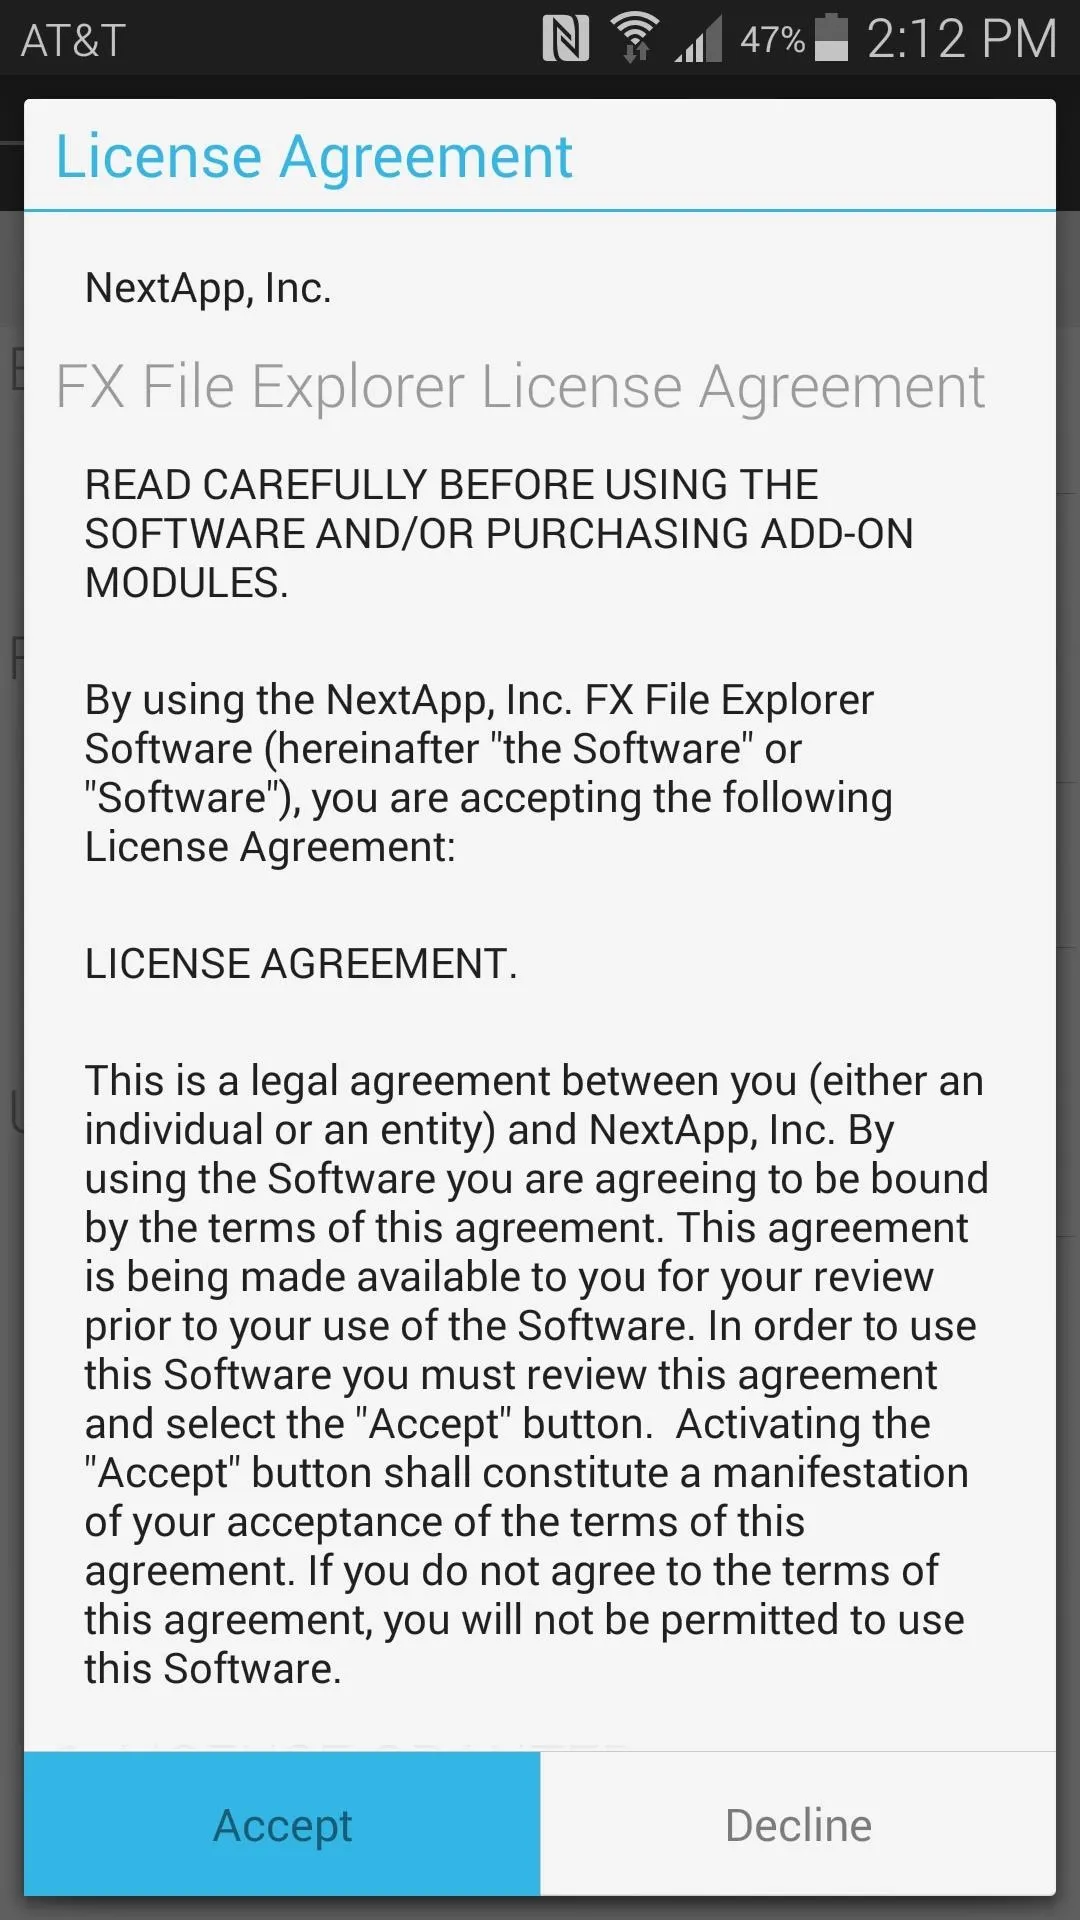
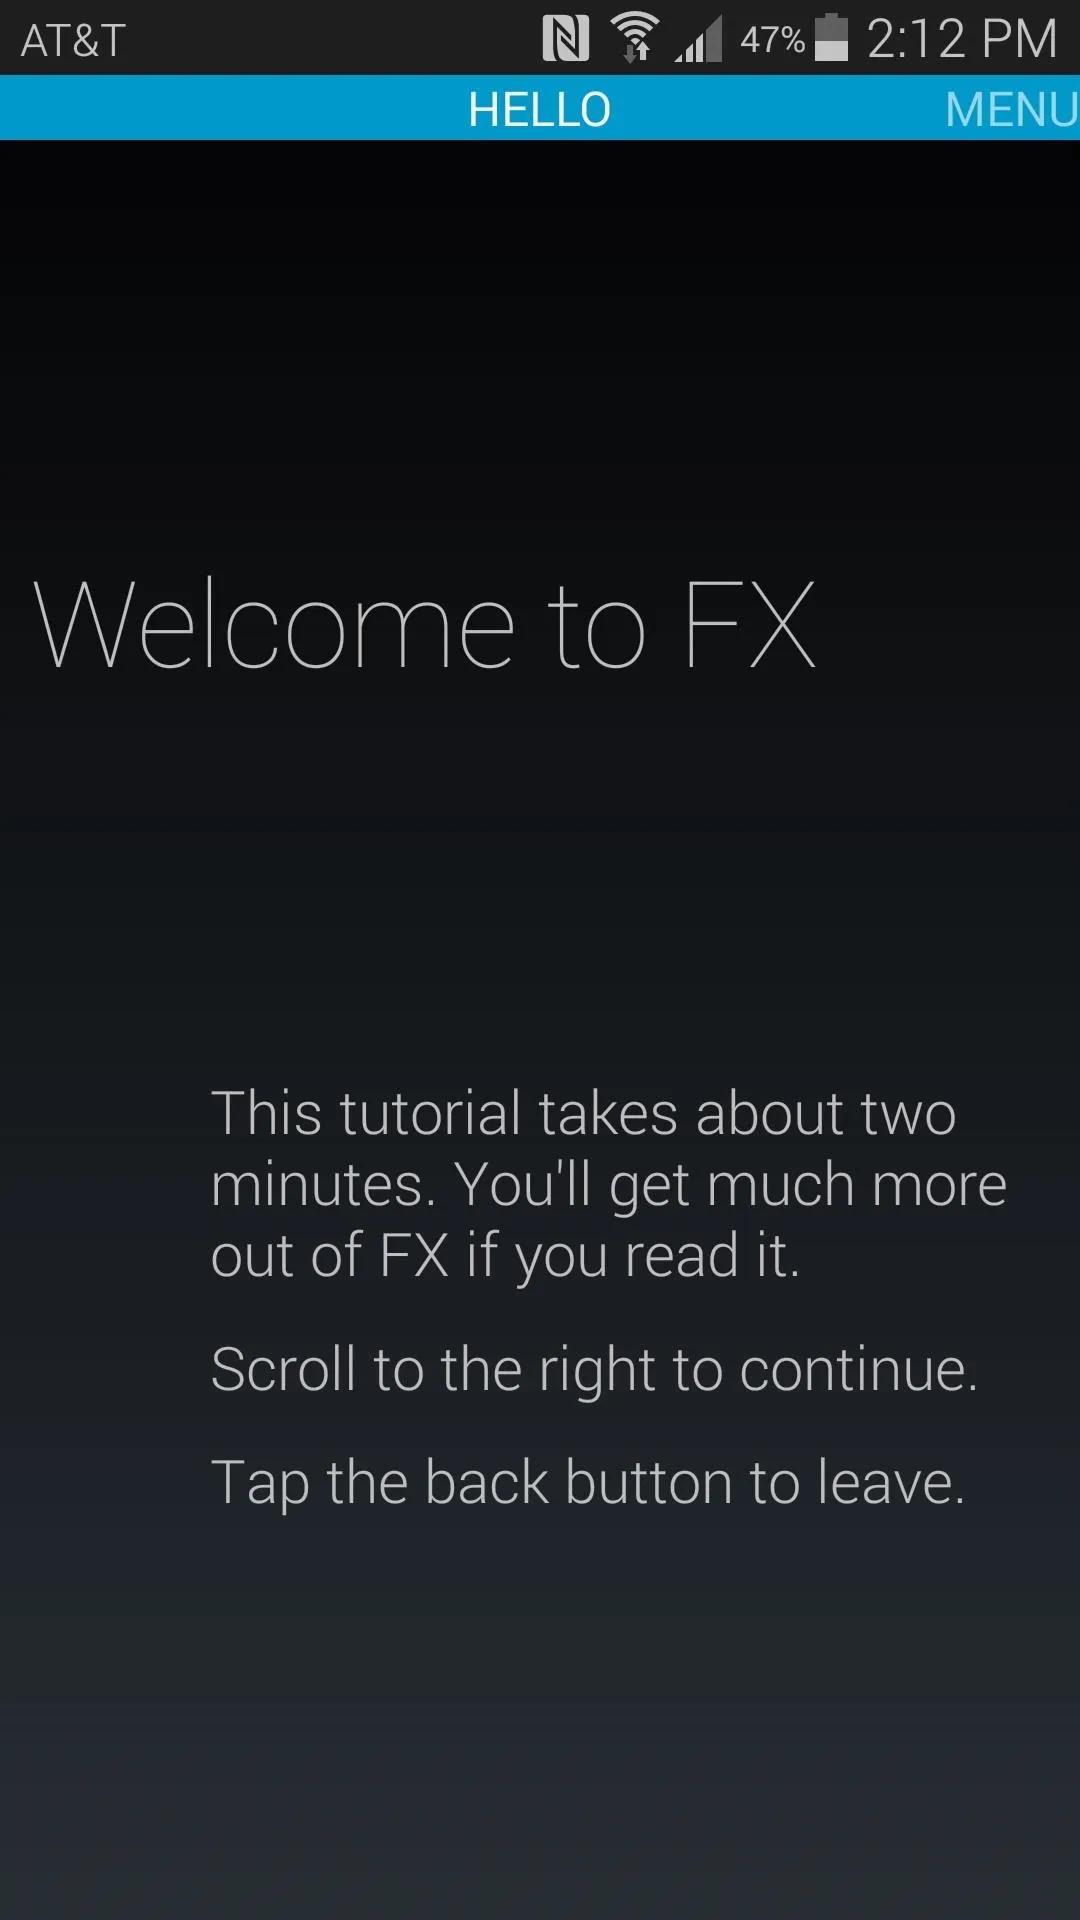
When you first launch FX, you'll have to accept the license agreement and view a quick feature tour.


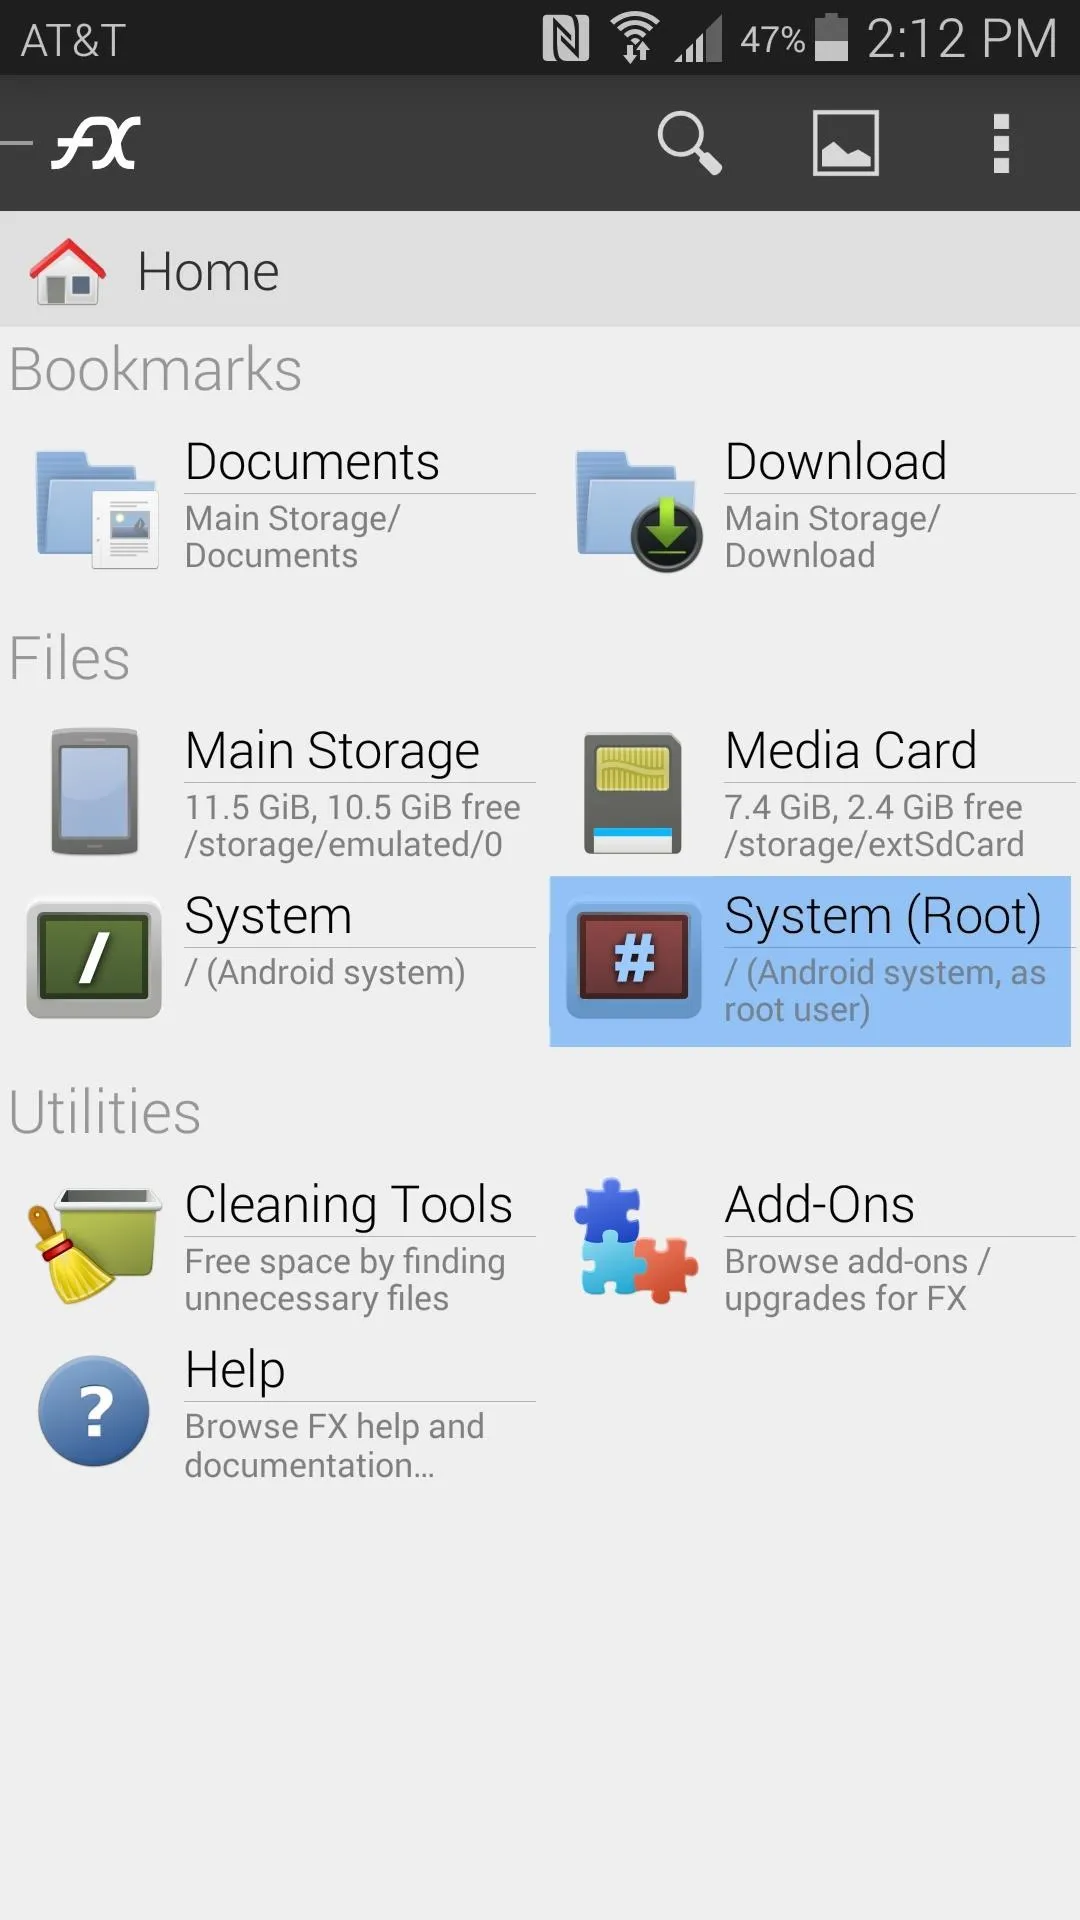
Next, from FX's main screen, tap System (Root). The app will ask for Superuser privileges at this point, so Grant it those. After this, you'll see a root warning message. Simply tap I Understand and press OK on this message.

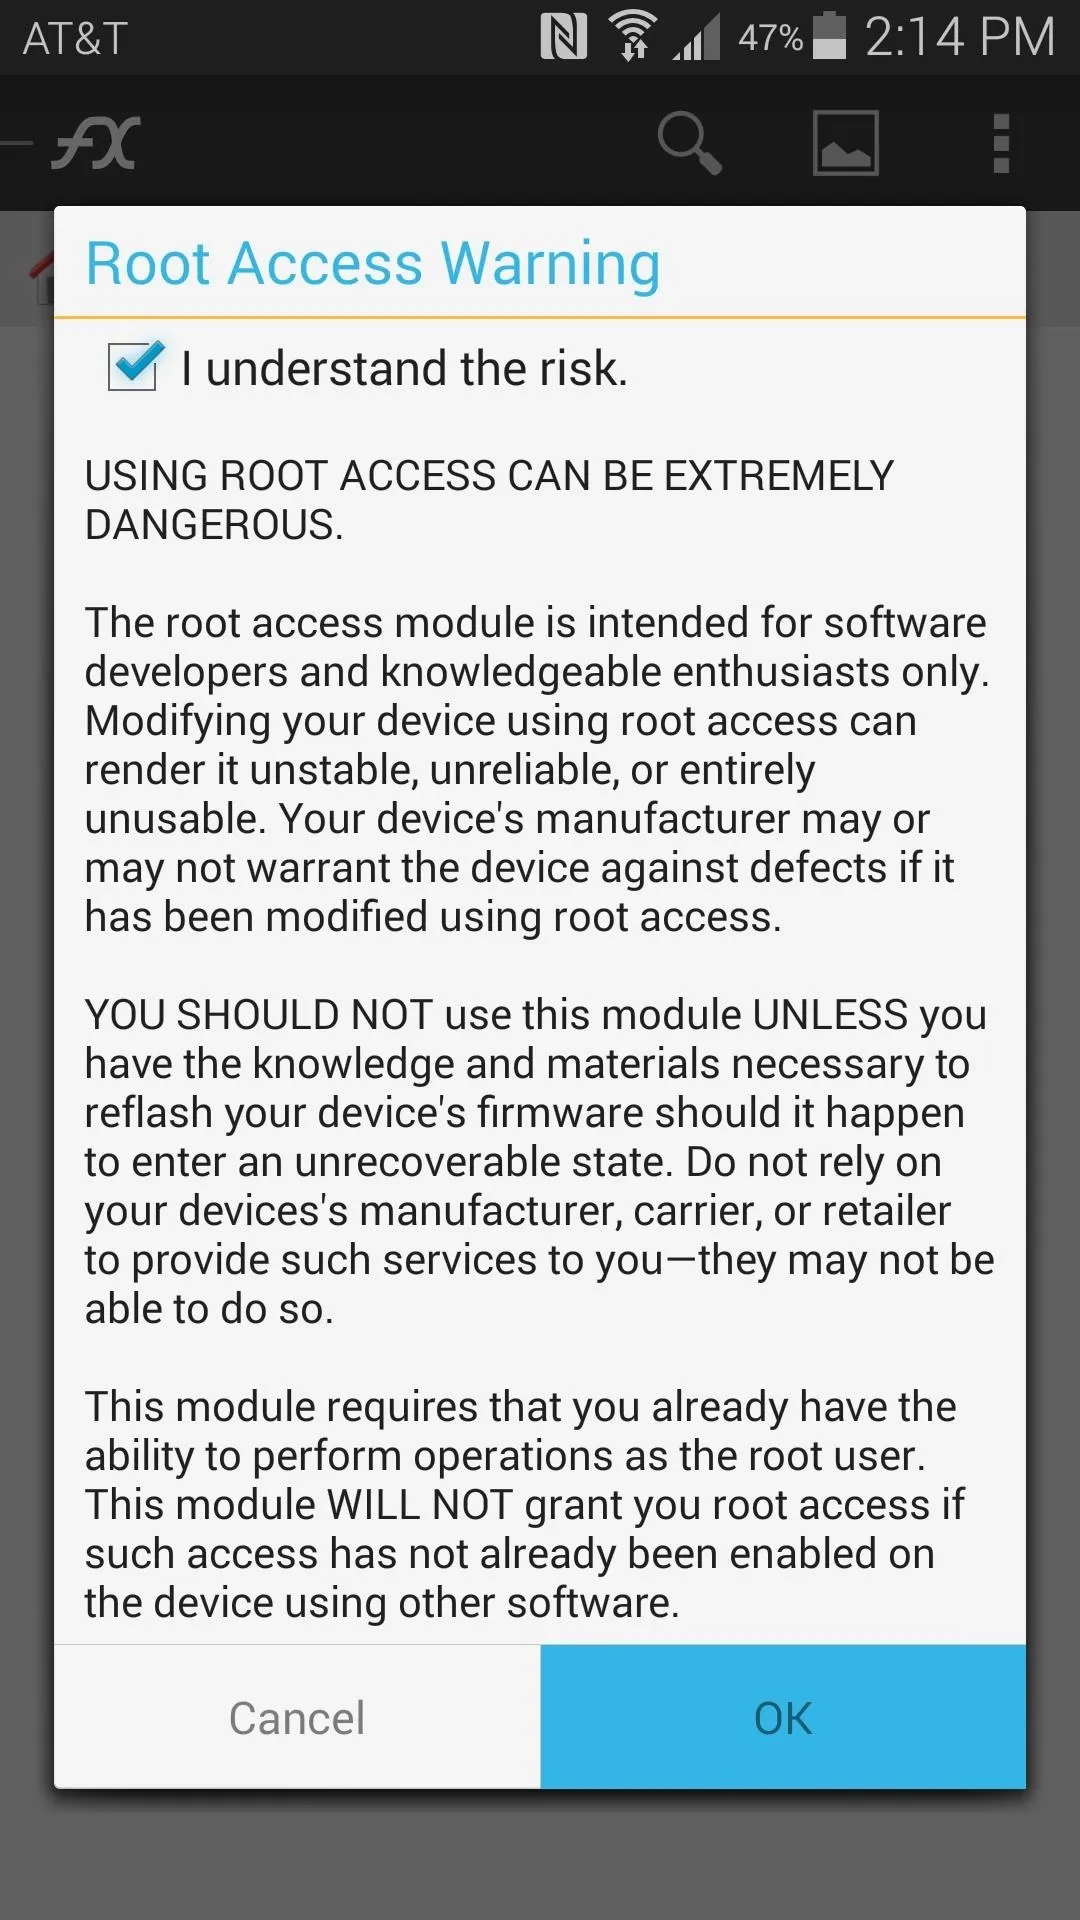


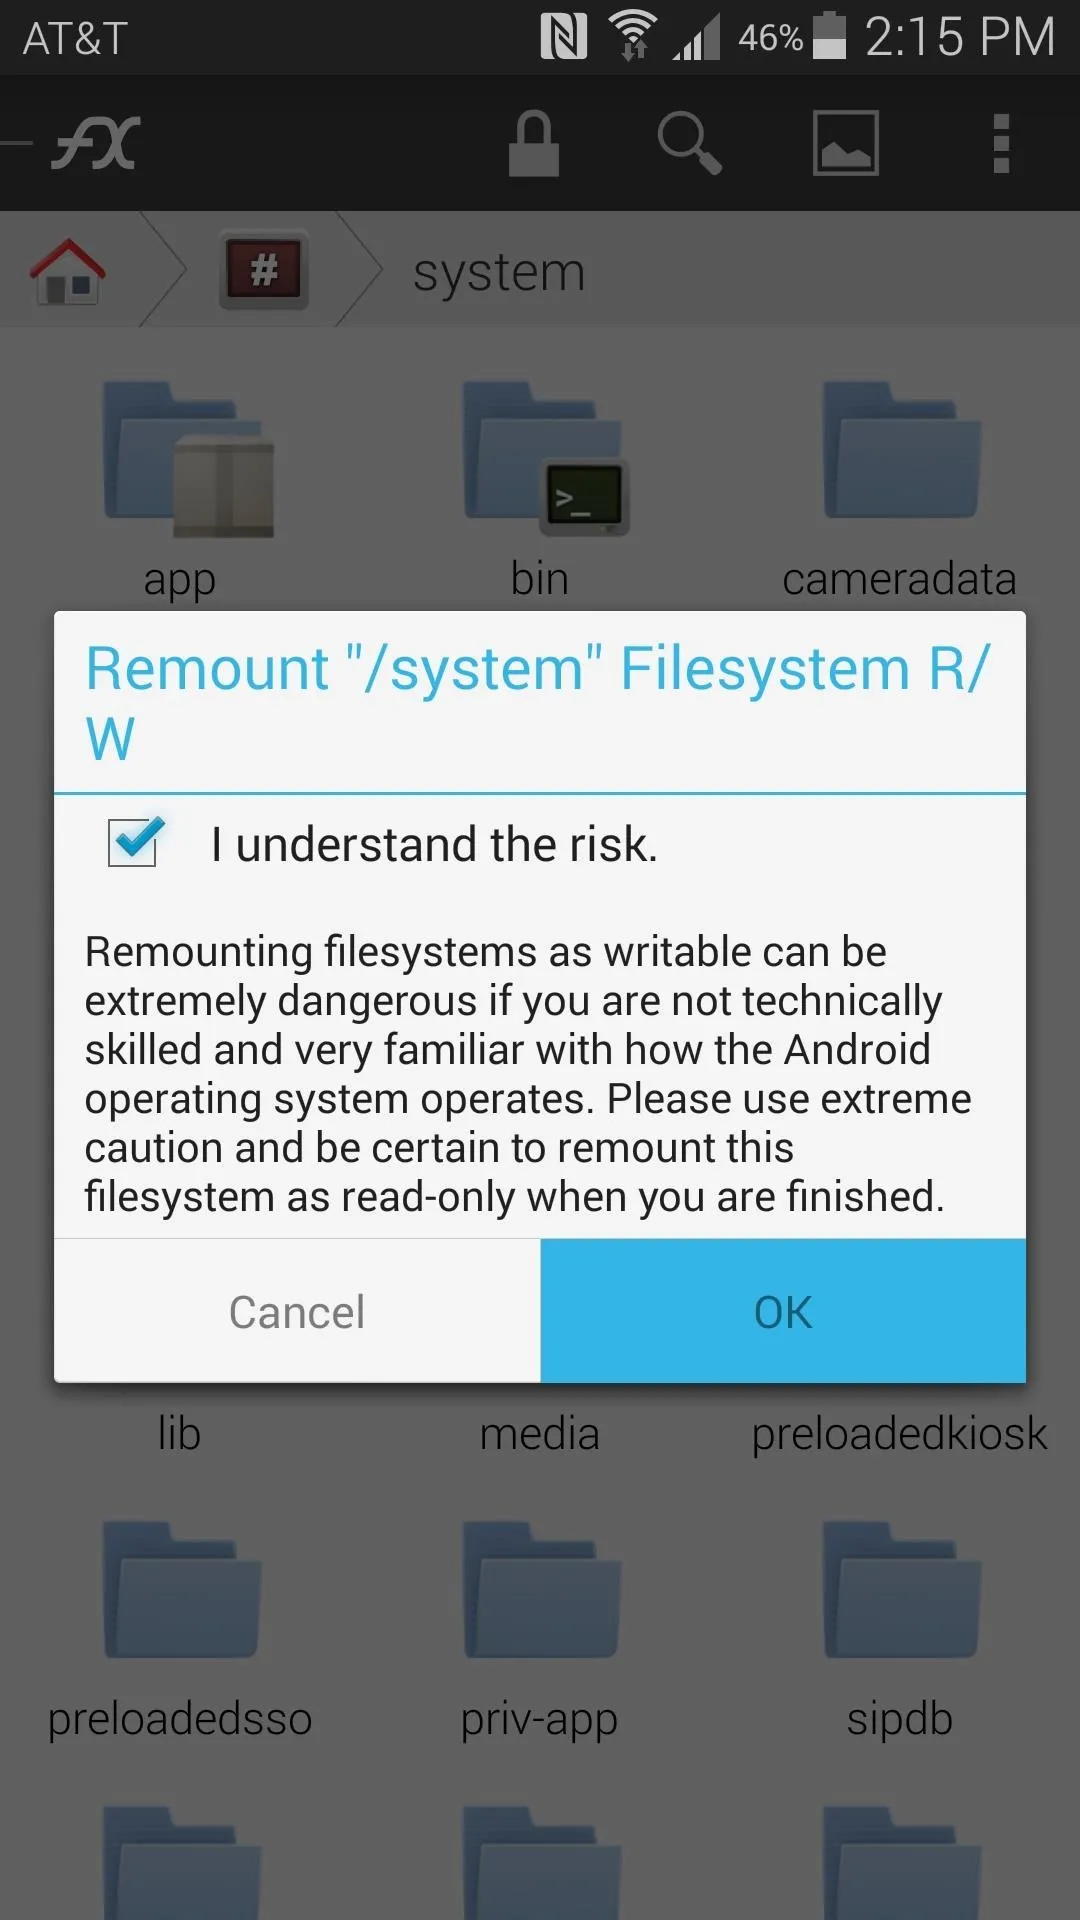
Next, head to the System folder, then press the Lock icon at the top of the screen to mount it as read/write. Again, tap I Understand and press OK.
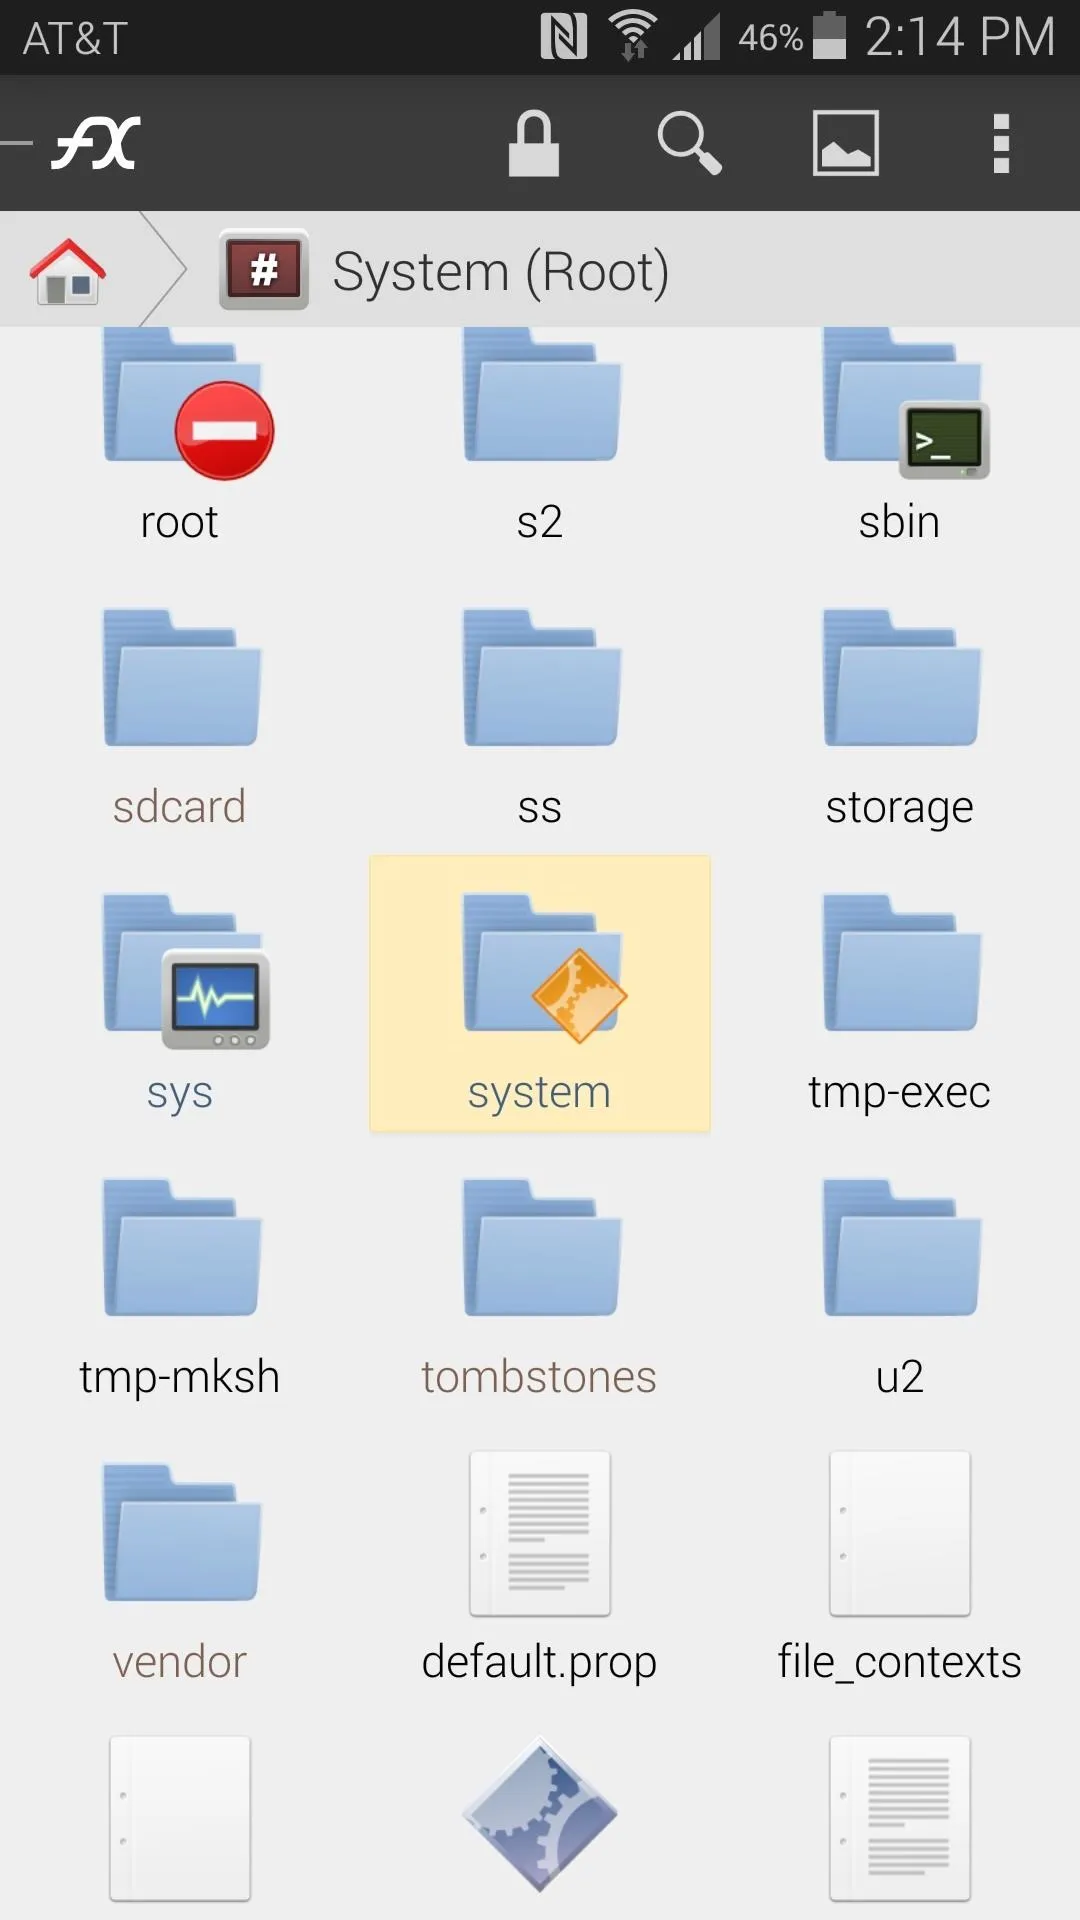



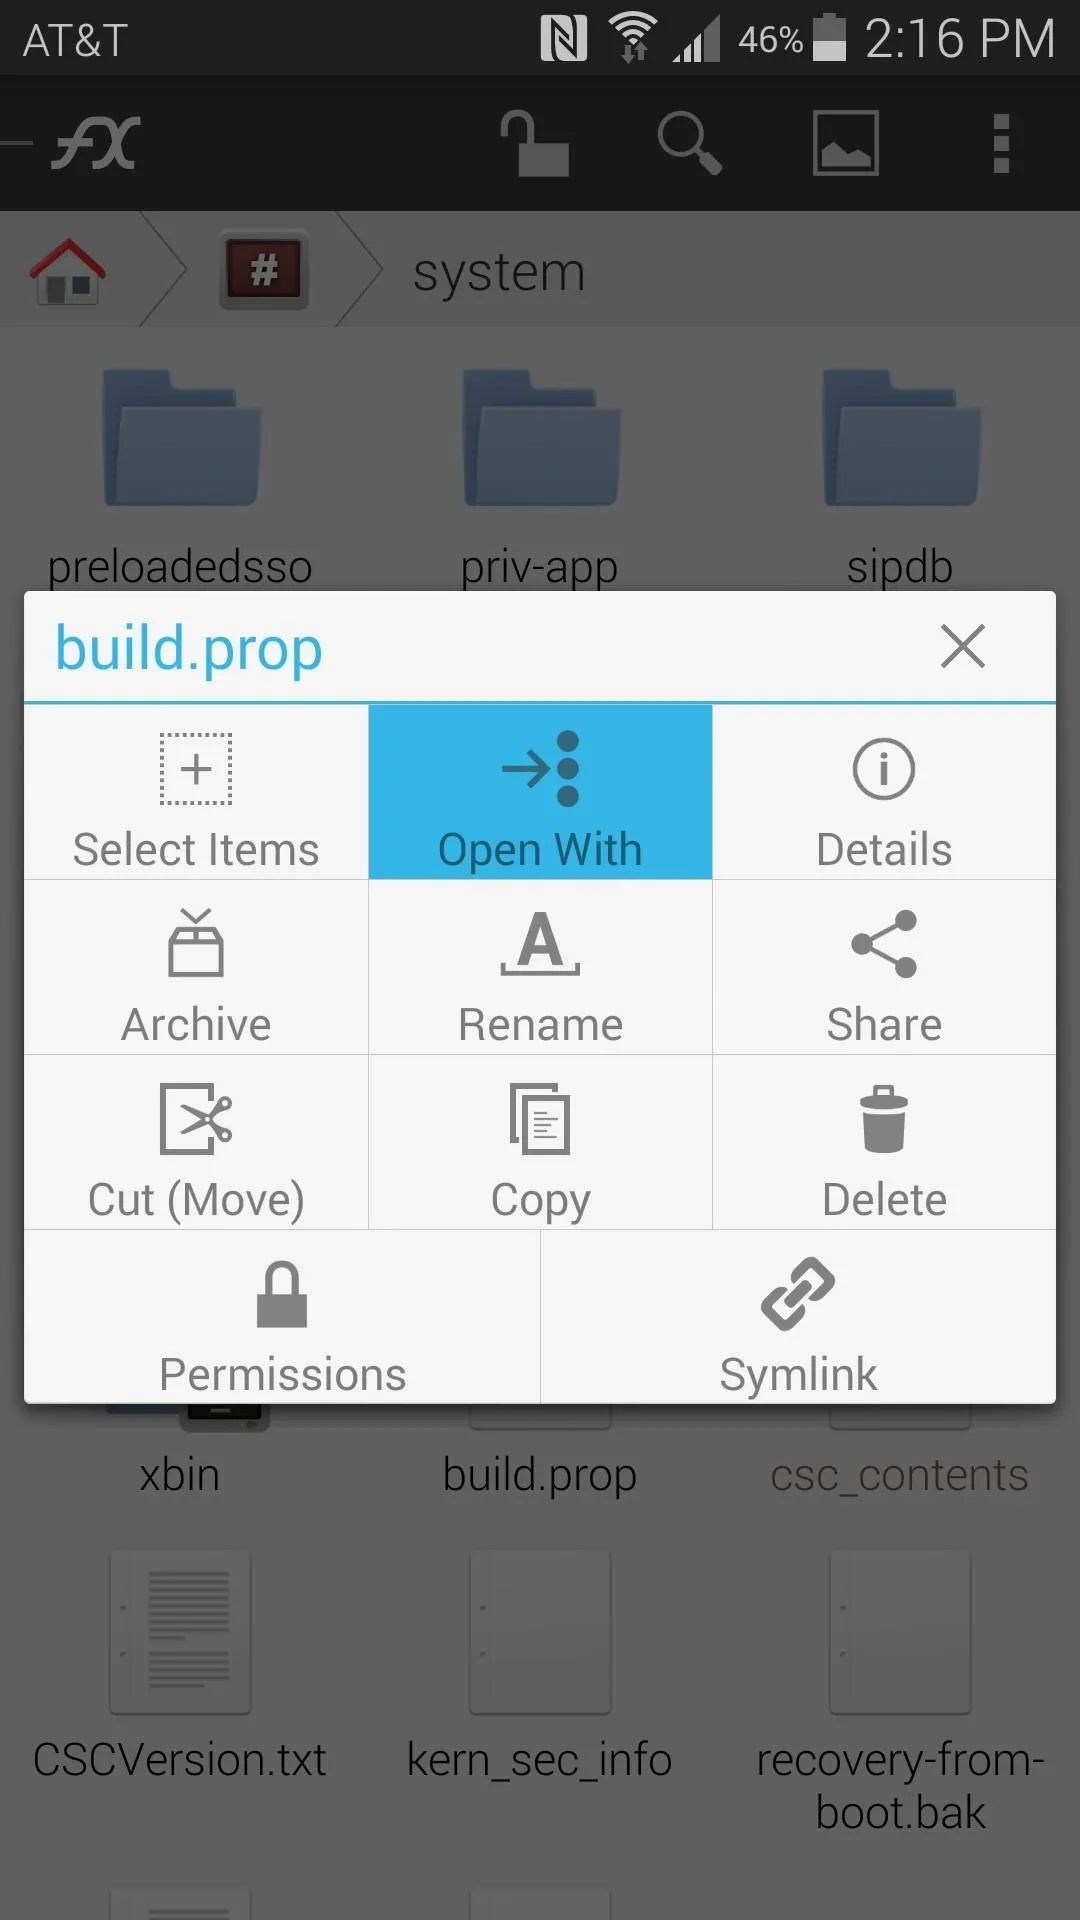
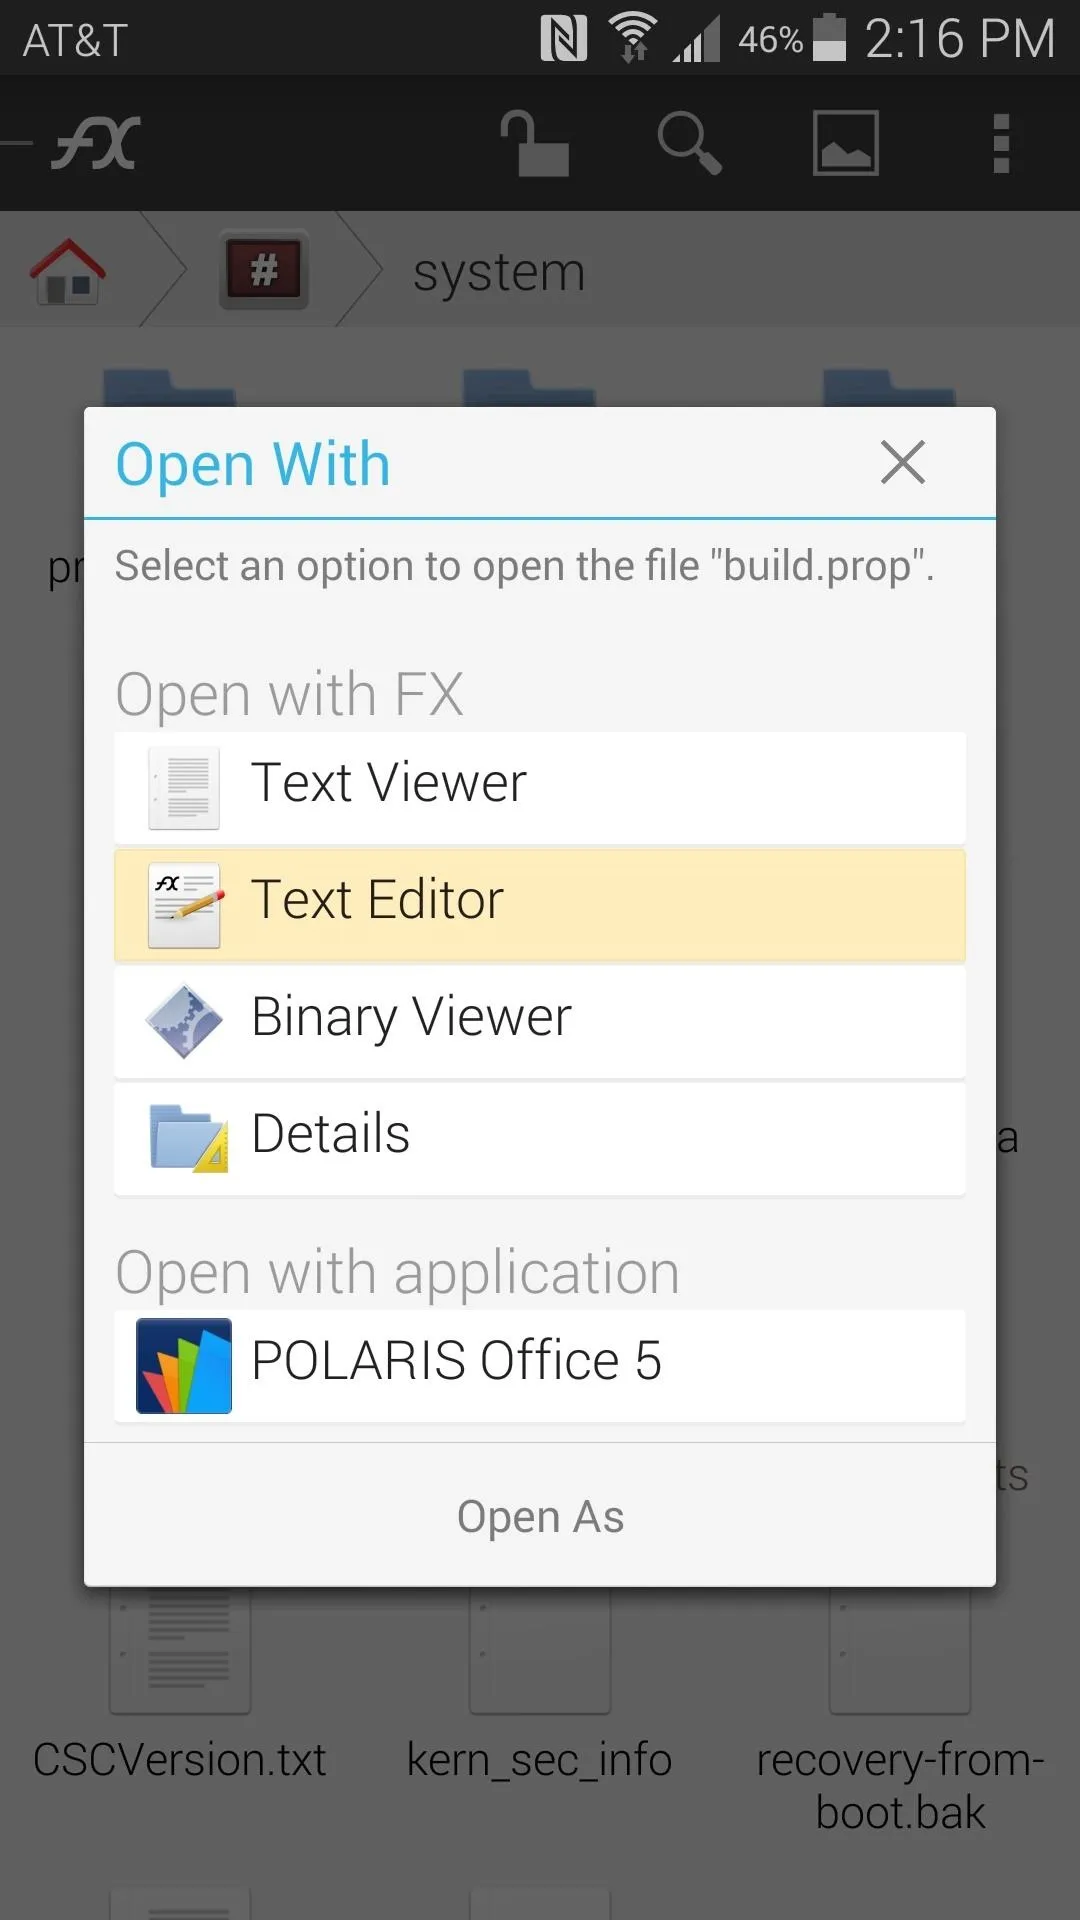
From here, long-press the build.prop file, then select Open With from the menu. After that, choose Text Editor from the list.
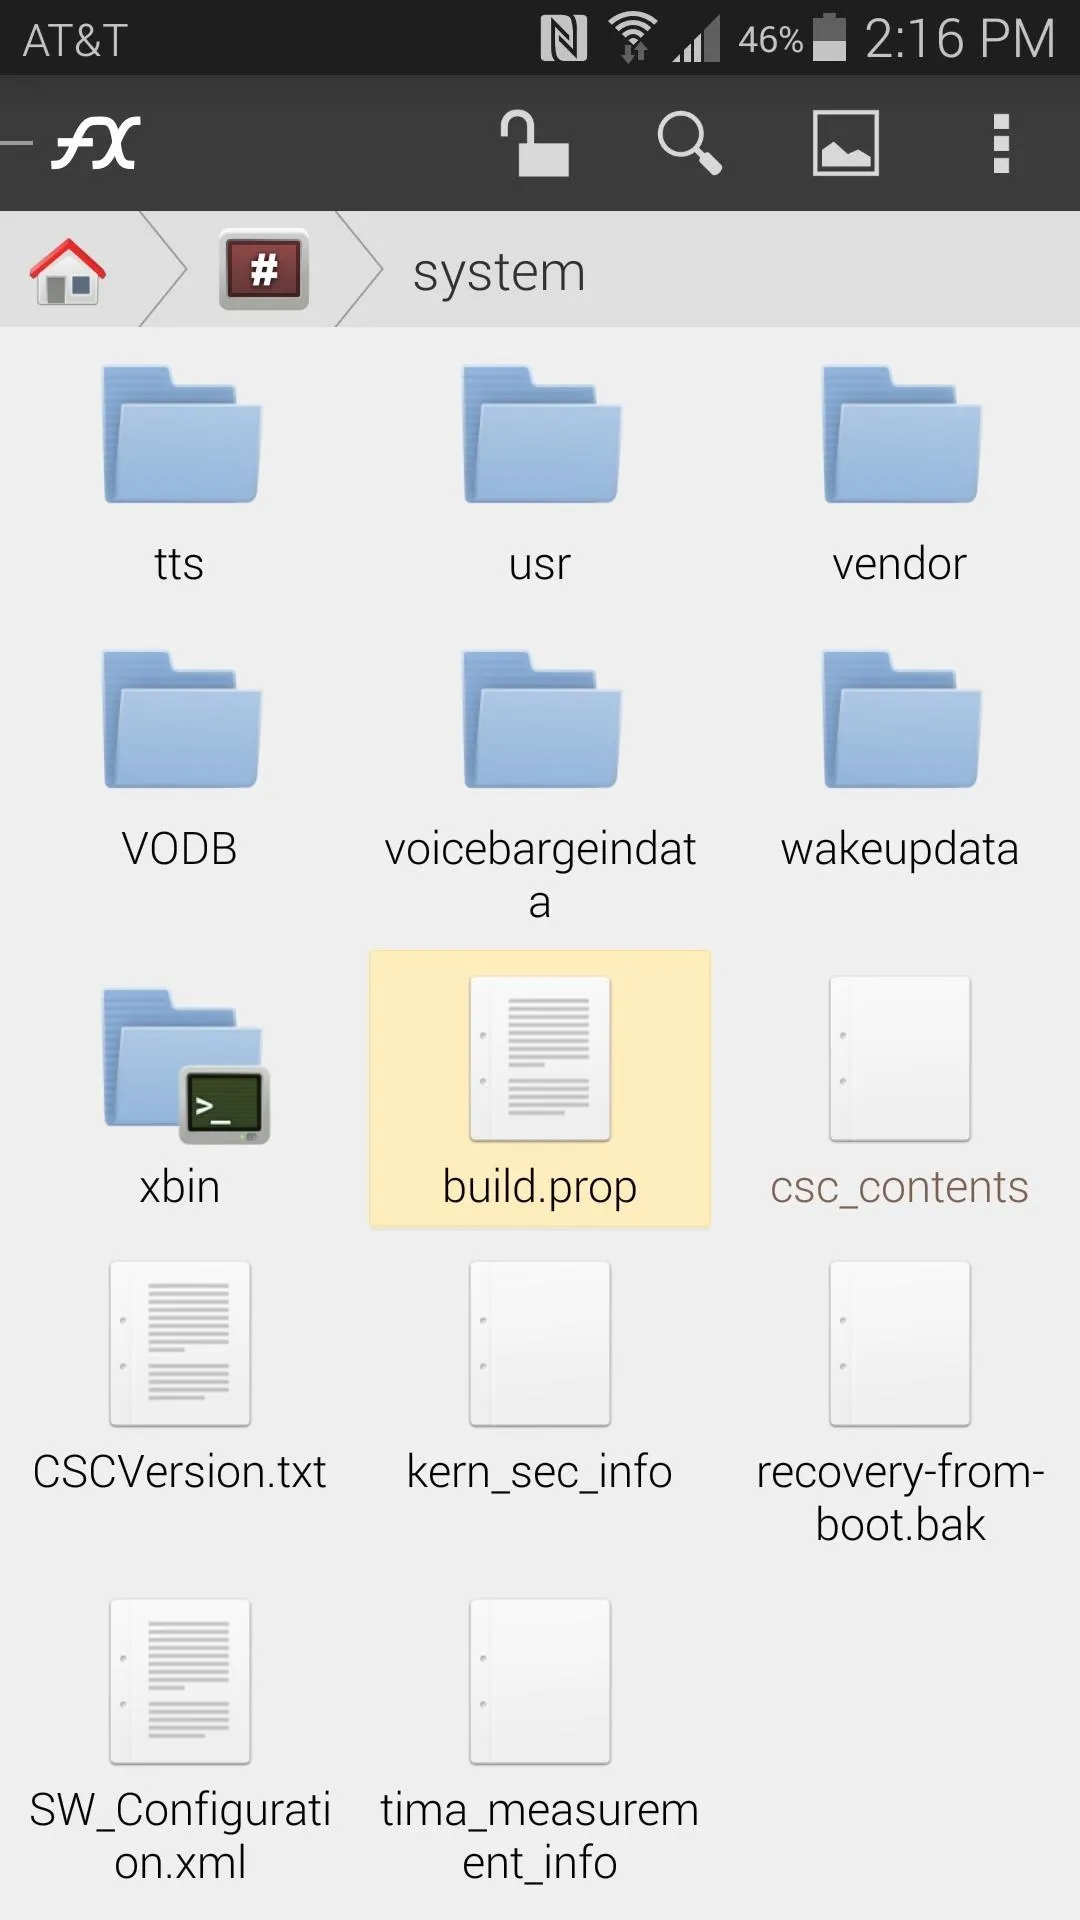


There are many lines of code in this file, and the one we want today is near the bottom. So you'll have to scroll down a bit, but when you hit the Other Build Properties section, look for a line that reads ro.securestorage.support=true. Change this line to read ro.securestorage.support=false.




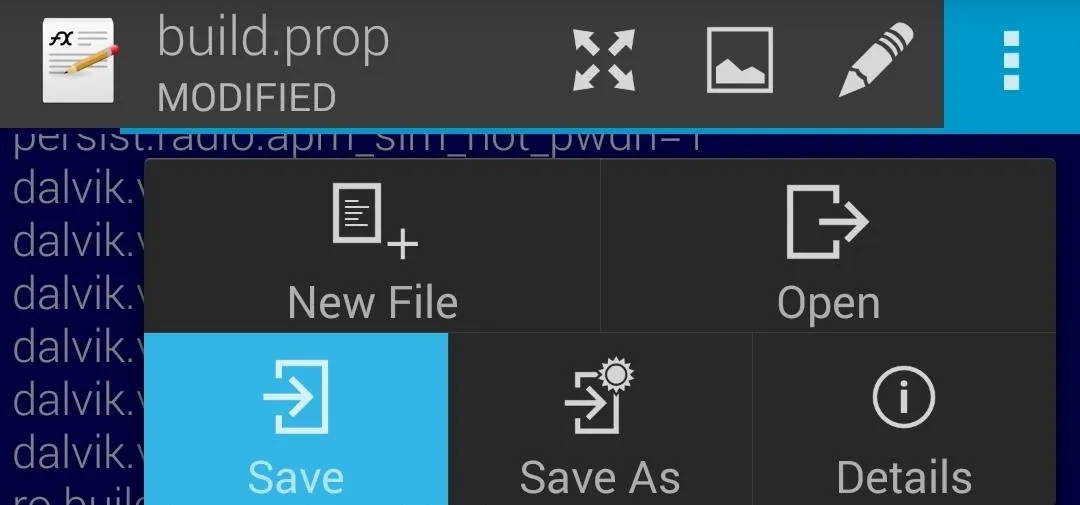
When you've done that, simply tap the three-dot menu button at the top of the screen and select Save.
Clear Data on S Health & Health Service Apps
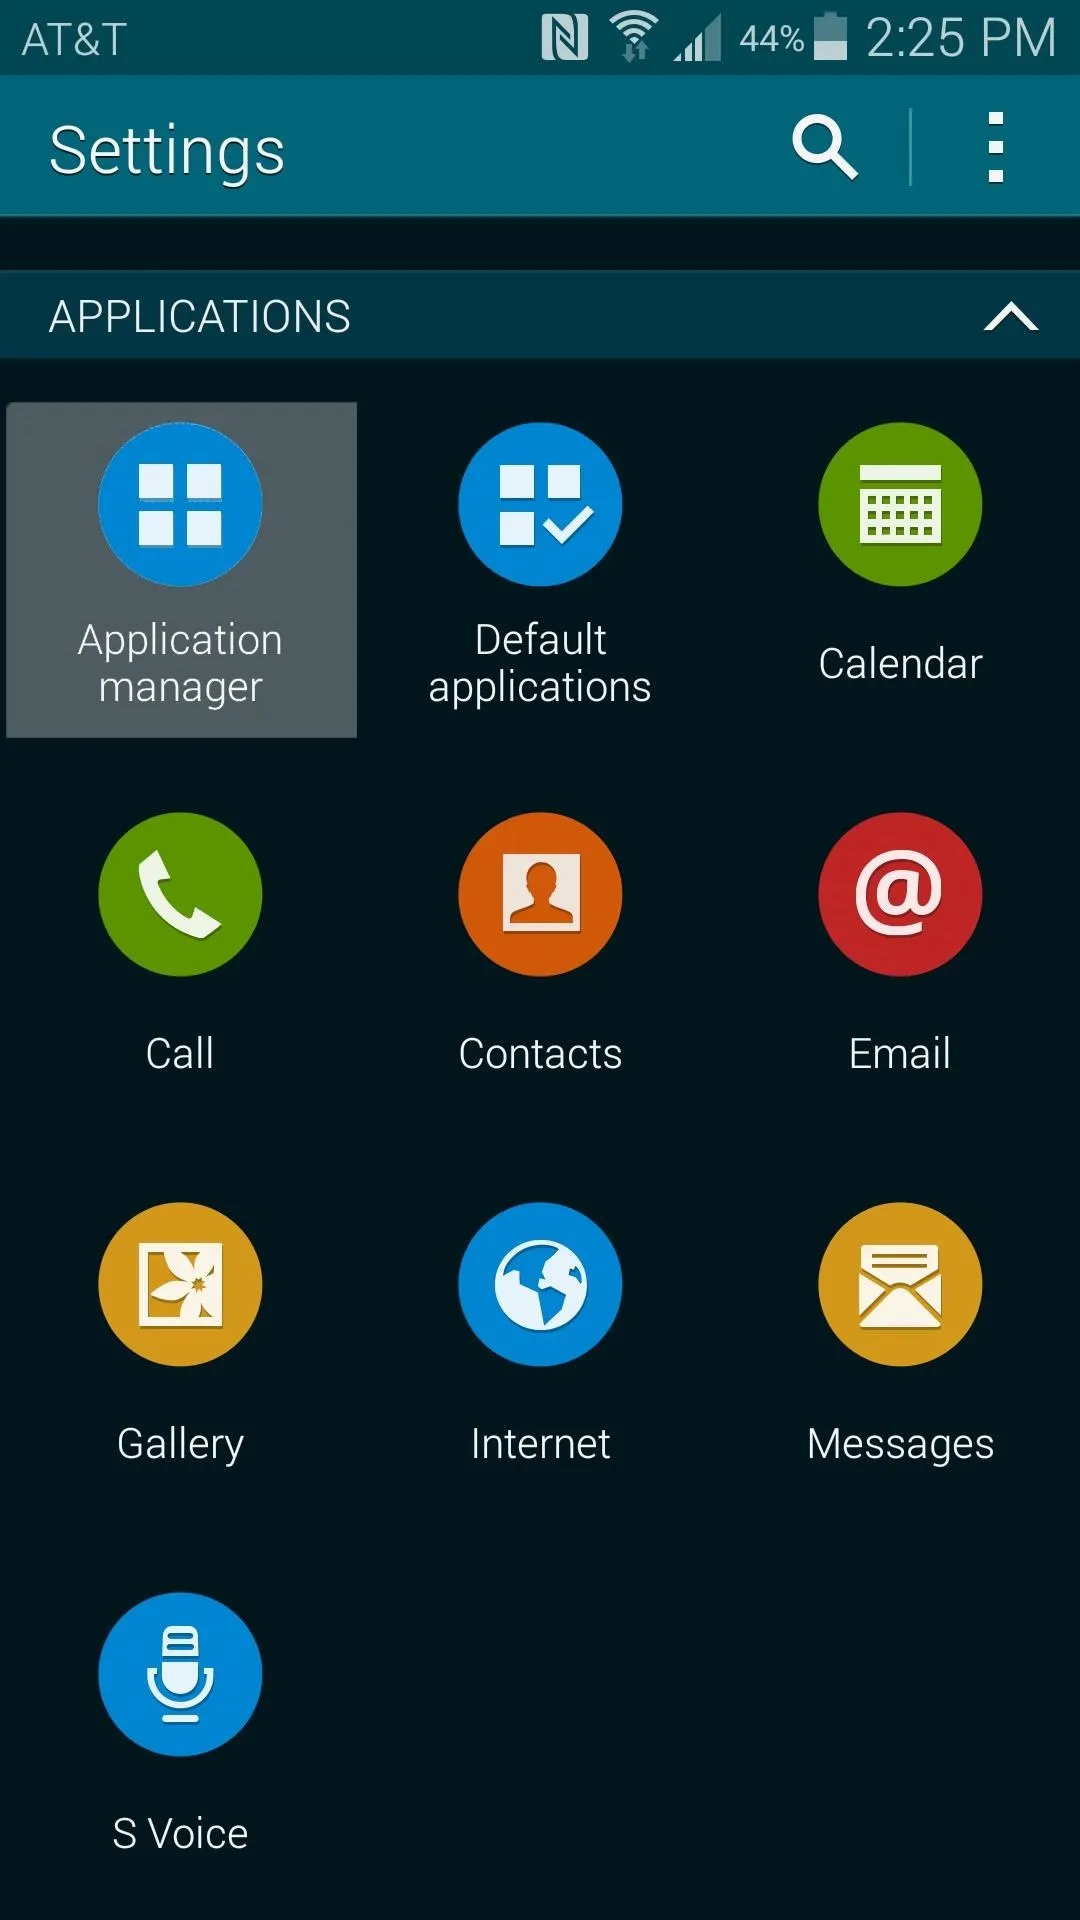
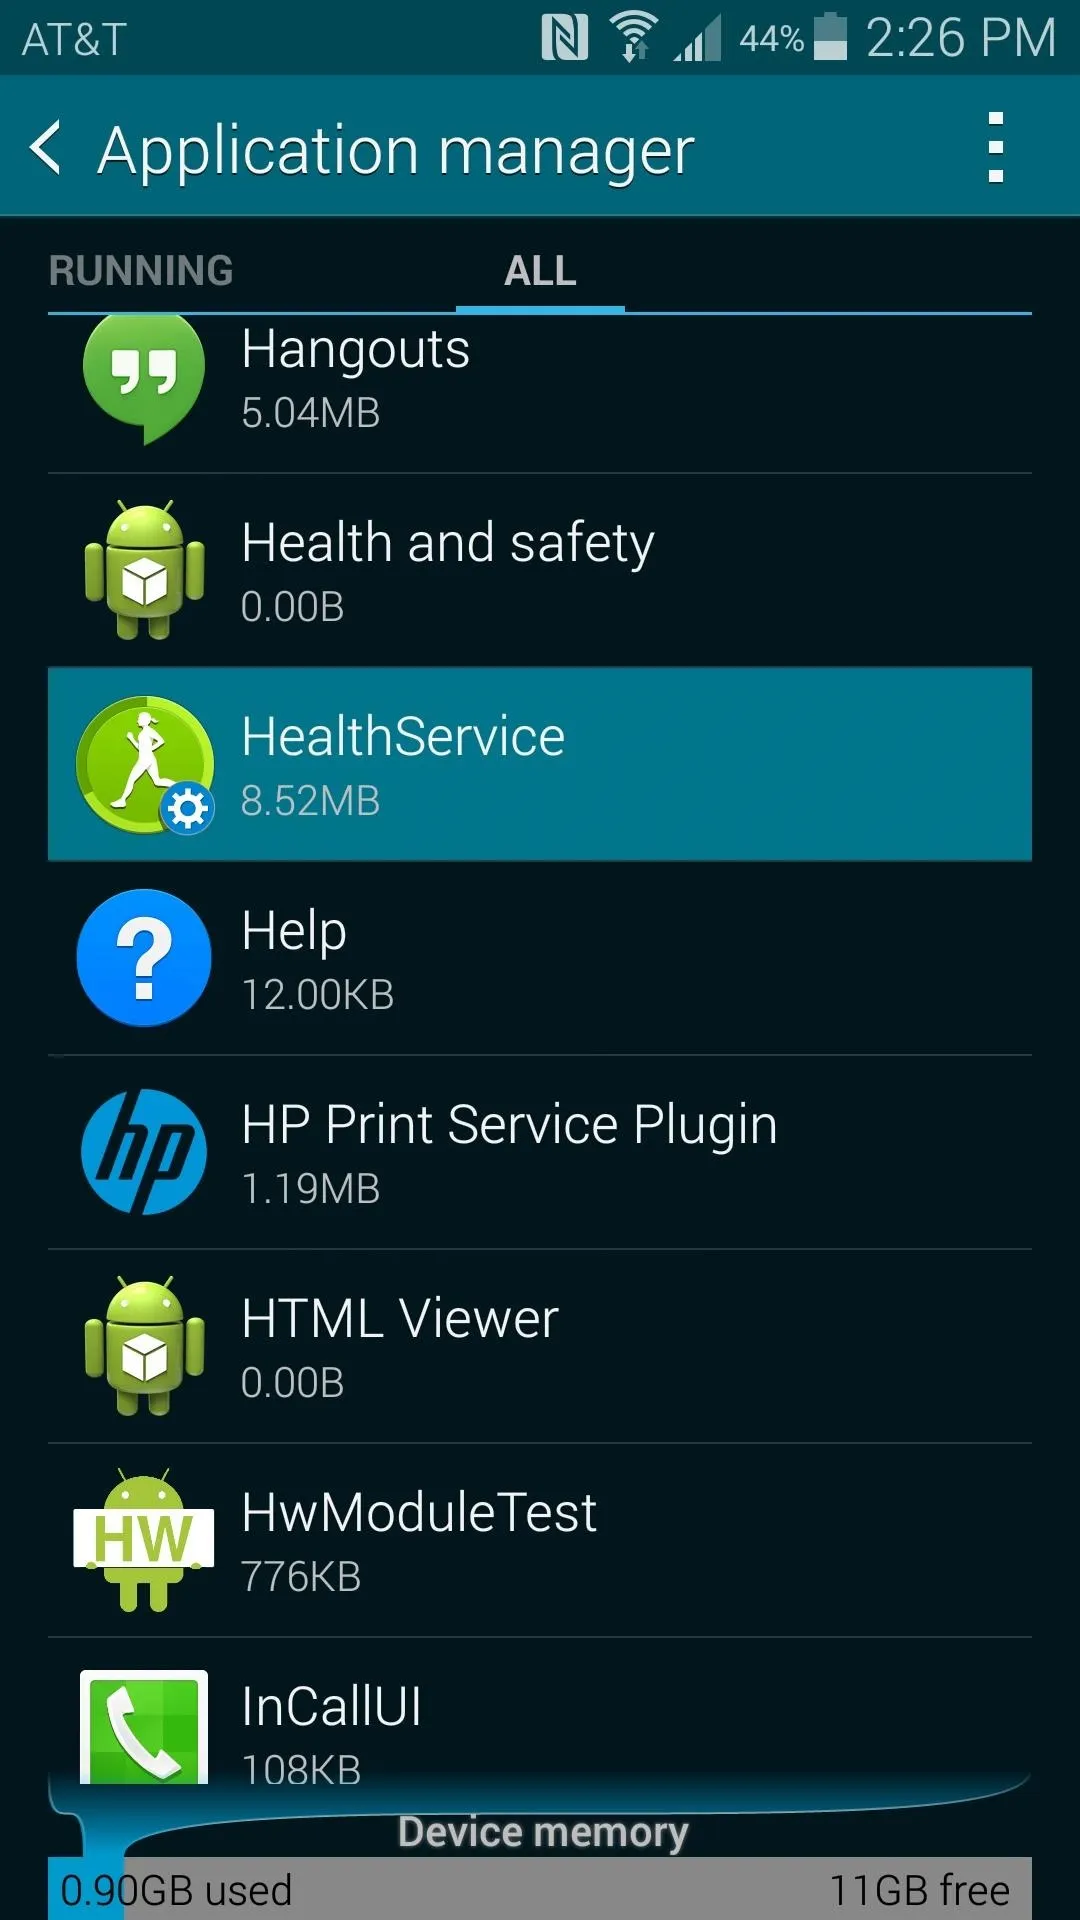
With the build.prop file edited, you'll have to clear data from S Health and its parent app, Health Service next. To do this, head to the main settings menu on your phone and select the Application Manager option. From here, swipe over to the All tab.
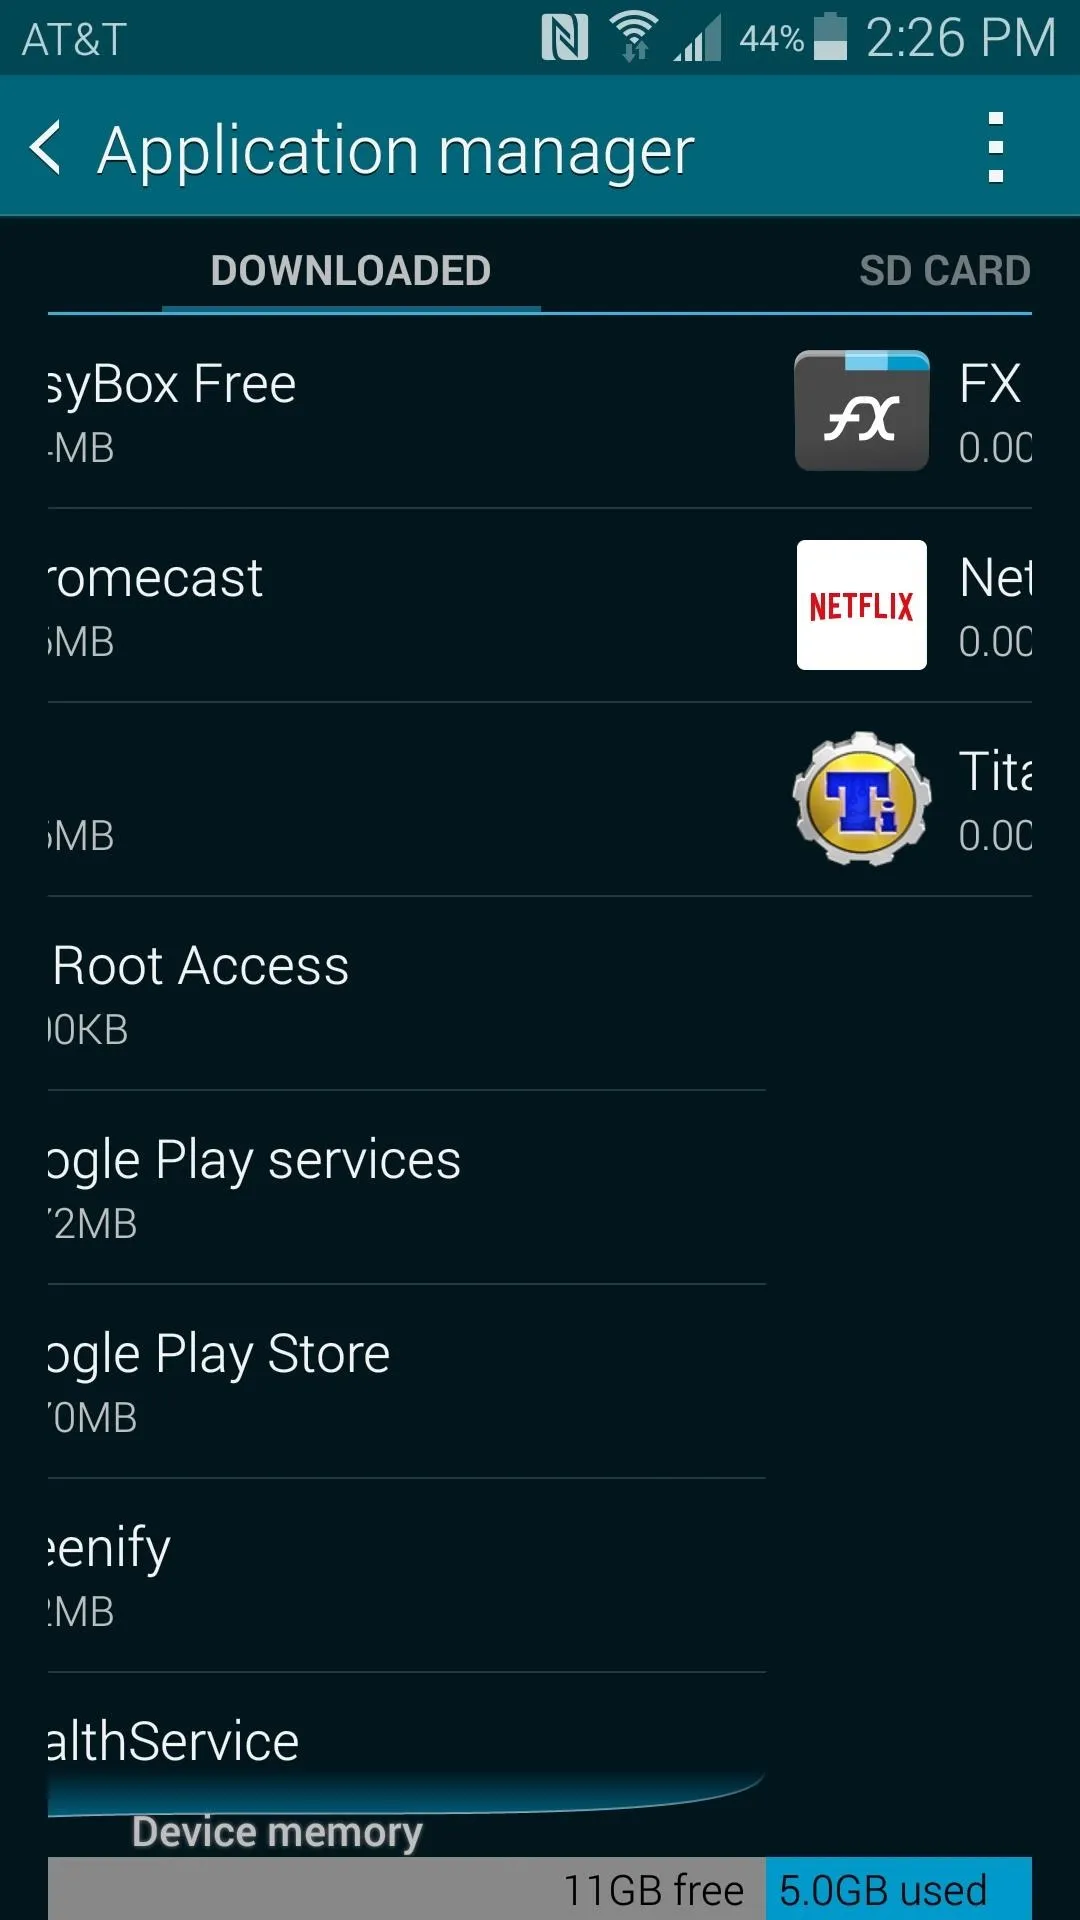
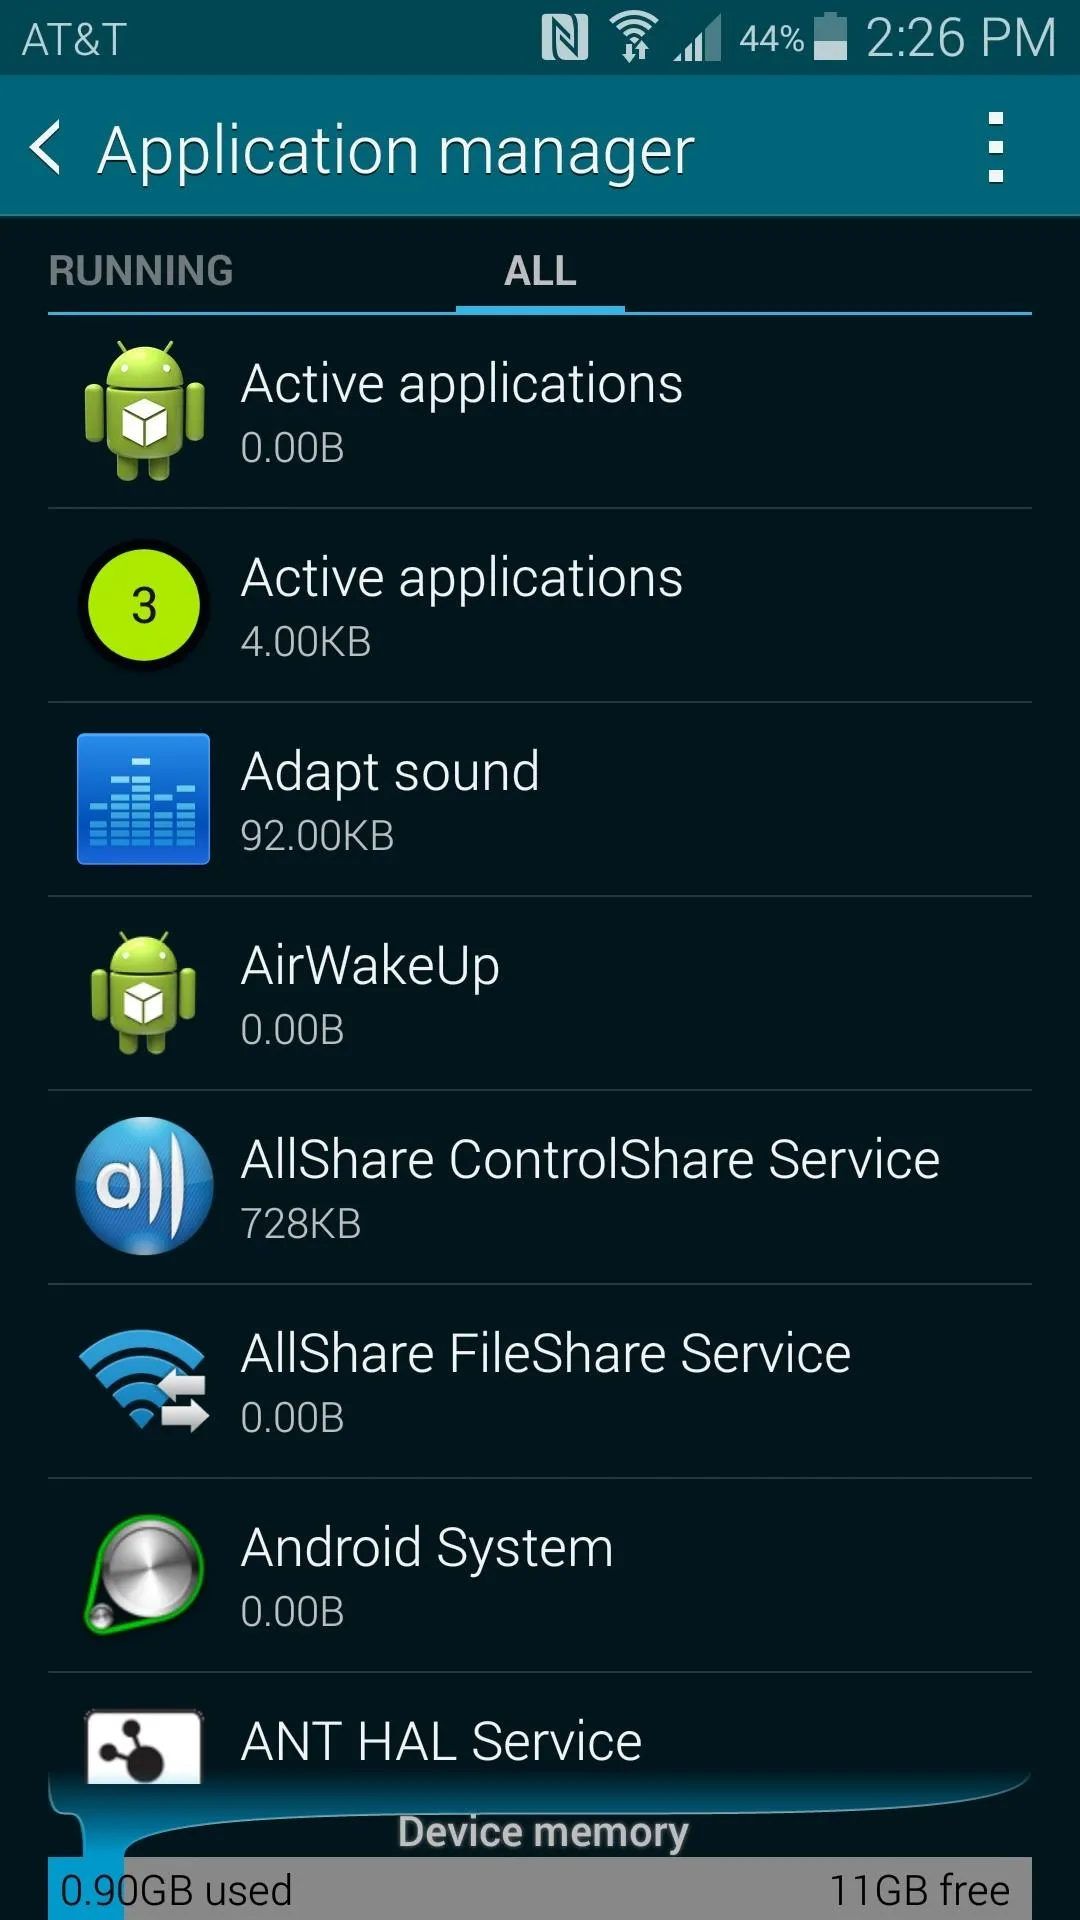


Scroll through this list and find the entry for Health Services. Tap it, then press the Clear Data button on the next screen and hit OK on the pop-up.
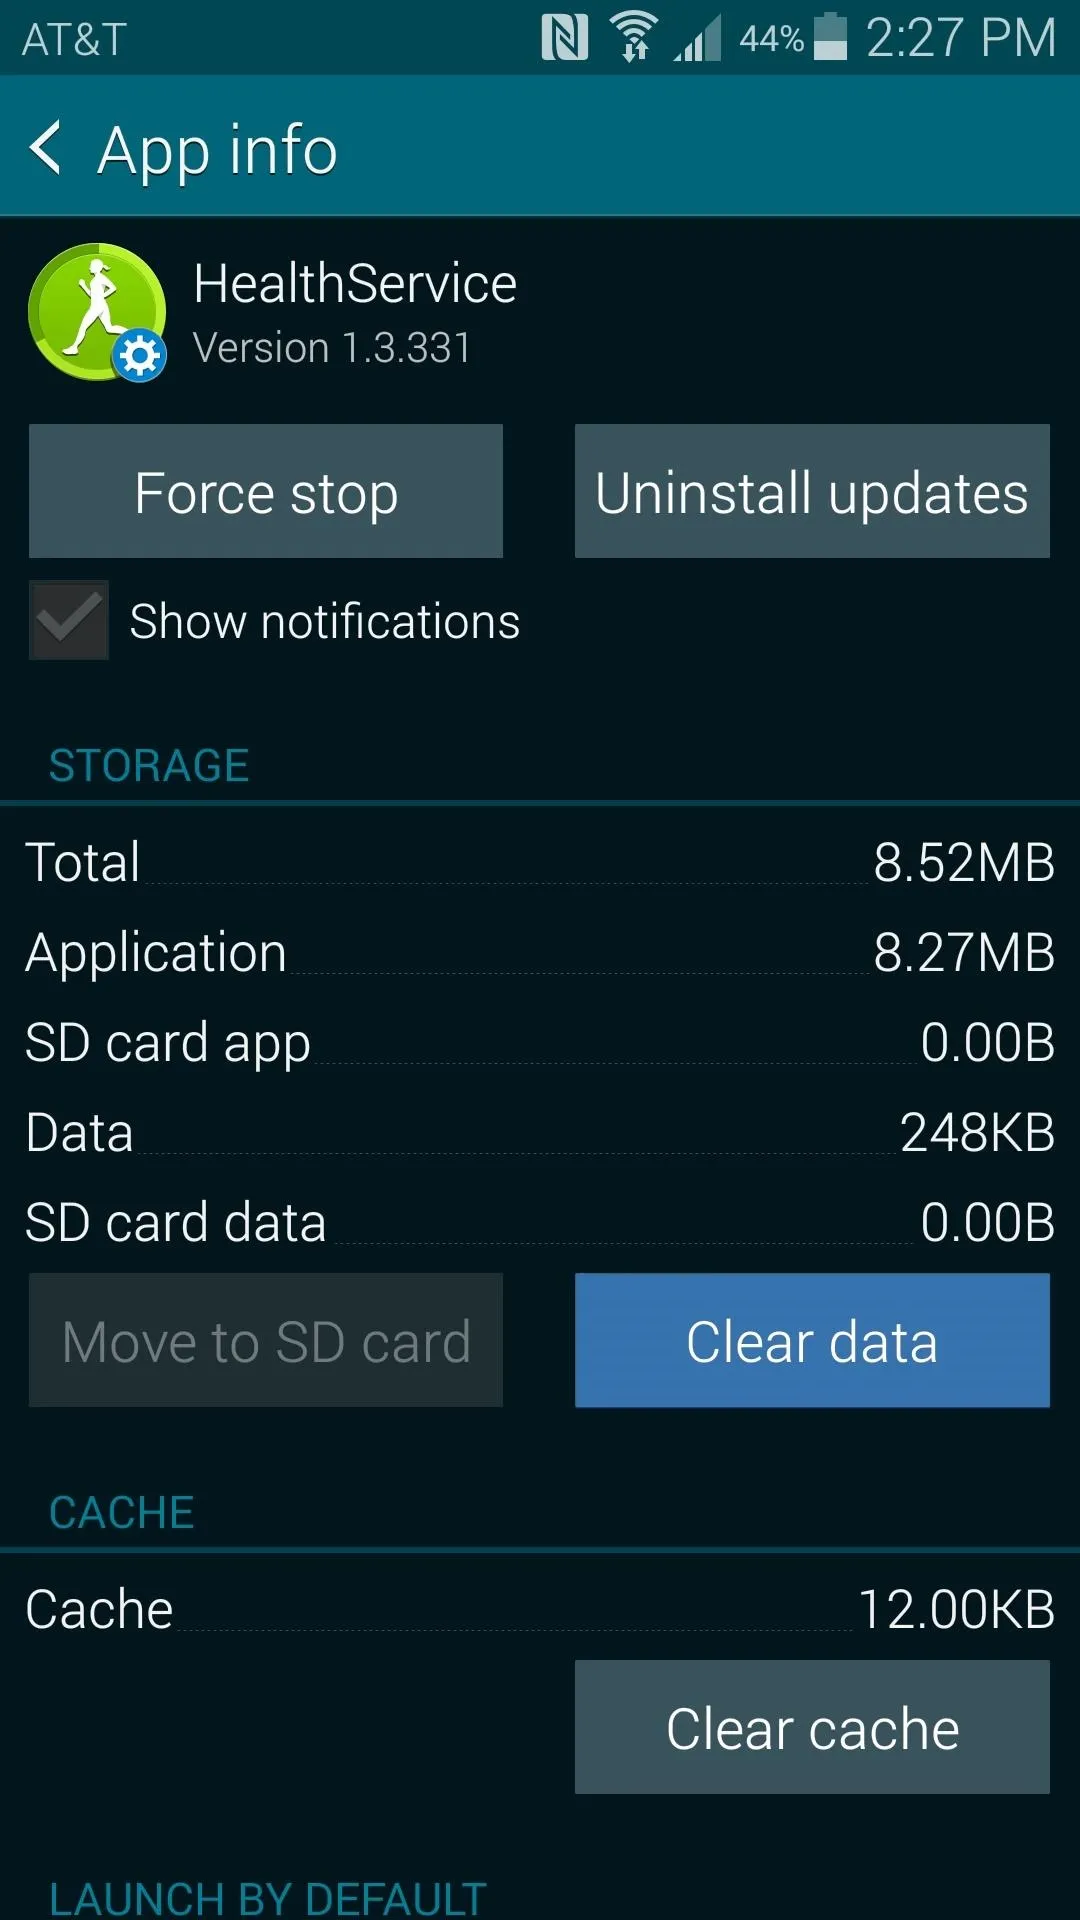
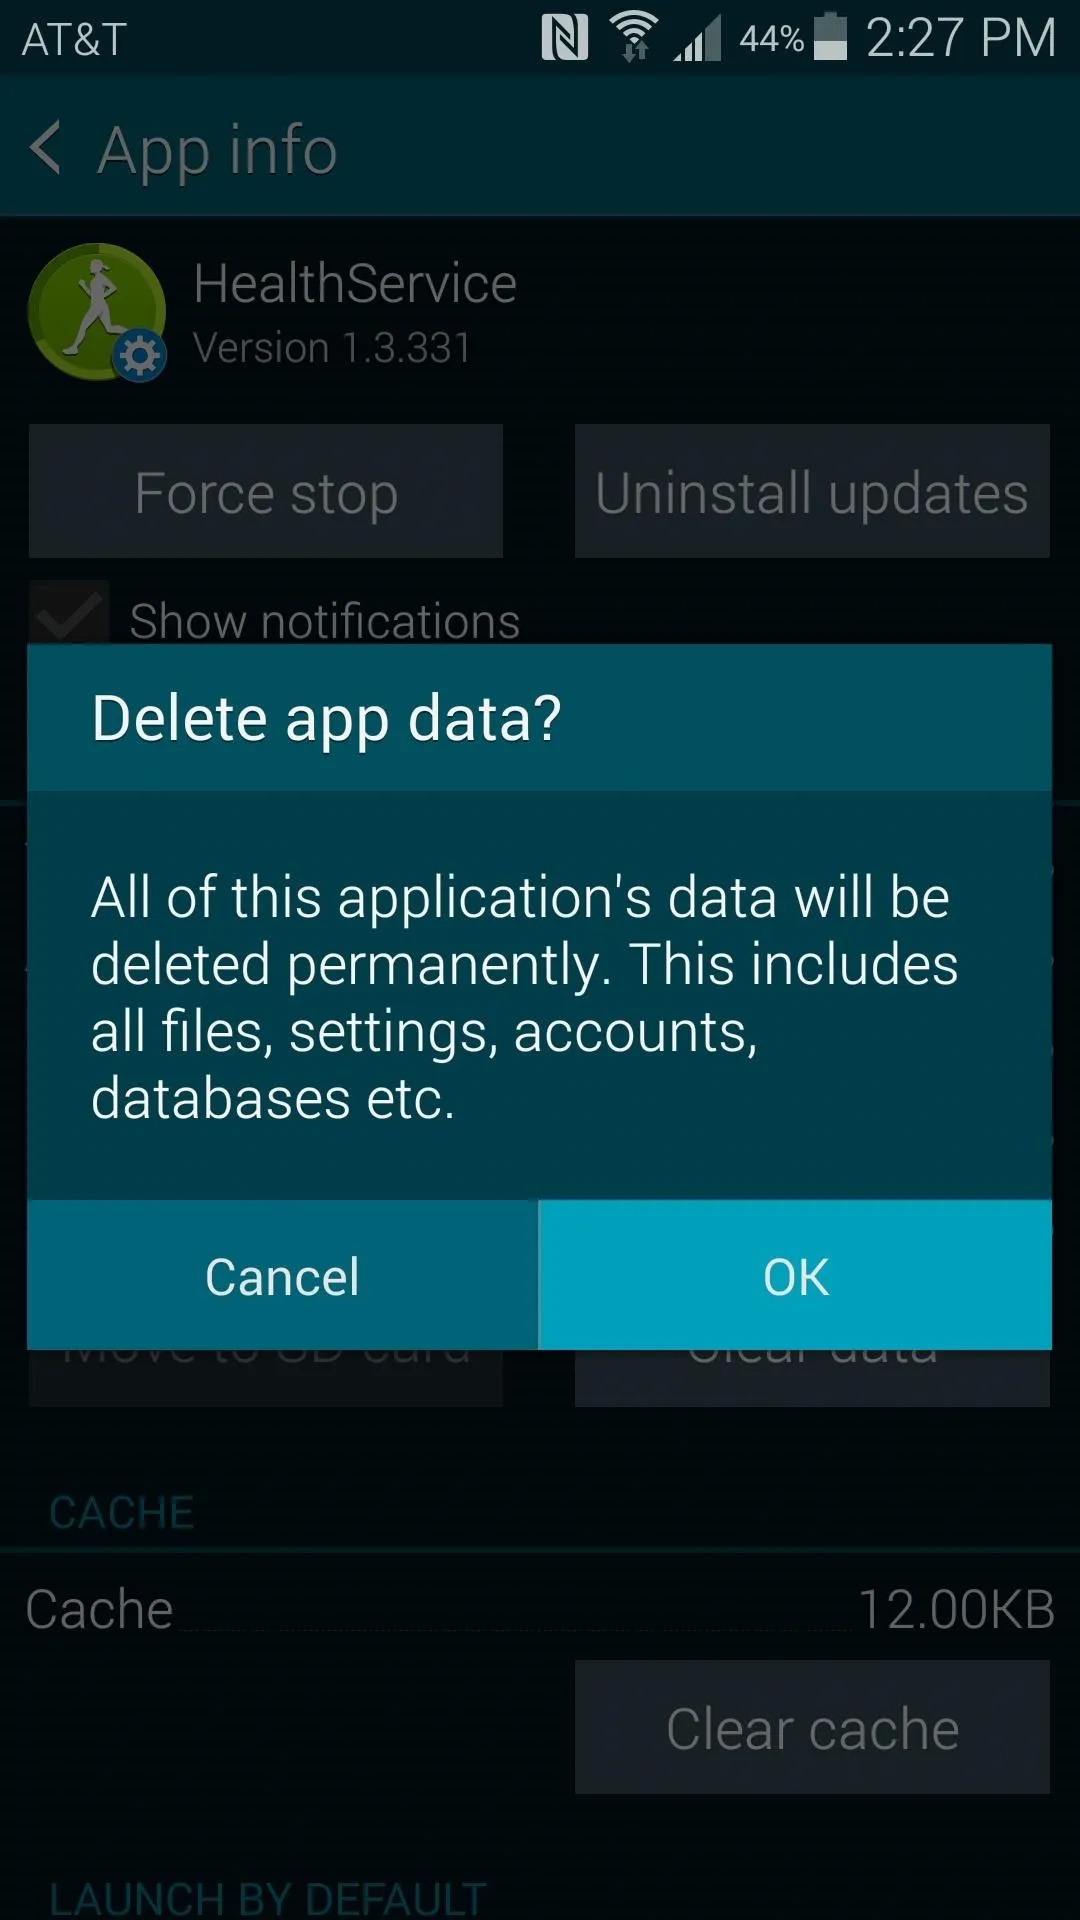


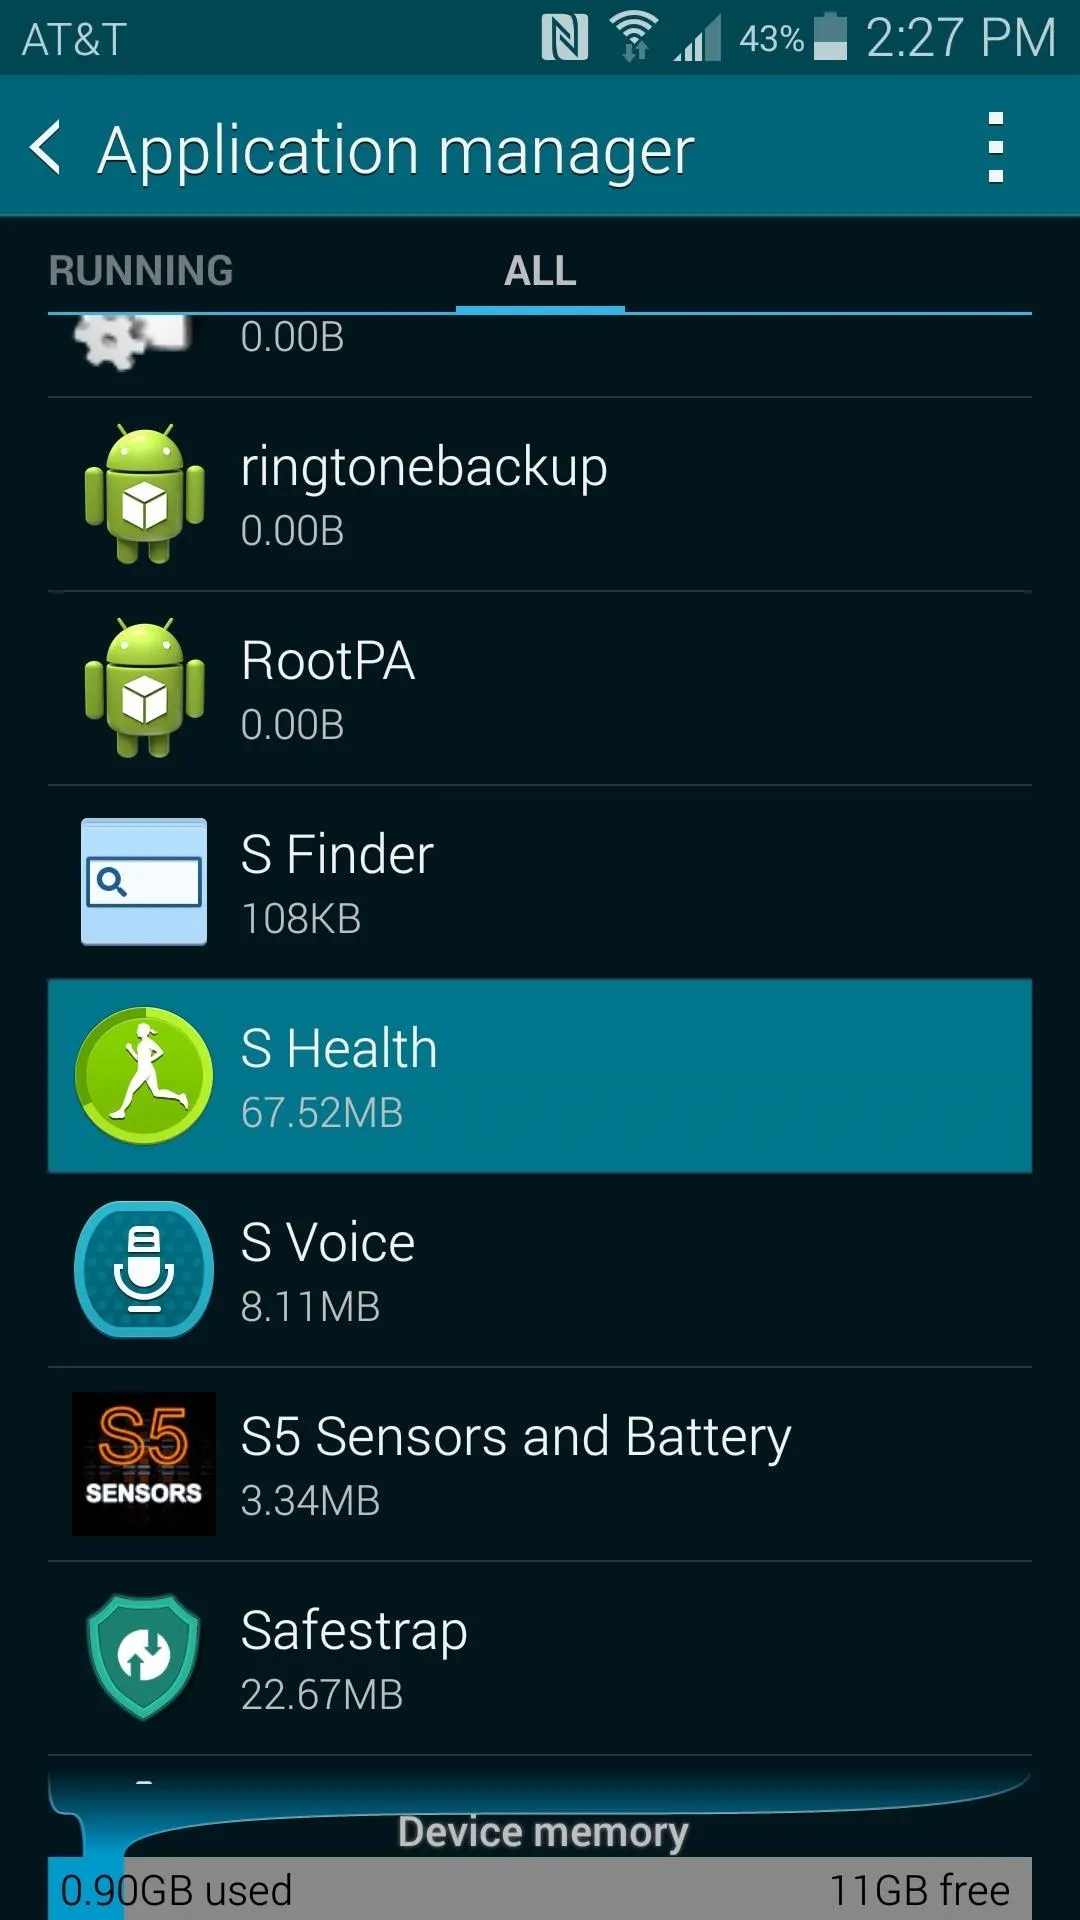
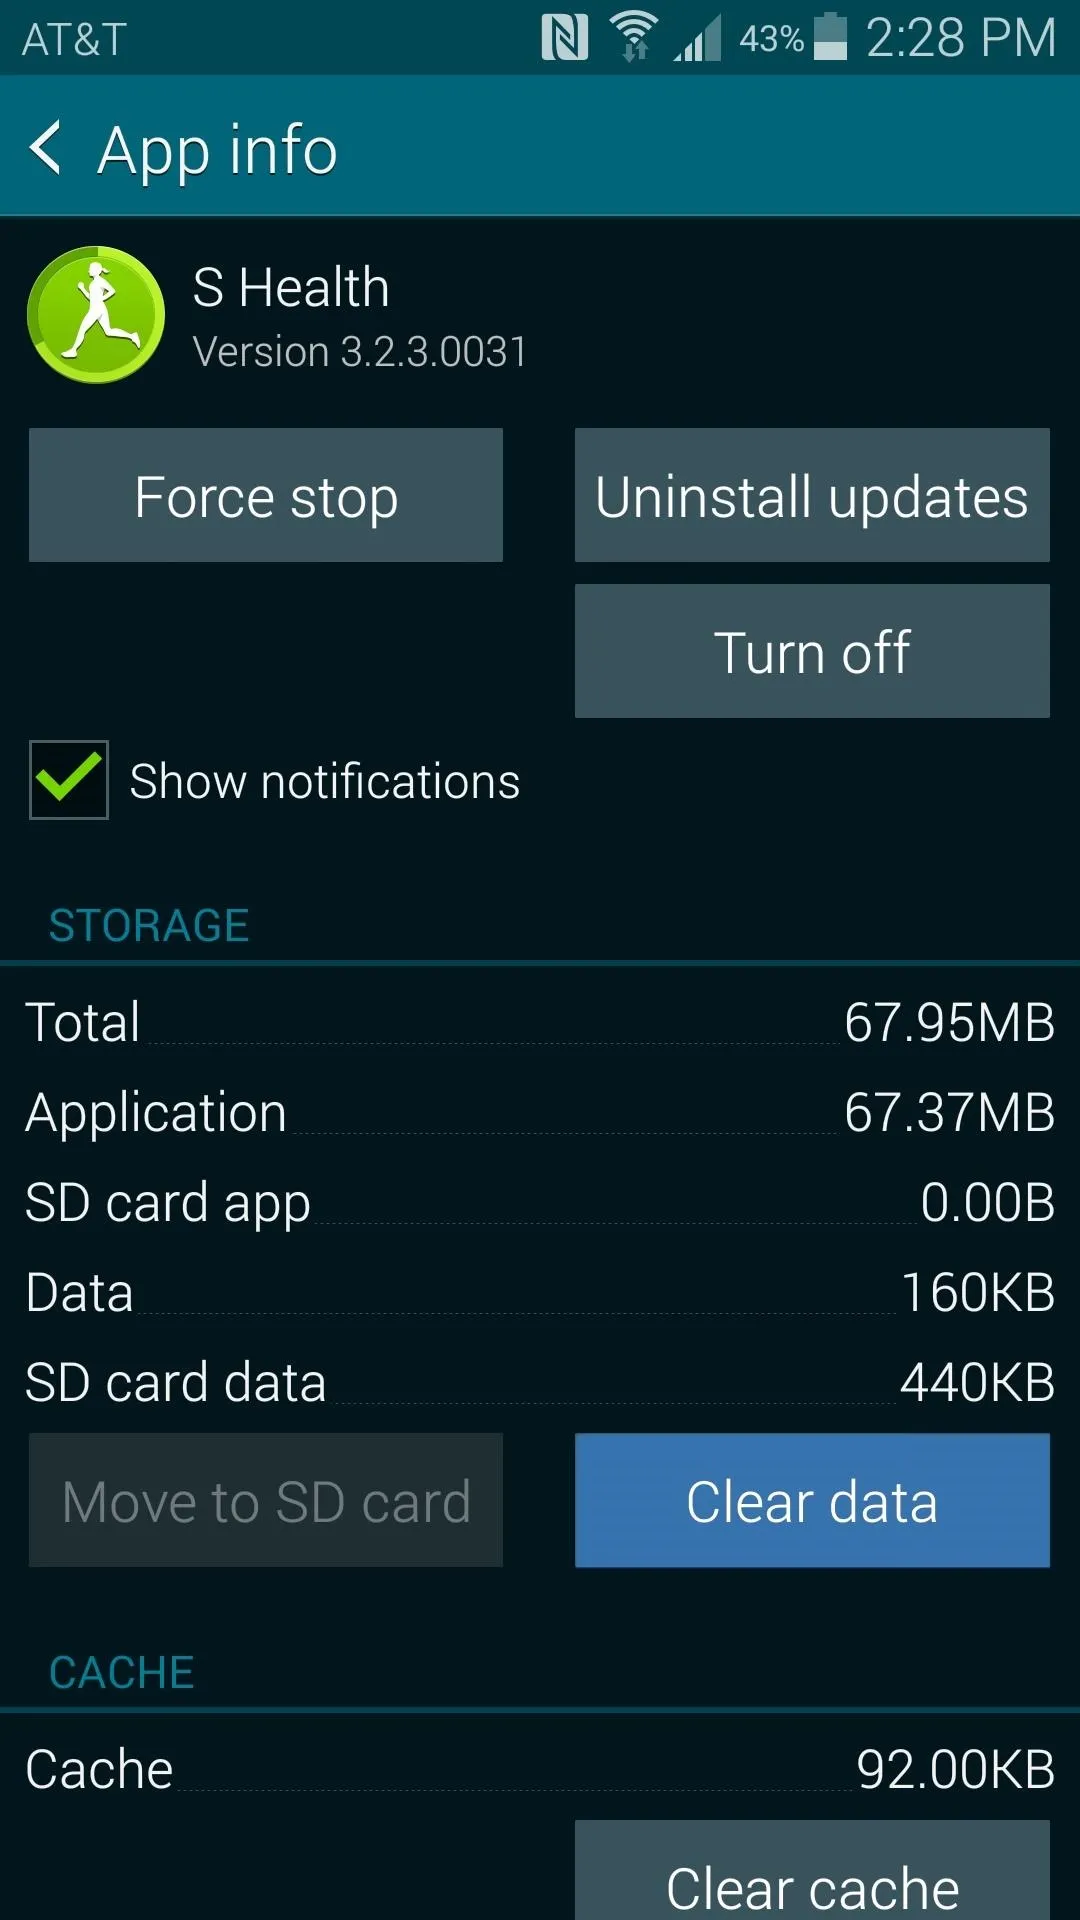
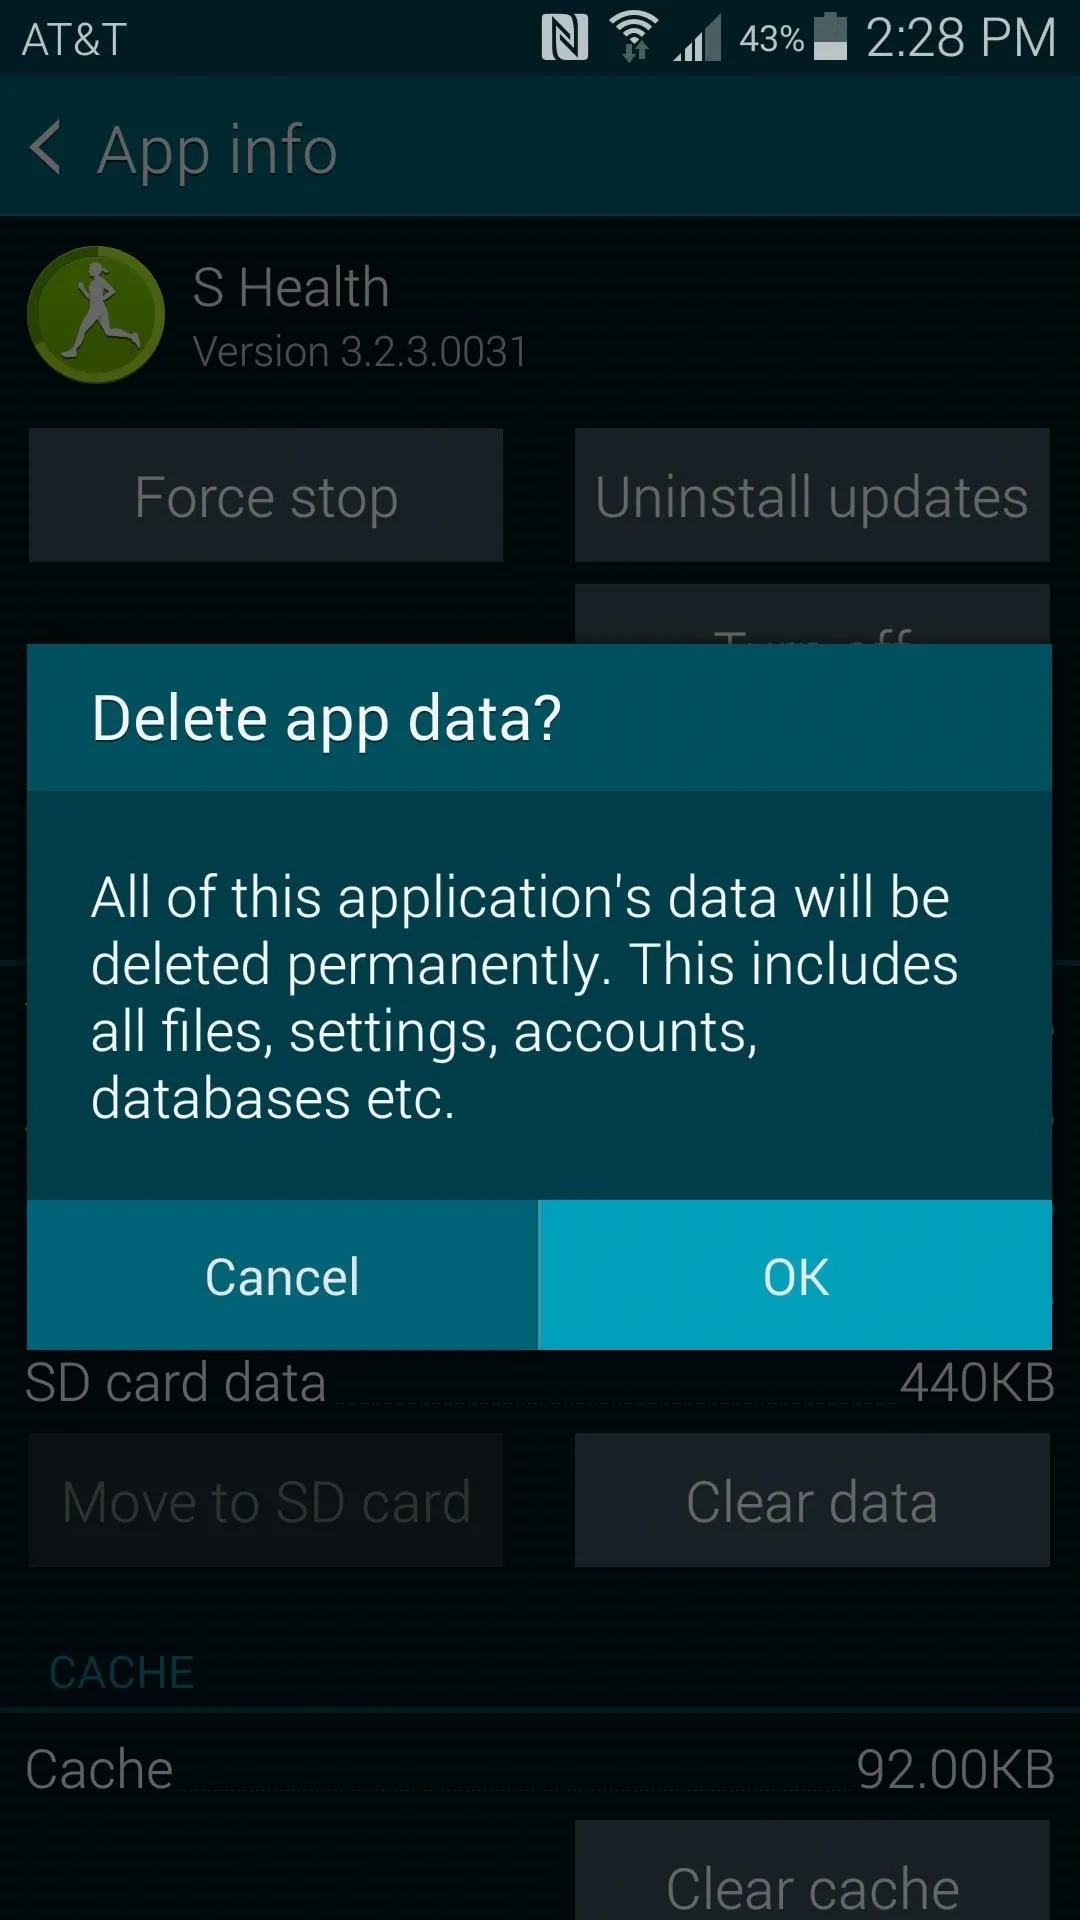
Next, tap your phone's Back button once to head back to the All tab of the application manager. From here, scroll down and select S Health, then tap Clear Data and press OK again.


Re-Install the Xposed Framework
At this point, everything is set up and you're ready to put the Xposed Framework back on your phone. Again, head to the Framework section of your Xposed Installer app, but this time press Install/Update. Tap OK on the message that appears next, and your phone will automatically reboot.
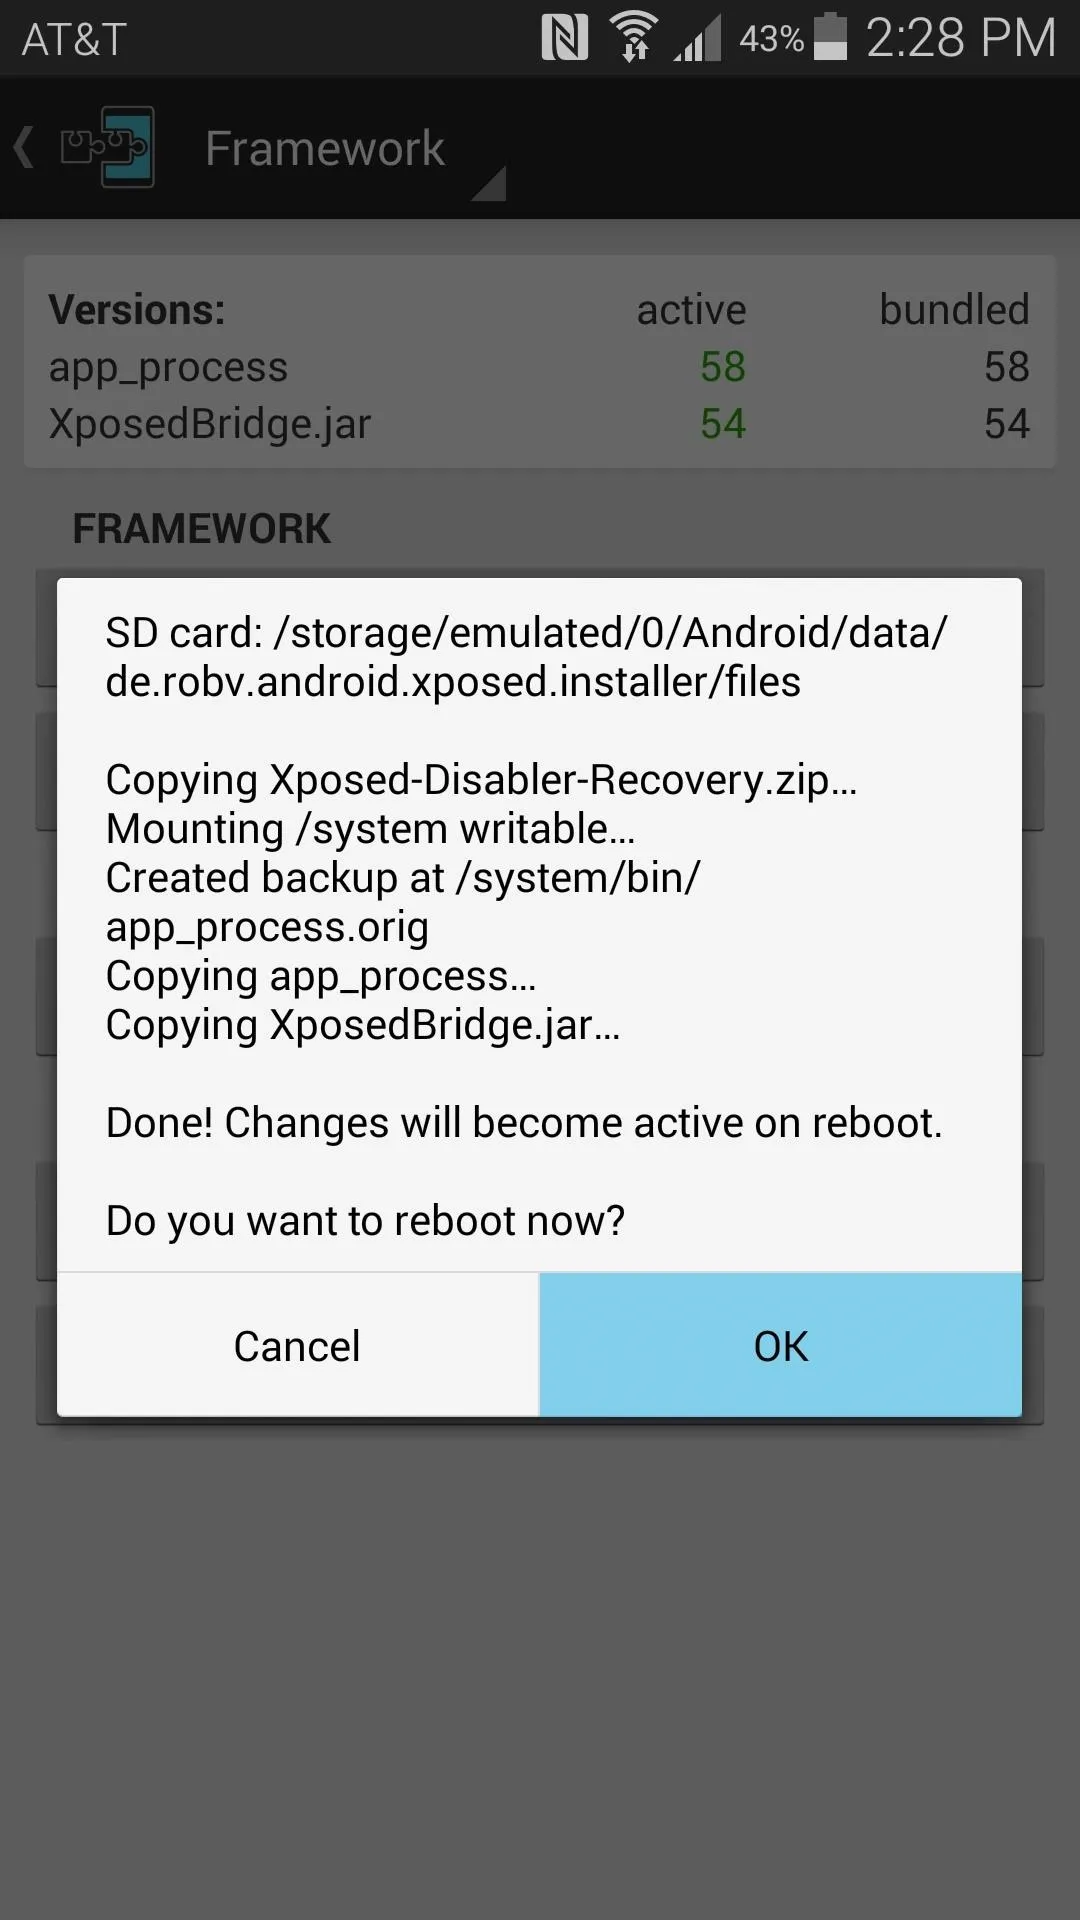


When you get back up, your S Health app will work if it was failing before, and the general lag you've been experiencing will be a thing of the past.
How much faster has your phone been after this small edit? Let us know in the comments section below, as well as on Facebook and Twitter.










Comments
Be the first, drop a comment!