Here's a routine that I'm sure all of us smartphone users go through at least several times a day.
You notice your Samsung Galaxy S4's notification LED blinking, grab your phone to see what it is, and enter your PIN. Only instead of anything important, you find that it's just some online store enticing you with sales promotions, or some other email that you could have easily done without.
It would've been awesome tell what kind of notification it was without wasting time unlocking your screen, but your device doesn't provide you with that option.
I've previously shown you how to access your notification panel from a secure lock screen, but the stock notification panel doesn't look nearly as gorgeous as the app I'm about to show you.
Install SlideLock from Google Play
We'll be using SlideLock, an app available for free on Google Play.
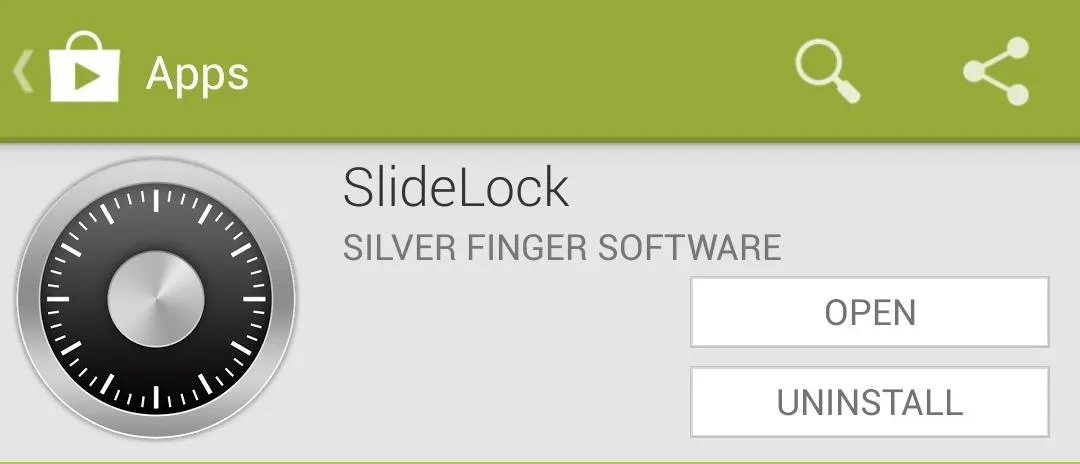
Created by Silver Finger Software, SlideLock adds a slick notifications interface on top of your current lock screen.
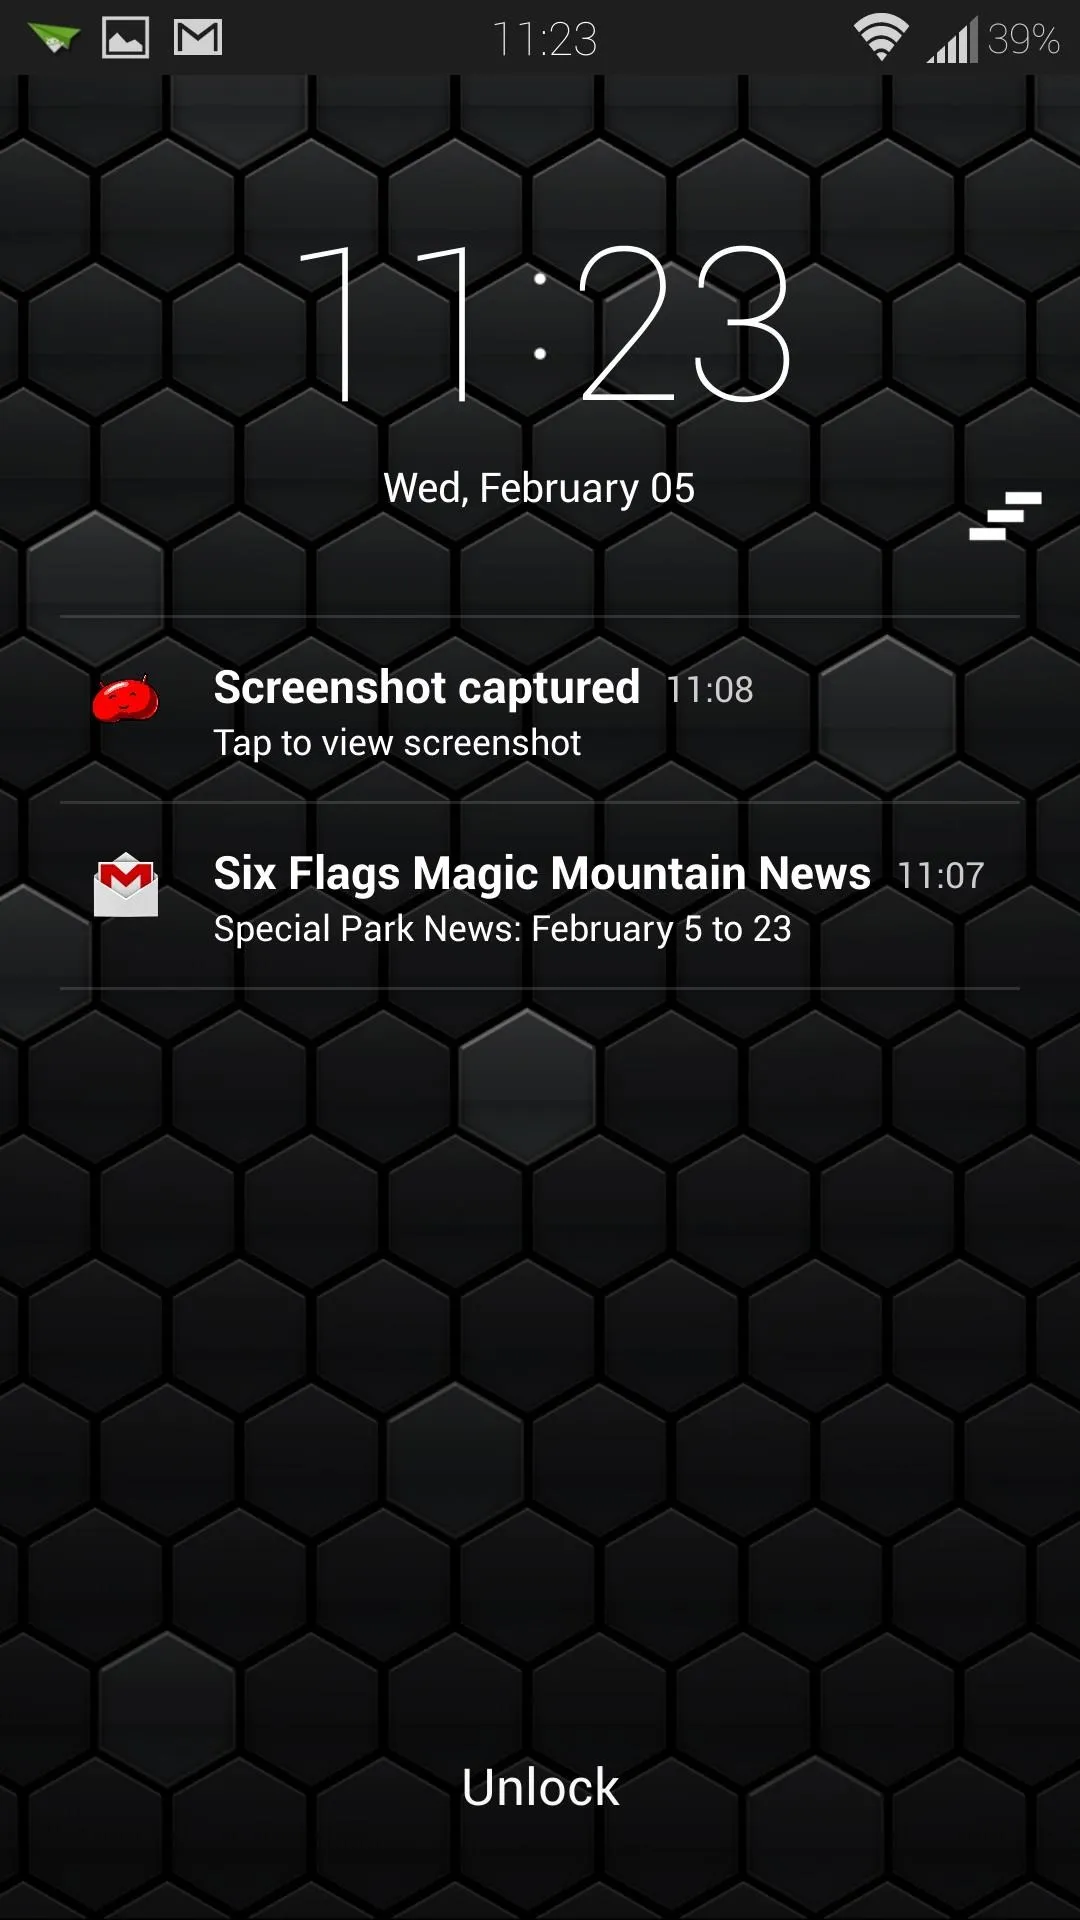
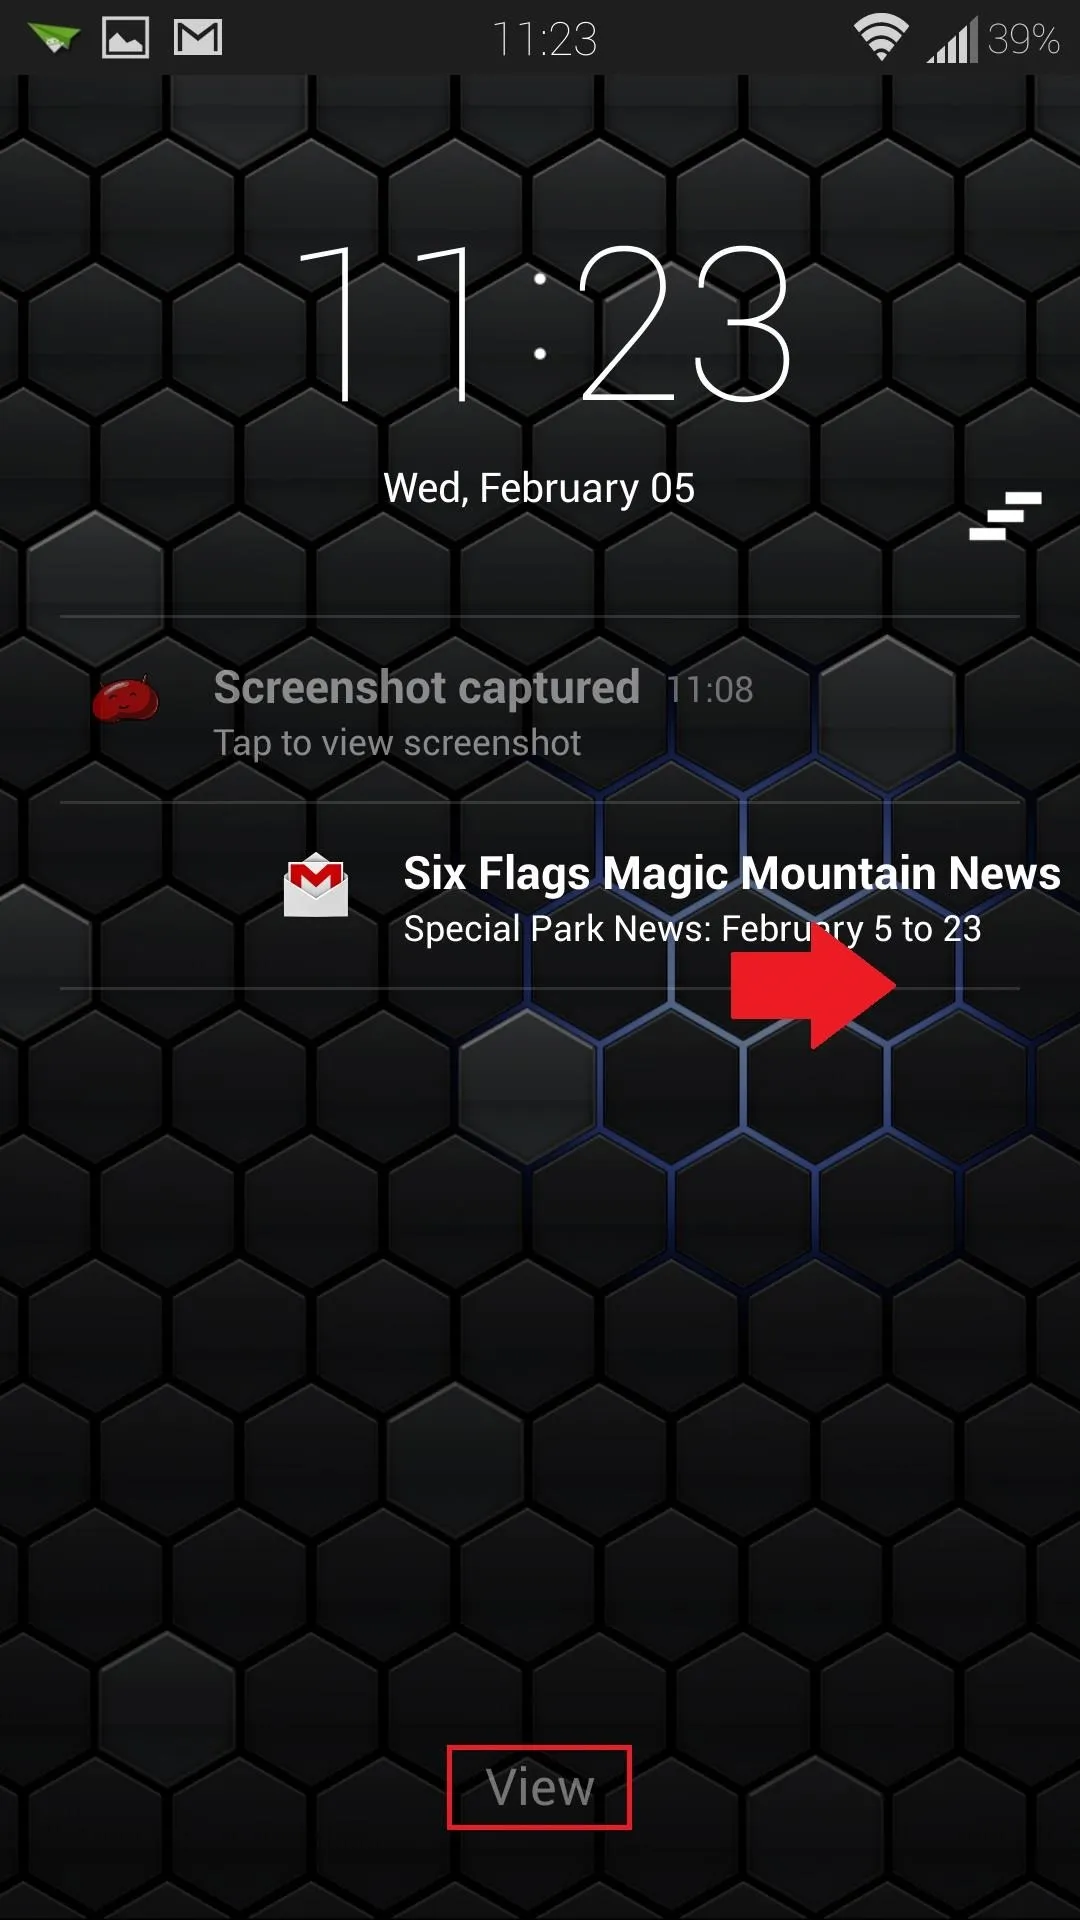
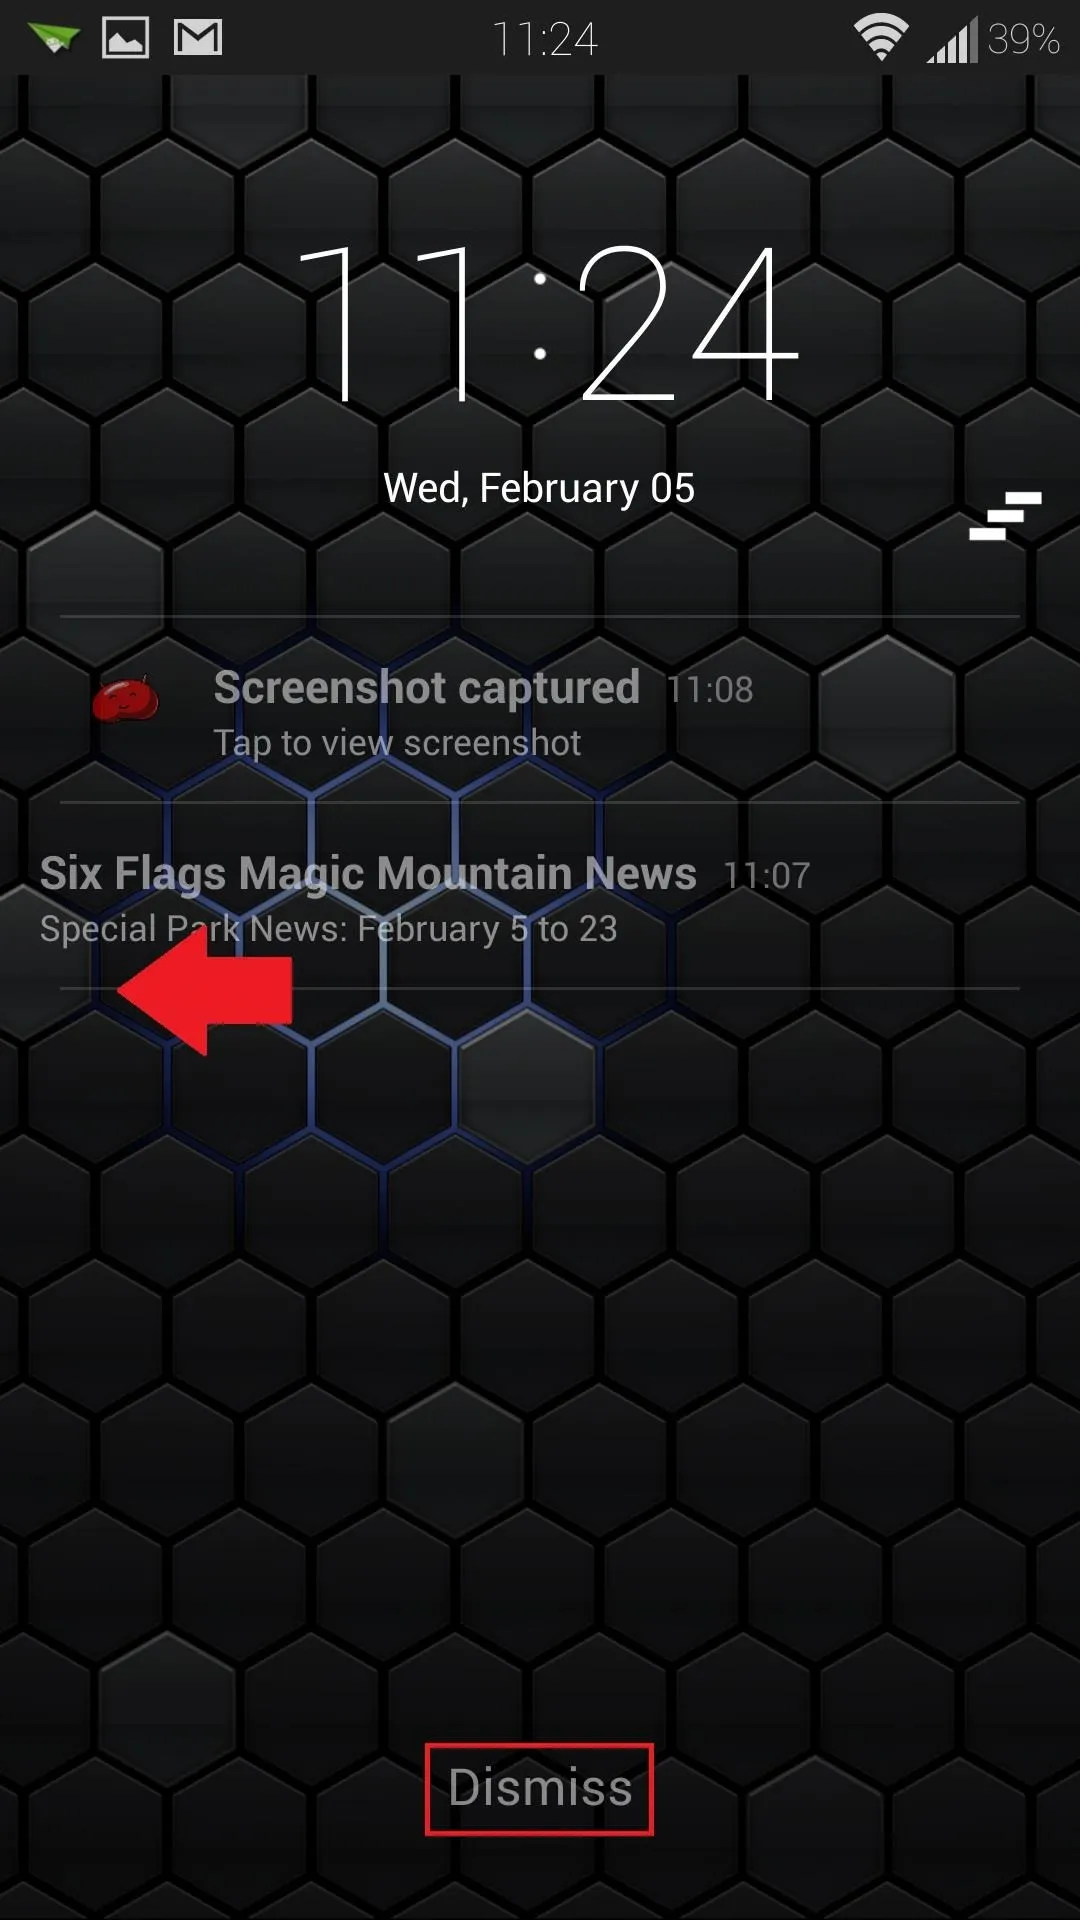


You can swipe a notification to the right to view it in its respective app, or swipe it to the left to dismiss it.
Enable SlideLock as an Accessibility Service
In order for your new notification screen to start working, you'll need to set it up as an accessibility service.
When you first open up the app, you'll go through a very brief tutorial showing you how to use it, followed by a pop-up about Accessibility. Tap on Enable Now to get to your GS4's Accessibility settings.
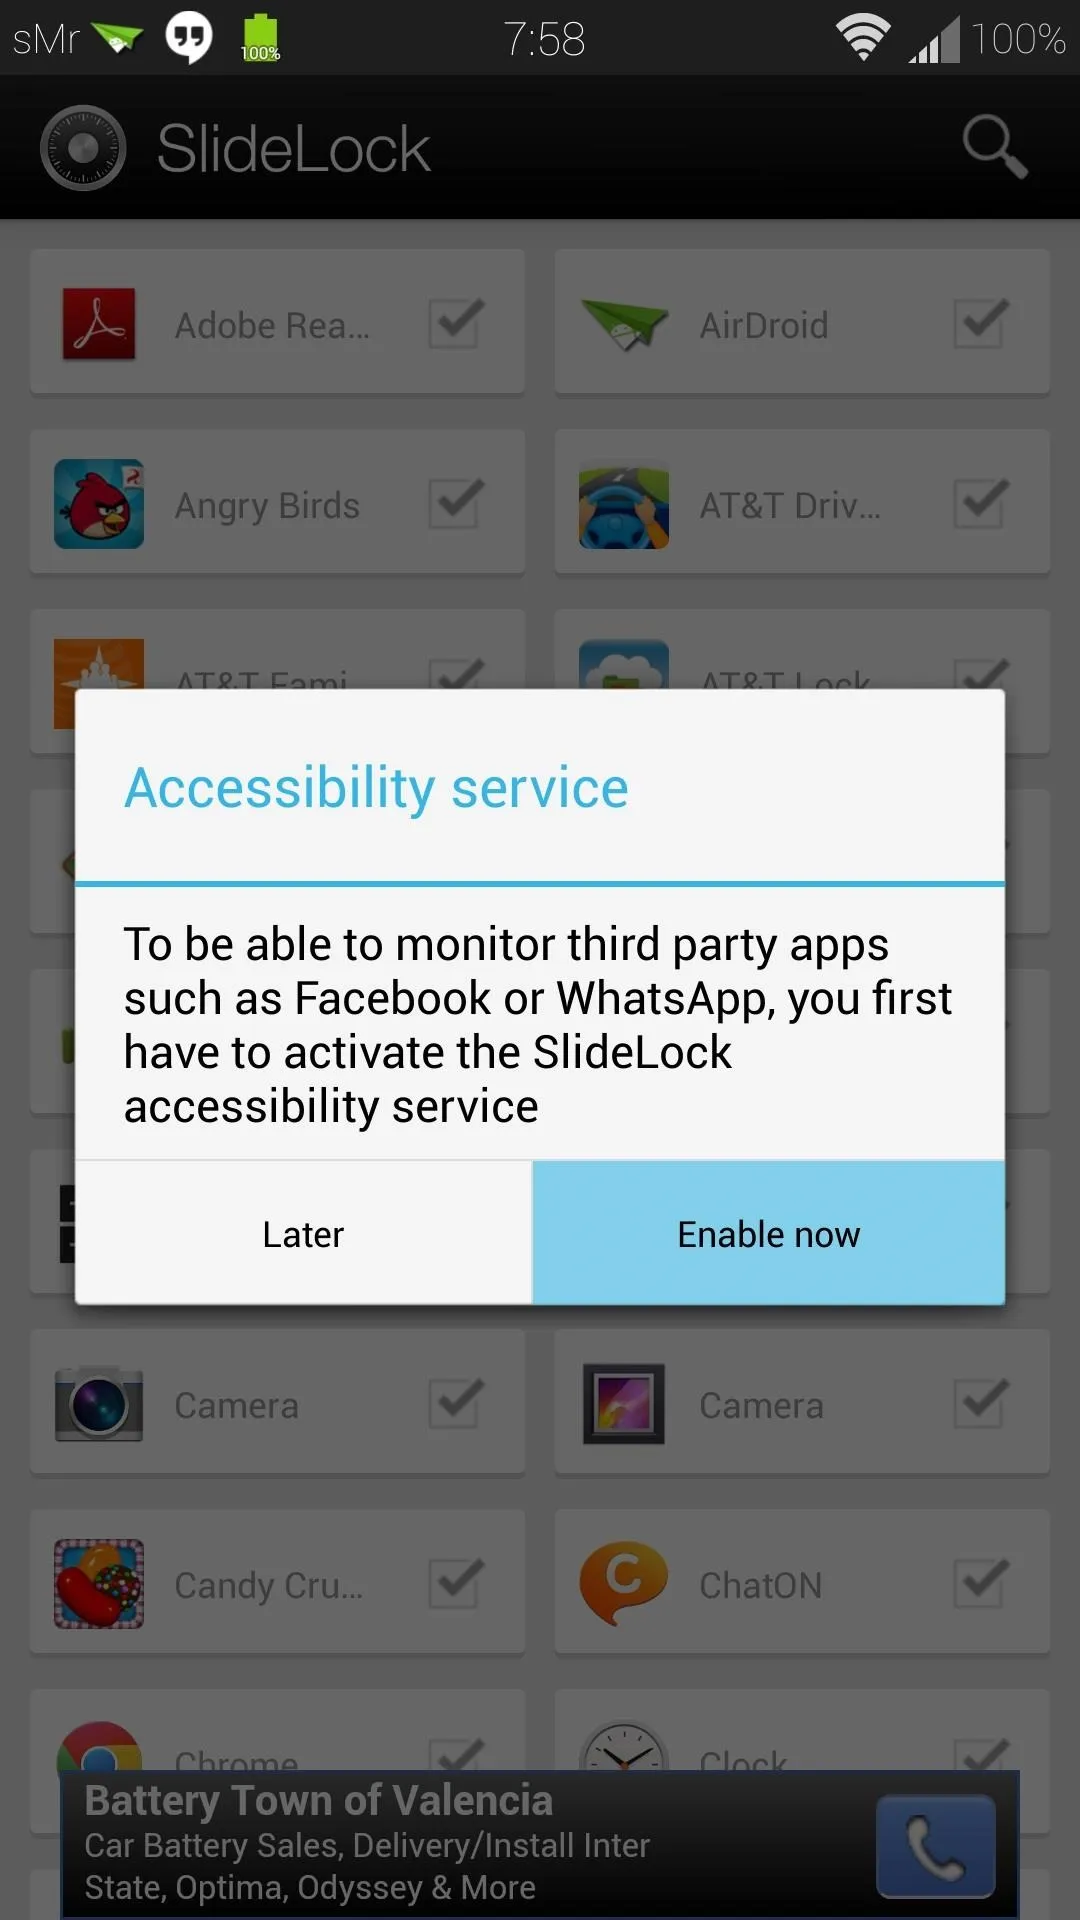
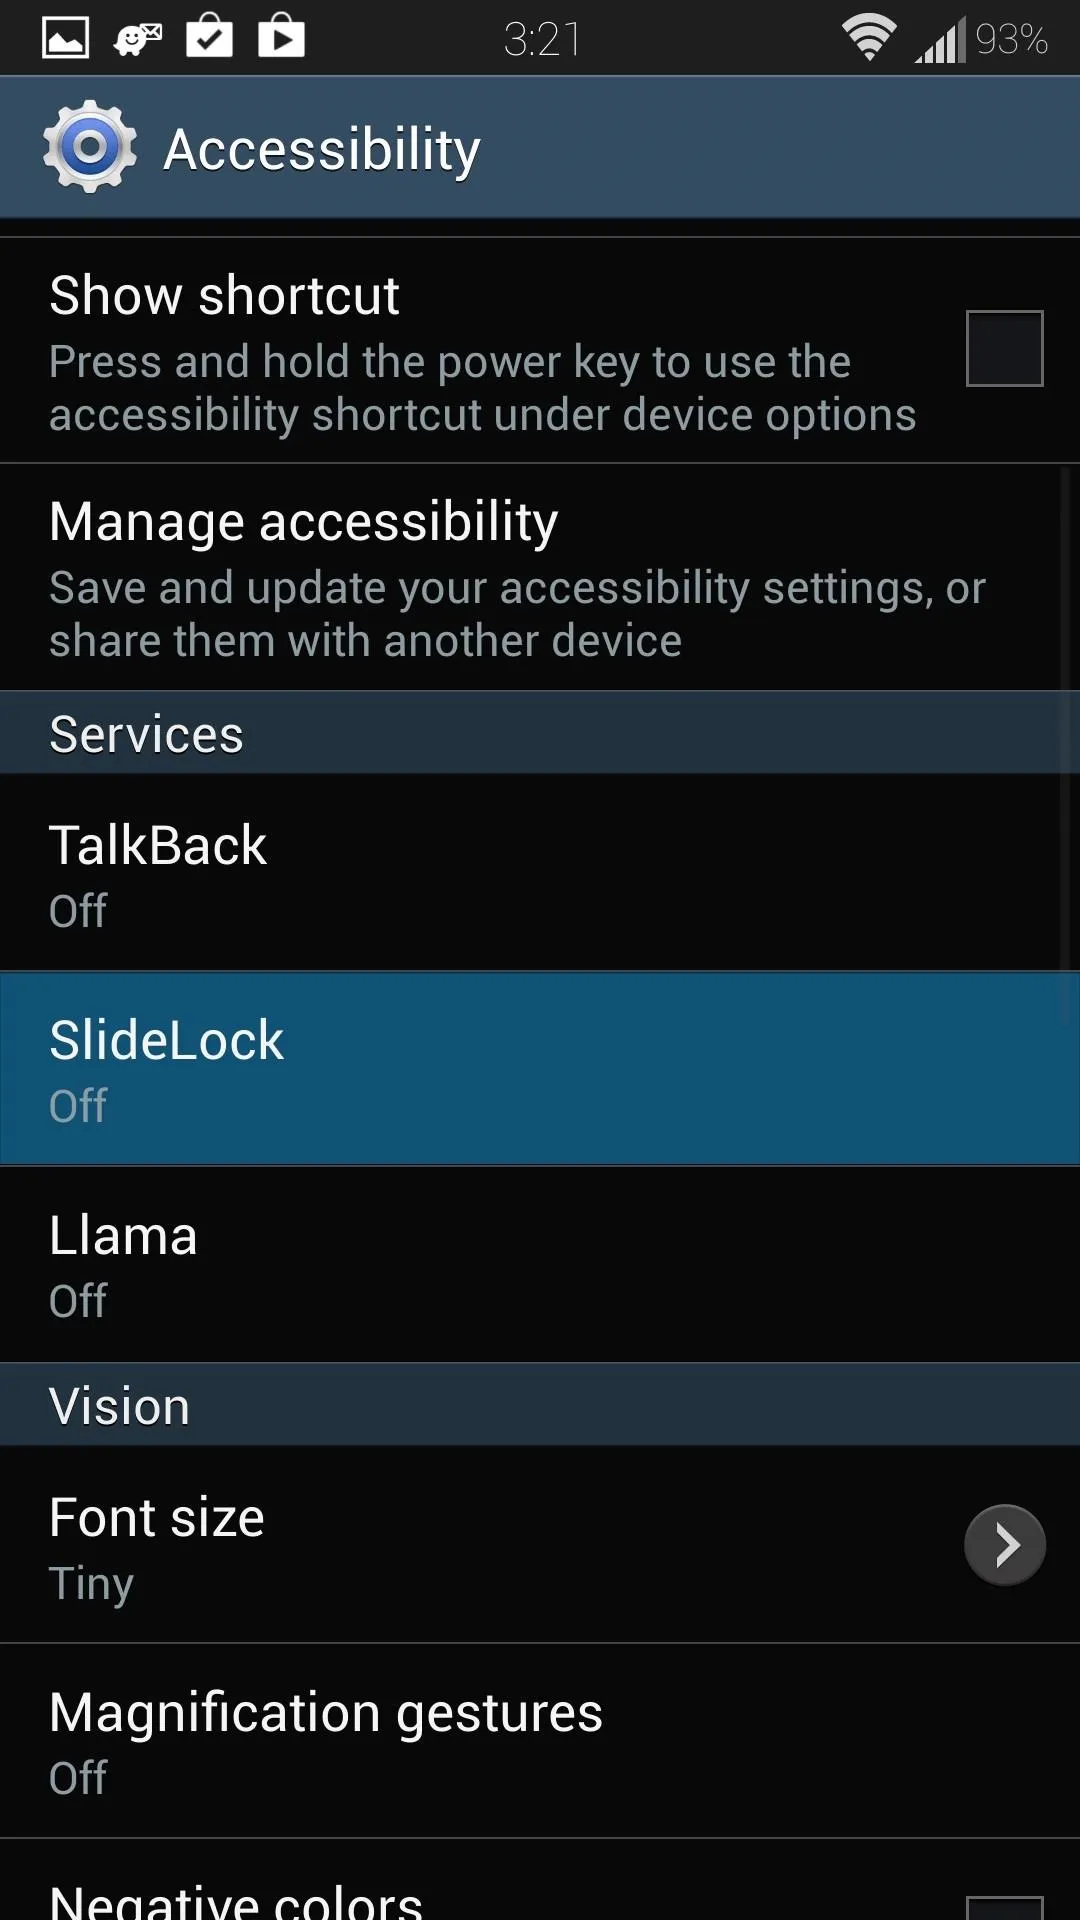


If you don't see the pop-up (above left) for some reason, then you can find your Accessibility settings under the My device tab of your main Settings menu. Once you're there, locate SlideLock under the Services subheading.
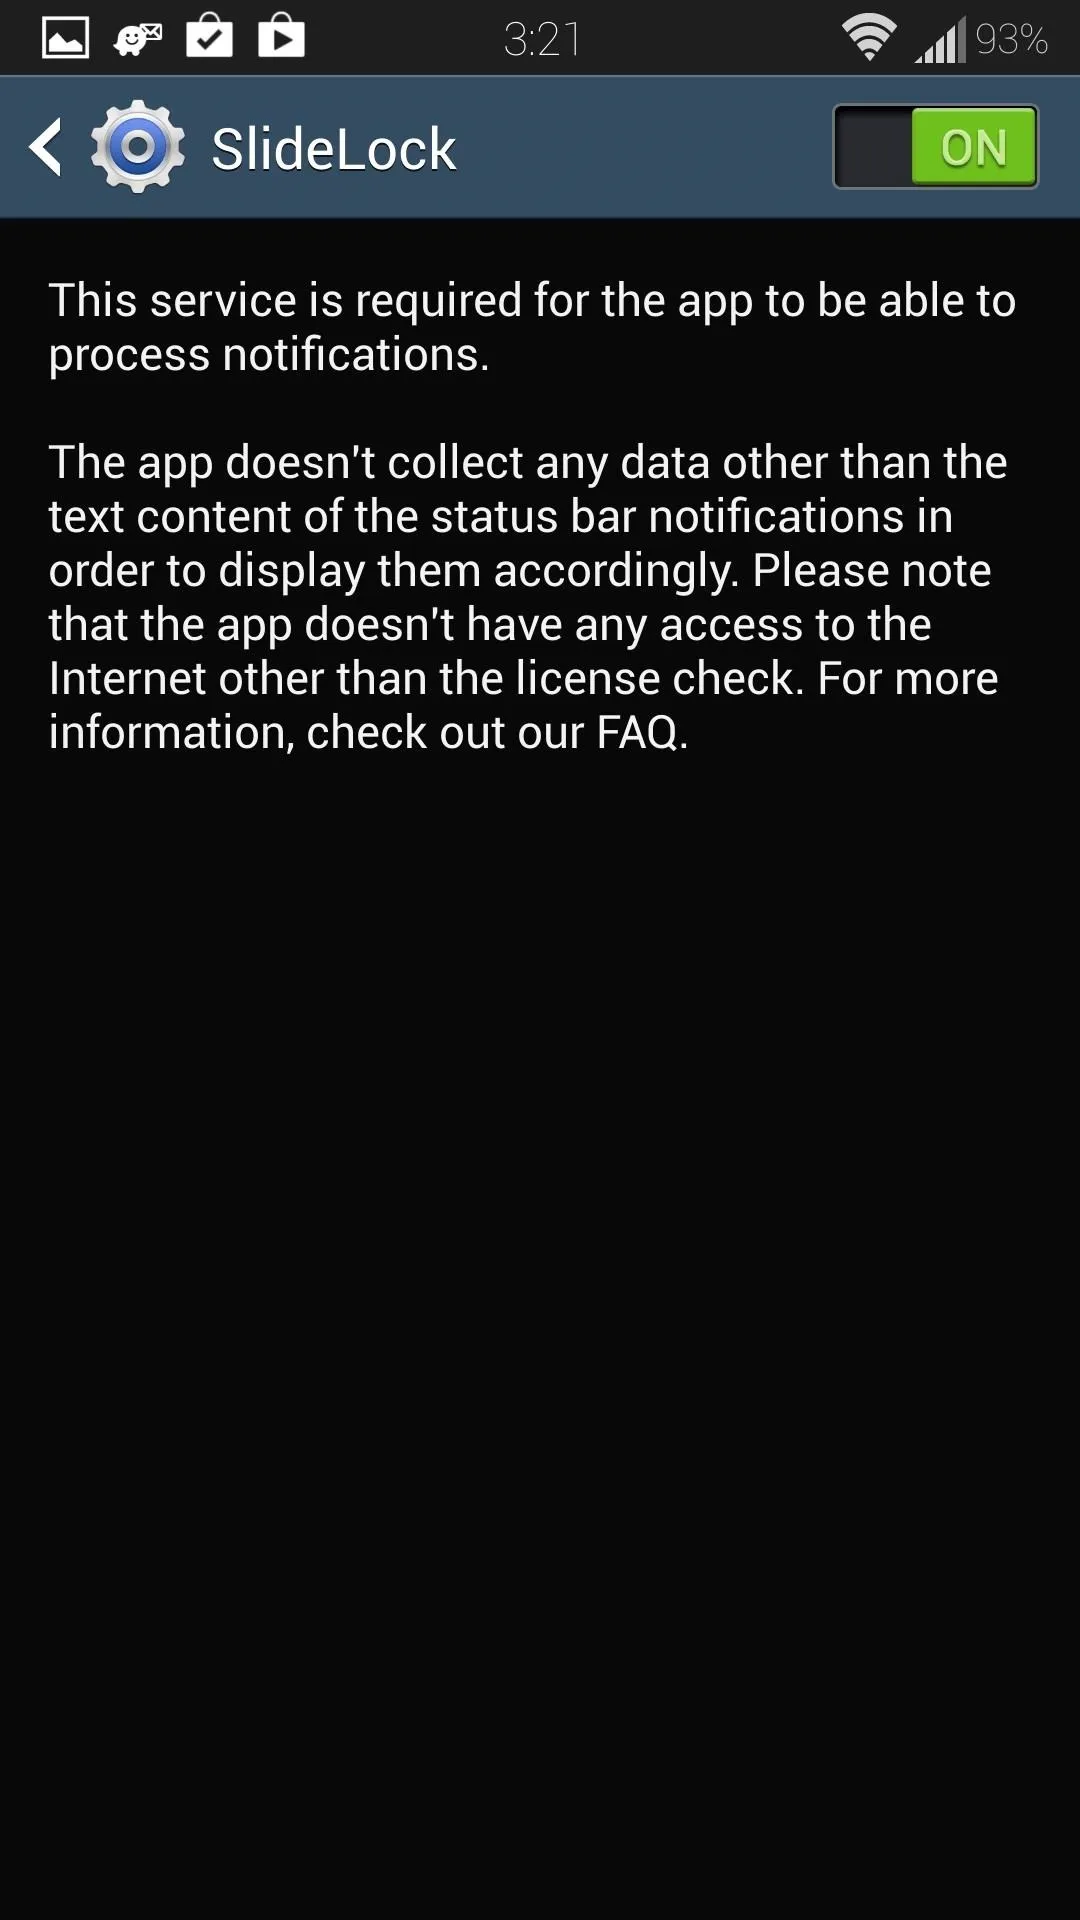
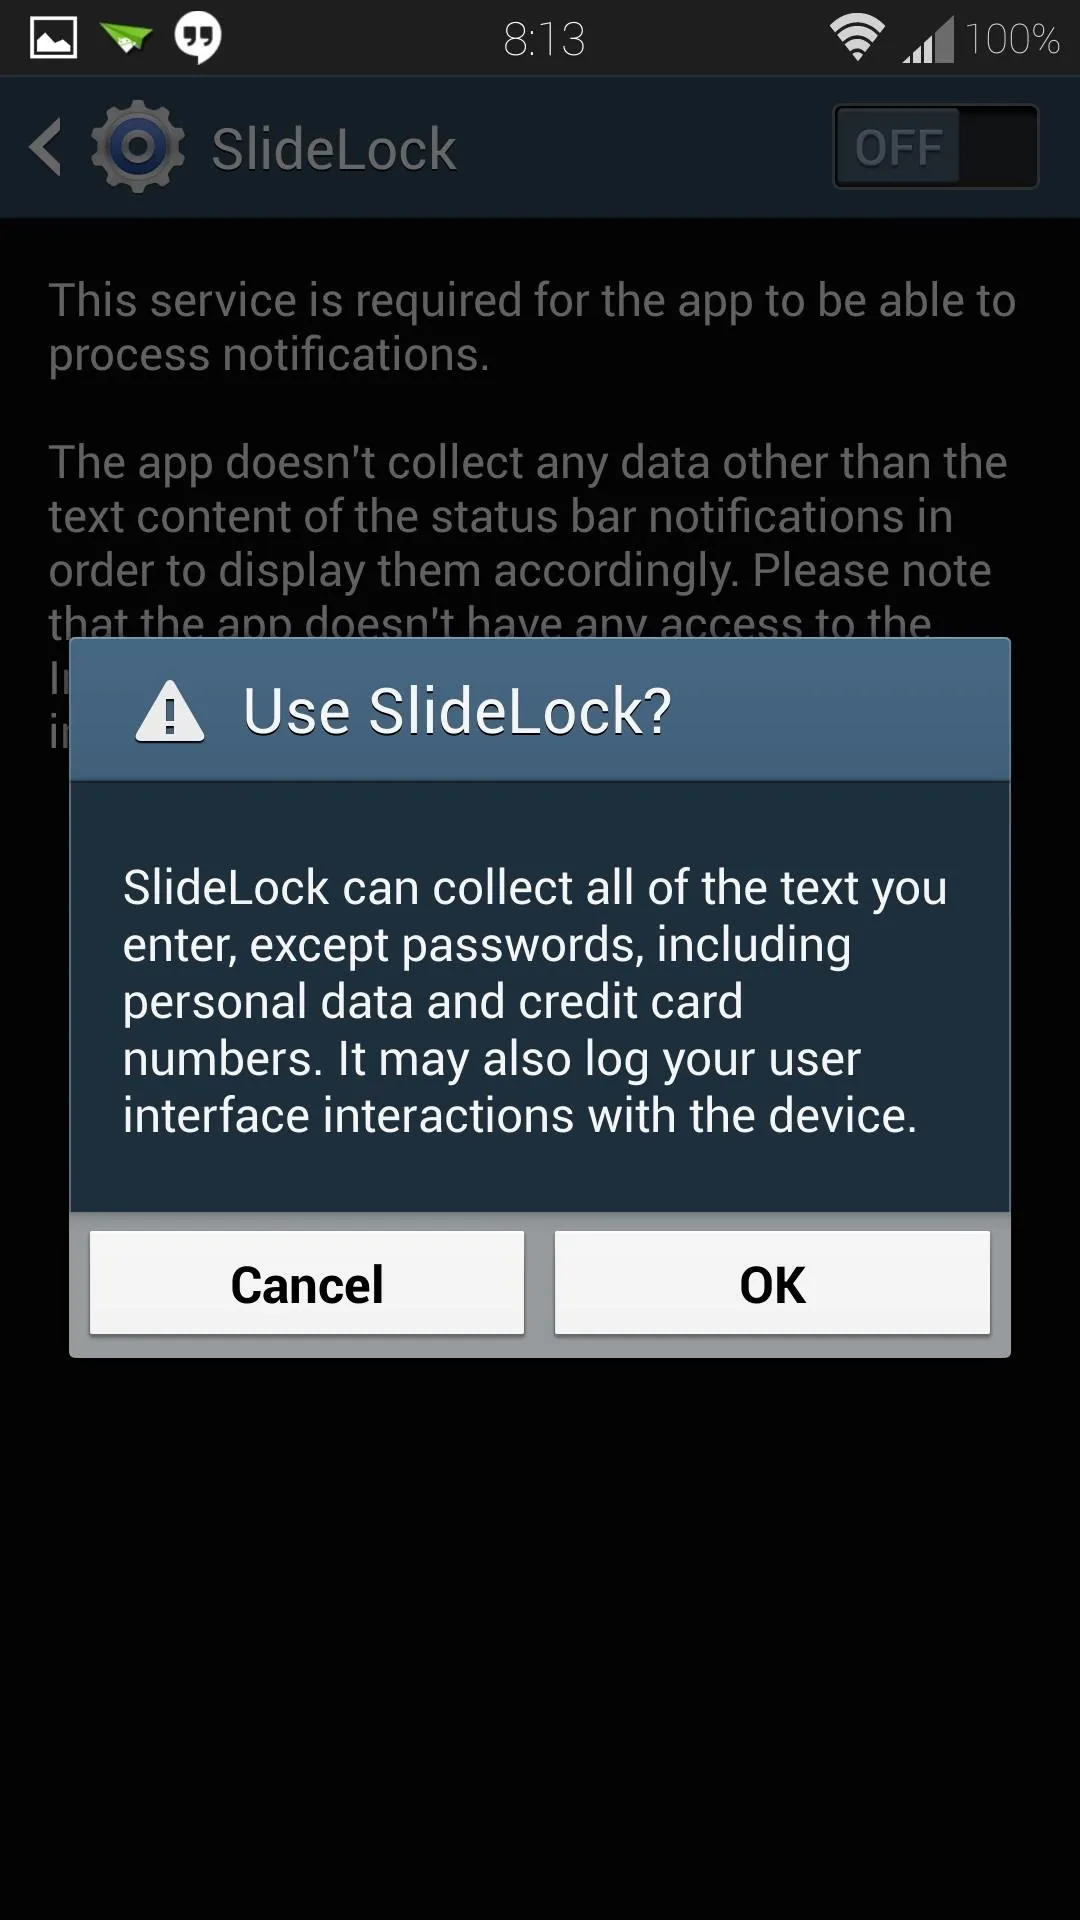


Toggle it On in the upper right corner, then select OK at the subsequent pop-up. It might sound fishy that SlideLock can collect your personal data, but it really only needs this to gain access to your notifications so that it can relay them to your lock screen.
Set Up SlideLock Preferences
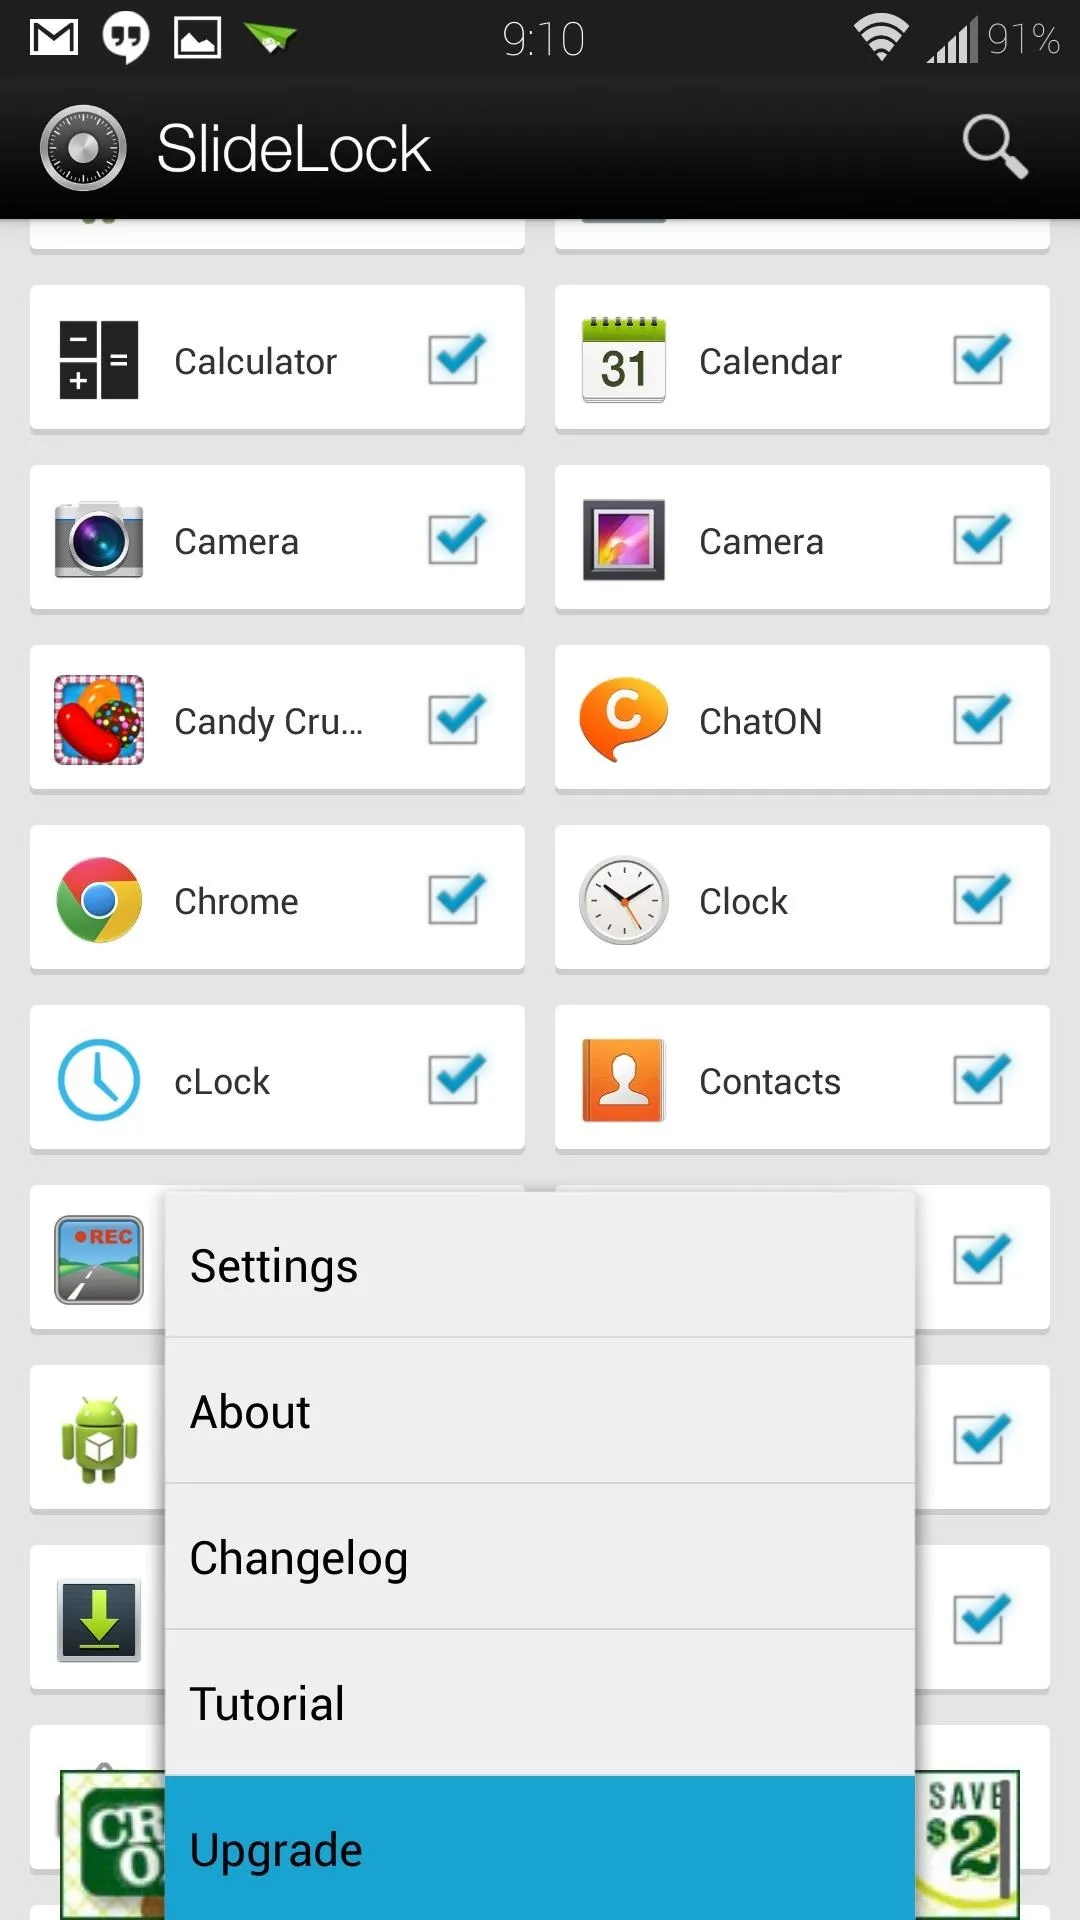
Head back to the SlideLock app to configure some of the basic settings. The main page is just a list of your apps, and you can pick and choose which ones you want notifications for (by default, all of them are checked).
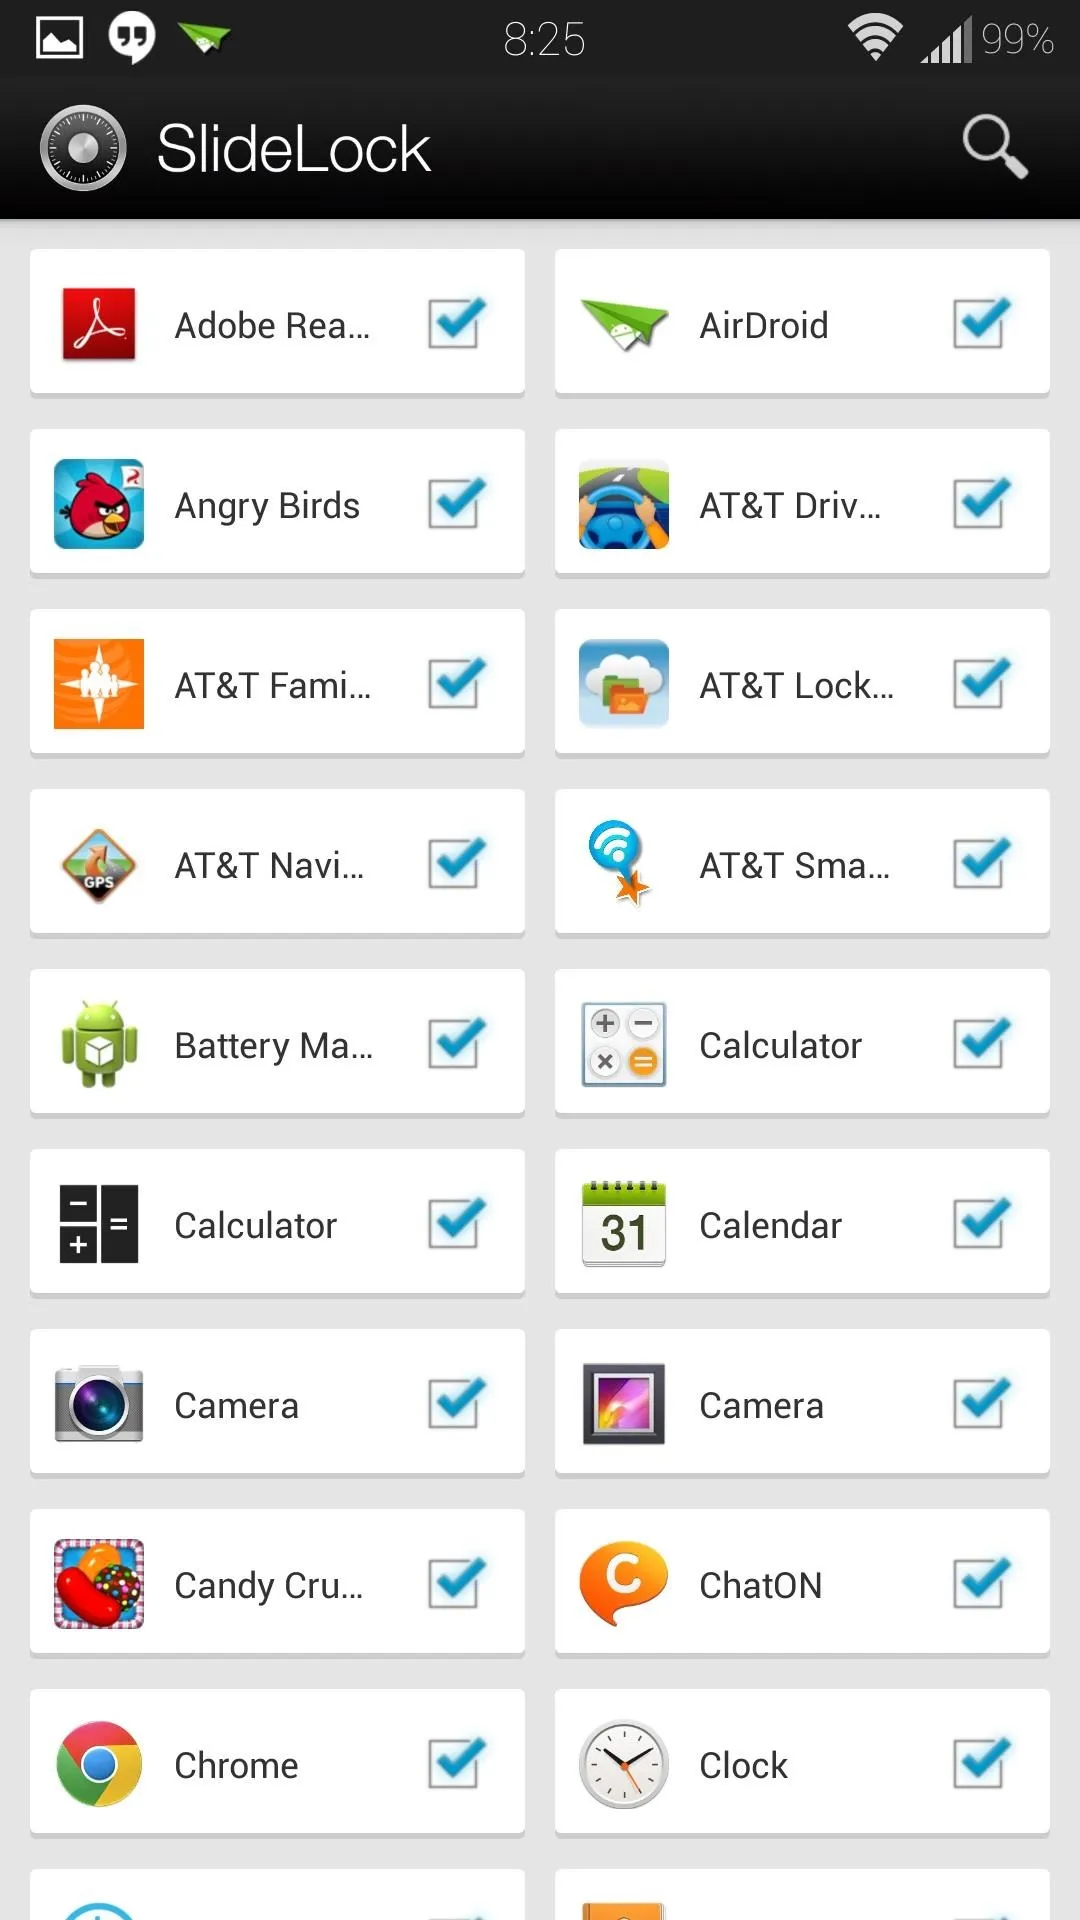
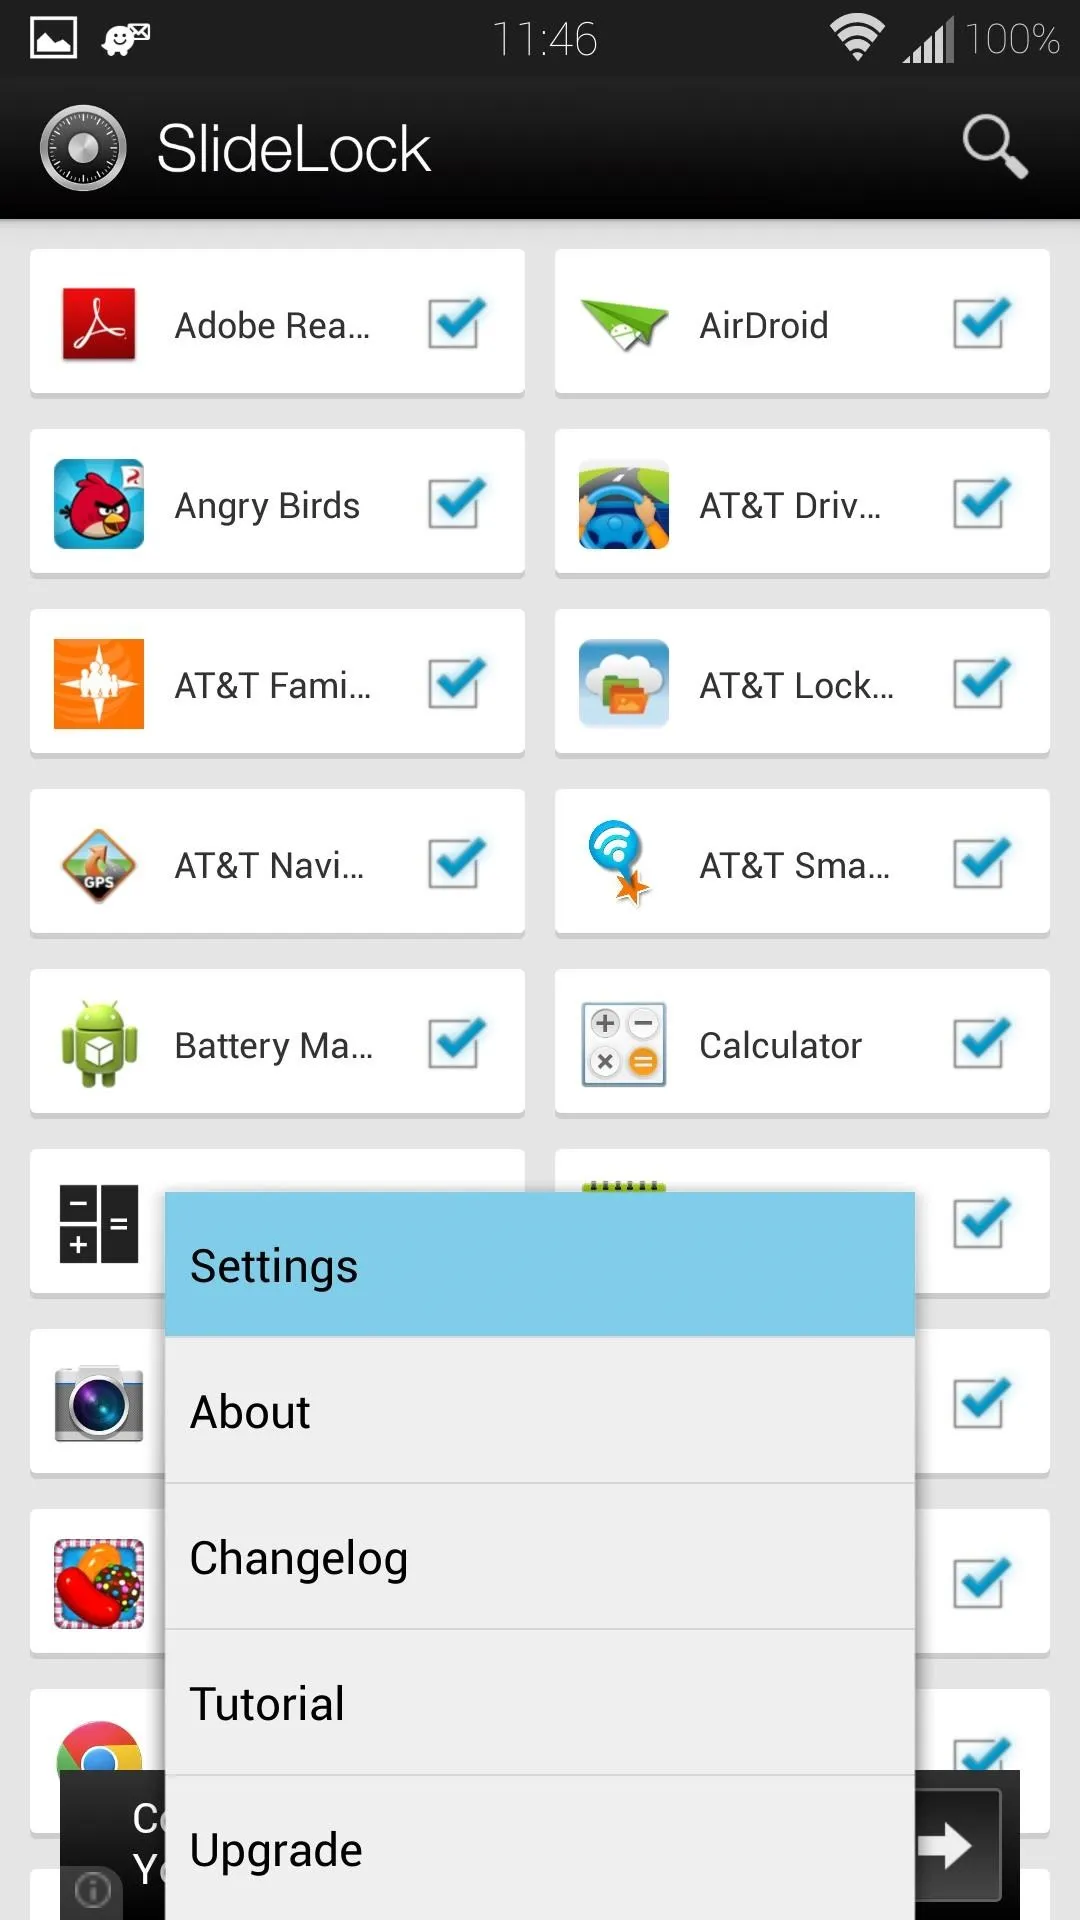


Tap your GS4's menu button for more options, and you can access the settings from there.
Lock Screen Settings
Here you can edit how the lock screen will appear and behave. You'll notice quite a few options that are greyed out; these are unlocked in the pro version.
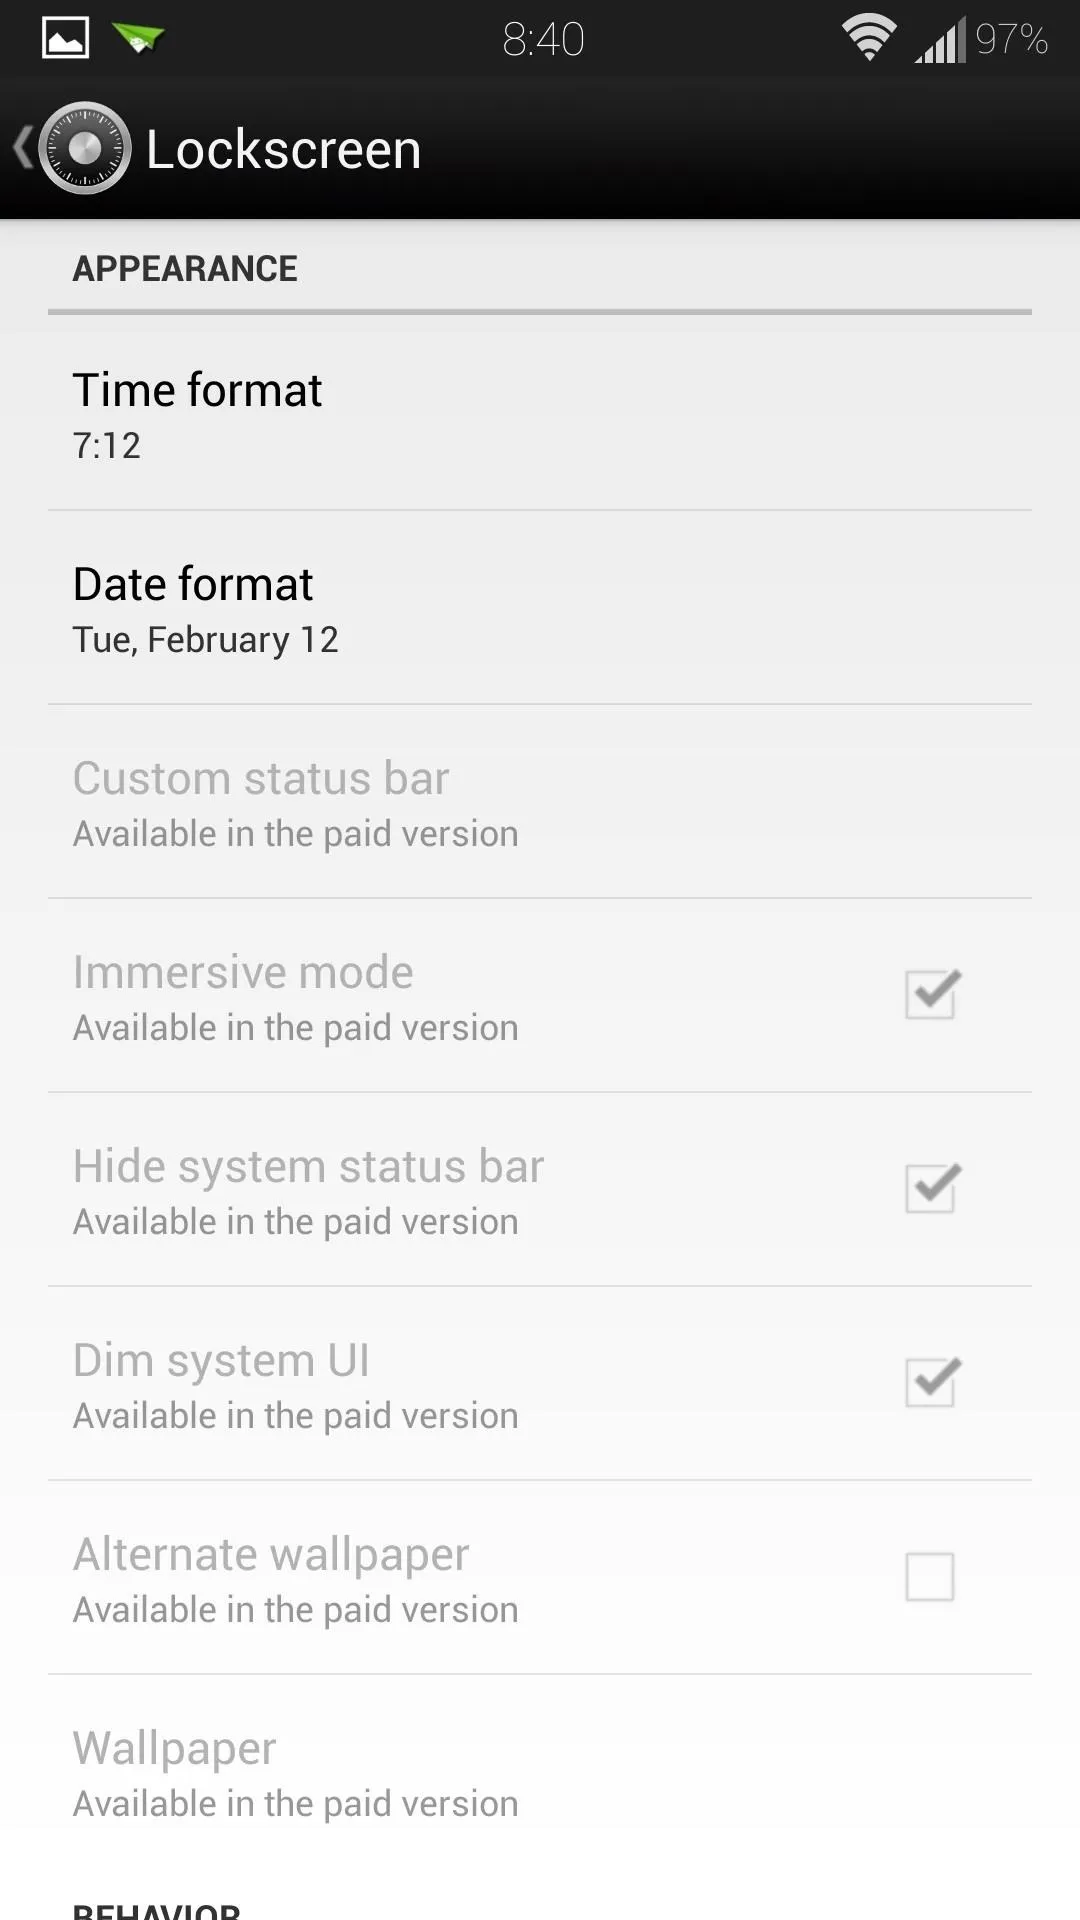
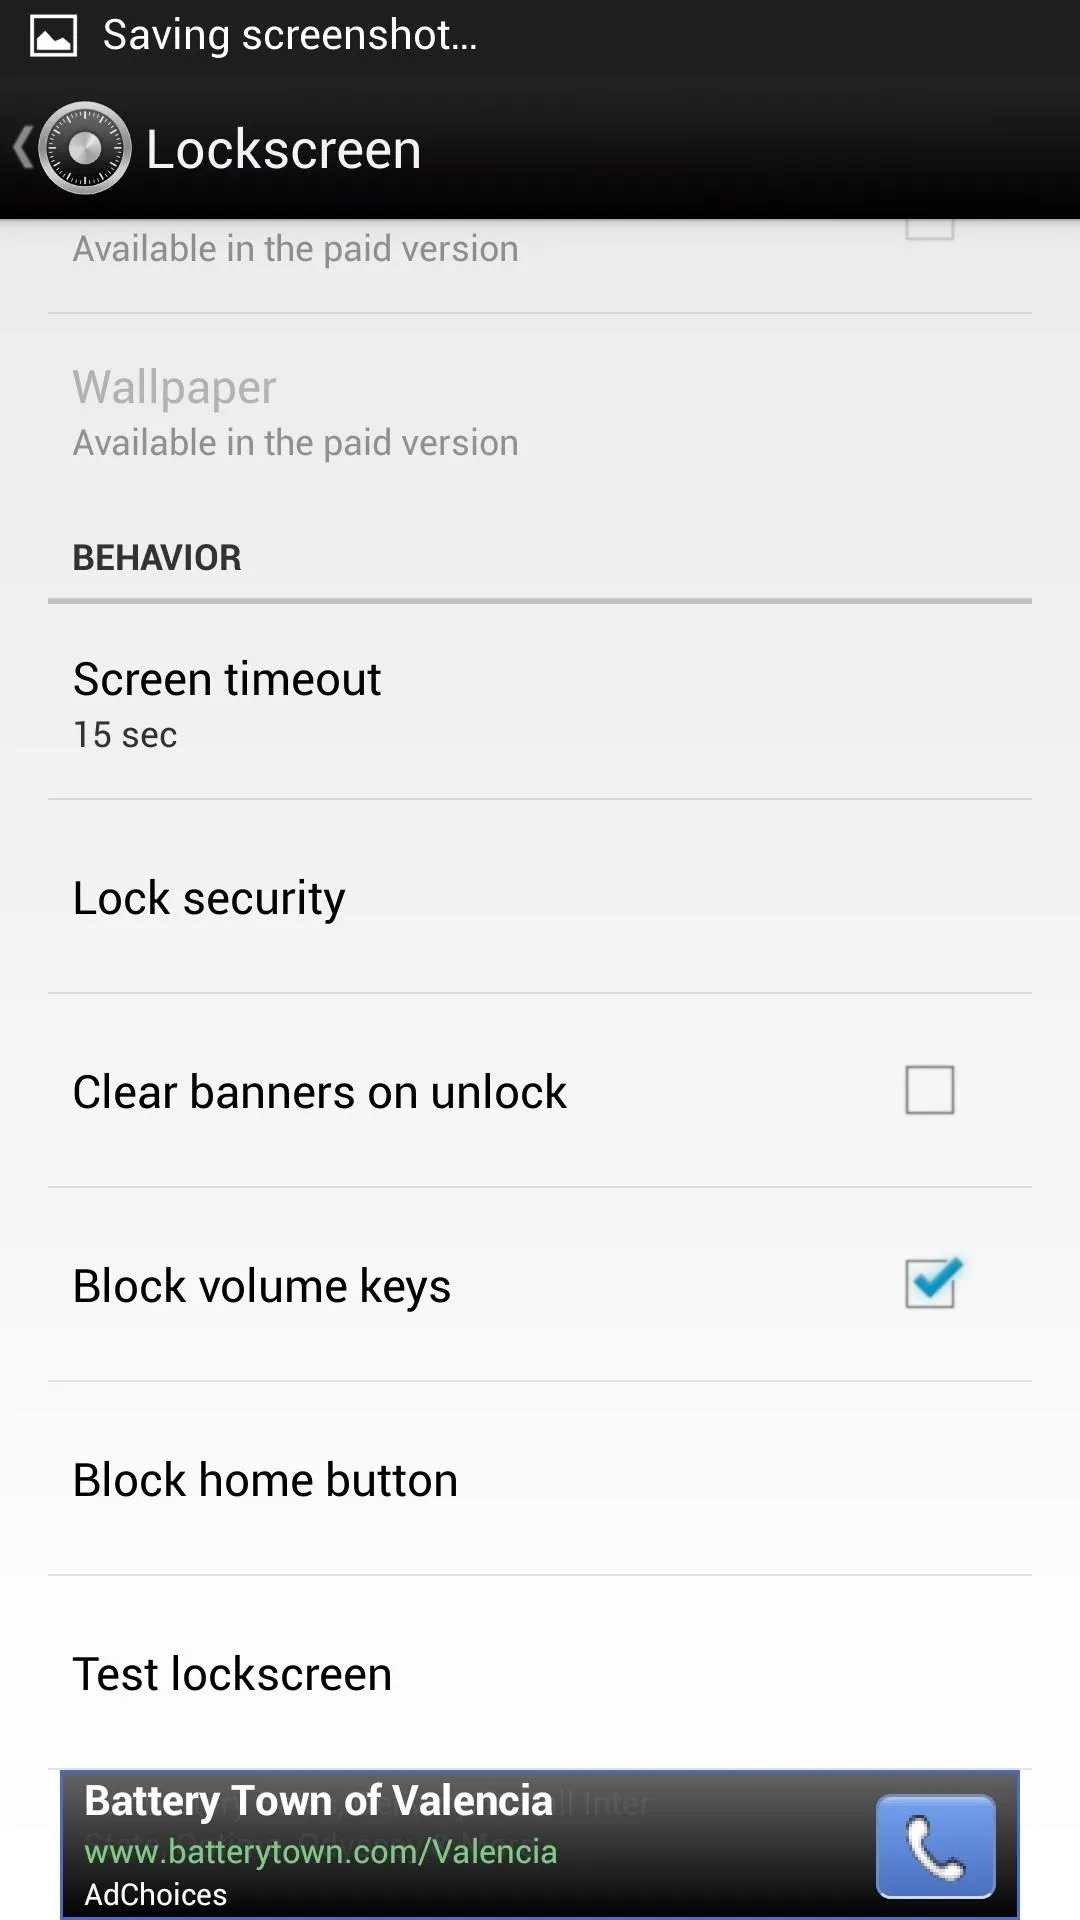


If you have lock screen security enabled, such as PIN or pattern unlock, you don't have to worry about SlideLock bypassing it. They work in conjunction with each other perfectly fine; simply swipe the SlideLock lock screen to the right, and you'll see your regular lock screen.
Integrated PIN unlock is a heavily requested feature in the developer's XDA thread, so it may come in future updates.
Notifications
Here you can enable iOS-style notification banners when your screen is unlocked. They're quite useful if you have the status bar hidden like I do, and show a bit more information than you'd normally see in the status bar.
For example, with email notifications, you'd typically only see the sender's name. When shown as a banner, you can also see the subject line, so you can easily tell what the message is about.
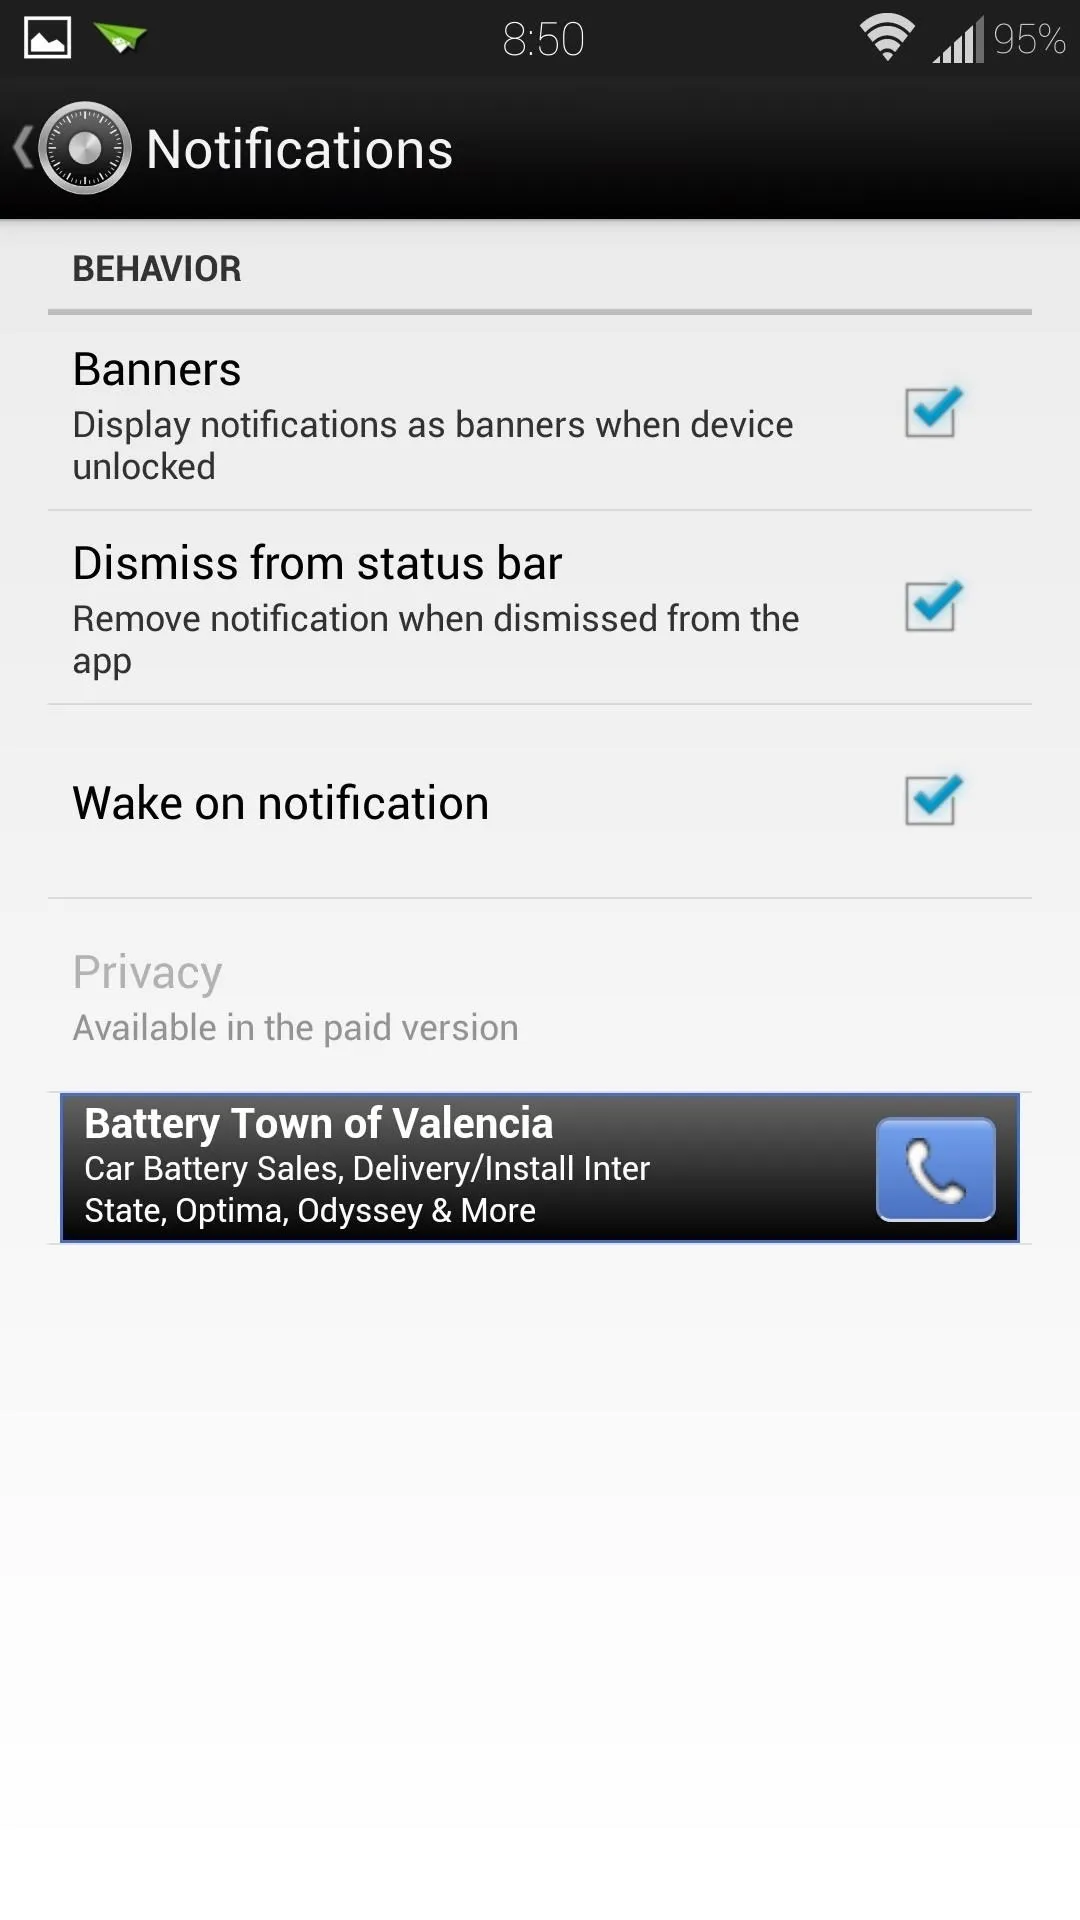
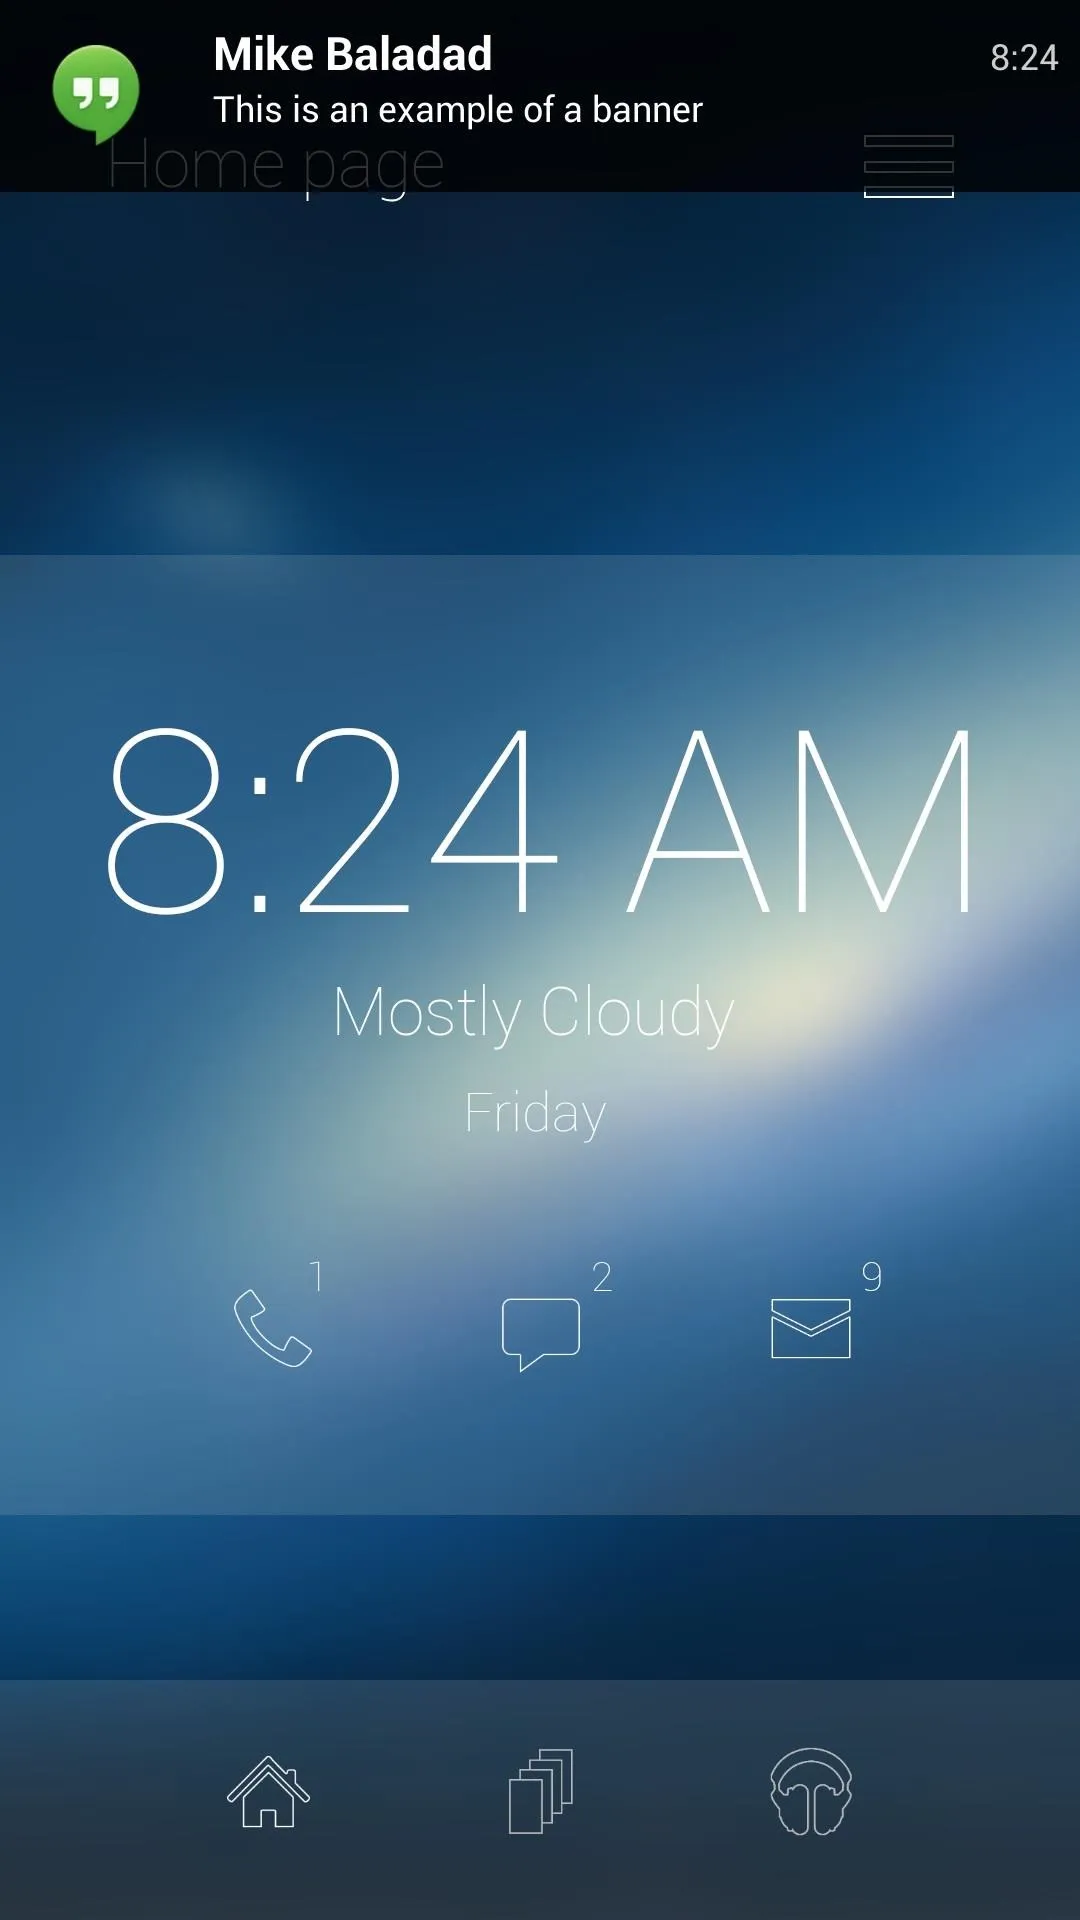


Another iOS-like feature is the ability to wake the screen when you get a notification. It might cost you a little extra battery (perhaps a negligible amount), since screen-on time is a notorious killer of battery life, but it's quite useful if you always have your phone out in front of you.
Sound Options
Here you can choose whether or not each notification rings or vibrates. You can choose the ringtone and vibrate pattern in the paid version.
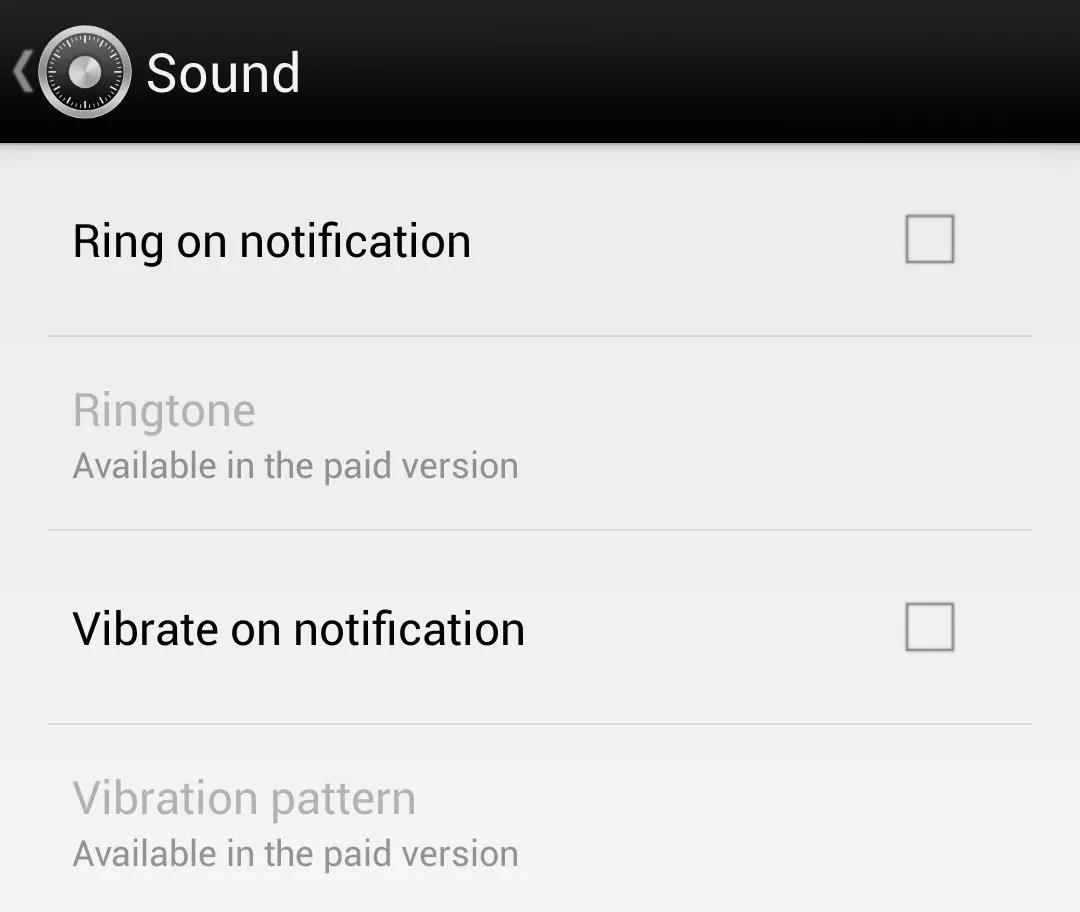
With the free version, it'll stick to your phone's stock notification sounds.
Pebble Support
Under Advanced settings, you can set up your notifications to be forwarded to a Pebble smartwatch, if you own one.
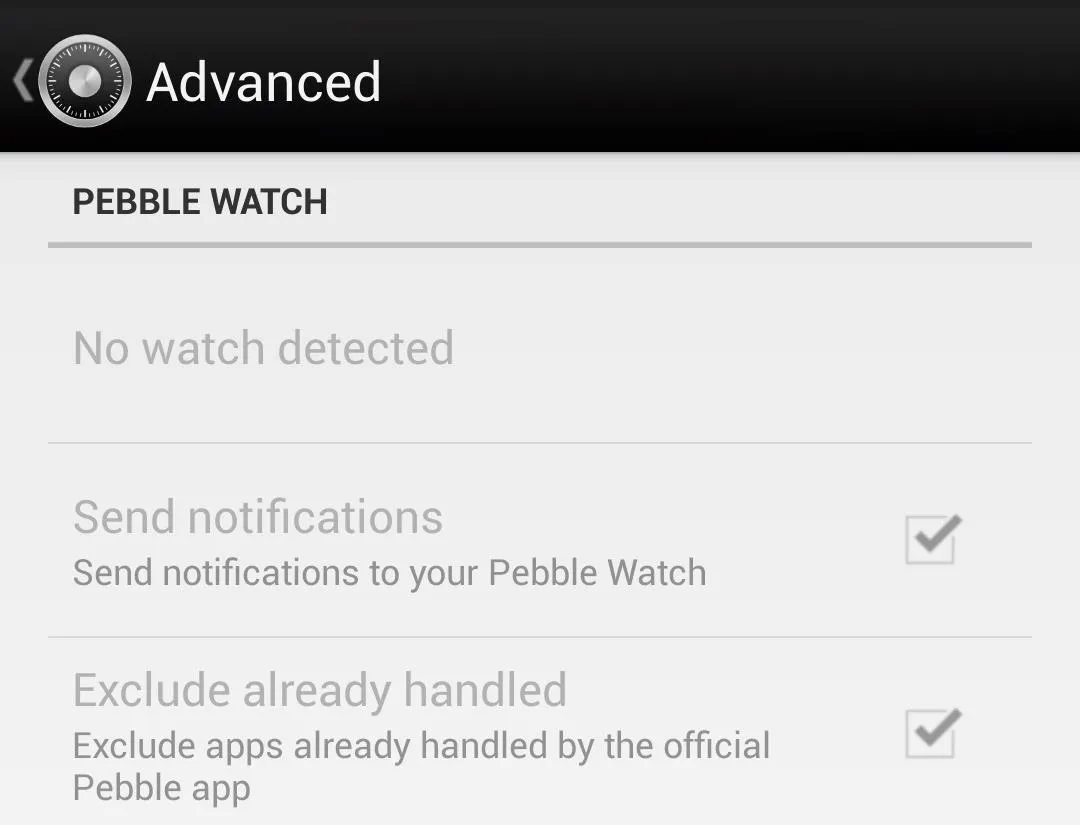
The developer may expand support for the Galaxy Gear and the Sony SmartWatch, but at this point, only the Pebble is supported.
Like SlideLock? Upgrade!
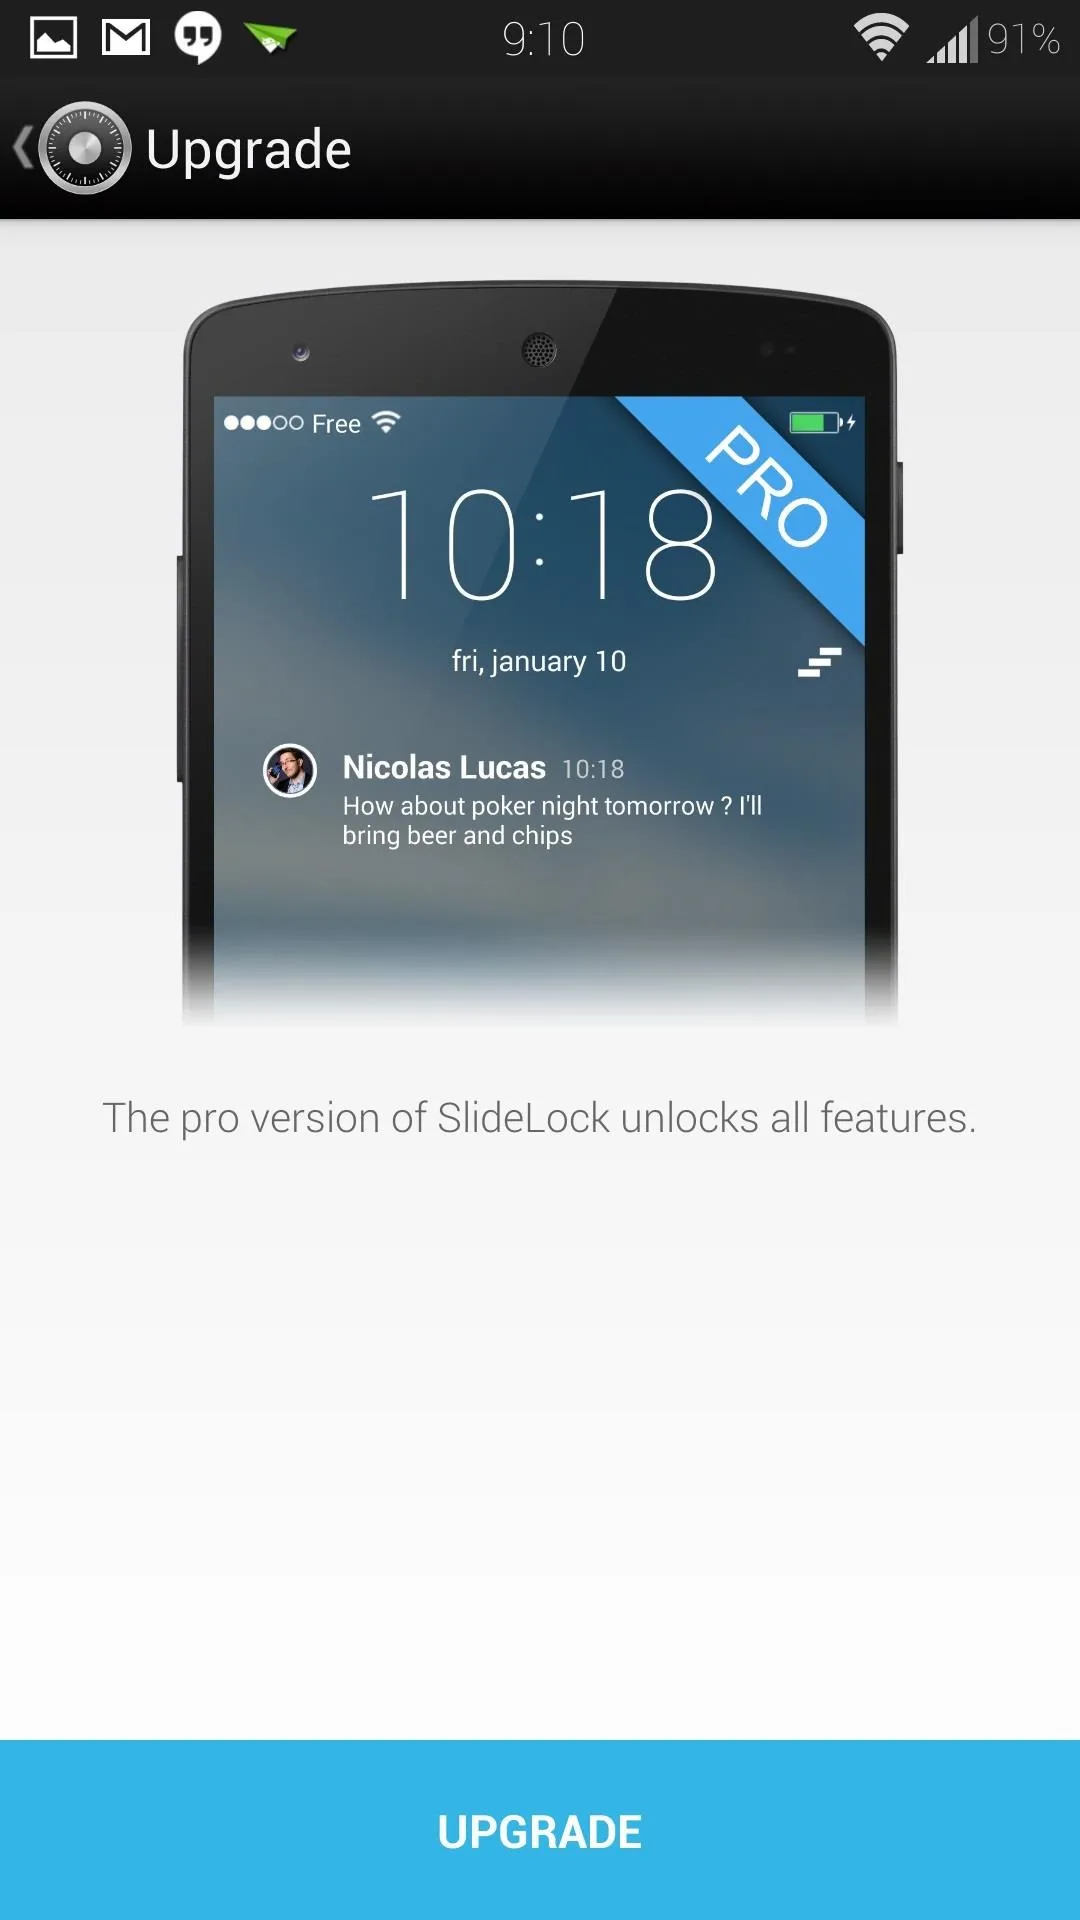
You can support the developer and unlock all those greyed out features by upgrading to the pro version (available as an in-app purchase).


Have any questions? Let us know in the comments.










Comments
Be the first, drop a comment!