With all of the personal data that's stored on our smartphones, it's of vital importance that we have some sort of lock screen security enabled. One of the Galaxy S5's killer features is obviously the fingerprint scanner. It makes the process of dealing with a secure lock screen a bit easier than typing in a password or PIN.
But it's not perfect. How many times have you seen the Swipe Slower message when attempting to unlock your GS5 this way? It can be a bit finicky, to say the least. And there are many times throughout the day where such lock screen security is not needed—especially when you're at home.
Developer Marcel Dopita had these frustrations in mind when he created his Xposed module, No Lock Home. With this, you can easily disable lock screen security while connected to a trusted Wi-Fi network or Bluetooth device. It then automatically enables lock screen security again when you leave this trusted environment, ensuring that your data remains protected.
Prerequisites
- Rooted Galaxy S5 (or any other rooted device running Android 4.4)
- Xposed Framework installed
- Unknown Sources enabled
Ensure That You Have Lock Screen Security Enabled
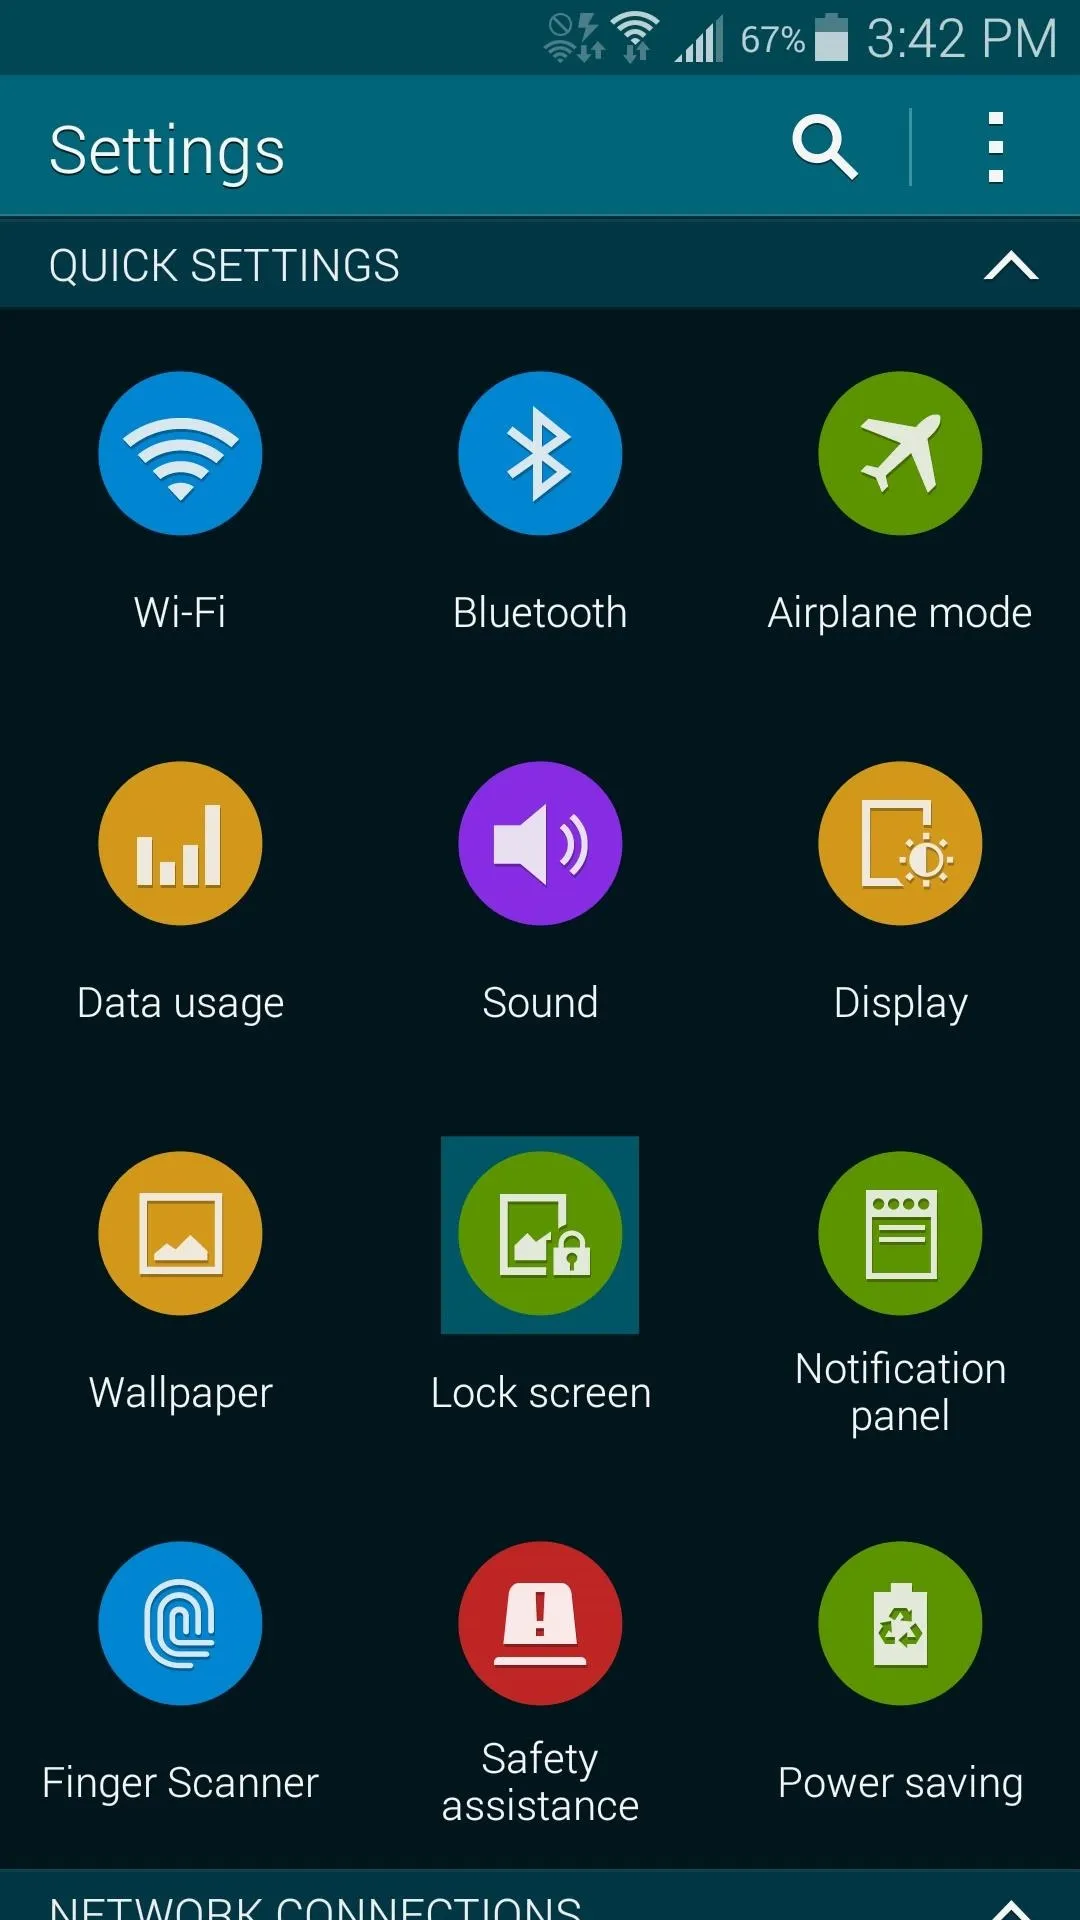
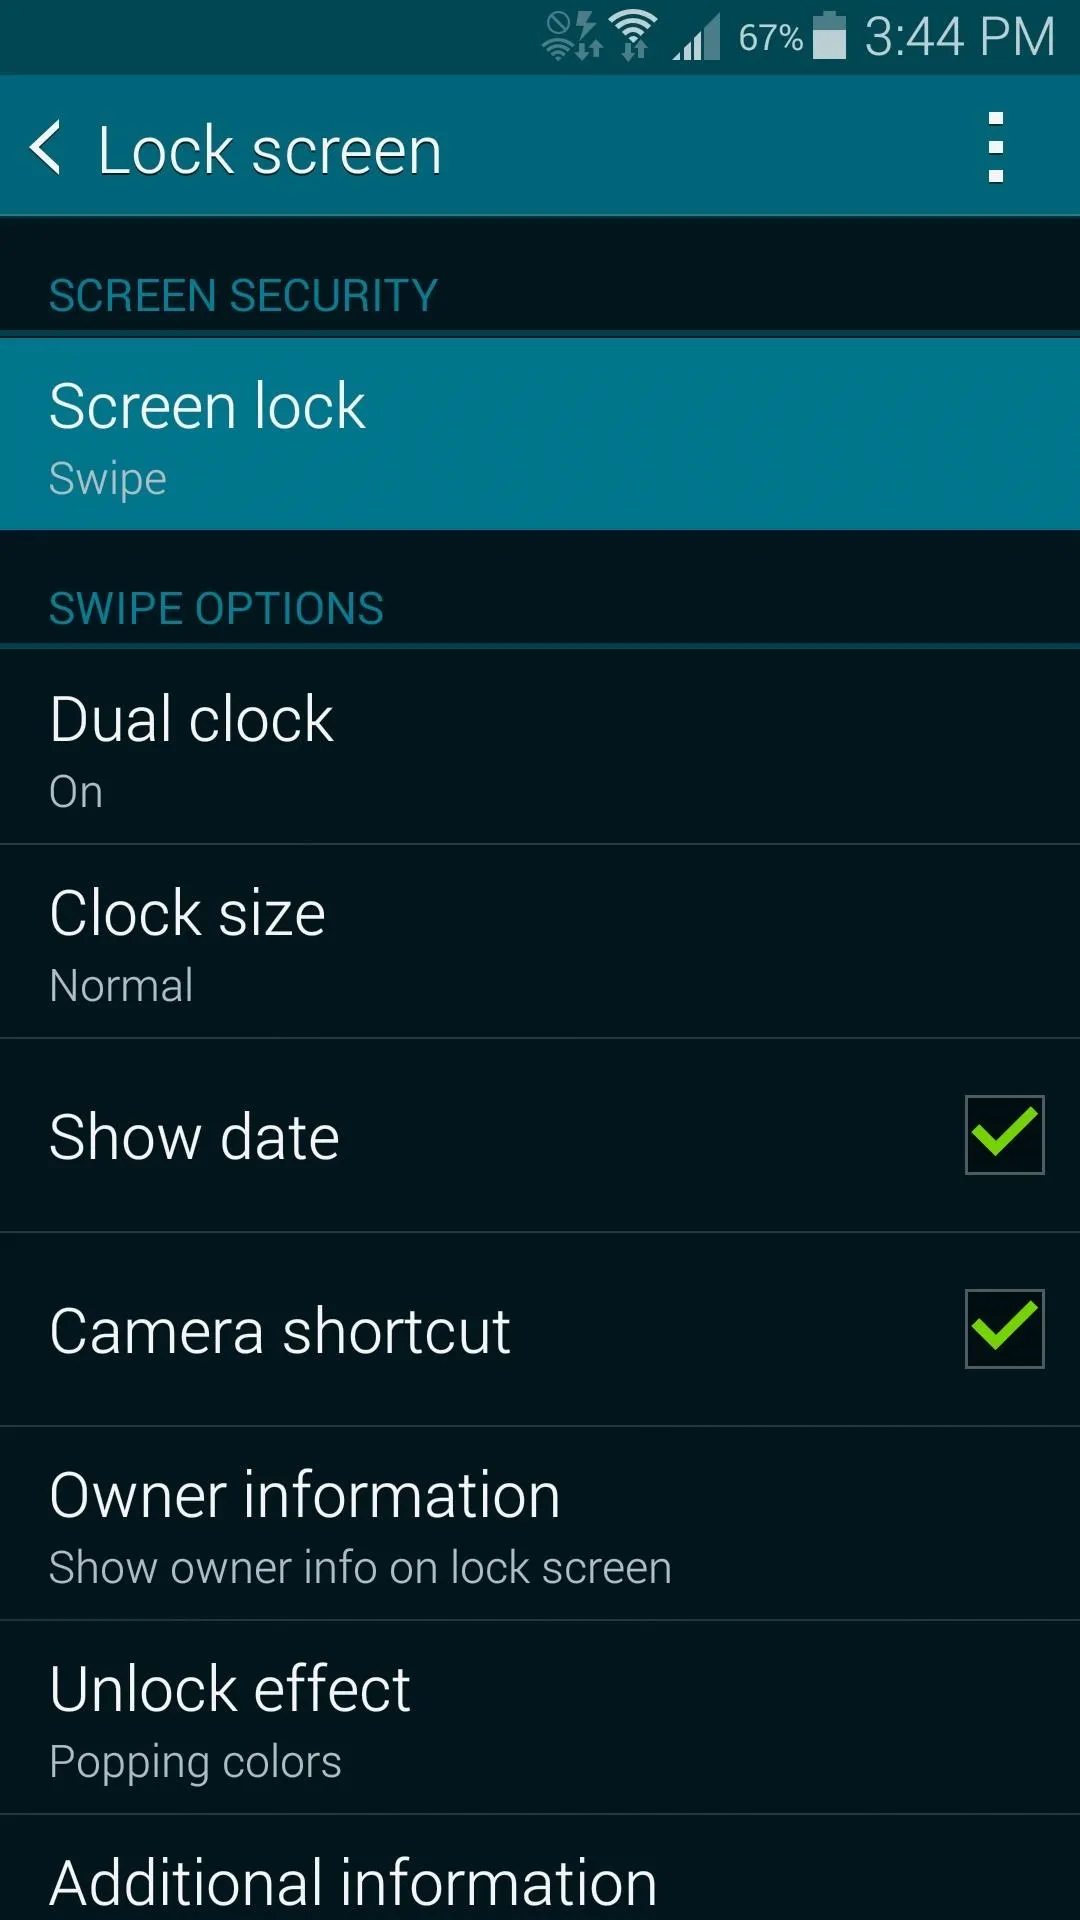
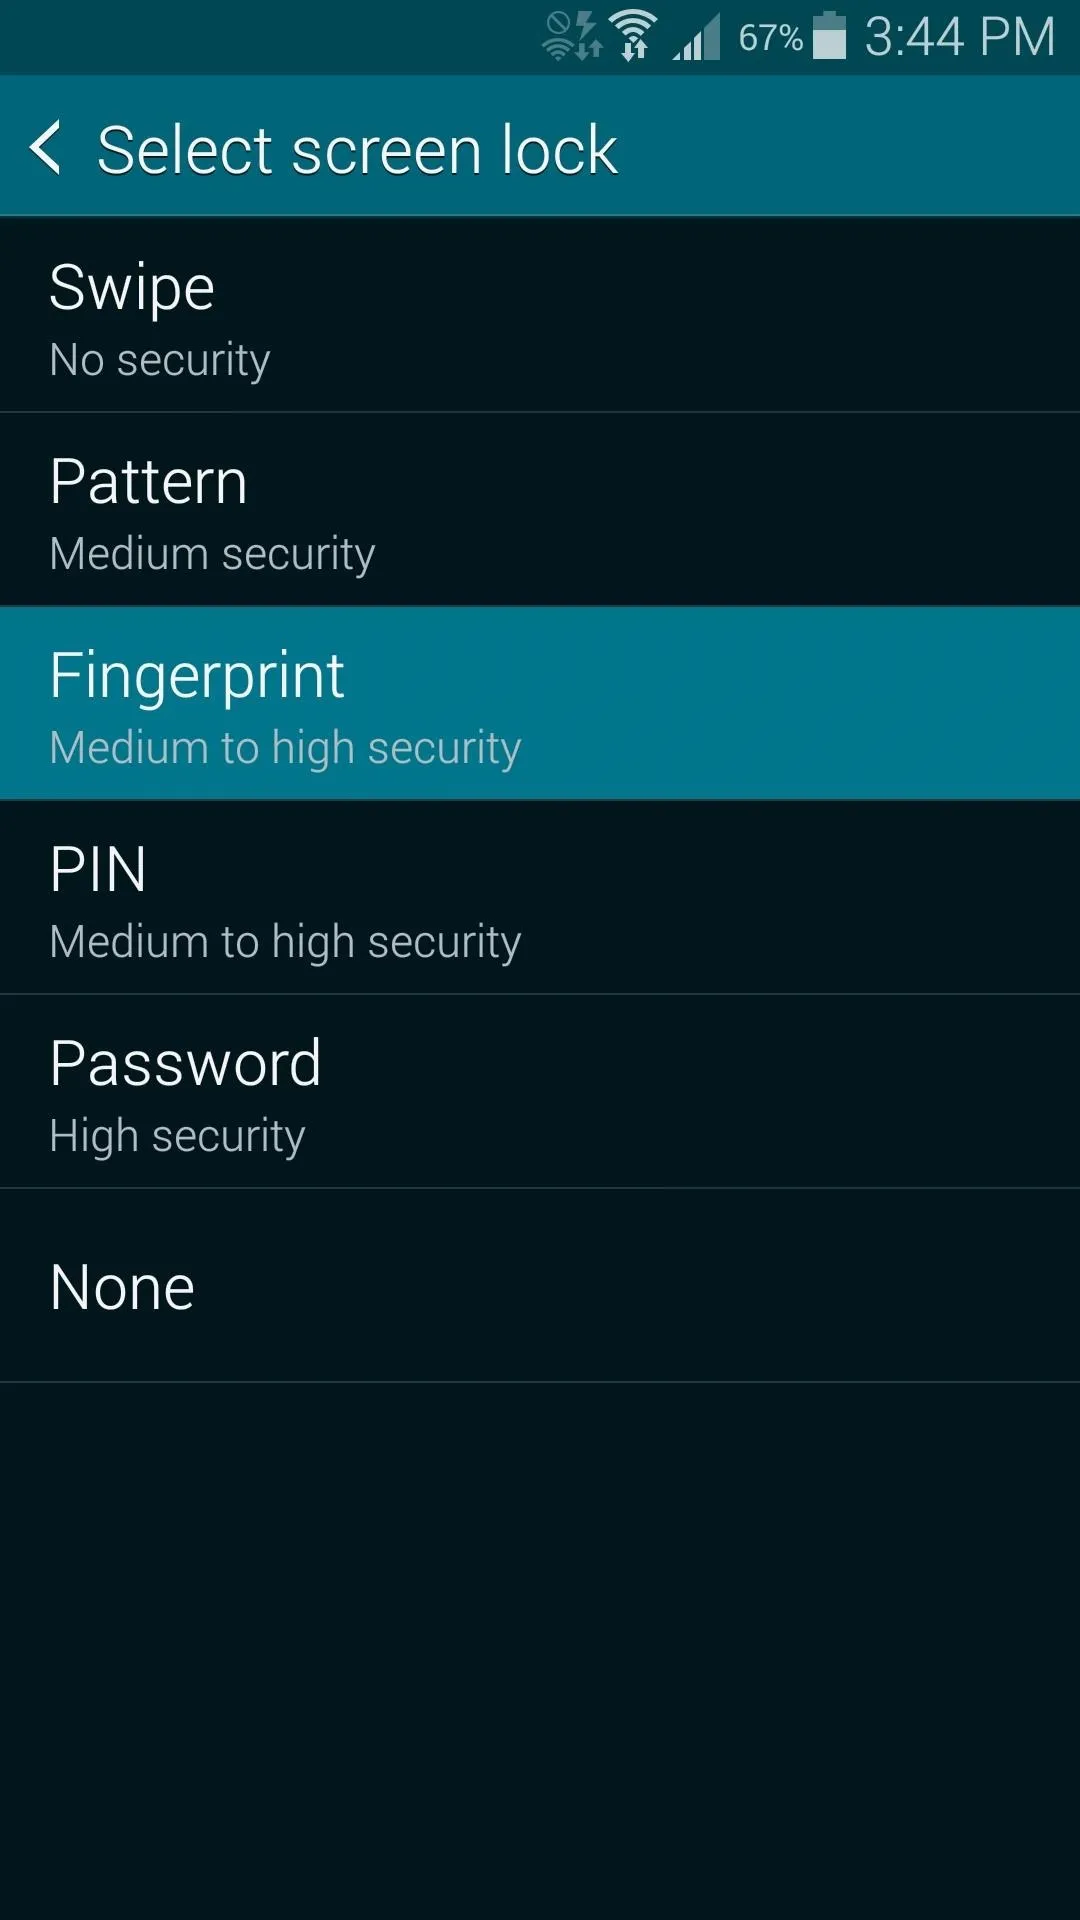
The module that turns your secure lock screen on and off automatically requires that you have lock screen security set up beforehand. If you haven't done this already, head to Settings, then Lock Screen. Tap the Screen Lock entry right up top, then select the security method that you'd like to use (I'd recommend Fingerprint). From here, just follow the prompts to enable lock screen security.


Install 'No Lock Home'
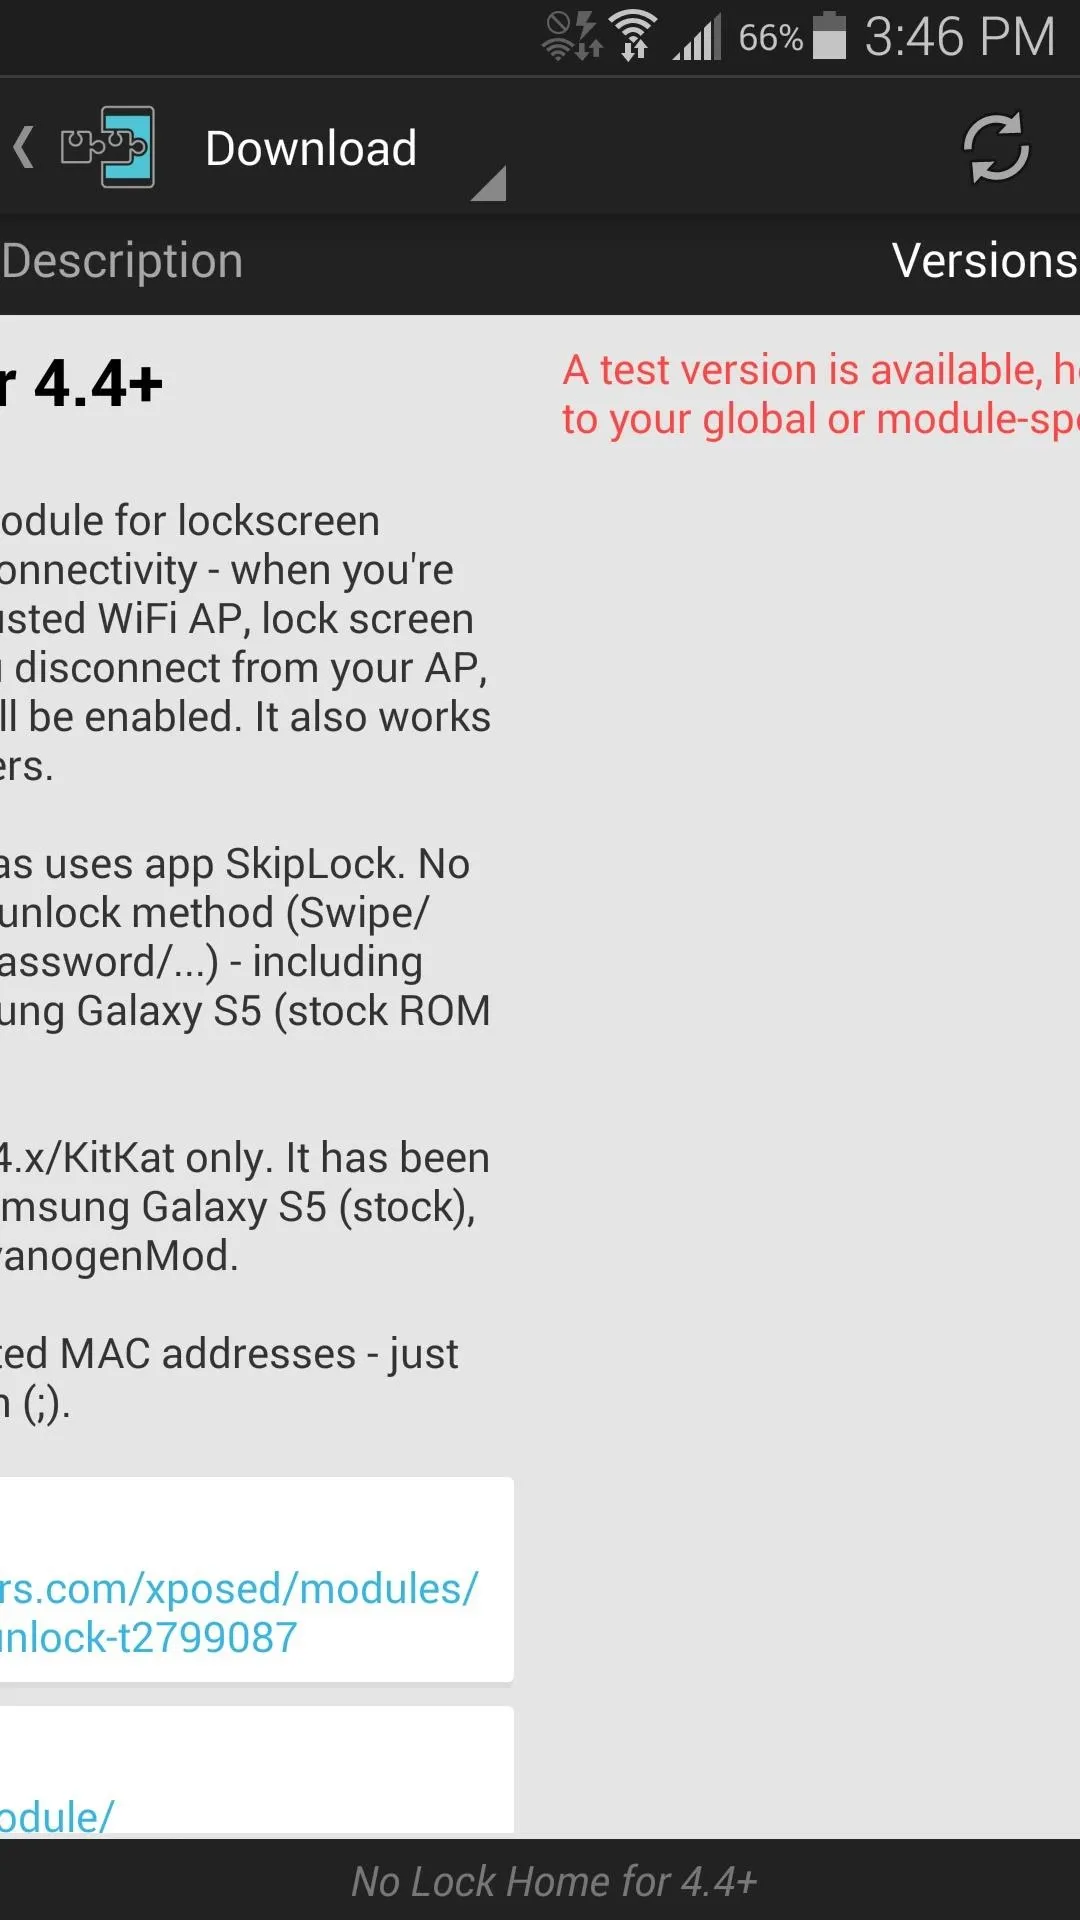
Head to the Download section of your Xposed Installer app and search No Lock Home. Tap the top result, then swipe over to the Settings tab.
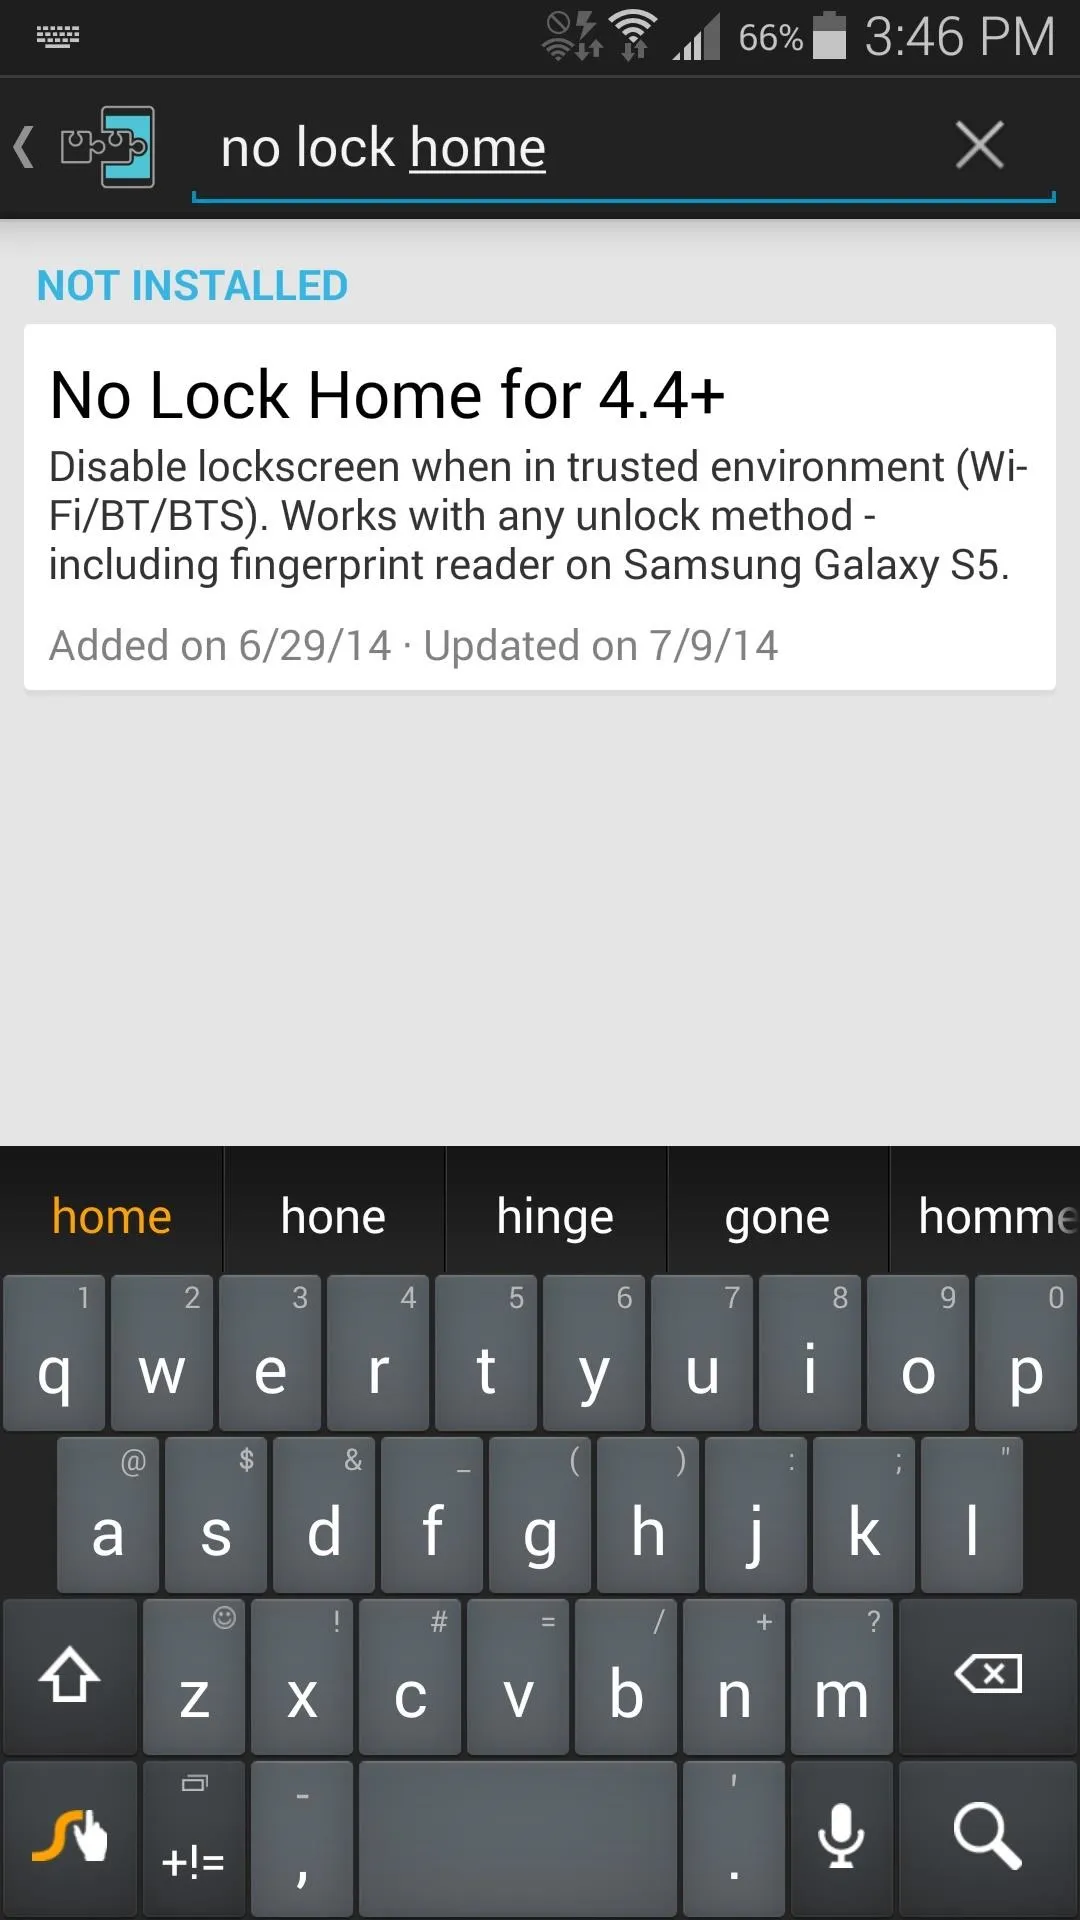


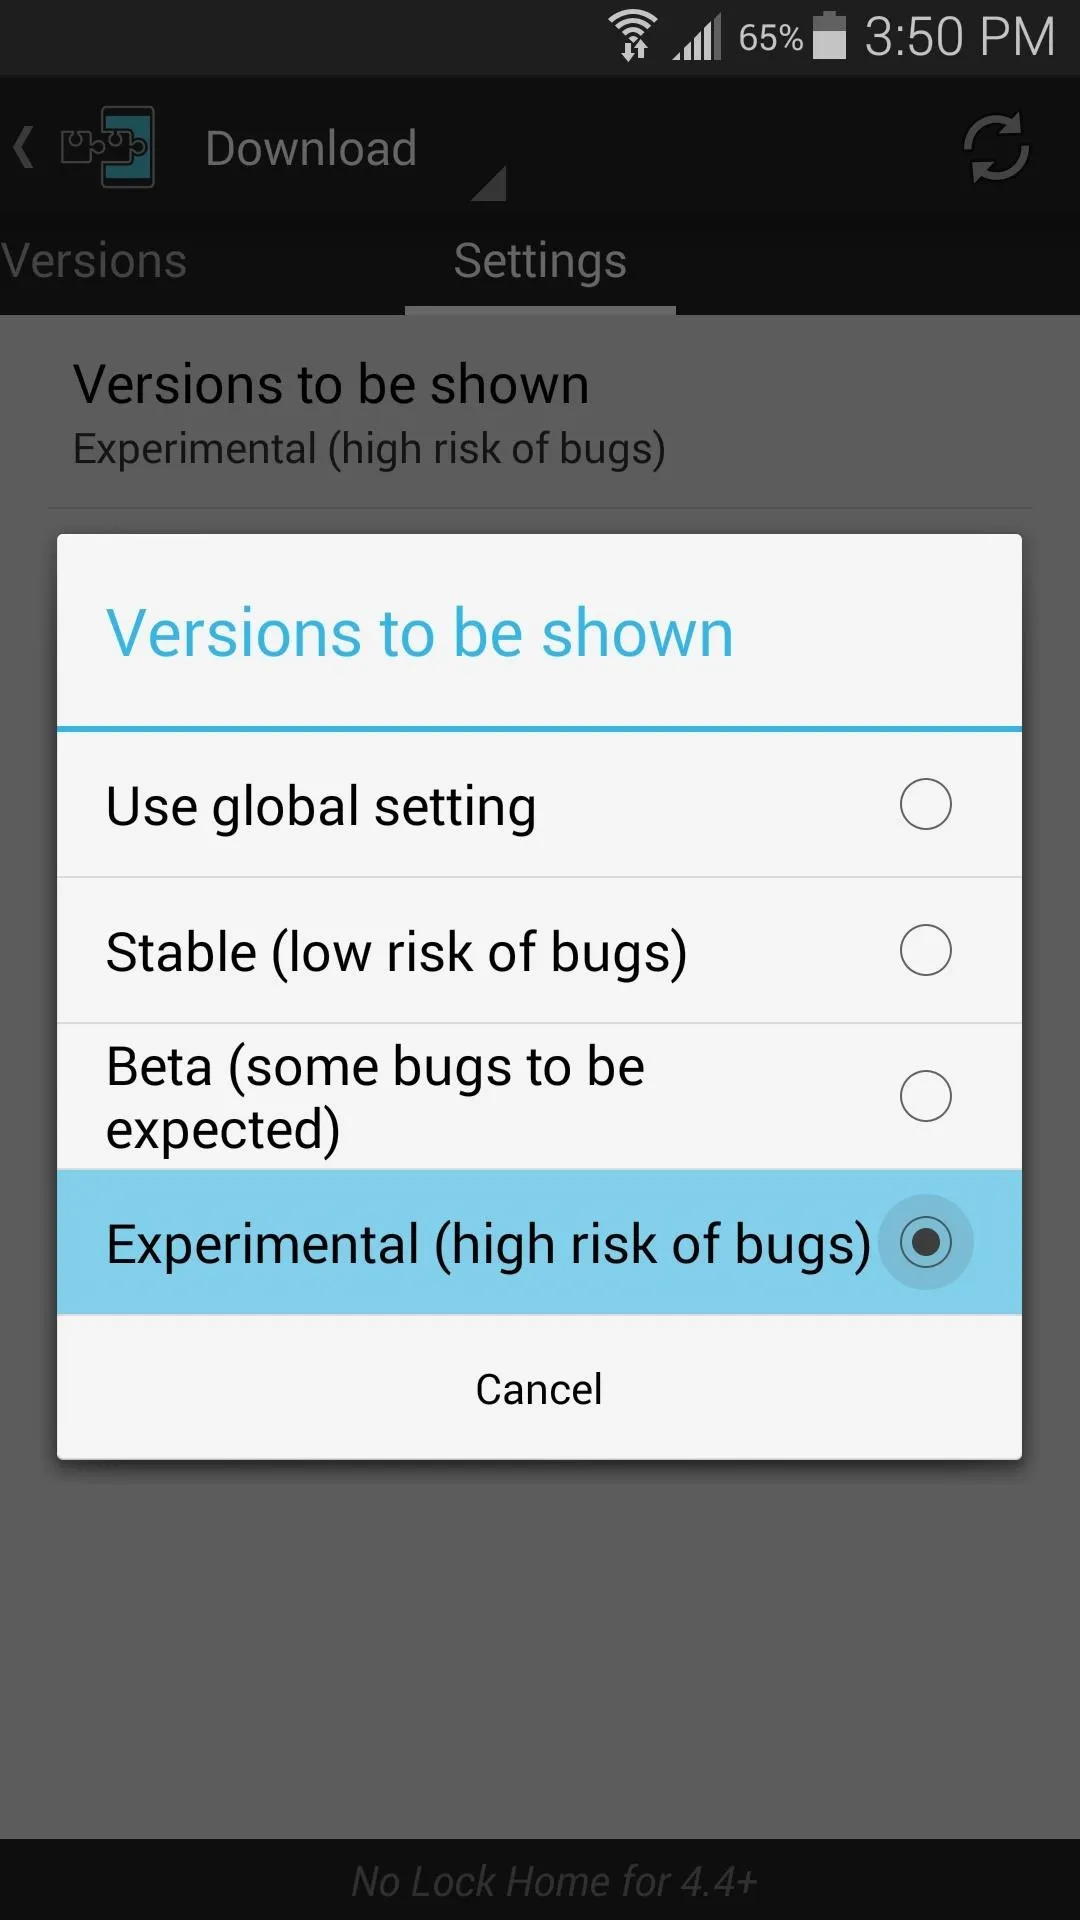
Next, tap the Versions to be shown entry and select Experimental. Since the module is in its early stages of development, the only versions available at the moment are experimental builds—but don't worry, I've tested it out and it works perfectly on the Galaxy S5.



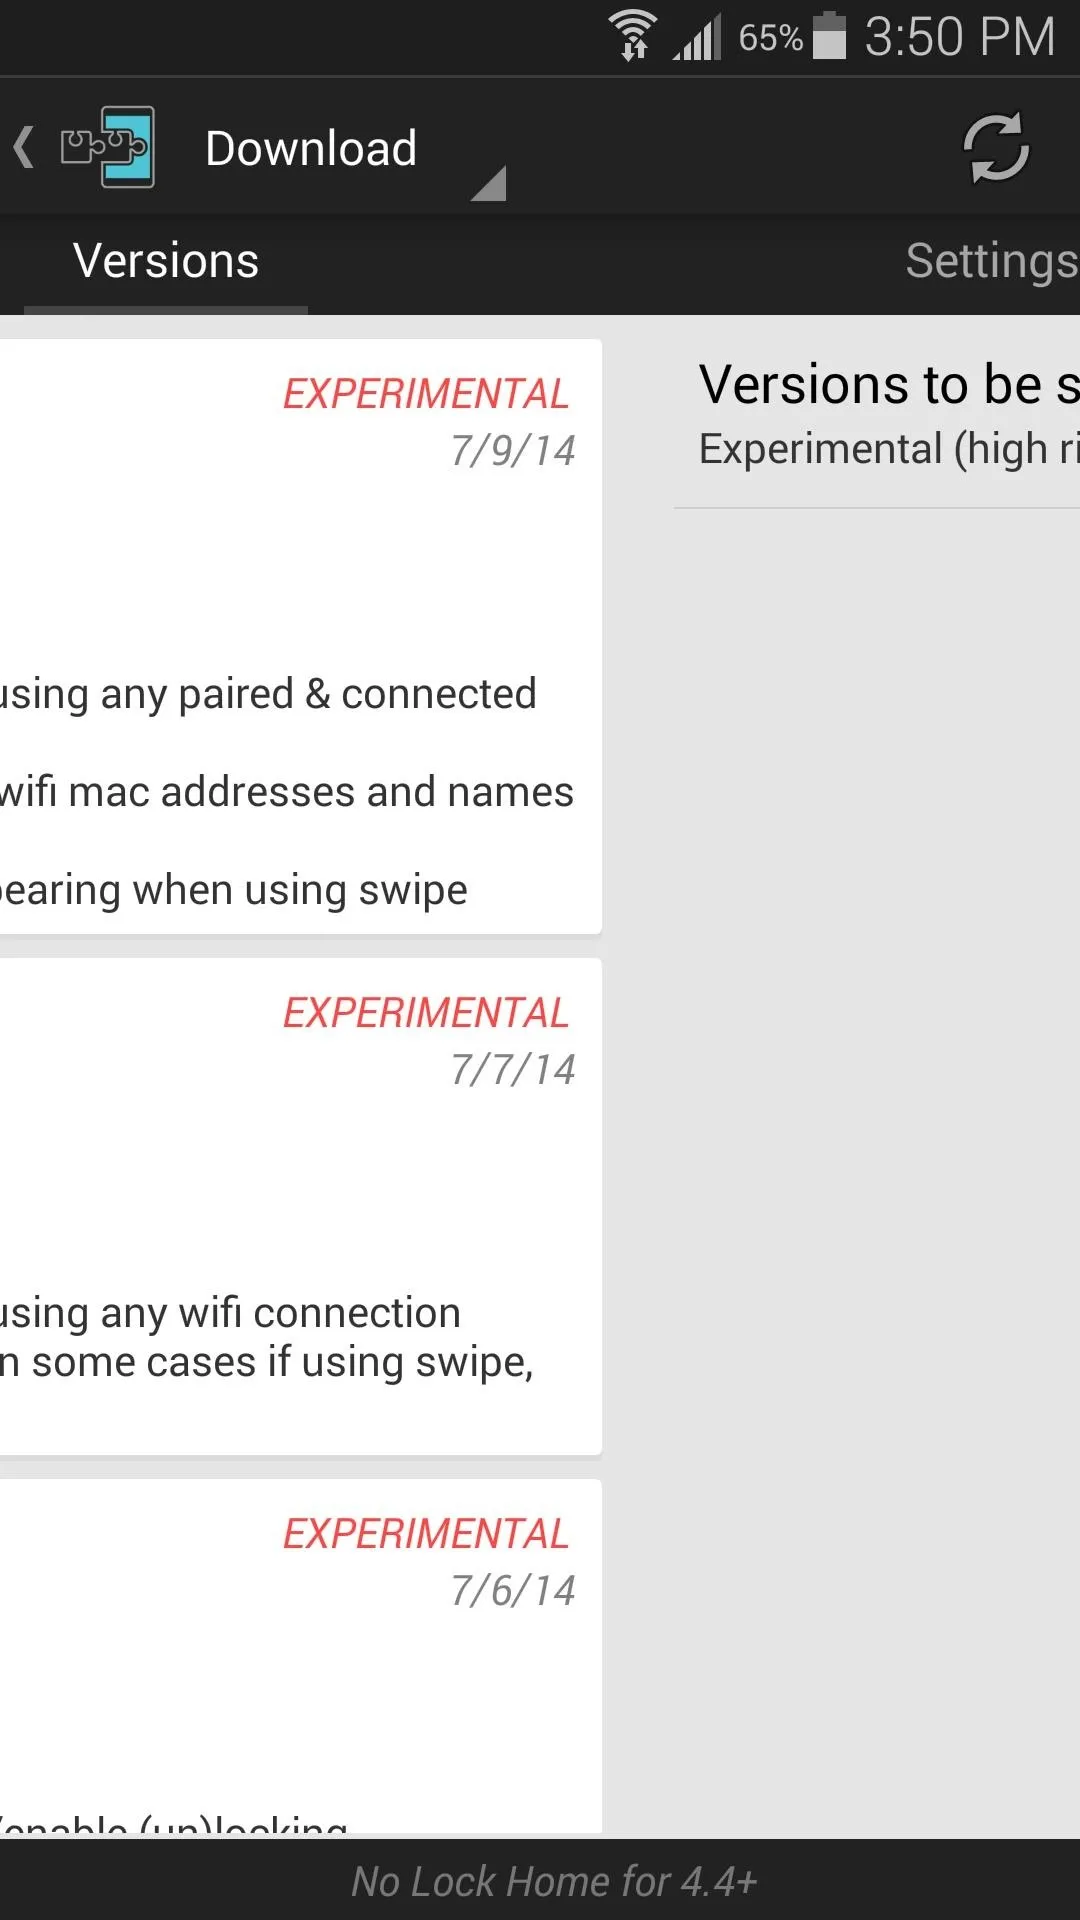
With that out of the way, swipe back over to the Versions tab and tap the Download button on the most recent entry.
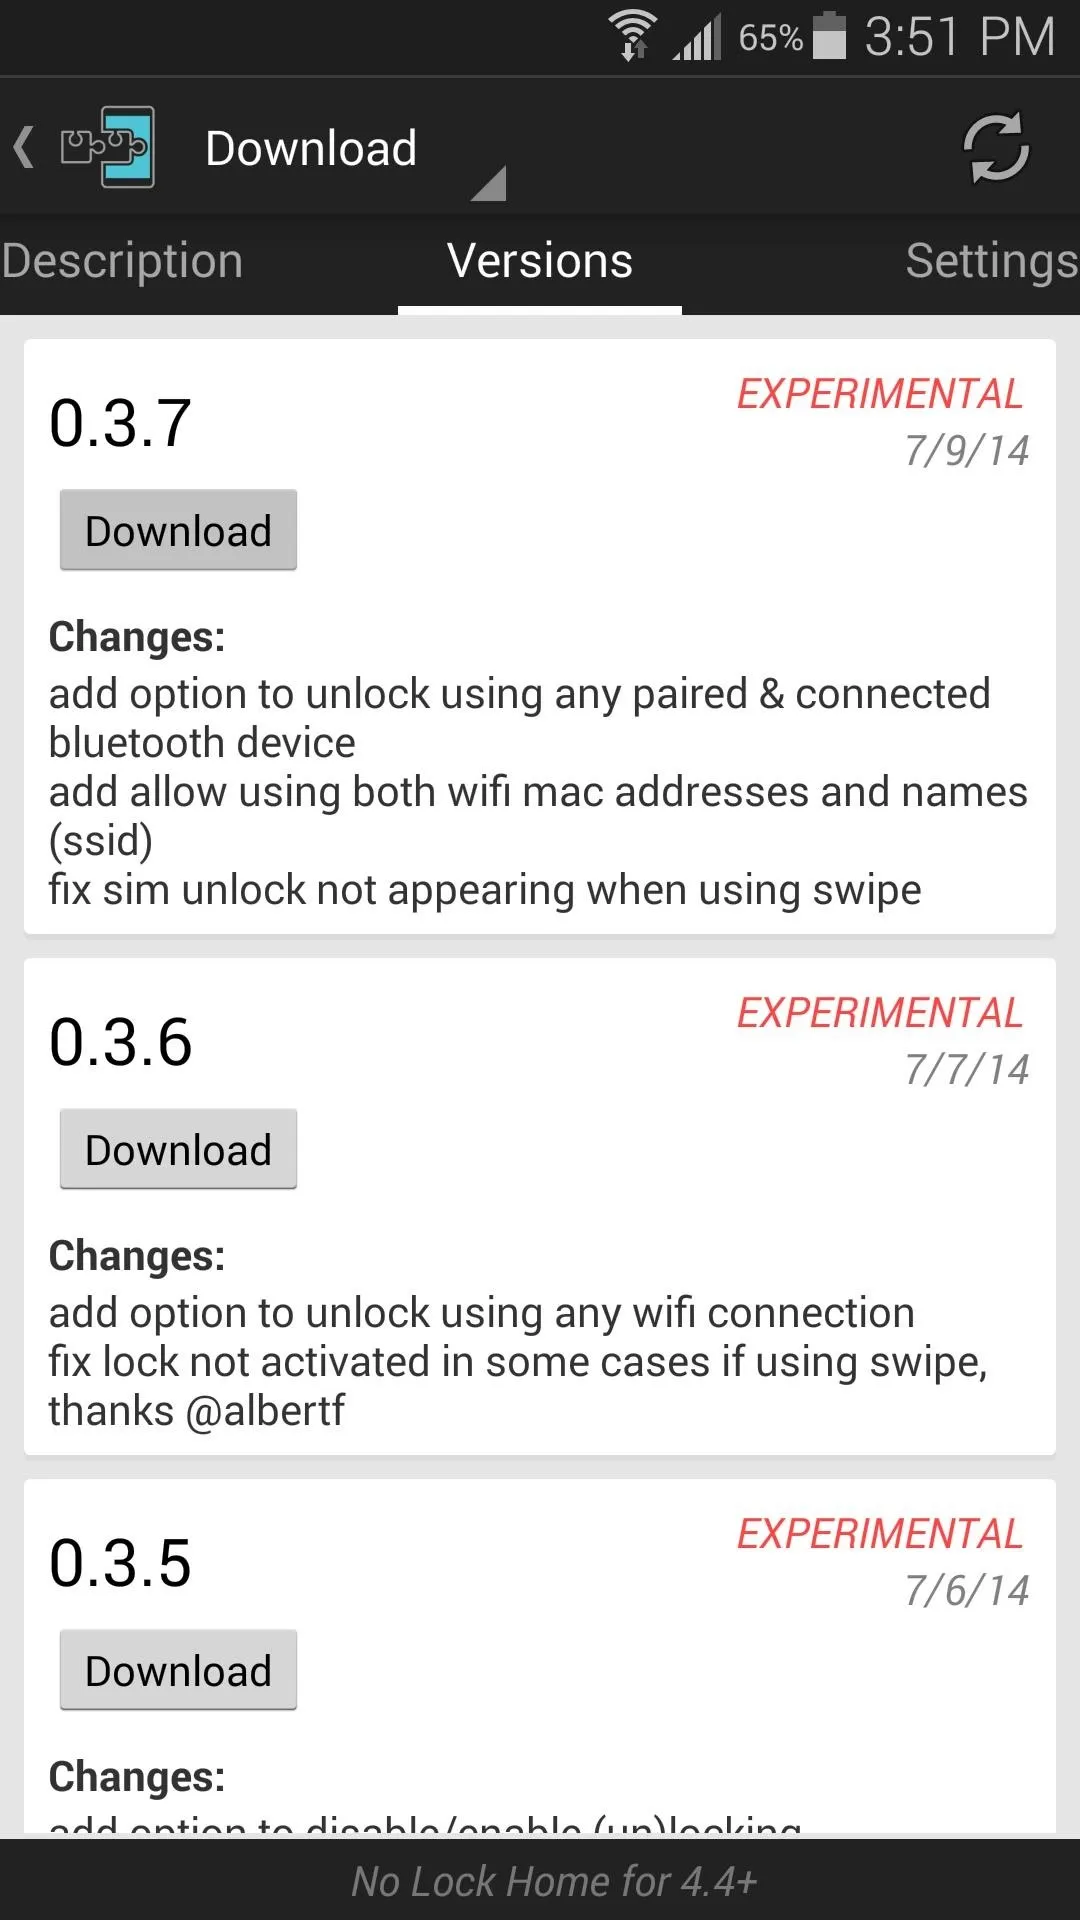


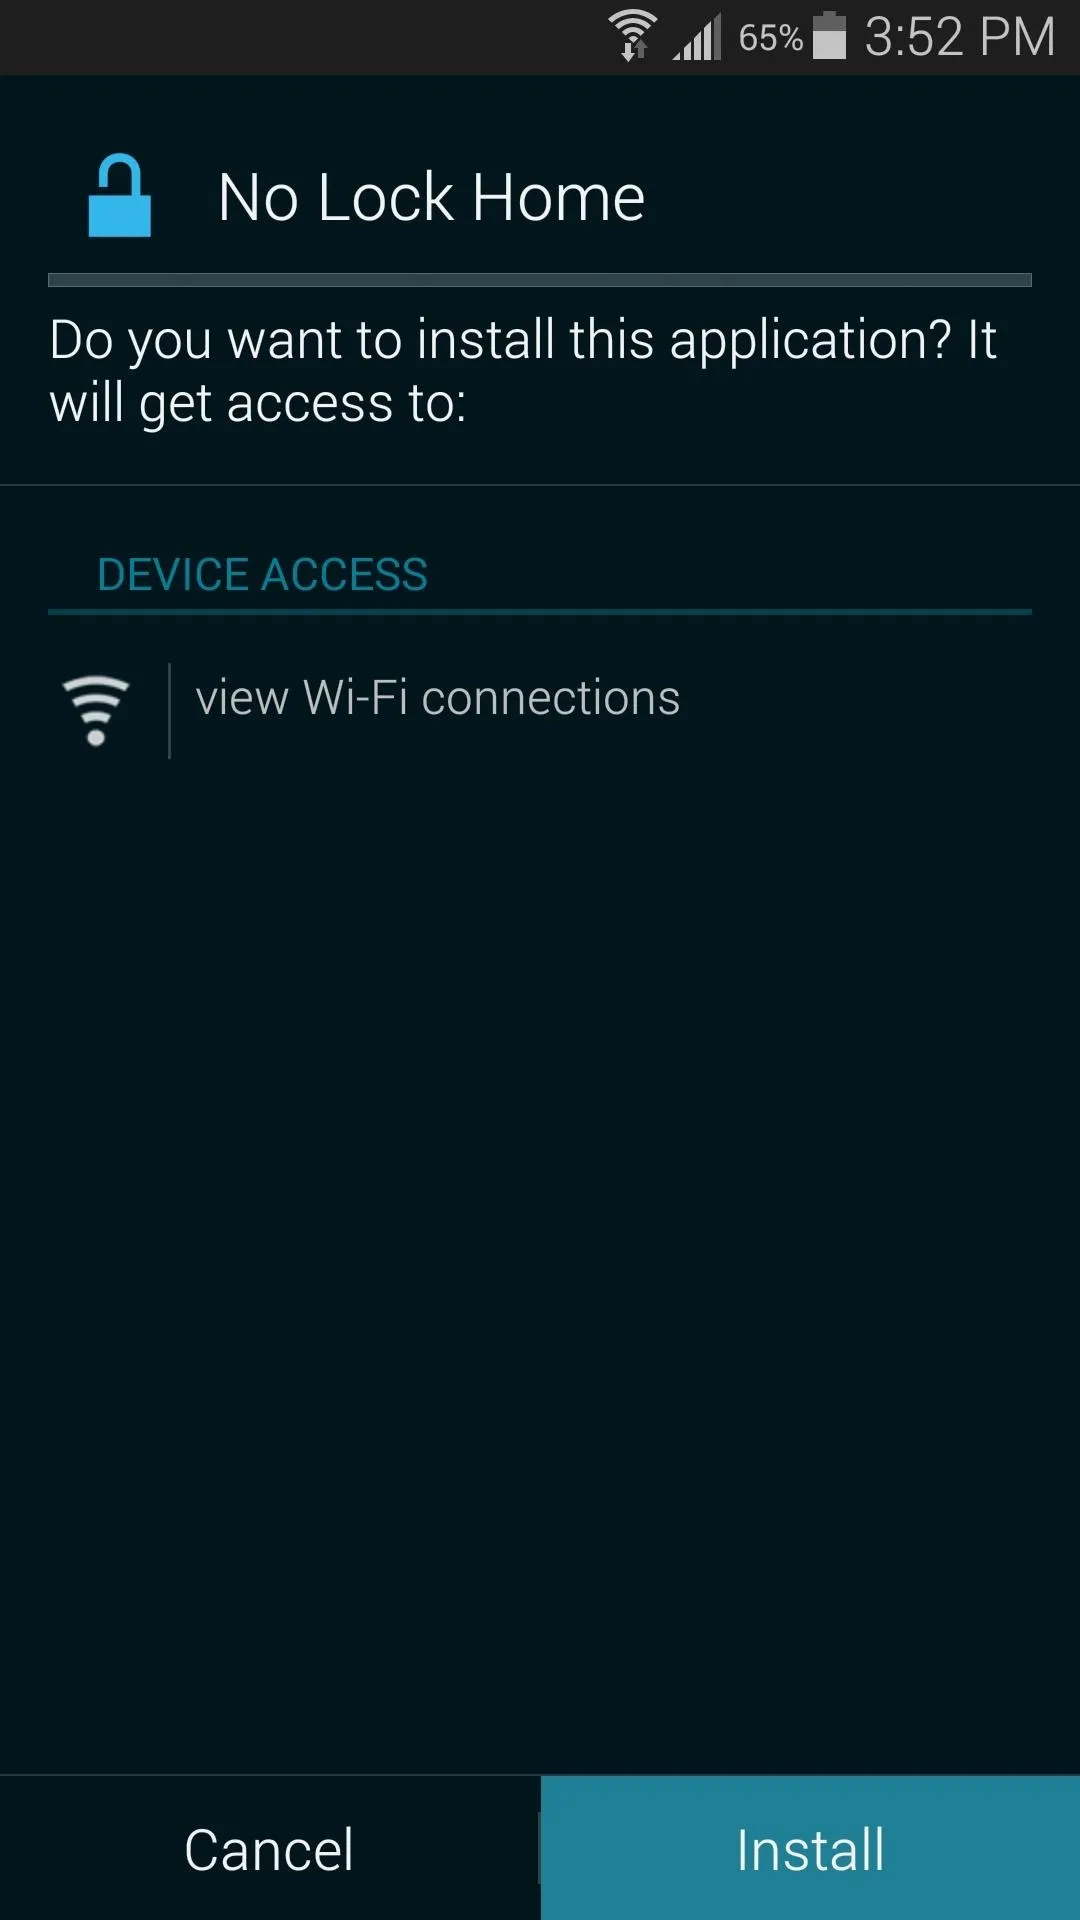
This will automatically launch the installer process, so tap Install on the next screen.
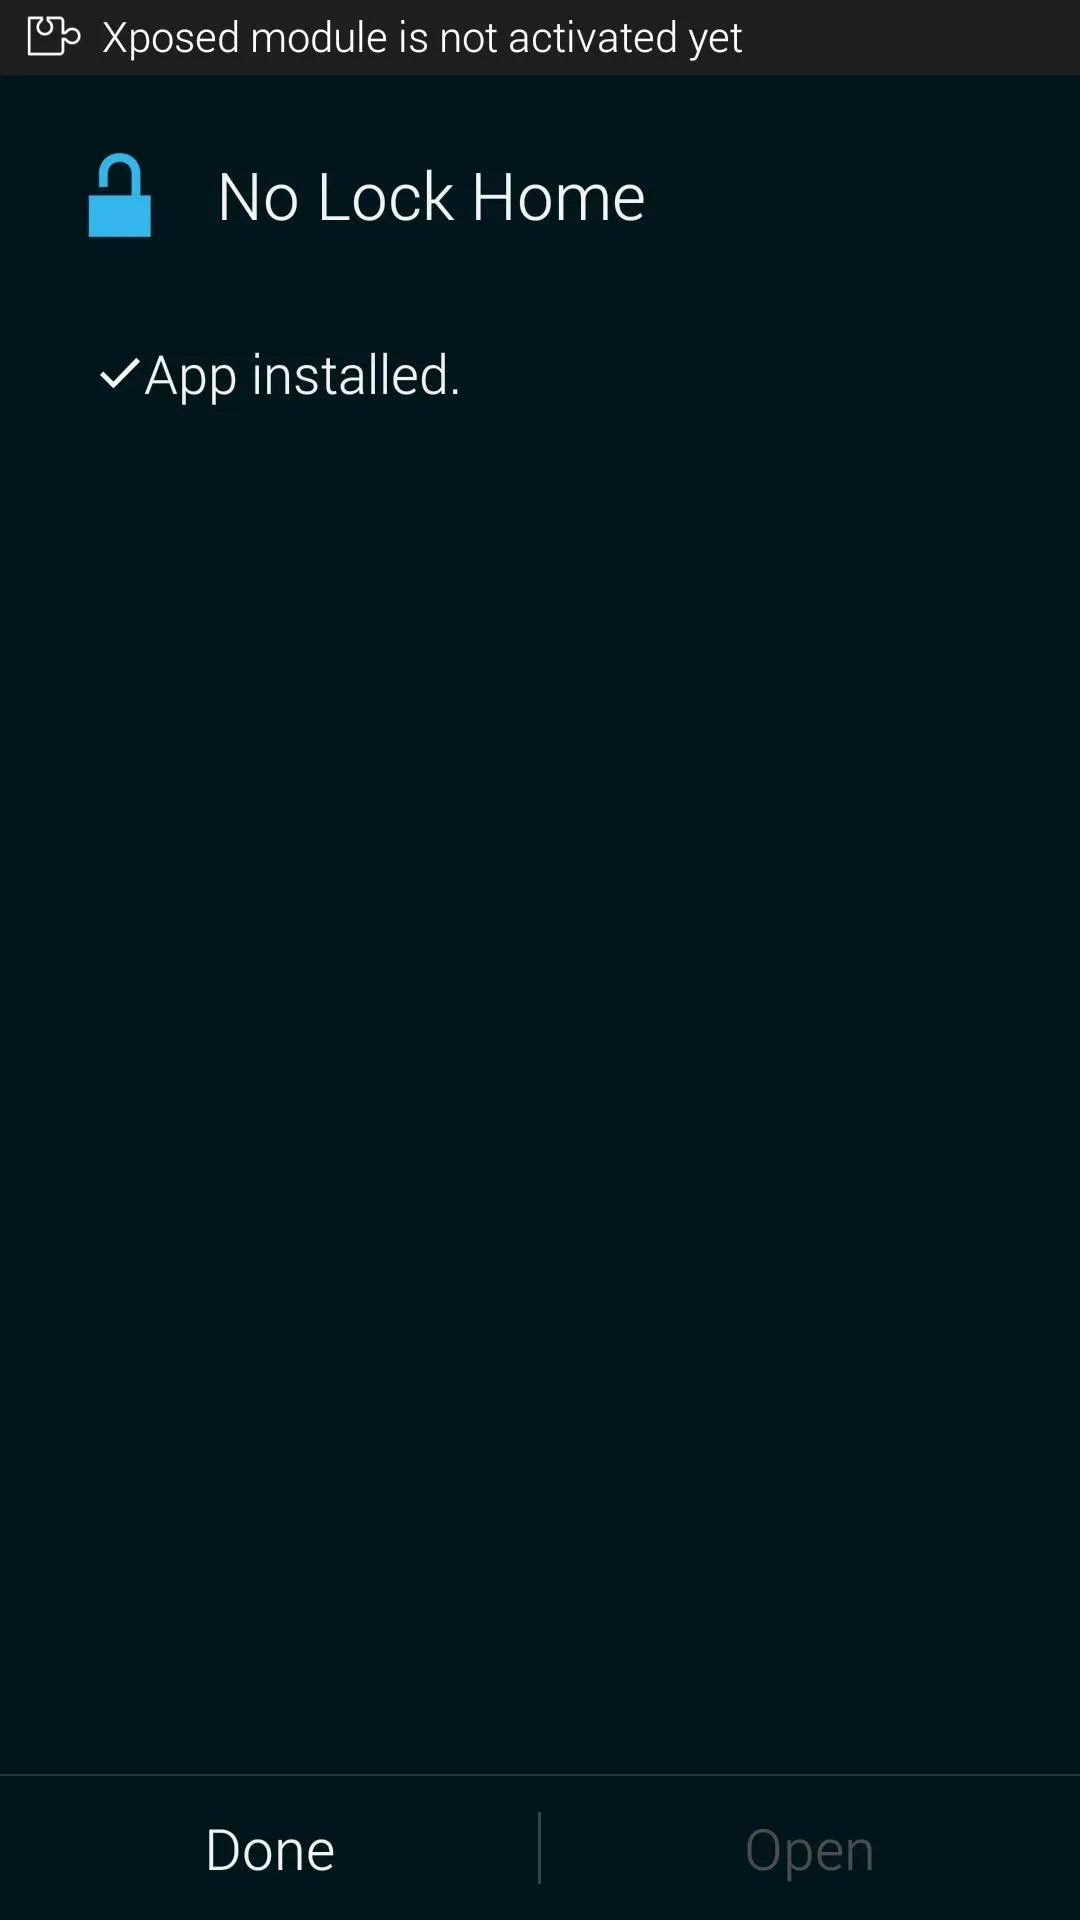


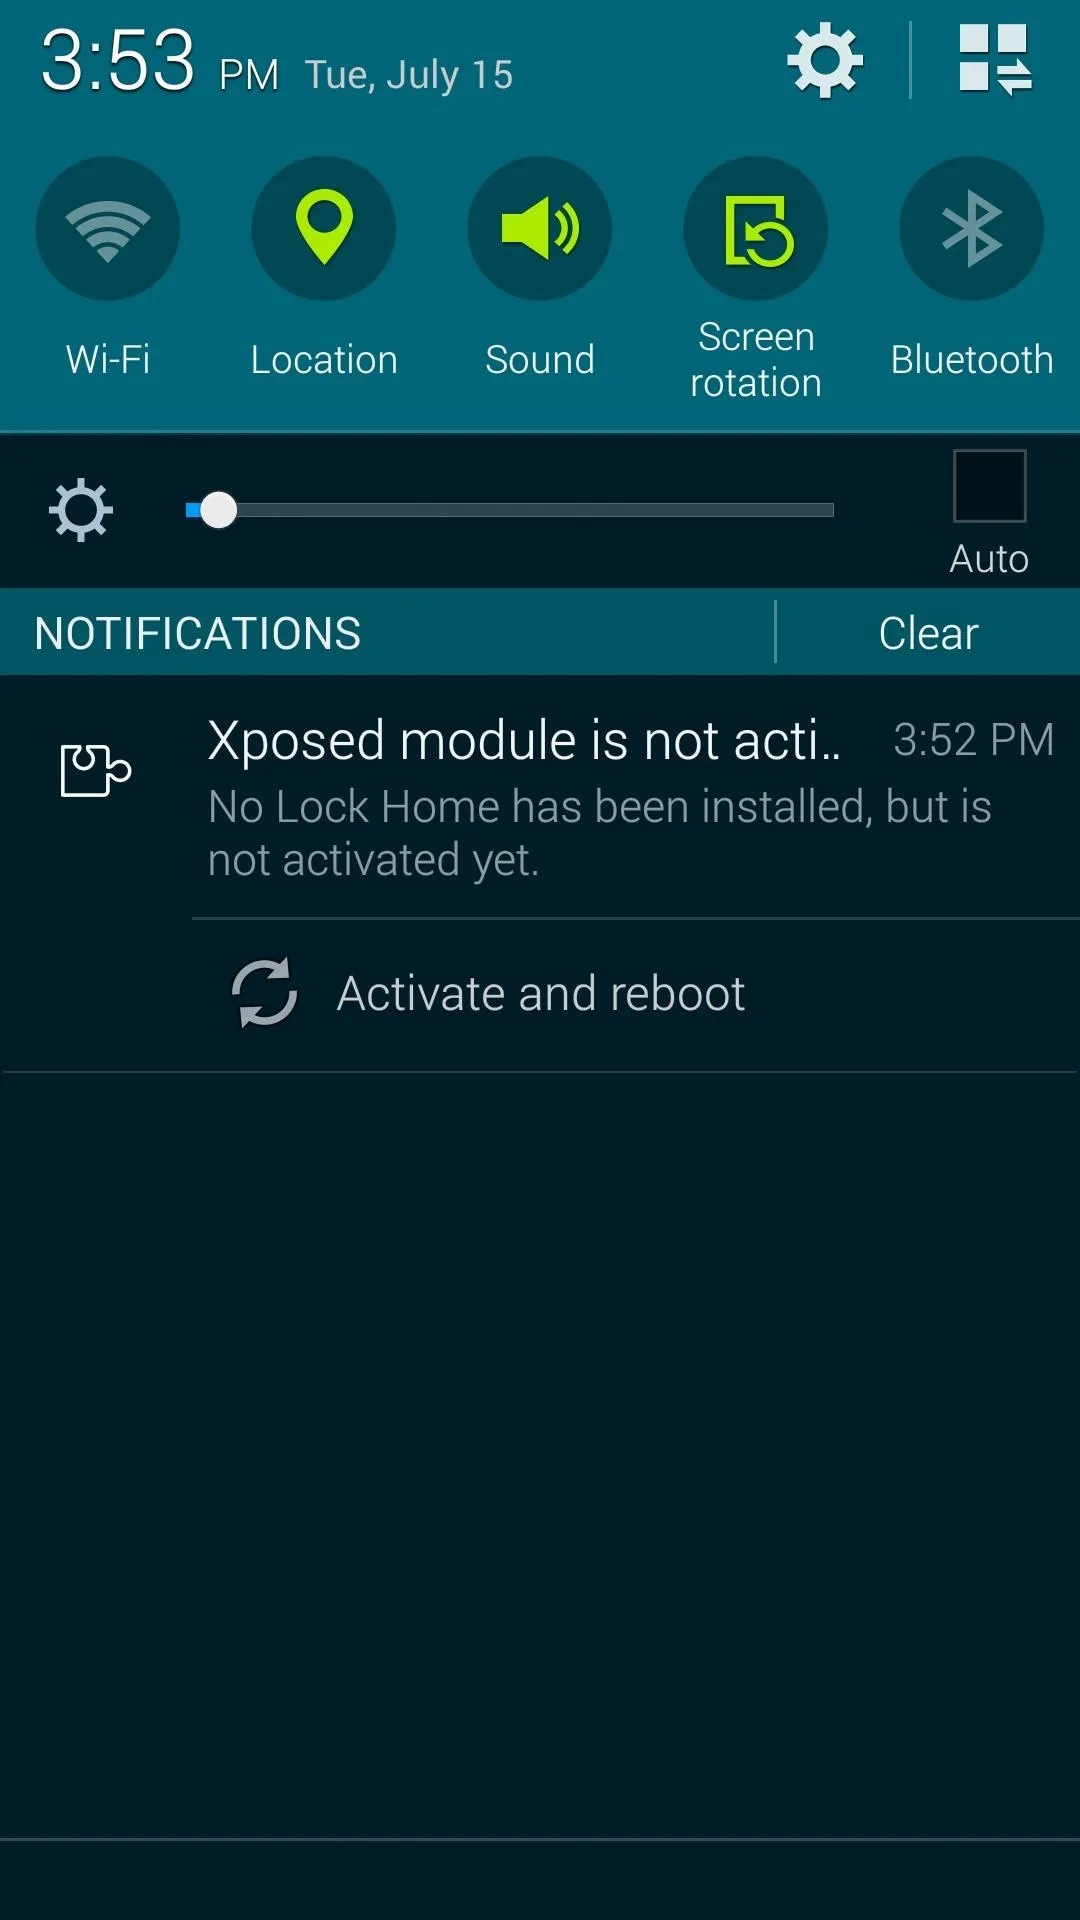
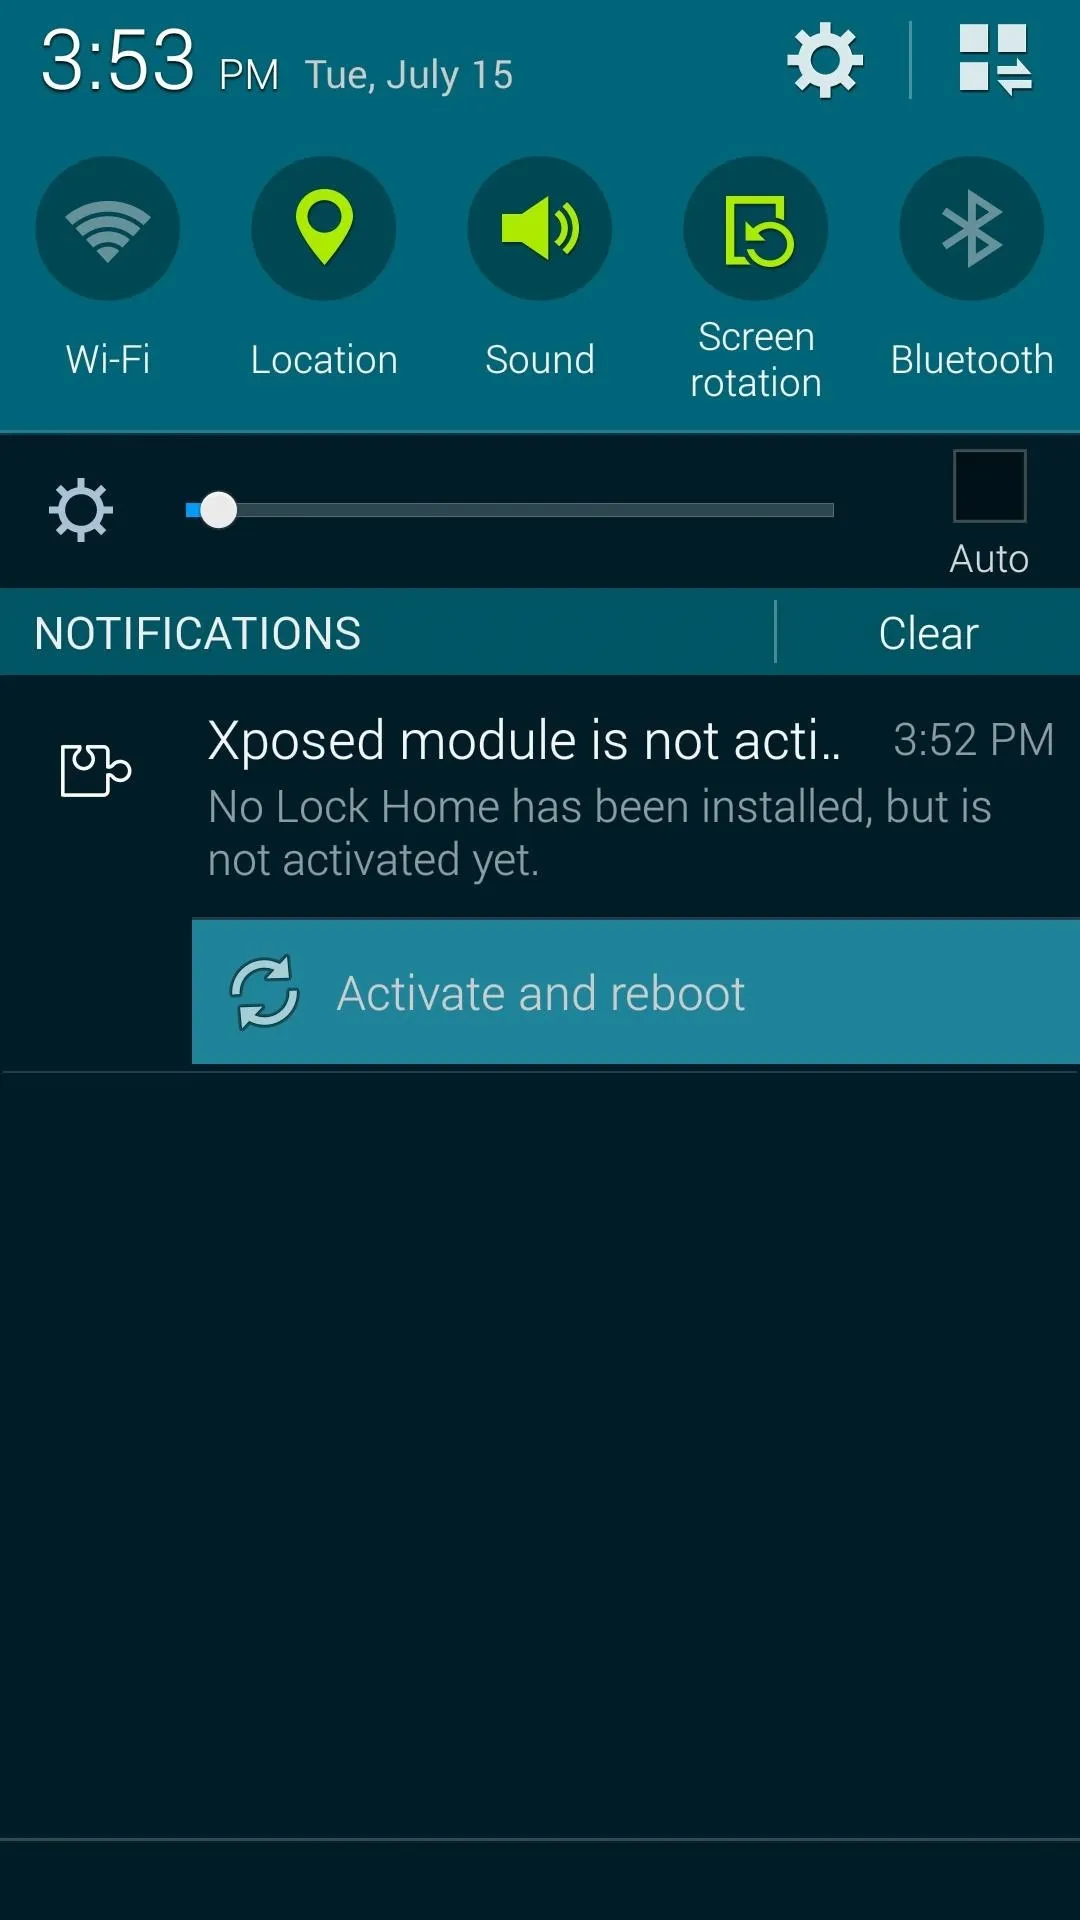
When it's finished, you'll get a notification from Xposed that lets you know the module needs to be activated and a reboot is in order. So tap Activate and reboot here, and Xposed will take care of the rest.


Configure 'No Lock Home'
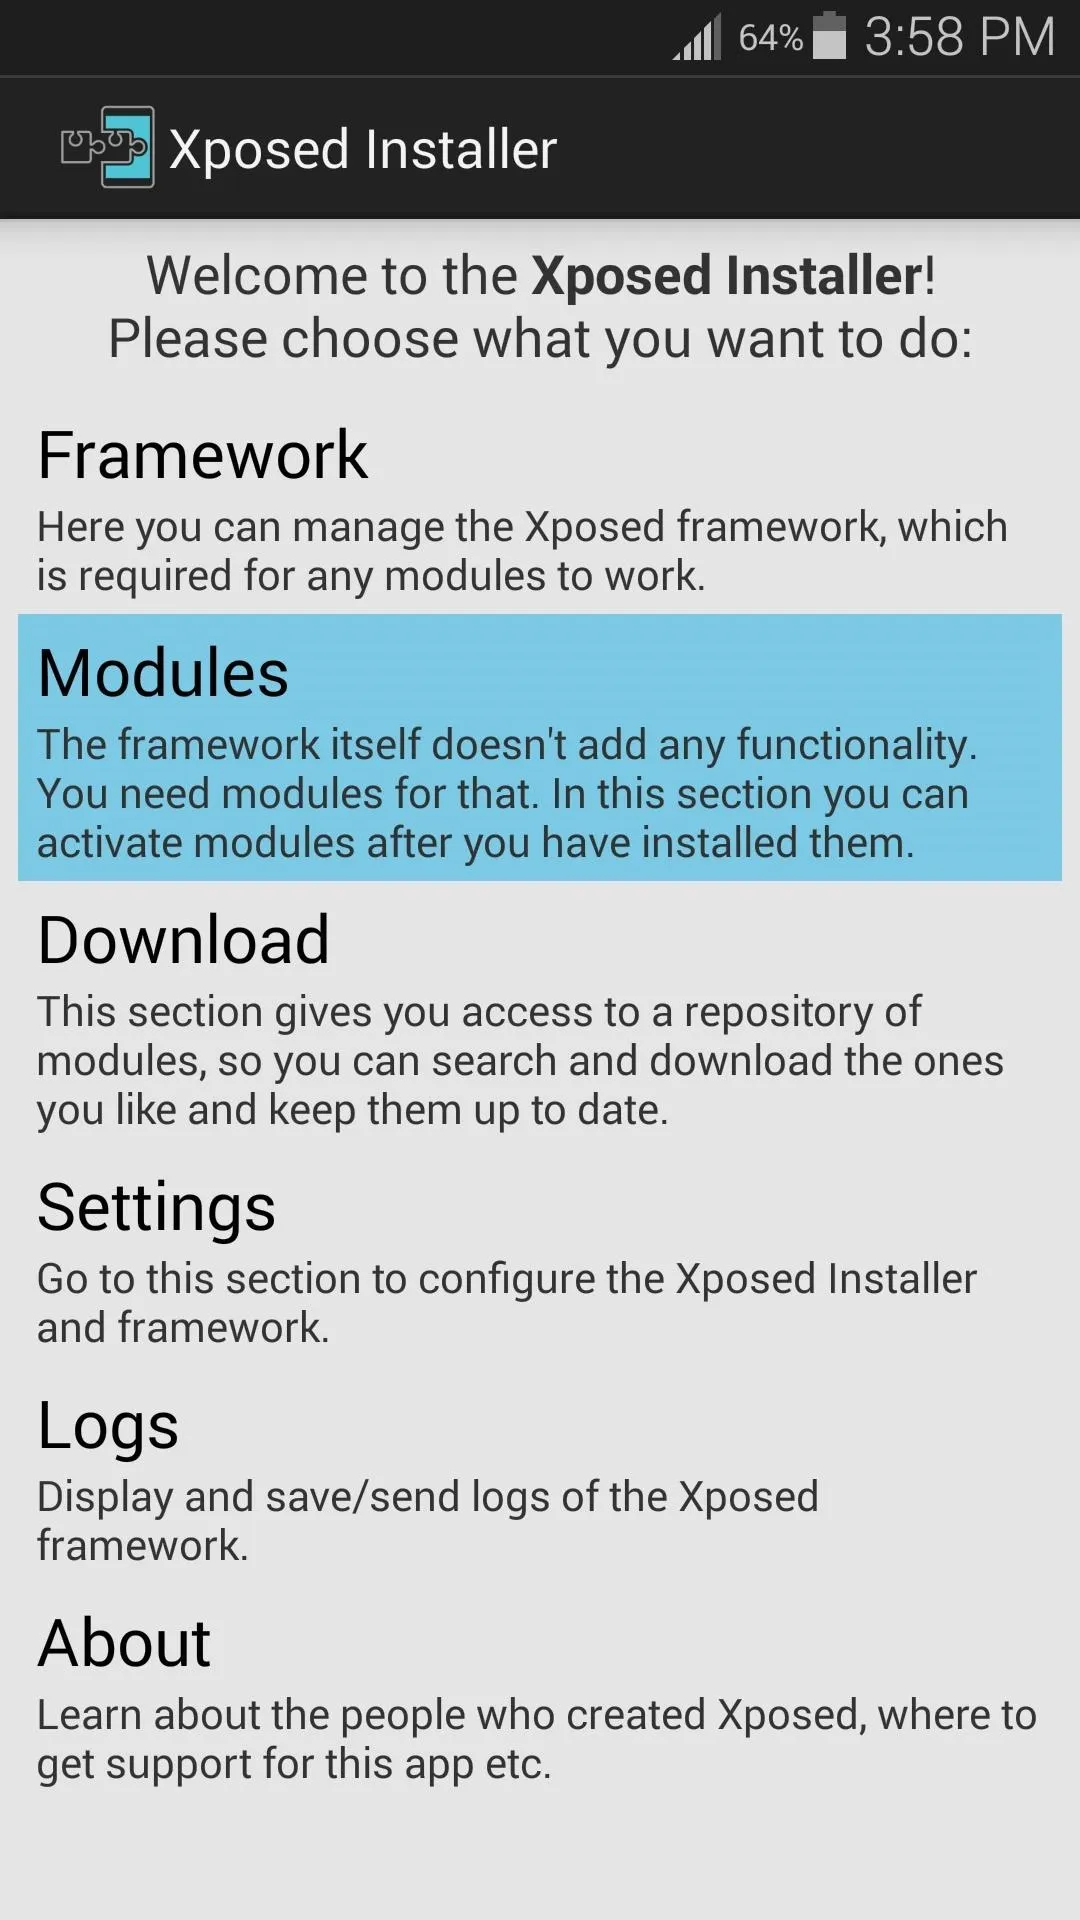
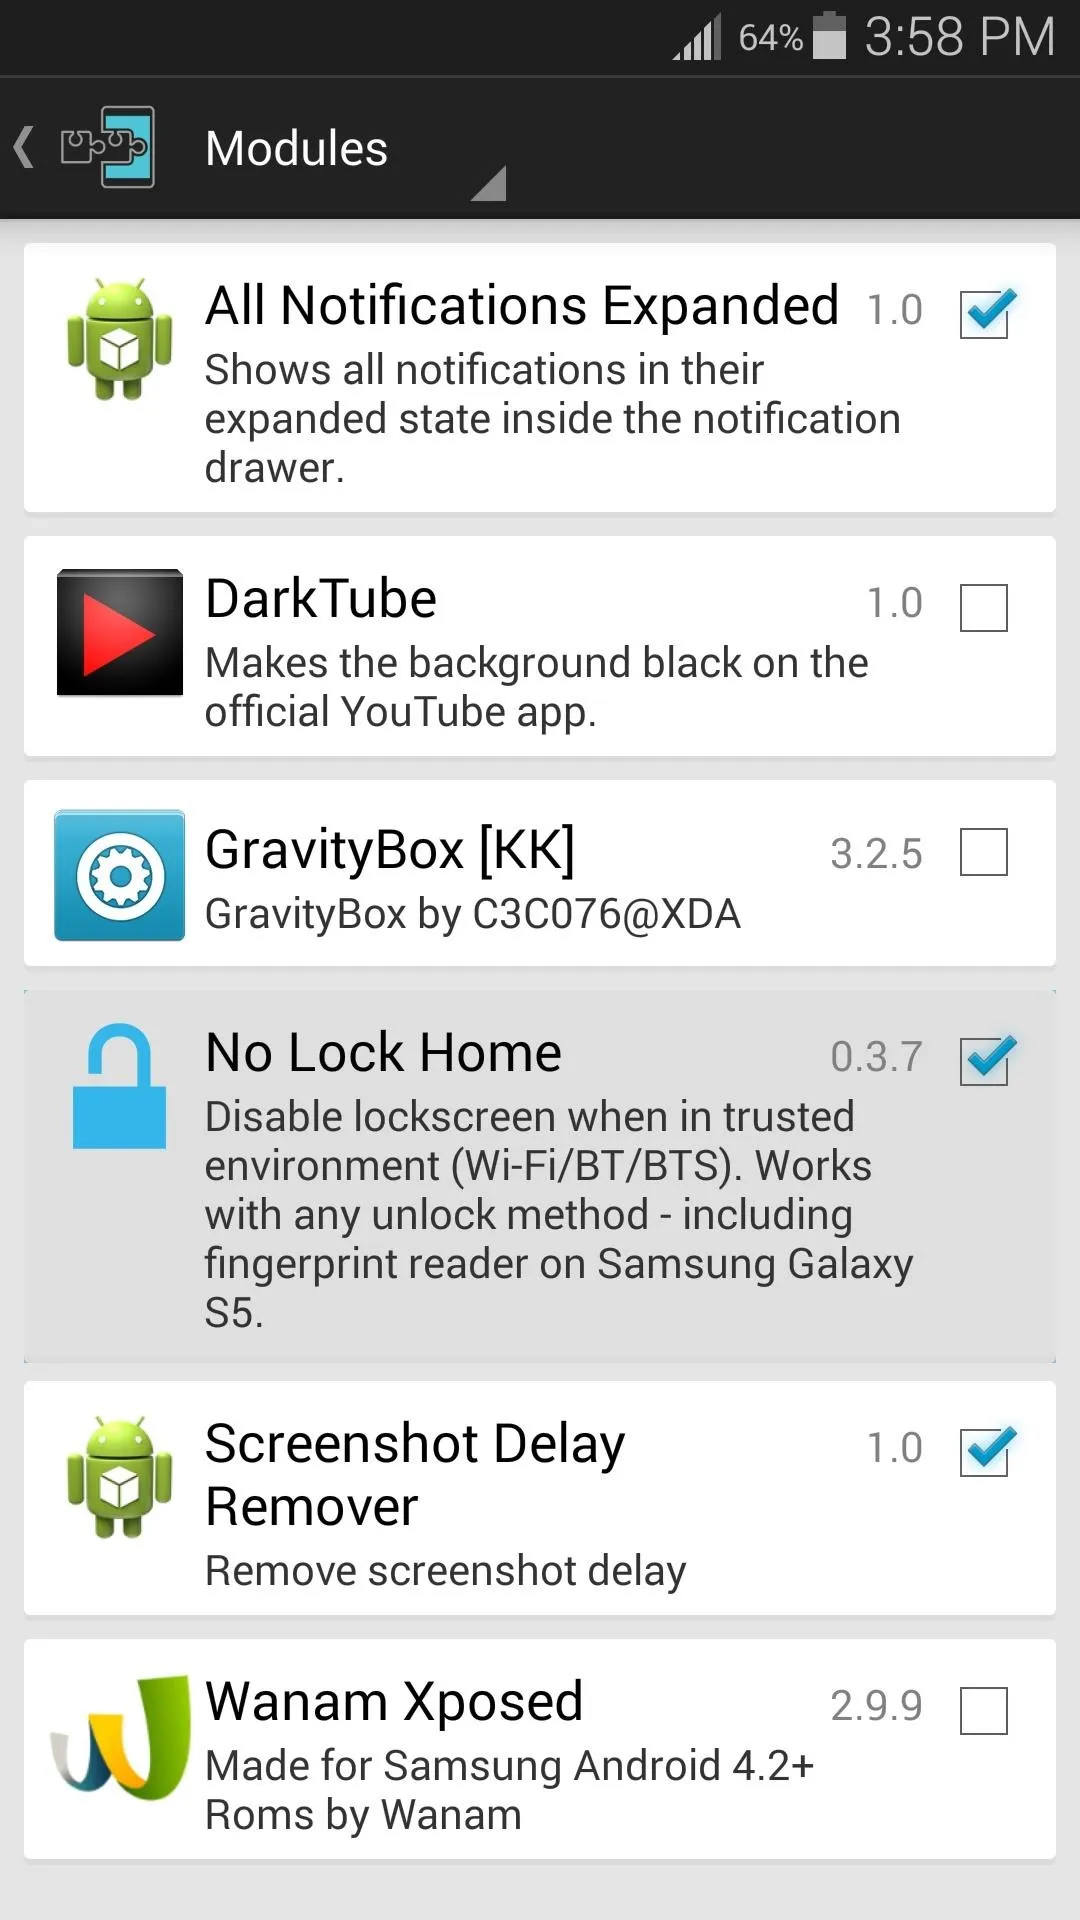
When you get back up, you should take some time to configure No Lock Home. You won't find the app in your app drawer, but you can still access it easily. Head to the Modules section of the Xposed Installer app and tap the entry for No Lock Home. This will take you straight into the app.


First, if you'd like to keep the normal swipe lock screen when you're in a trusted environment (rather than no lock screen at all), tick the box next to Use Swipe.
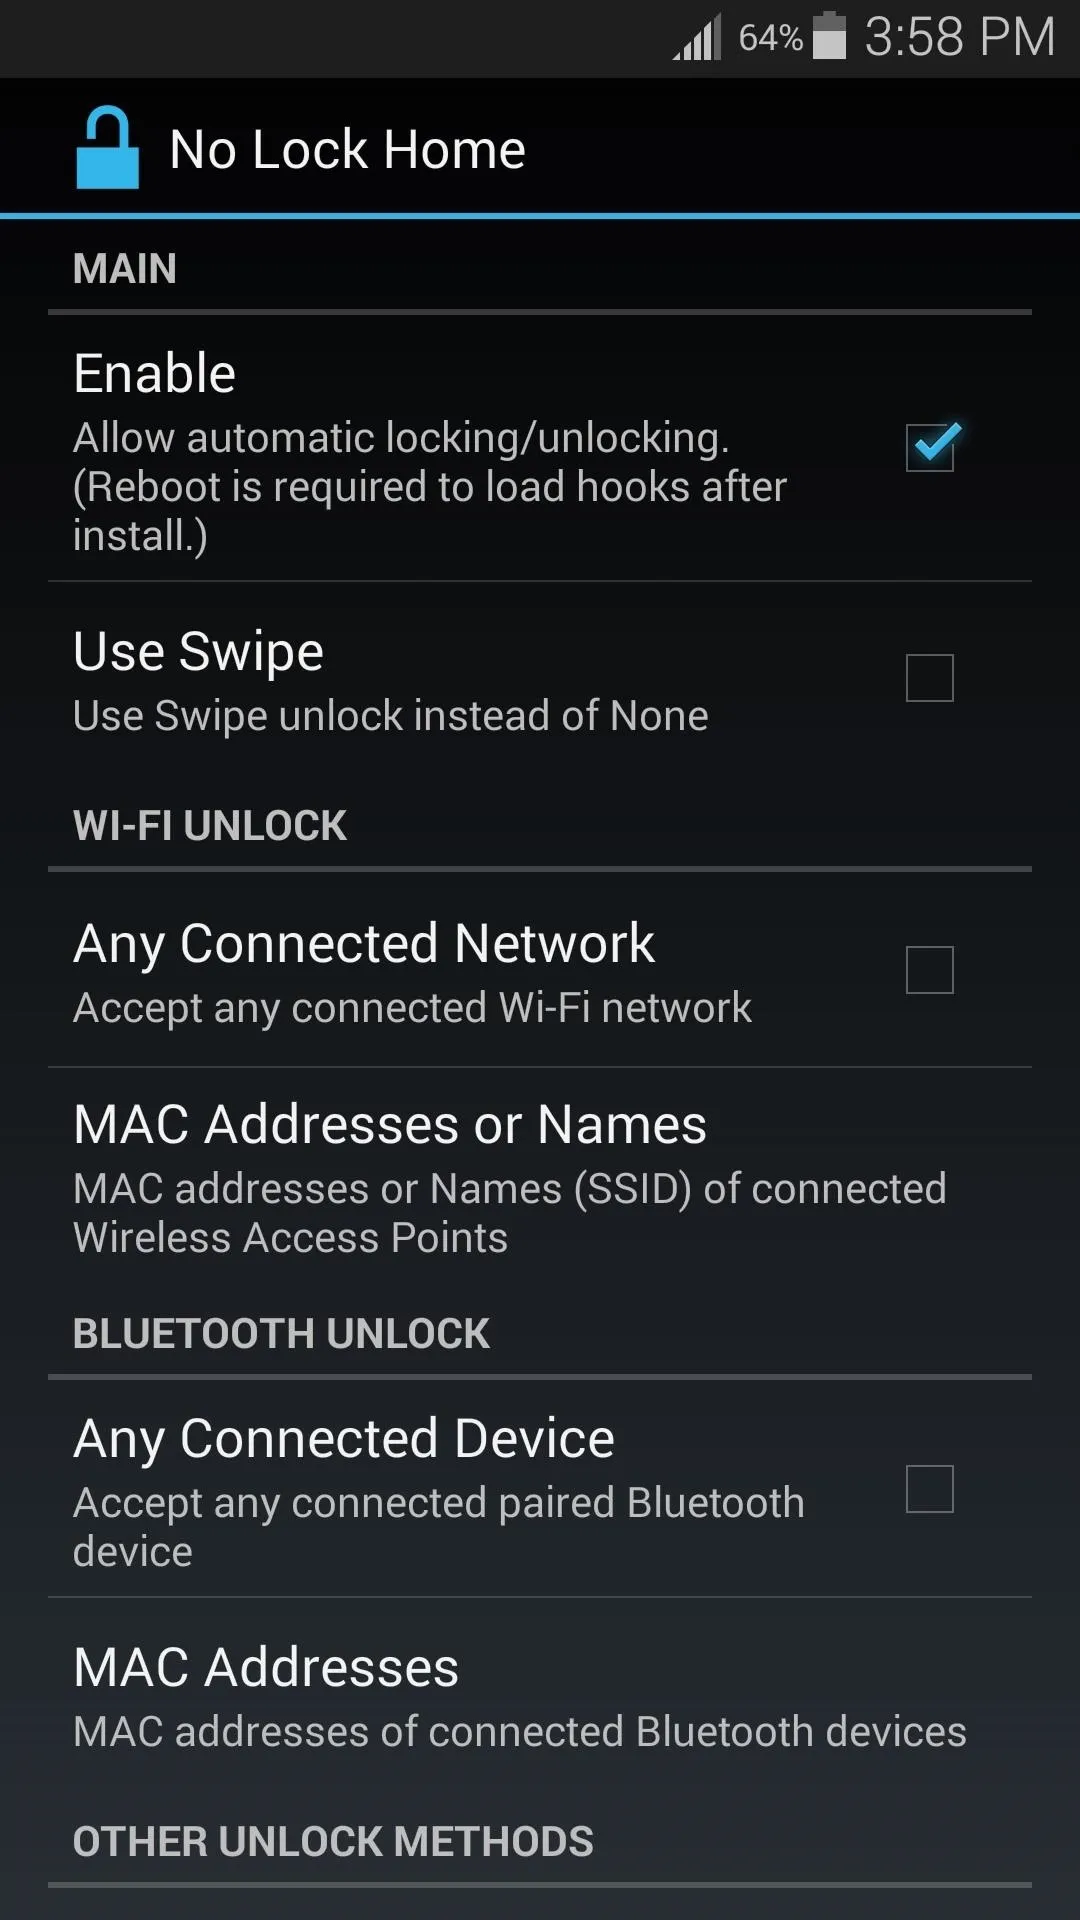
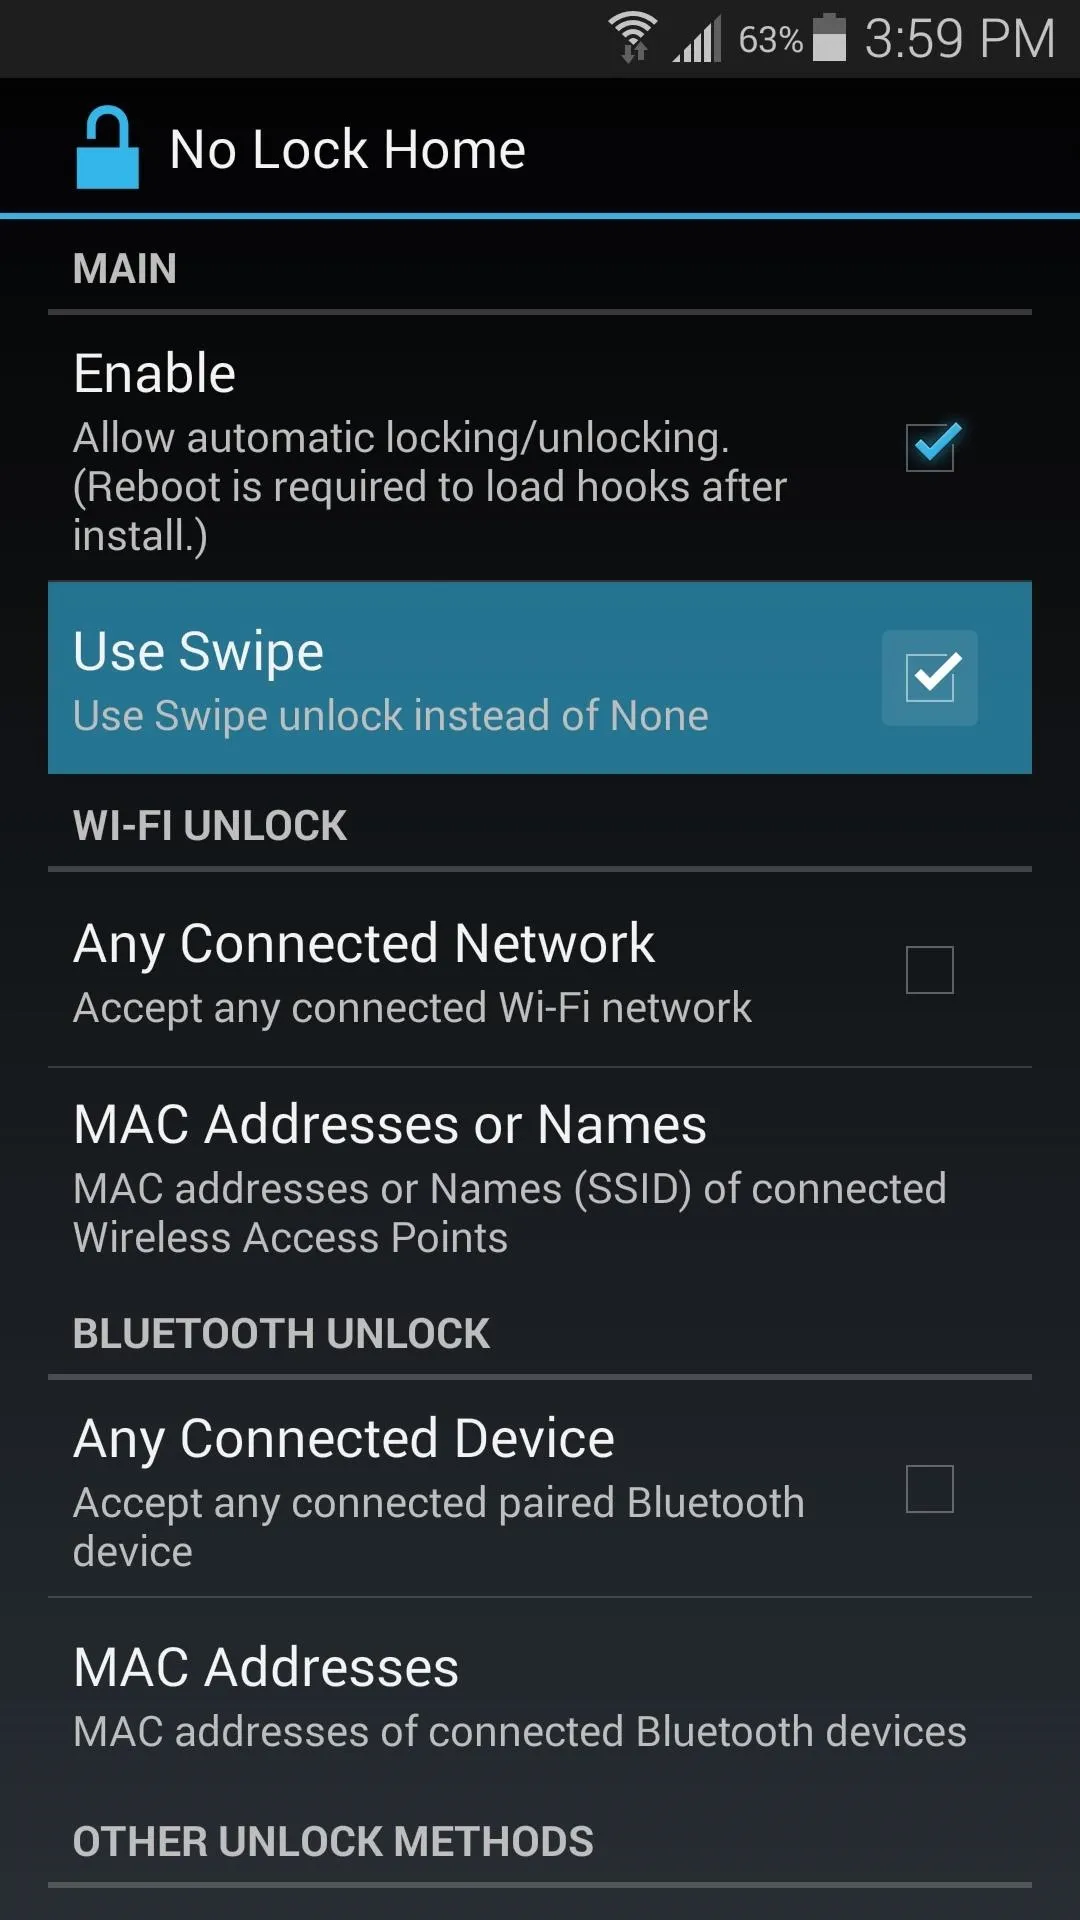


Next, you can establish what trusted environment that you would like to have lock screen security disabled in. If you would like to disable lock screen security while connected to any Wi-Fi network, tick the box next to Any Connected Network.
Otherwise, if you'd like to disable the secure lock screen only while connected to a specific network, tap the MAC Addresses or Names entry. Here, you can enter the MAC address of your home router, or even use the common SSID name (the name you see when connecting to your Wi-Fi network). These values are both case-sensitive, so be sure you've typed them correctly. If you'd like to add multiple MACs or SSIDs, add a semicolon (;), then type the second name.
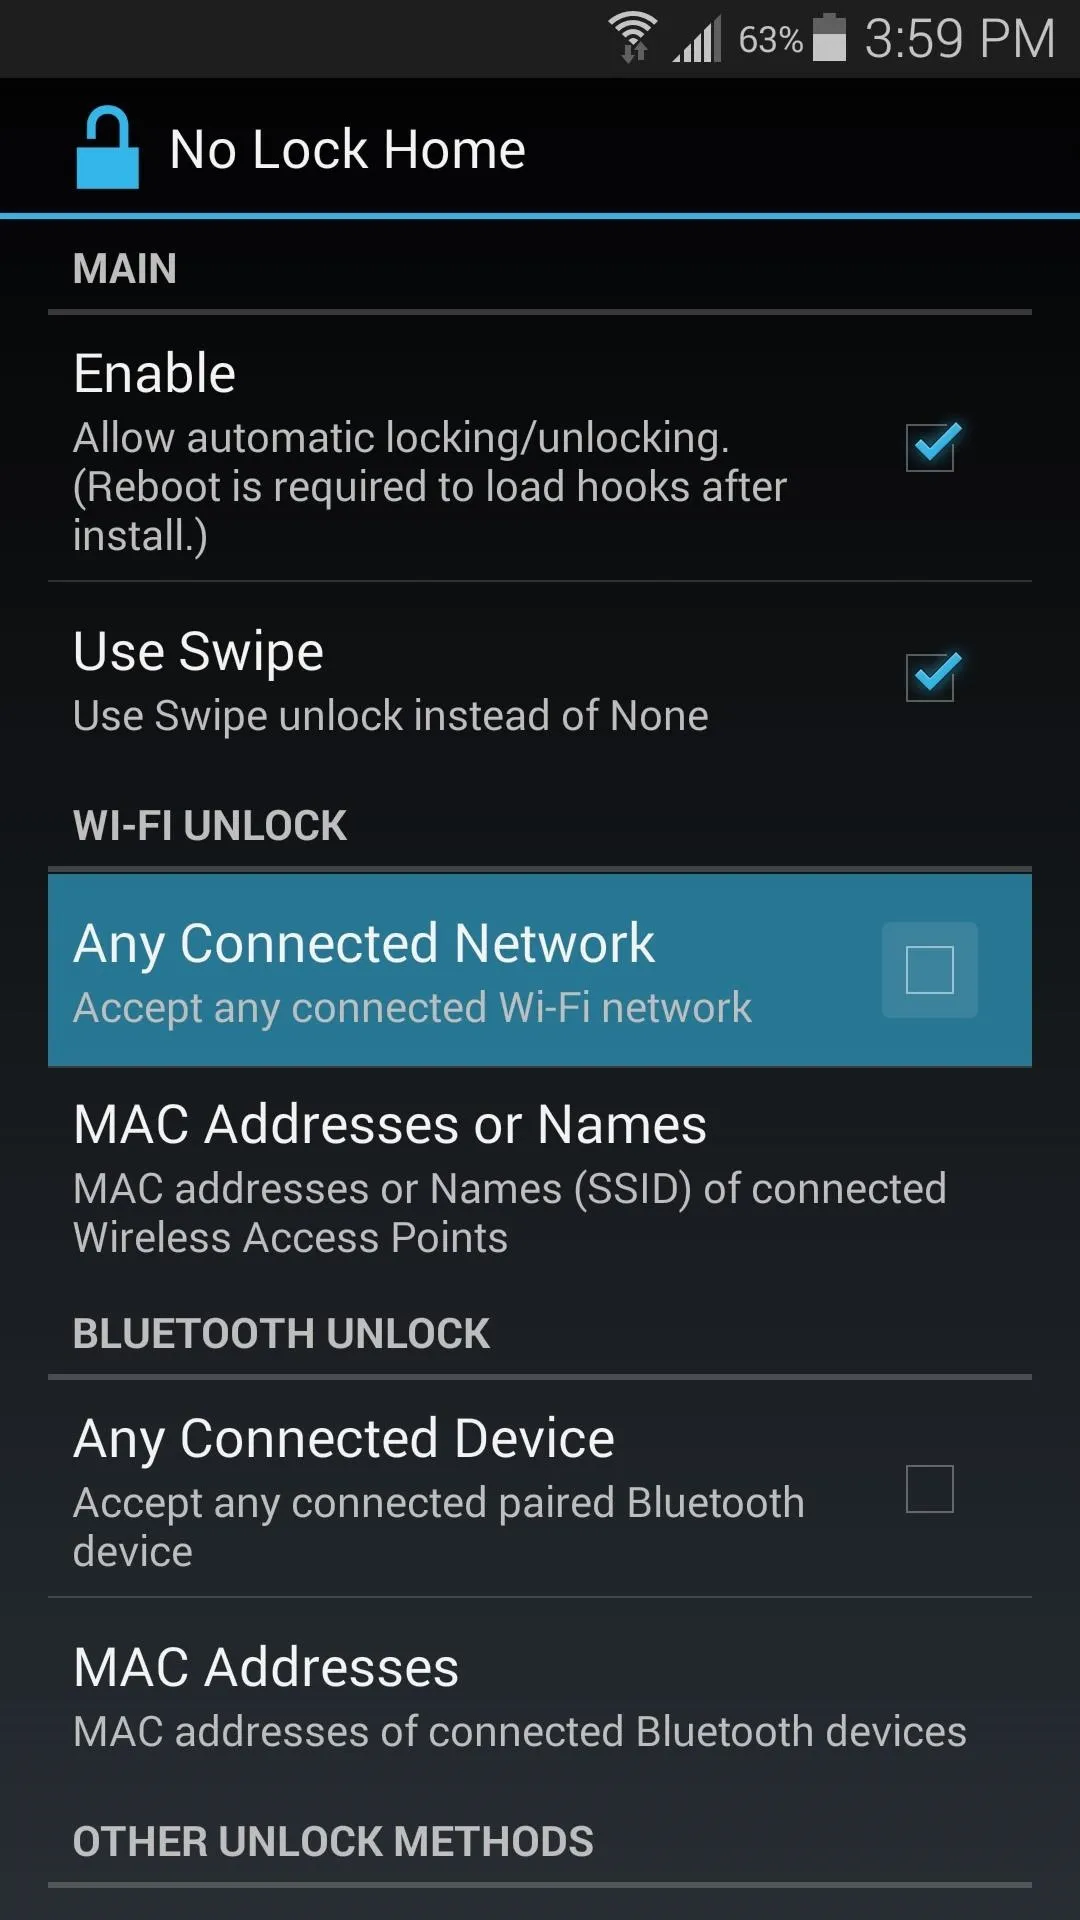
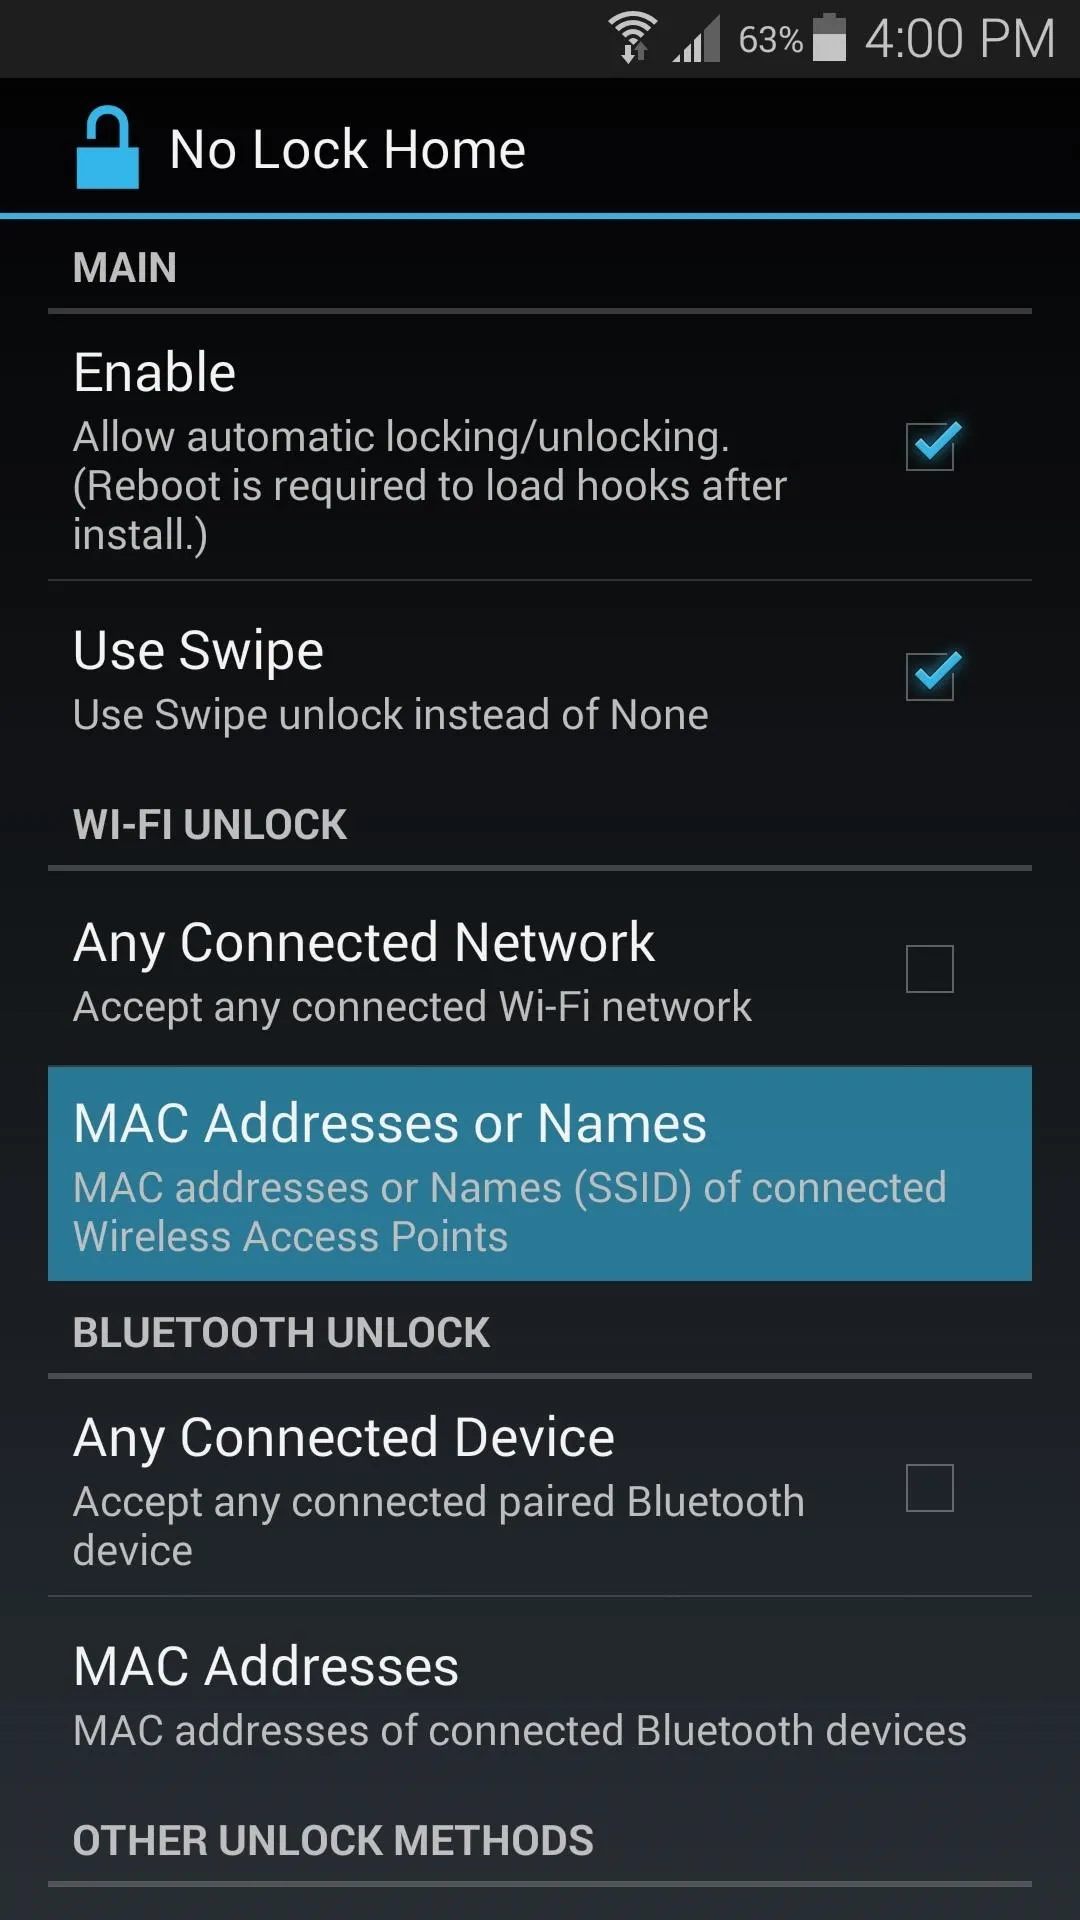
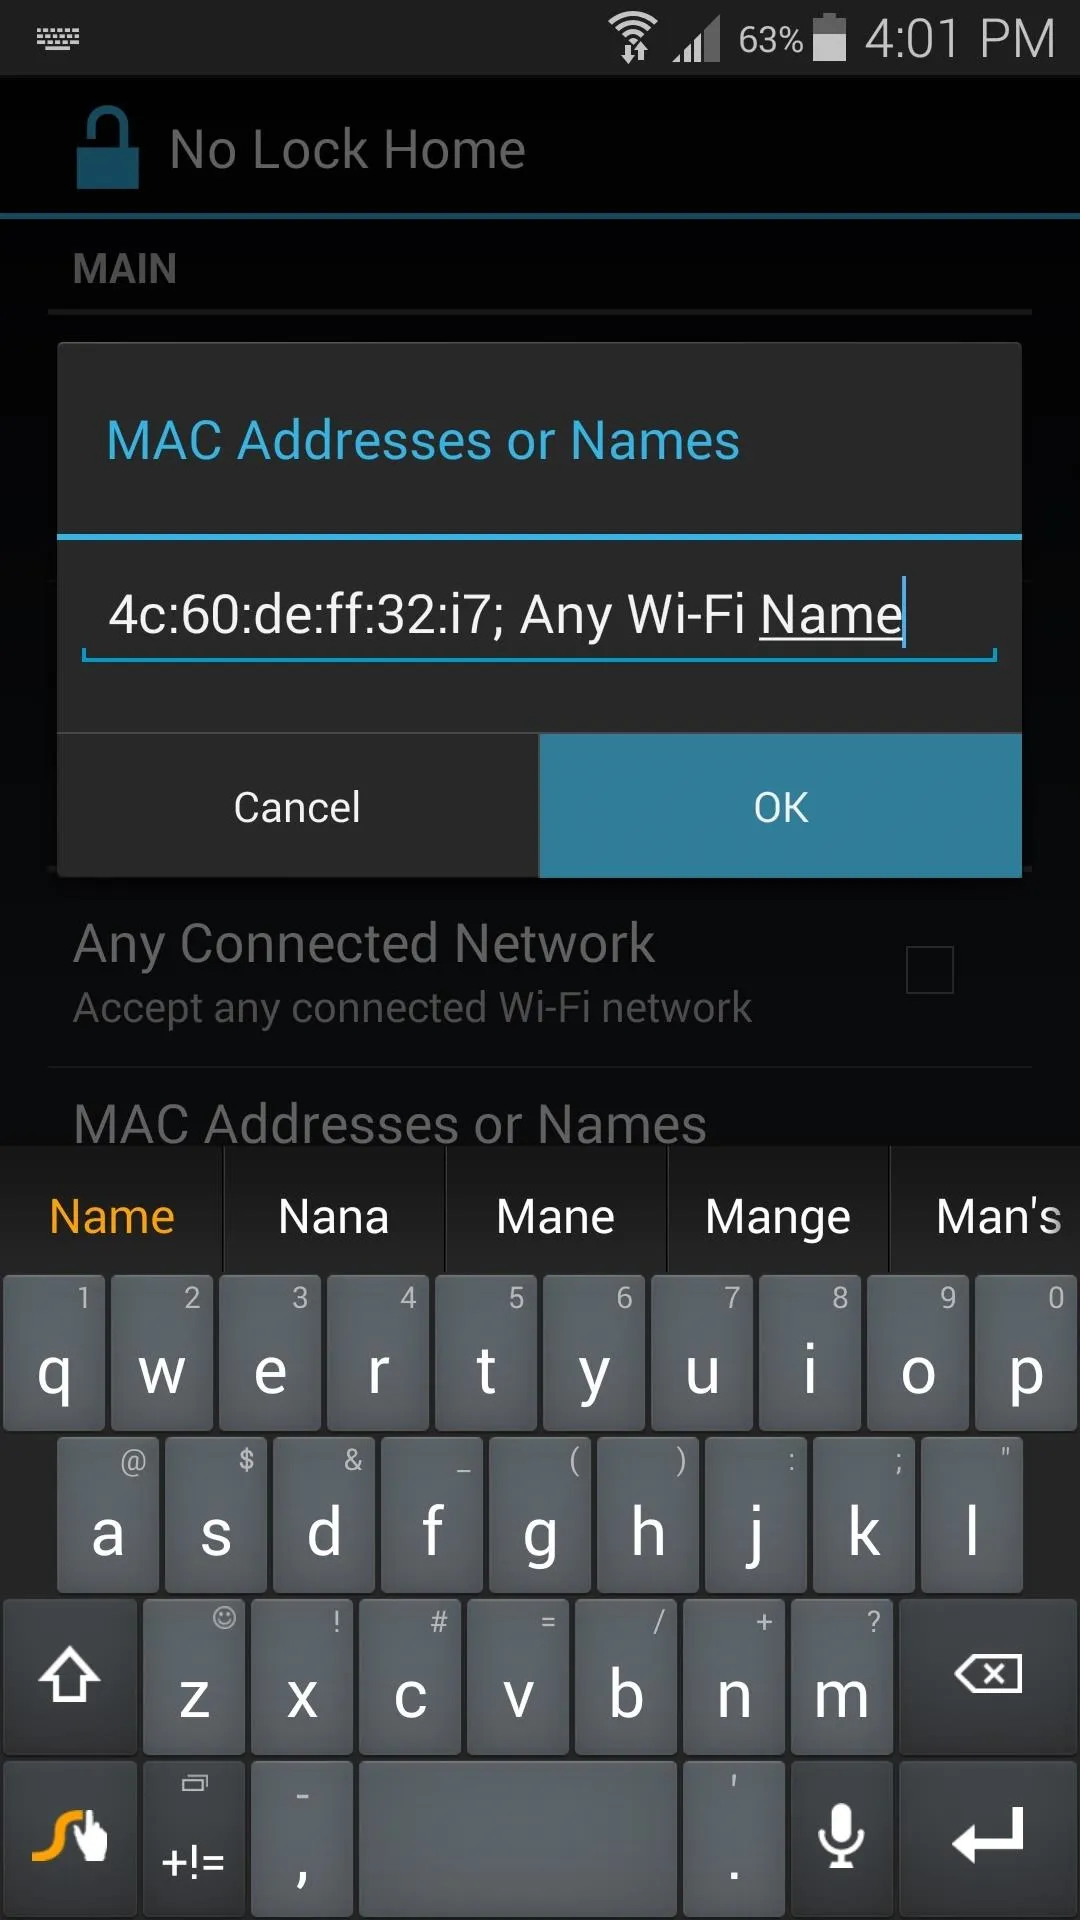


Bluetooth devices can be set configured in much the same way. If you'd like to disable lock screen security while connected to a Bluetooth device, such as headphones or smart watches, use these two options.
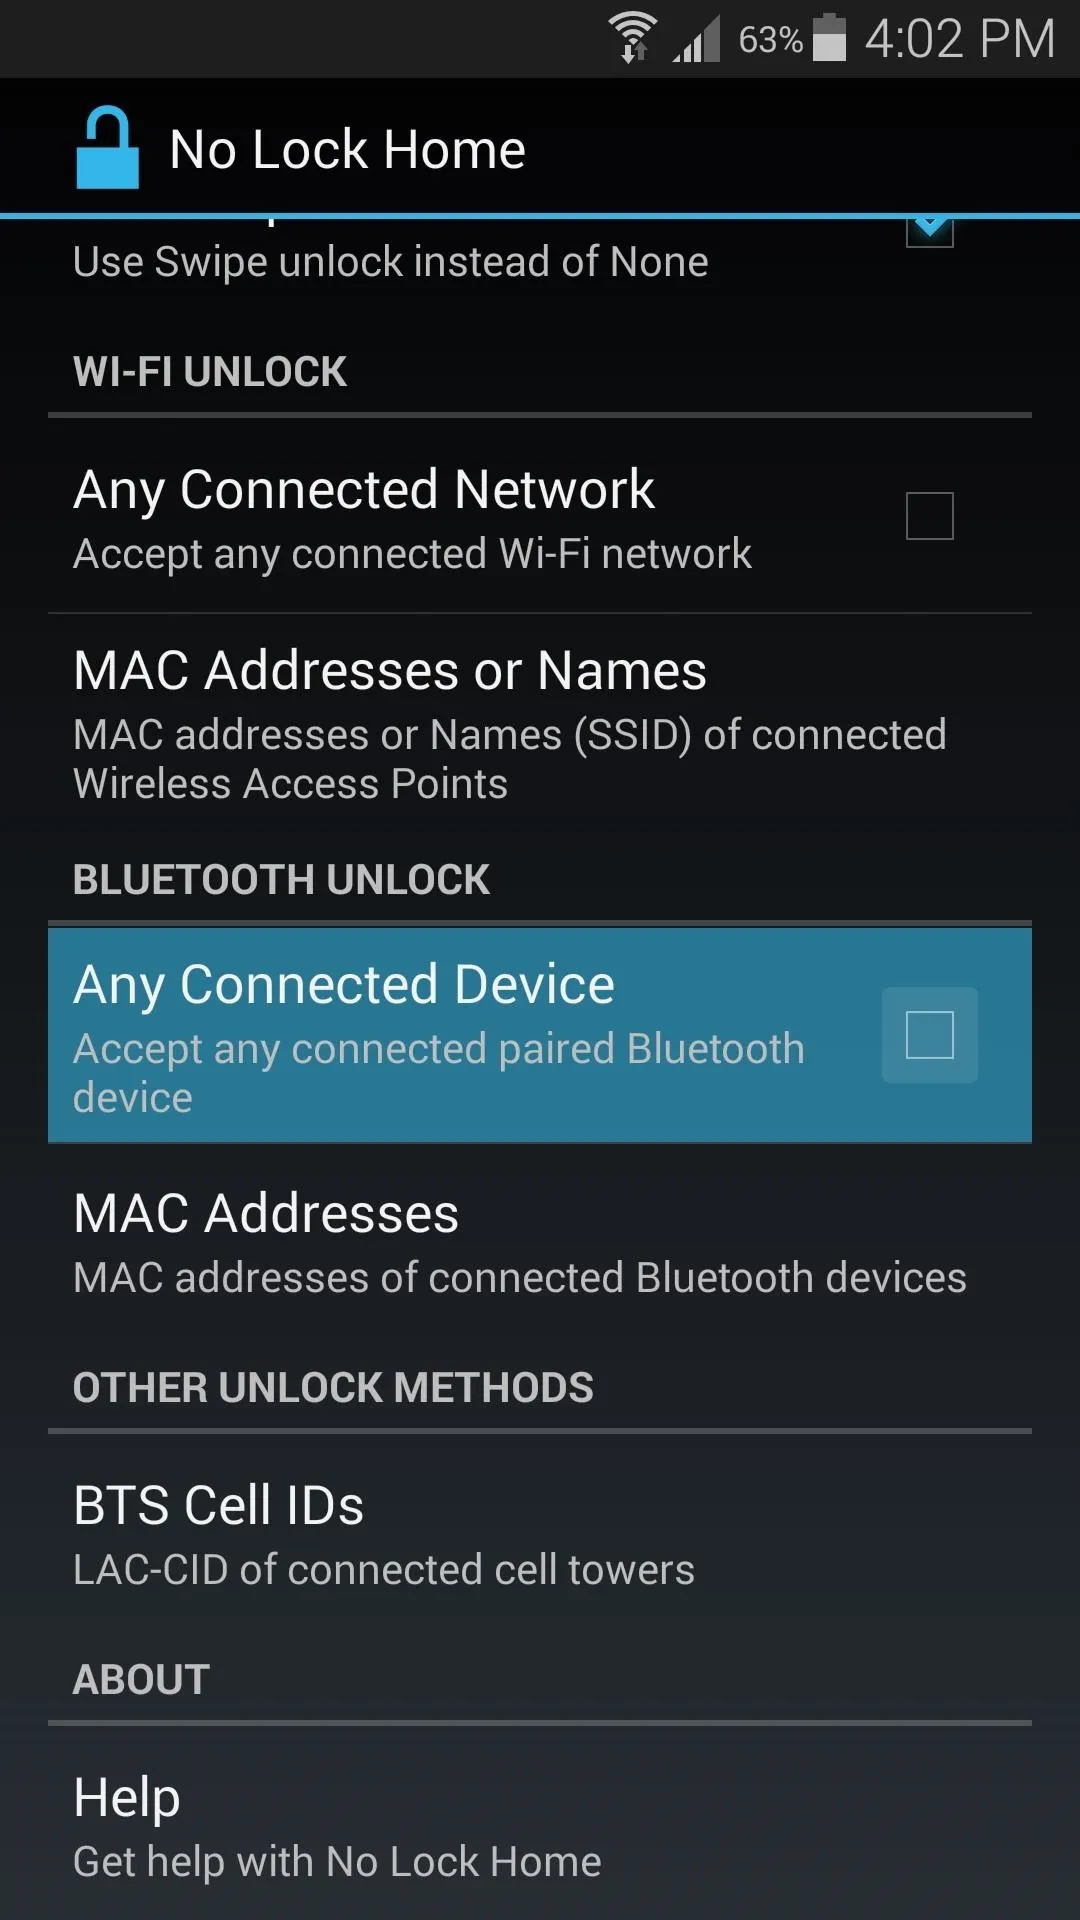
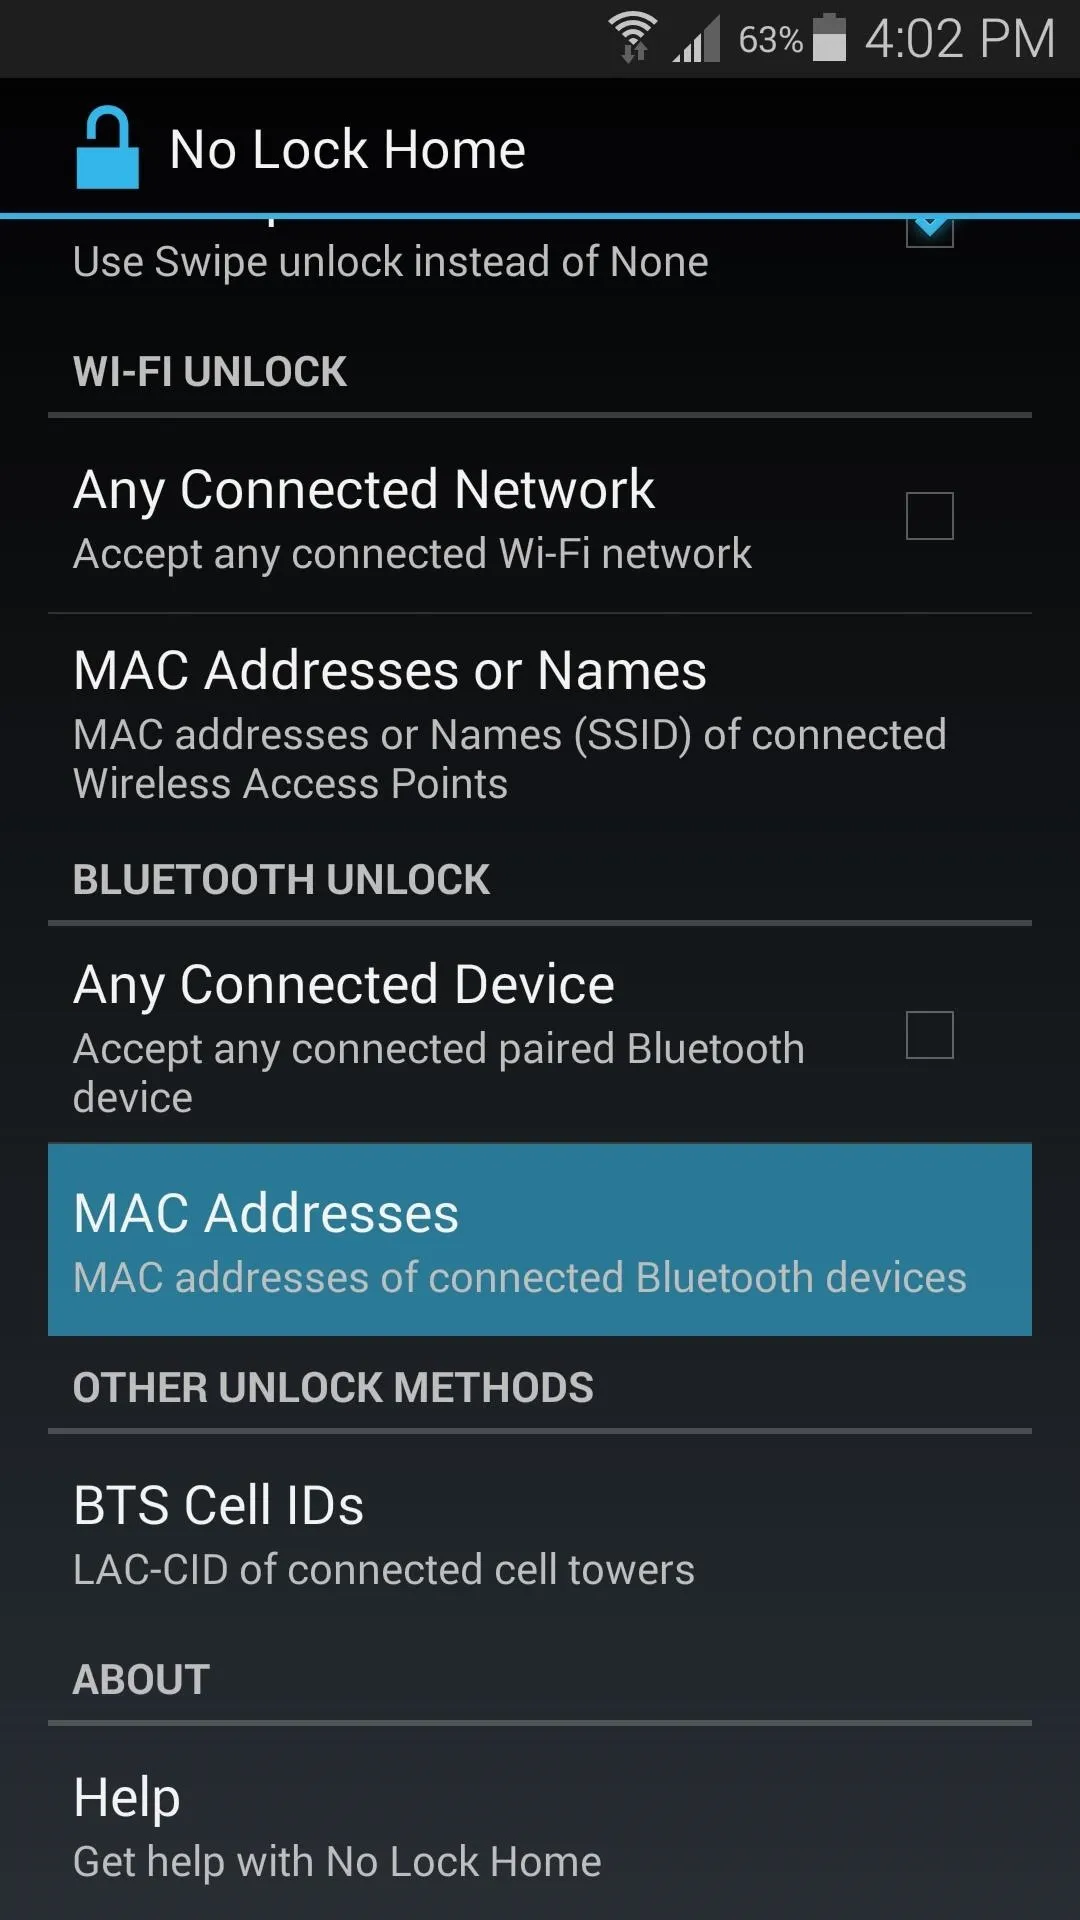


Additionally, cell towers can be set as a trusted environment, so that lock screen security will be disabled any time you're connected to your local tower. This option requires that you know the ID number of a cell tower, and apps that can give you this information are available on the Play Store. Just be sure to format your entry with the LAC number first, then a hyphen (-), then the CID number.
And that's about all there is to it. Your device will automatically disable lock screen security when you're in a trusted environment, making it easier to unlock your device when security is not needed. And when you're away from these areas, lock screen security will automatically become active again, preventing prying eyes from reaching sensitive data.

Screen security enabled (no WiFi)

Security disabled (connected to Wi-Fi)

Screen security enabled (no WiFi)

Security disabled (connected to Wi-Fi)
So which scenario did you choose as your 'trusted environment'? Let us know in the comments section below.










Comments
Be the first, drop a comment!