As things begin to clutter on your device, navigating through it can become much more difficult than when you first got it. The sheer number of added apps and mods that build up after time take its toll not only on the quickness and memory of your device, but also on your efficiency to access everything easily.
With sidebars, easily accessing apps from anywhere on your device becomes much simpler, allowing you to swipe from the side of the screen in and view your settings, favorite apps and more.
While they are certainly nothing new, Android developers Root Uninstaller Team bring you Sidebar Plus (Multi-bars), a very customizable and probably the most efficient sidebar yet.
Downloading Sidebar Plus
From the Google Play Store, you can download Sidebar Plus for free, although you only have a five-day trial (which will then allow you limited access to the application after it ends).
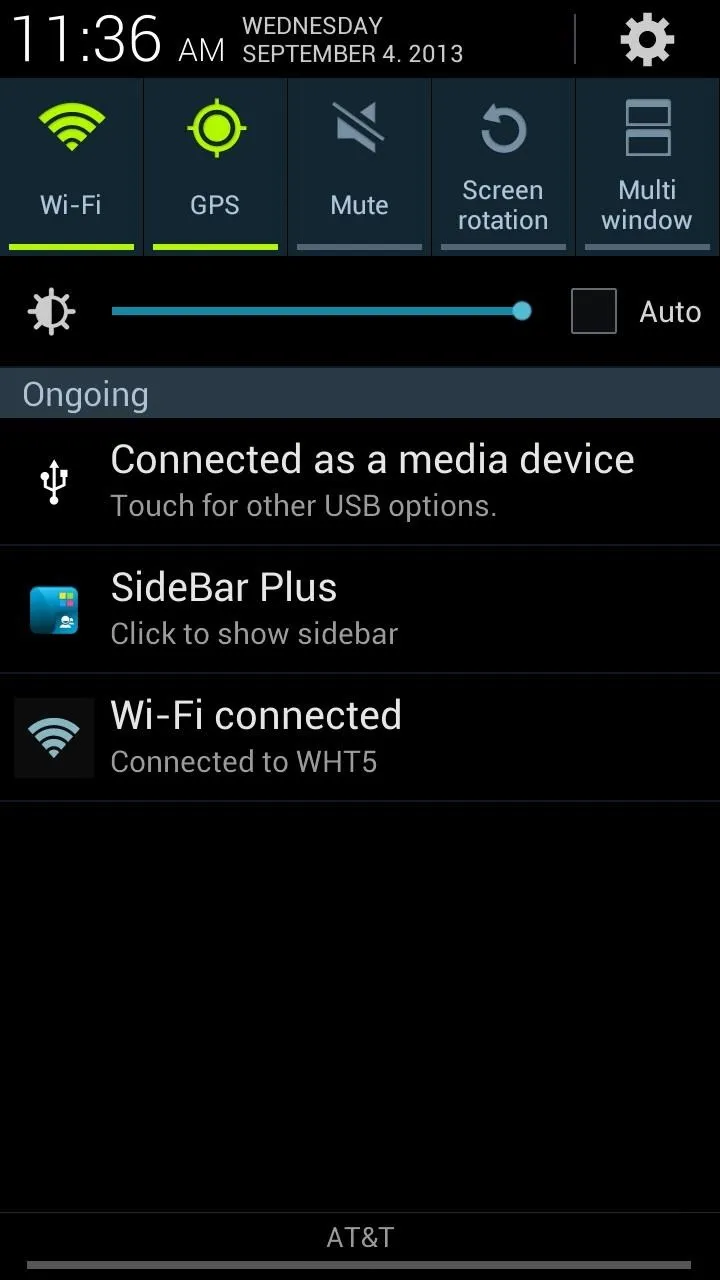
Once you open it, you'll be taken a transparent tutorial, showing a hand and the three sidebars that come with the stock settings. If you swipe down the top bar, you'll see SideBar Plus on your drop down menu. Tap on it to either show it or hide it from the device.



Accessing the Sidebars
Once the sidebars are activated, you can do several things to access them.
- Slide from the left to the right side, on either of the three sidebars to access them.
- You can also long-press on them to open them.
- If you want to access them quickly, fling your finger from the left side to the right.
- To close it, clock on any area that's not the task bar, or just swipe it back in the reverse direction.
Below, you can see the three stock sidebars: Apps, Big Bar and Settings. For each sidebar, I also changed the individual themes, with light, dark and holo-dark shown in the screenshots below (I'll show you how to change that later).
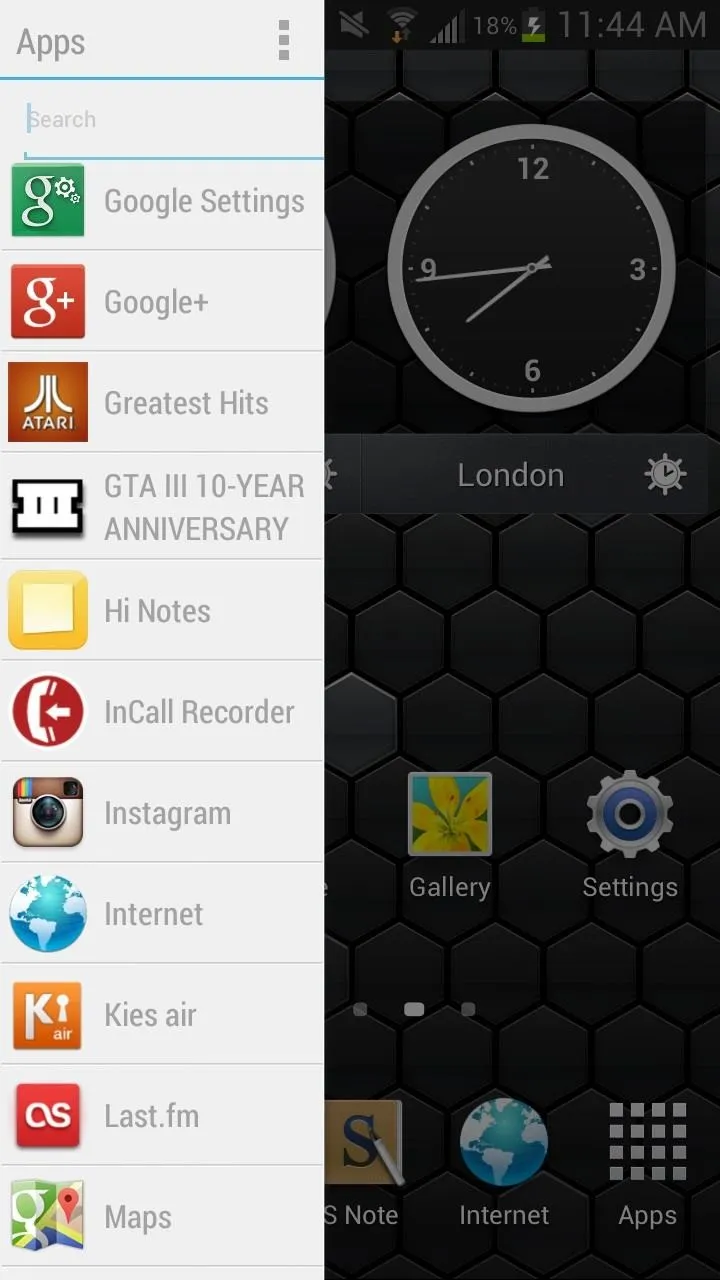
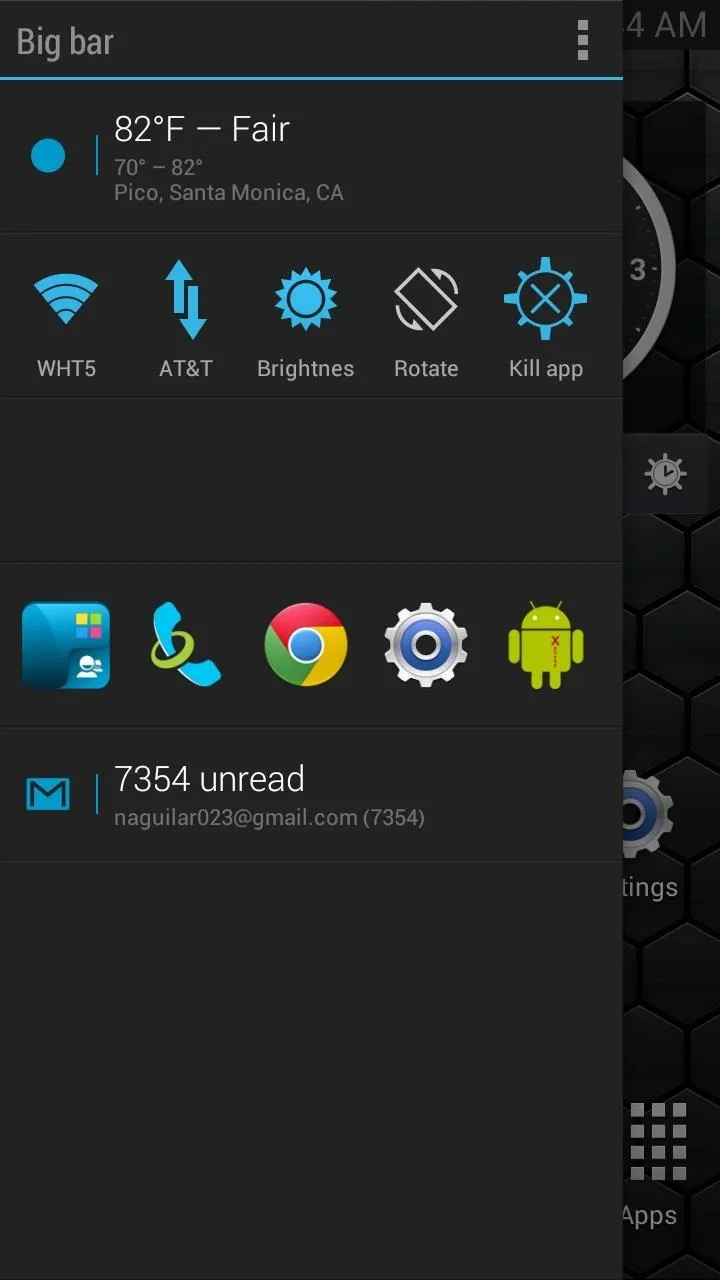
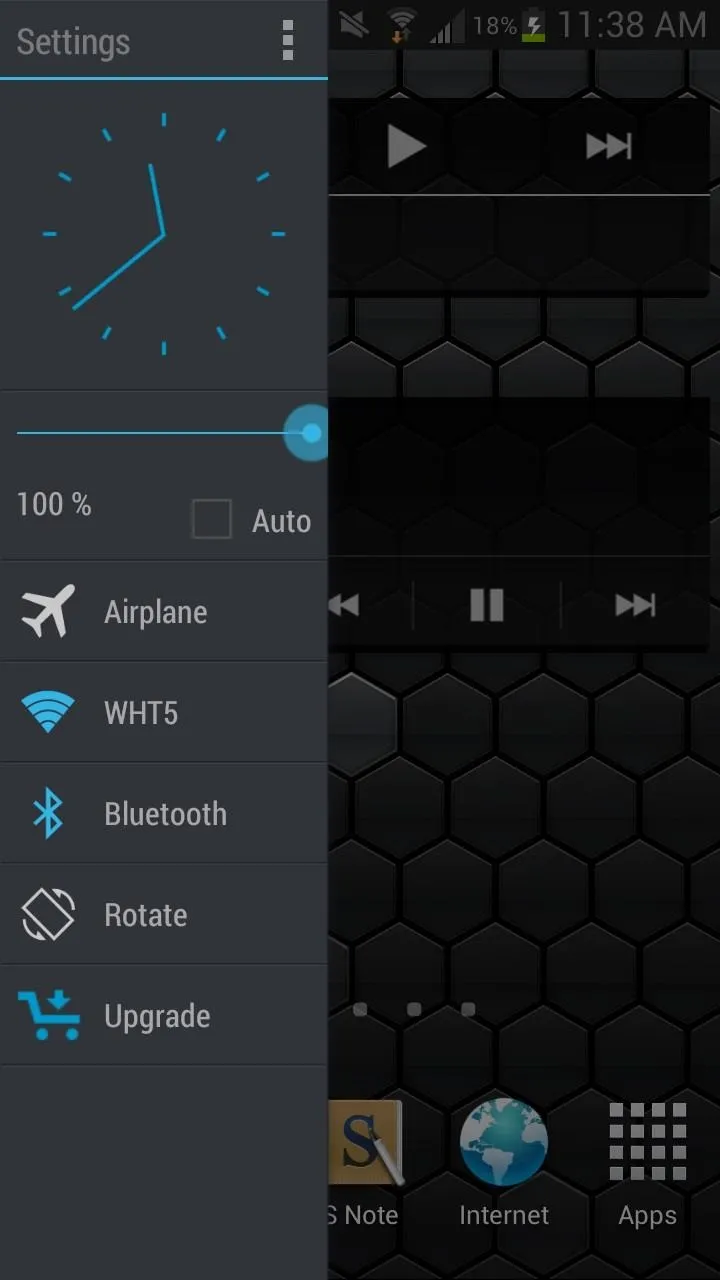


The three individual sidebars allow you to access applications, settings, notifications, weather and more, which you can access from anywhere on your device.
Editing the Sidebars
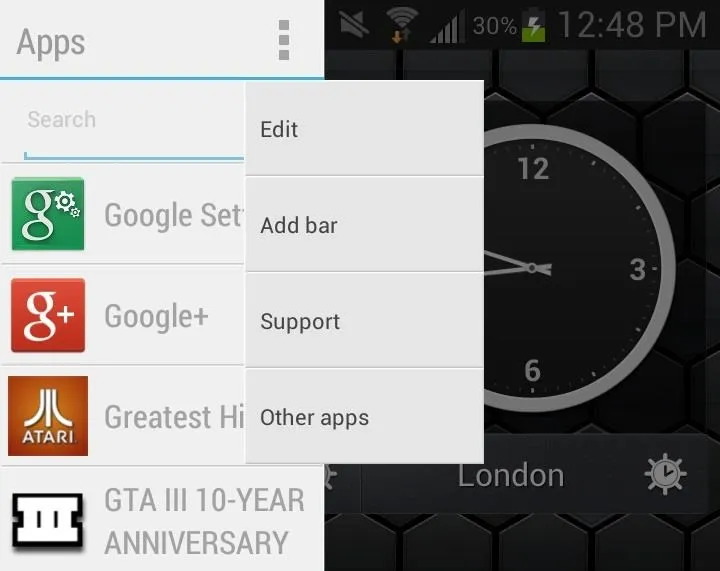
While the sidebars are great by themselves, you can also customize them to your need. Just open the bar you want to edit and tap on the three vertical dots at the top right, which will bring down a small menu. Tap on Edit and you'll be taken the settings for that specific bar.
Below are the settings for the Apps bar, which allows you to change the applications list under Items, as well as change the Theme, Item style, Search box, Sort order and Opacity in Options.
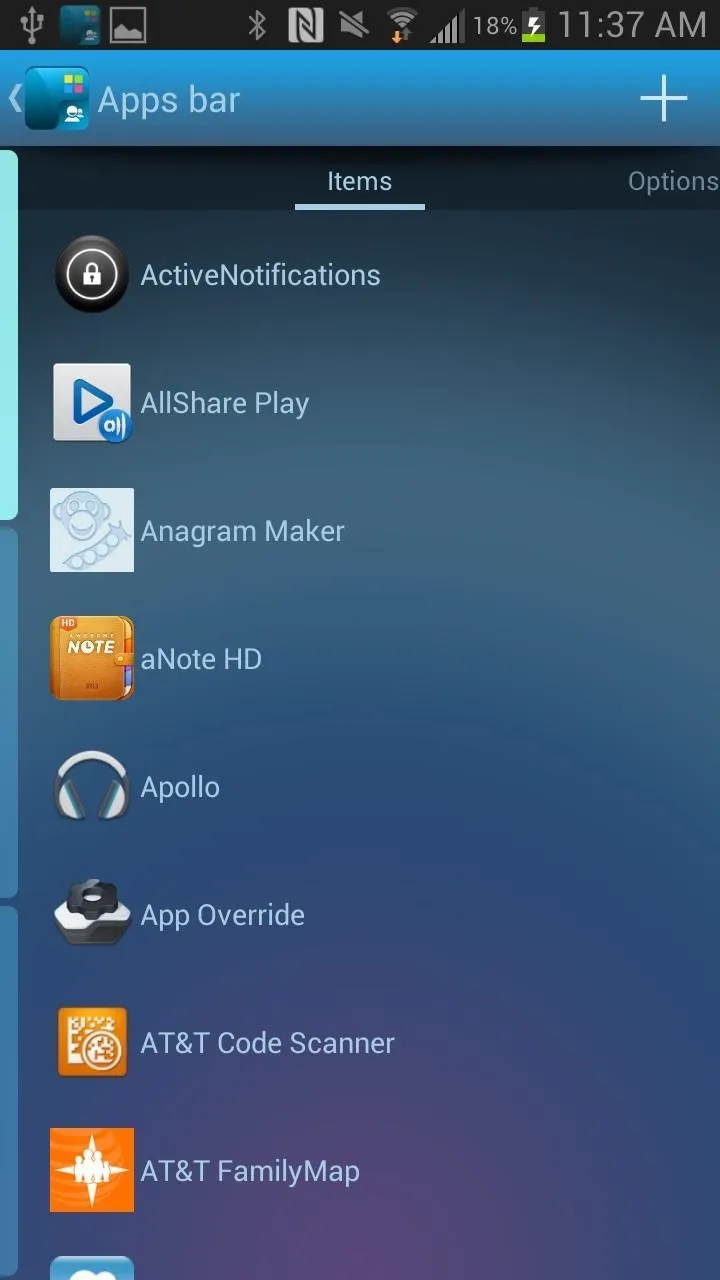
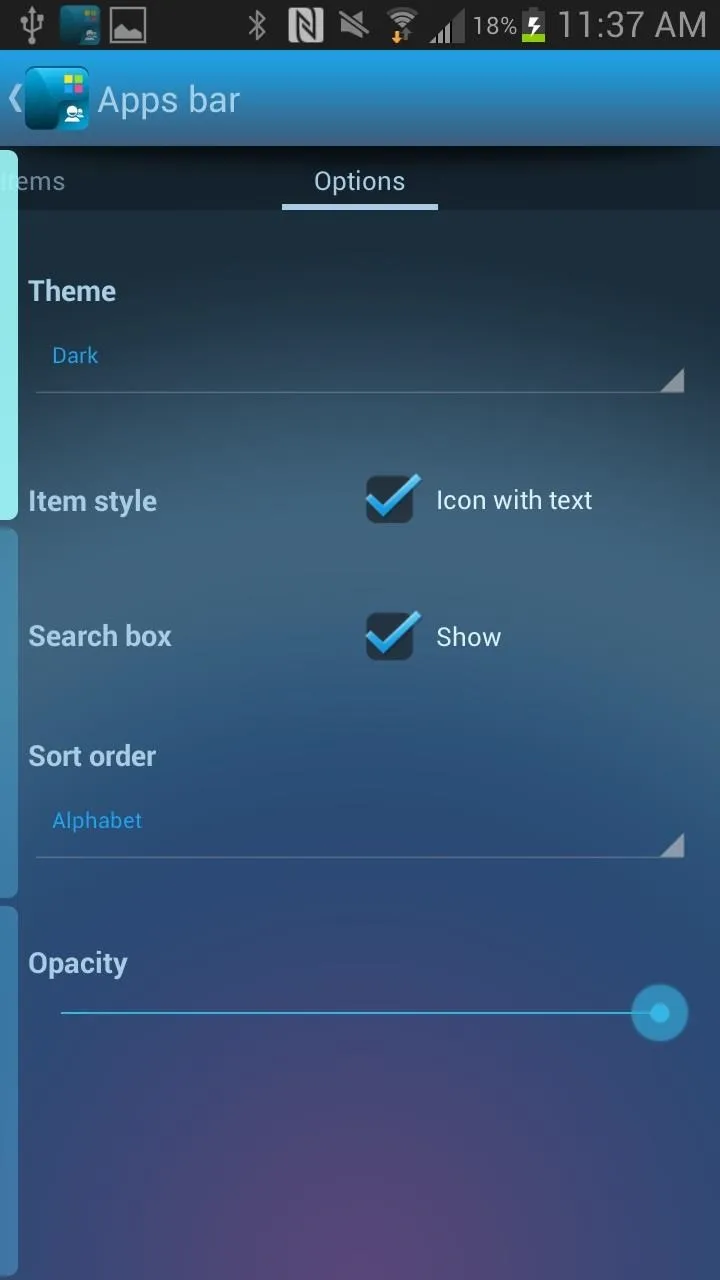


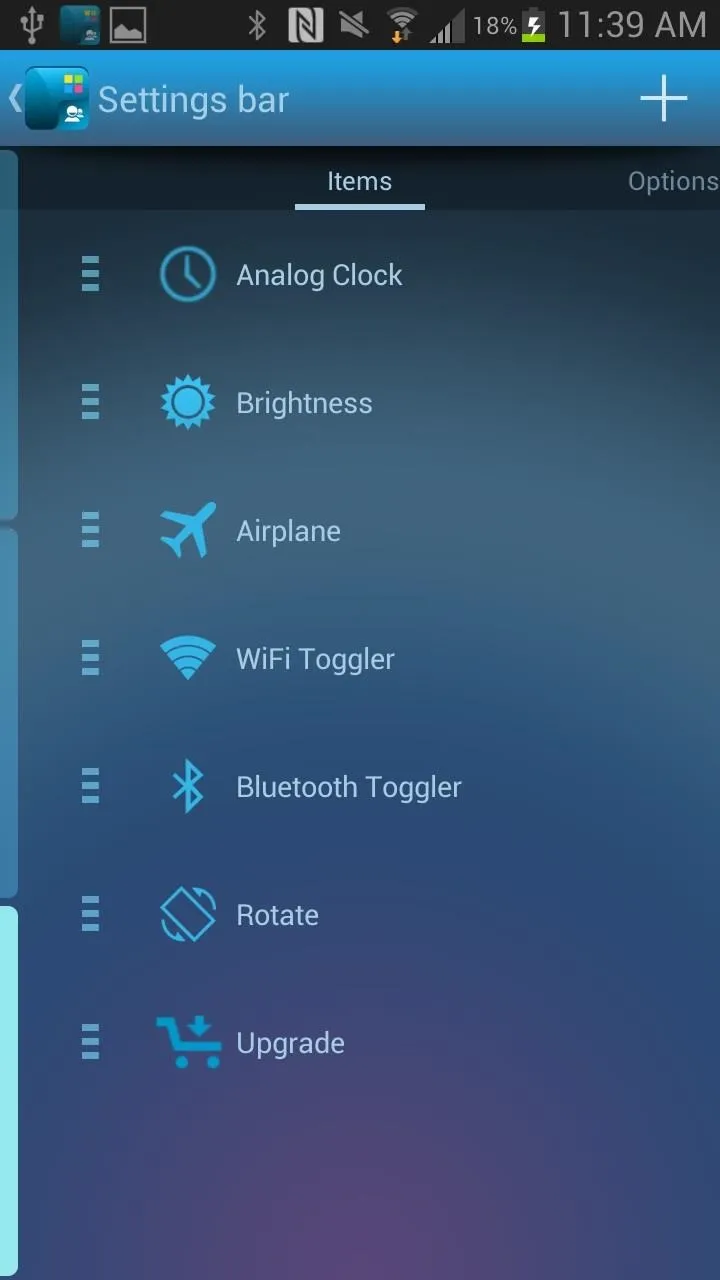
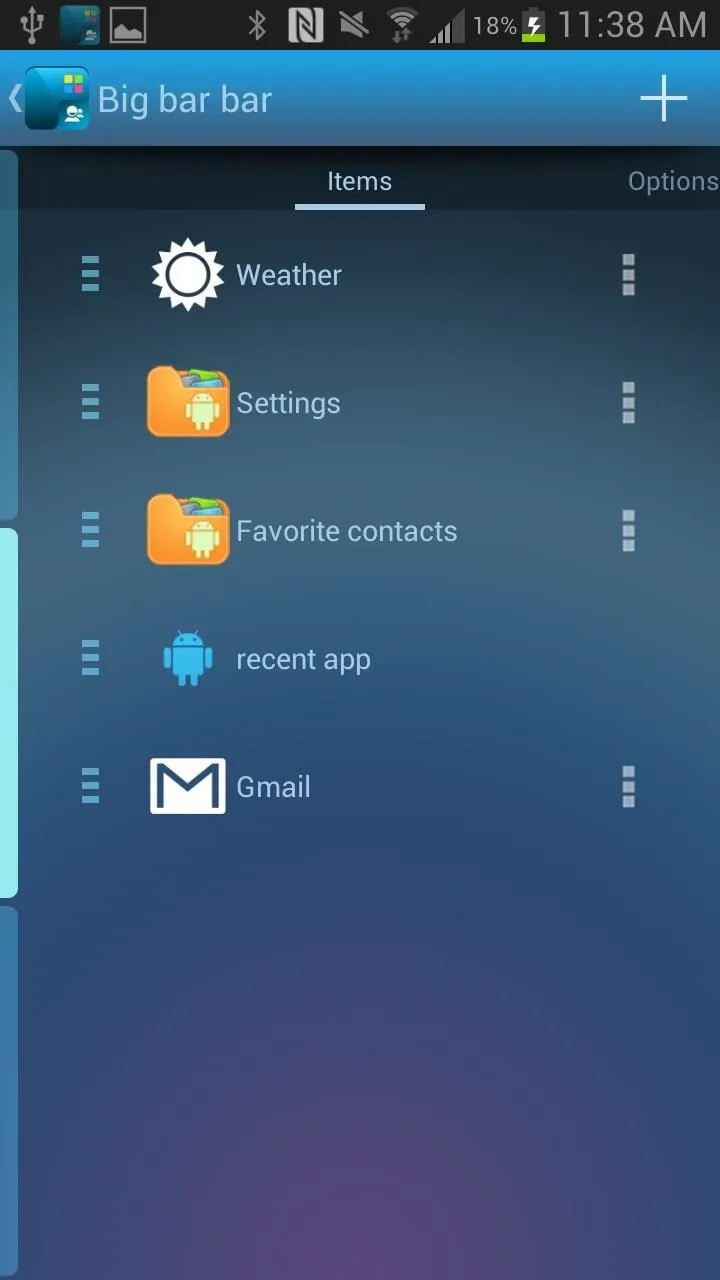
The other two sidebars (Settings and Big bar) will have similar Options settings, but different and individual Items settings (as you cans see below). In Items, you can change the order of the widgets and application icons on the sidebar, with the Options pretty much the same in all three, allowing you to change the theme, opacity and more.


Creating Your Own Sidebar
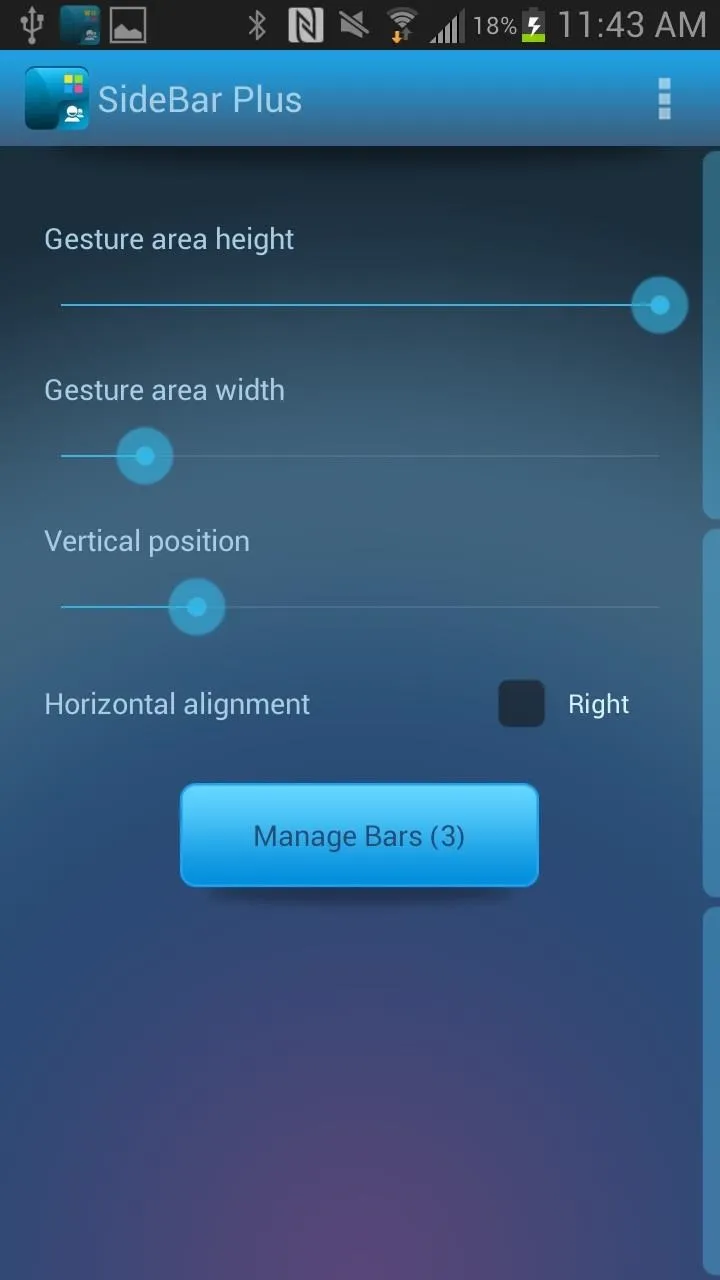
In addition to editing the already existing sidebars, you can also create your own. To do this, head over to the Sidebar Plus icon on your device and open it up. You will be taken to SideBar Plussettings and from there, tap on Manage Bars at the bottom.
From there, you'll get a list of the existing bars. Tap on the plus sign at the top right of the screen to create a new sidebar.
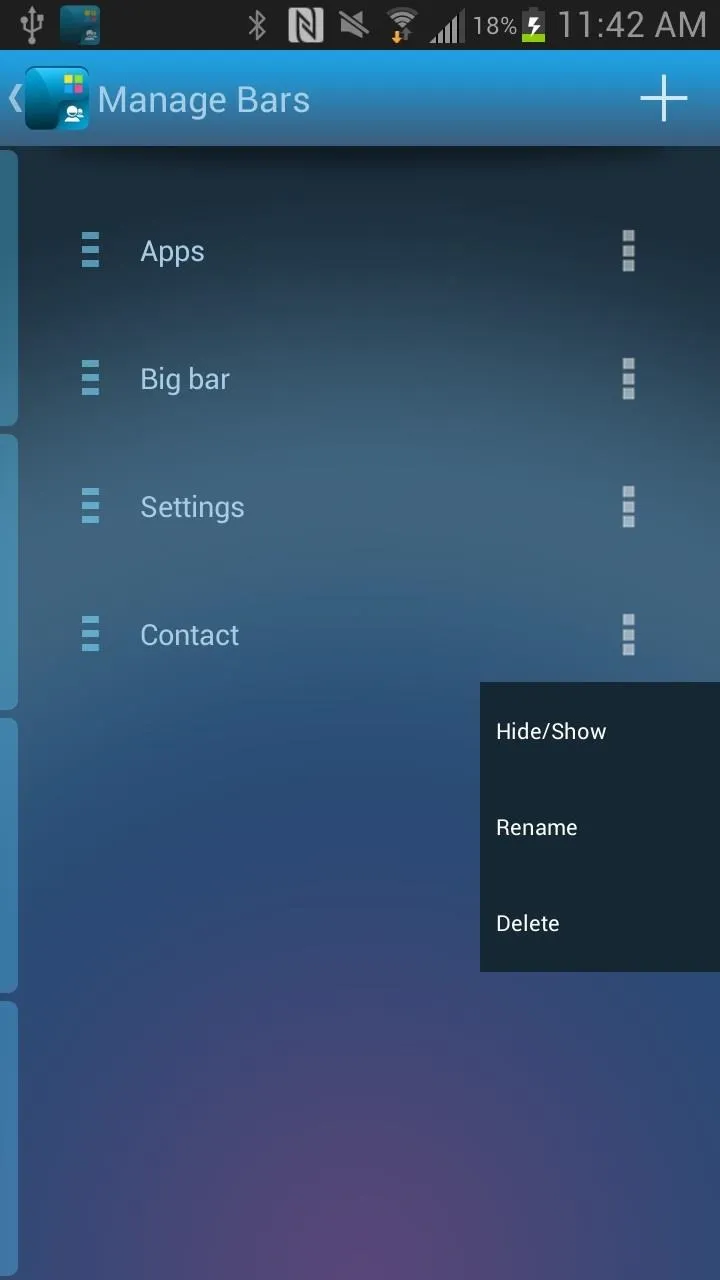


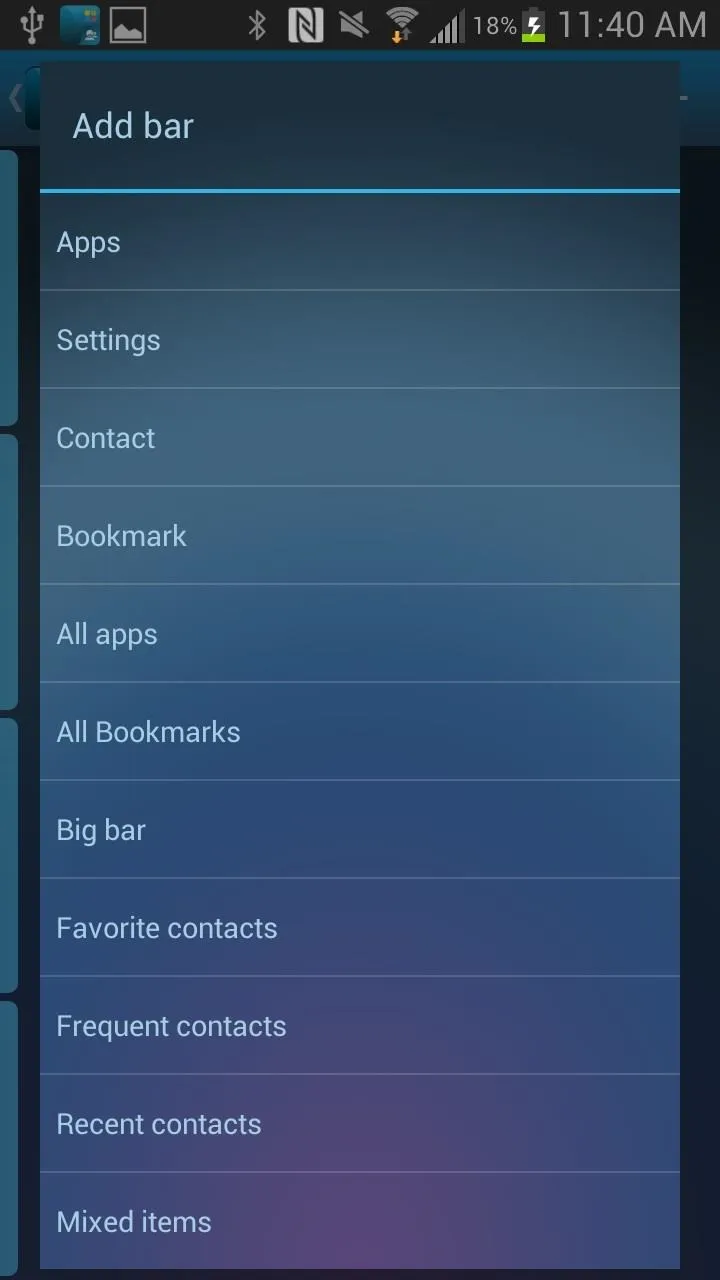
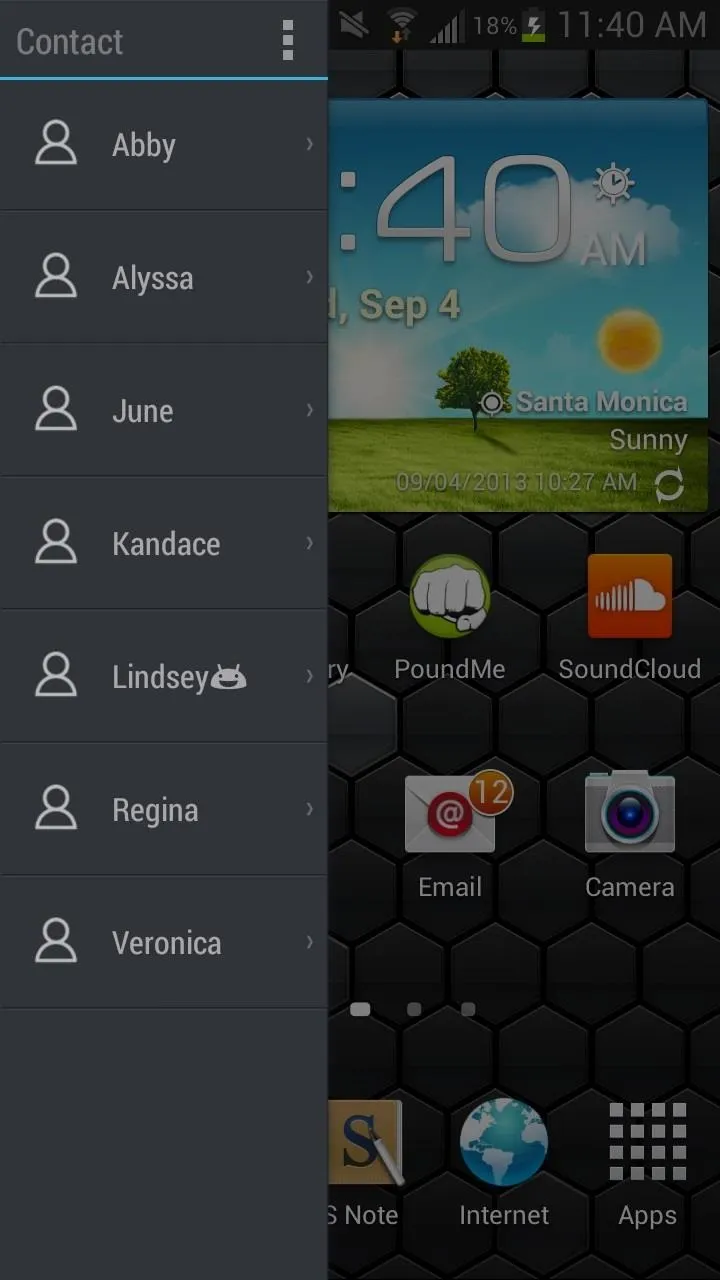
From the Add bar list, you'll see many choices as to what kind of bar you want to create. I decided to make a Contact sidebar, and so I filled it with the contacts that I use the most. After you're done, the sidebar is added below the rest.


Pro Version
As mentioned above, you only receive a five-day trial the day you down and install the application. After the trial ends, you'll only be able to use 2 sidebars at a time, so if you want to keep more than two sidebars at a time, purchase the application.










Comments
Be the first, drop a comment!